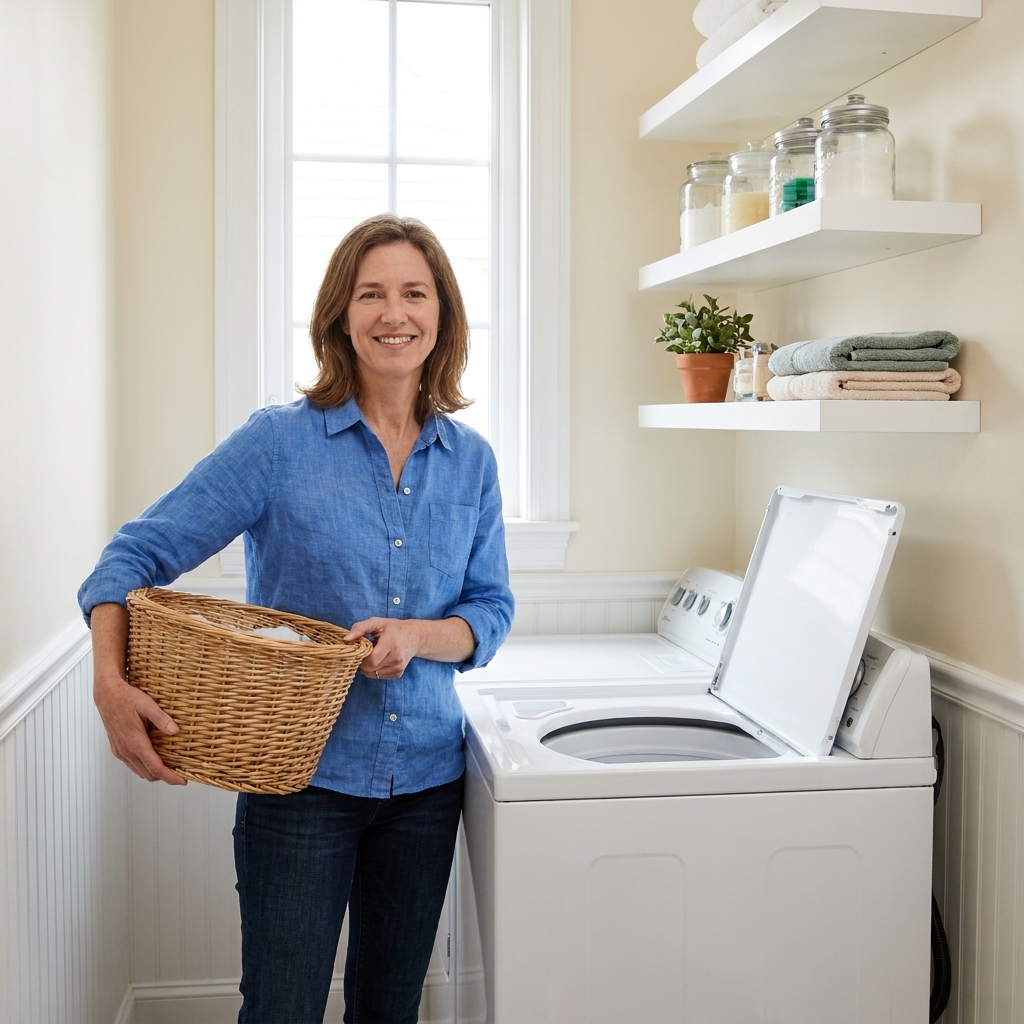
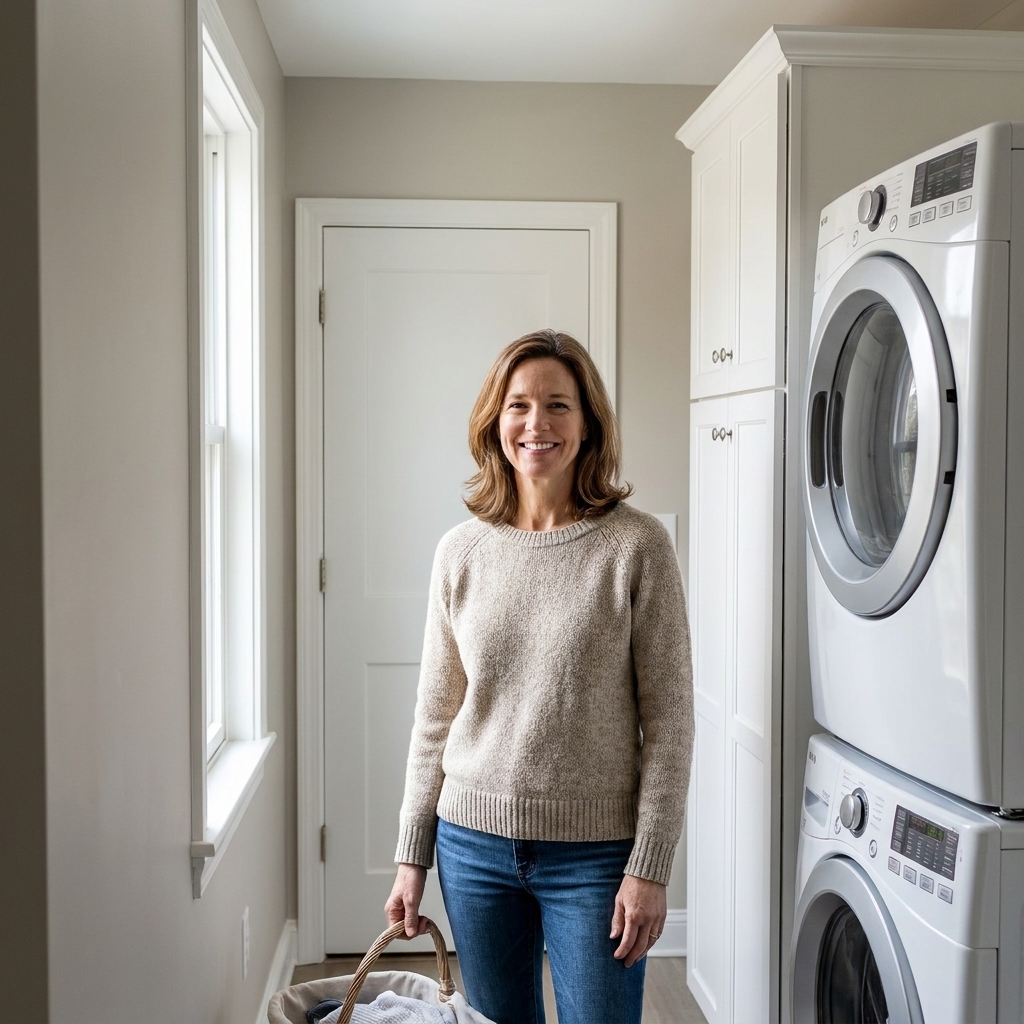
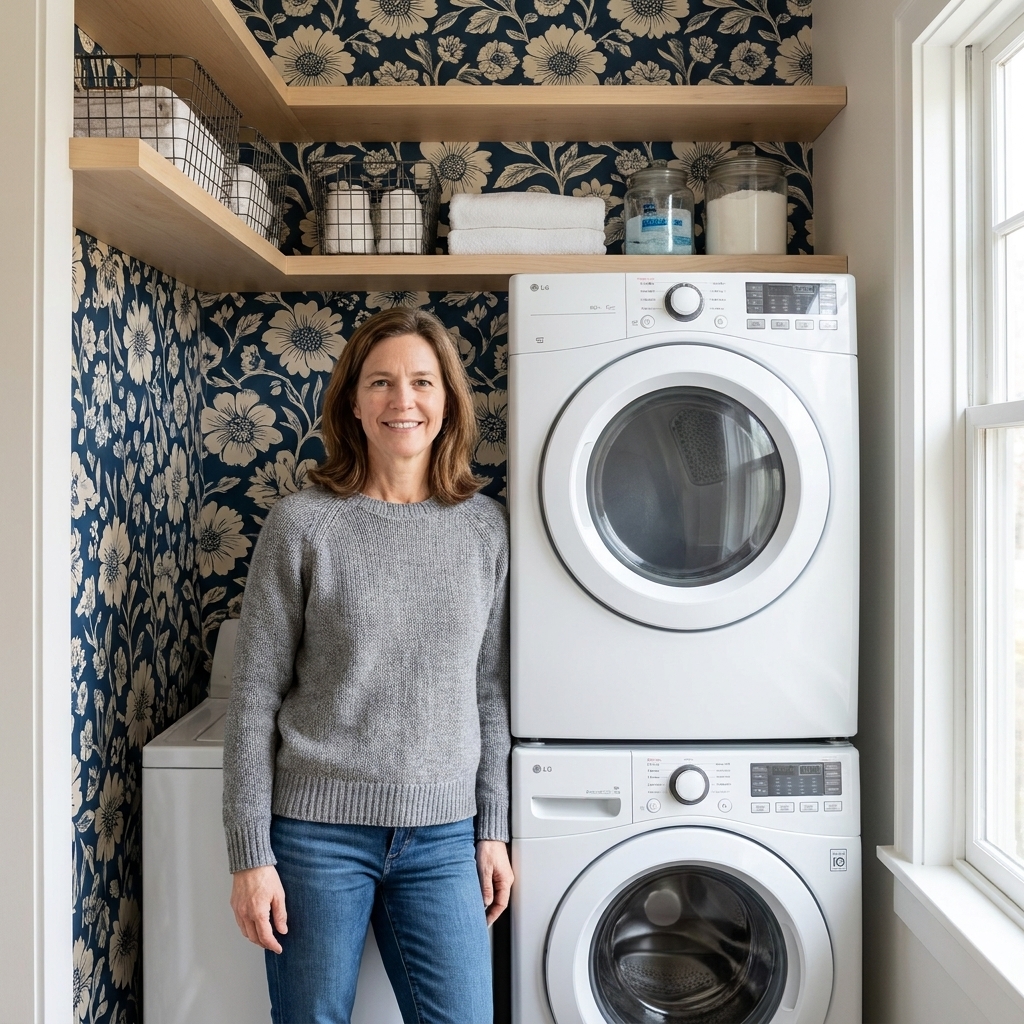
My laundry nook used to feel like the spot my house forgot. Bare drywall, a couple of scuffs from baskets, and that builder basic vibe that somehow made the whole area feel messier than it actually was. The fastest, most “why does this look so expensive now?” fix I have found is beadboard wainscoting.
It adds instant structure, hides a lot of wall sins, and gives you a crisp line to paint against. Even better, it is a very forgiving DIY in a small space, which is exactly what most laundry nooks are.
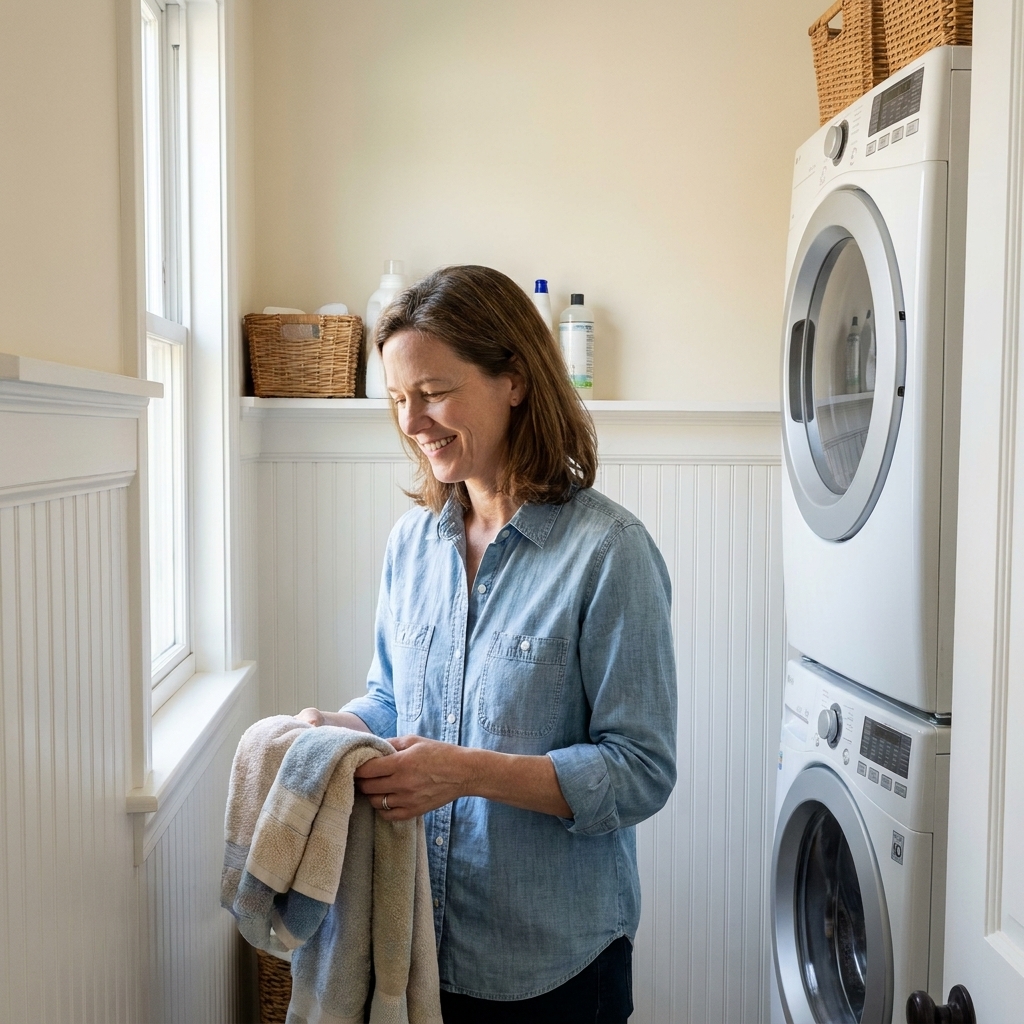
Why beadboard works in laundry spaces
- It elevates a plain wall fast. You get that tailored, built-in look without a full remodel.
- It is protective. Wainscoting takes the hits from hampers, detergent bottles, and elbows.
- It visually “organizes” the room. A horizontal cap rail gives your eye a clean stopping point.
- It plays well with small-space upgrades. It looks amazing under shelves, above a counter, or behind a sink.
If your nook also needs more function, pair this with a folding surface like my favorite tiny-space solution, a DIY drop-leaf folding table, or tackle the supply clutter with decanting and organizing laundry supplies.
Choose your beadboard type
Panel beadboard (sheets)
This is what most people use for laundry nooks because it is fast and budget-friendly. You can find MDF, plywood, PVC, and hardboard versions. For most laundry nooks, I like paint-grade plywood or primed MDF for a smooth look.
Individual planks
More expensive and slower, but great if you want deeper grooves or a more traditional look. Usually not necessary in a small nook unless you are going for a very specific style.
Moisture reality check
MDF and water are not best friends. If you go with MDF in a laundry nook, the key is to seal it like you mean it: prime and paint all faces, and prime and paint every cut edge especially the bottom edge and any outlet cutouts. Also keep the panels off the floor so they never sit in dampness.
If your washer is leak-prone, you have pets that treat the laundry area like a splash zone, or this wall is right behind a frequently used utility sink, choose something more forgiving like PVC beadboard or exterior-rated plywood.
Beadboard can work as a sink backsplash for light splashes, but it is not a true substitute for tile or a waterproof panel in a constantly wet zone. If you go this route, keep seams tight, caulk carefully, and plan to maintain that caulk line over time. For other backsplash-friendly ideas, see budget-friendly DIY backsplash ideas for your laundry sink area.
If you are working around a sink base, you might also like organizing under your laundry utility sink once the walls are pretty.
Tools and materials
Materials
- Beadboard panels (measure first, then buy)
- Baseboard (you can reuse existing if it is in good shape)
- Chair rail or cap rail (or a simple 1x3 or 1x4 for a clean ledge)
- Optional: 1x2 or lattice strips for vertical trim pieces to create “frames”
- Construction adhesive (panel adhesive that is safe for your panel type)
- Brad nails (or finish nails)
- Wood filler or spackle
- Paintable caulk (mildew-resistant is worth it in laundry areas)
- Primer and paint (semi-gloss or satin is my go-to for wipeability)
Tools
- Tape measure and pencil
- Level (a 2-foot level is plenty for a nook)
- Stud finder
- Miter saw (helpful for trim) and a circular saw or table saw (for panels)
- Jigsaw or oscillating multi-tool (for outlet cutouts)
- Brad nailer (optional, but makes life easier)
- Caulk gun
- Sanding sponge
Quick safety note: Wear eye protection and hearing protection for cutting and nailing. If you are cutting MDF, add a good dust mask or respirator because that fine dust gets everywhere fast.
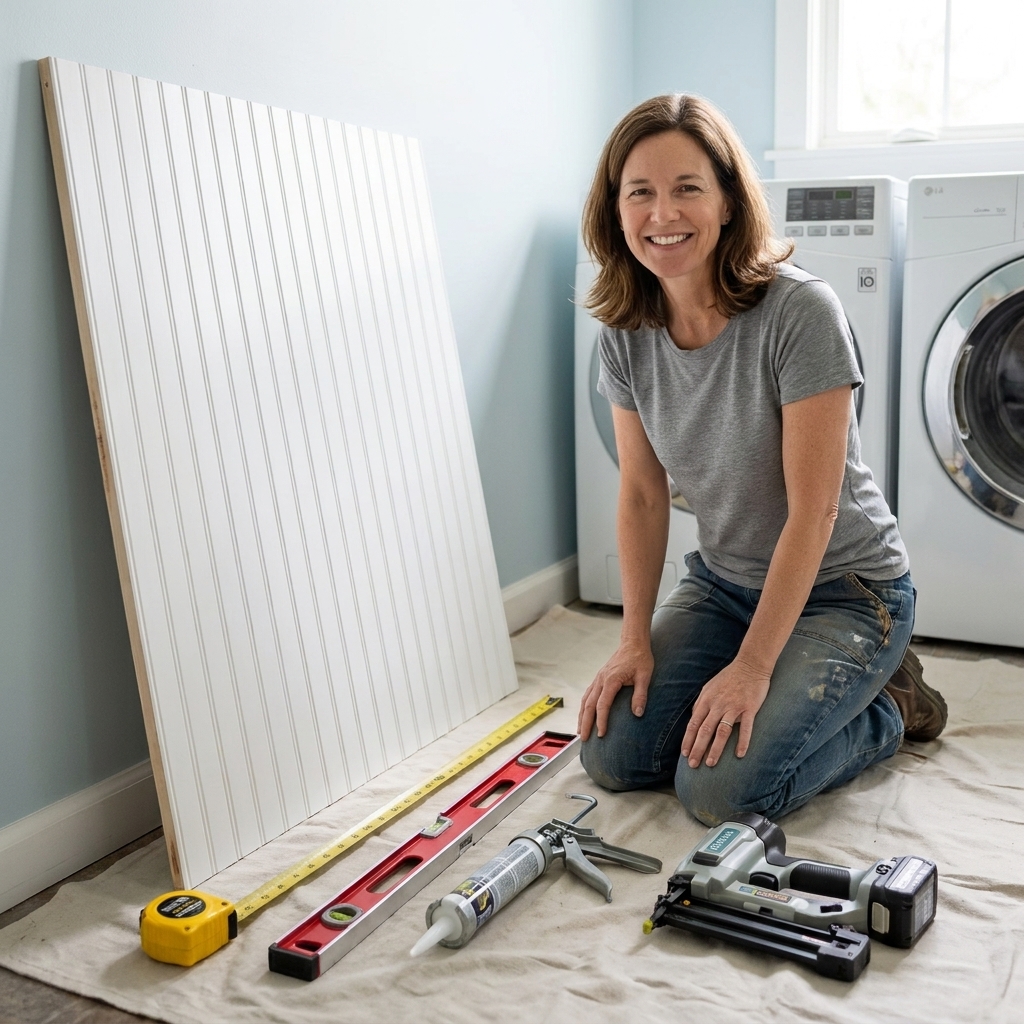
Step 1: Pick the height
In a laundry nook, the “right” height is usually the one that works with what is already there.
- Behind machines: I like 36 to 42 inches high so it lines up with counters or feels intentional behind appliances.
- Under shelves: Let the cap rail land a few inches below the bottom shelf bracket so it does not look crowded.
- With a utility sink: If you have a backsplash area, beadboard can work for light splashes, but I still like to cap it with a trim board for an easy-to-clean edge.
My mom-of-three tip: Do not assume your floor is level. Pick a reference point and use a level line around the space so the top edge reads straight even if the floor dips.
Step 2: Measure and plan seams
Measure each wall section
Laundry nooks are notorious for weird bump-outs, shallow side walls, and trim that is not quite square. Measure width in at least two spots per wall and use the smaller number.
Mock up your layout
Before you cut, sketch the wall and your panel sizes so you are not stuck with a tiny sliver at one end. With sheet panels, you can often shift the panel left or right a bit so the grooves look centered on the wall.
Have a seam plan
If you need more than one panel on a wall, try to land seams over studs when possible. You can also hide seams intentionally by covering them with a vertical trim strip (it looks like a design choice, because it is).
Outlet and valve access
If you have an outlet, washer valves, or a recessed box, mark it carefully. I like to measure from two reference edges (left and bottom) and transfer those measurements to the panel.
Real-life snag: adding panel thickness can make outlets sit “too deep.” Depending on your panel and trim thickness, you may need an electrical box extender so the receptacle sits flush with the finished surface. If electrical work is outside your comfort zone, this is a great moment to call an electrician for a quick, safe fix.
Step 3: Prep the wall
- Remove existing baseboard if you plan to replace it.
- Pop off outlet covers and shut off power at the breaker if you are working around outlets.
- Patch big holes and scrape off anything that will keep the panel from sitting flat.
- Locate studs and lightly mark them above your future cap height.
If your nook is tight and dark, consider doing lighting next, since beadboard shows off good light beautifully. My favorite fixes are in lighting upgrades for dark laundry closets.
Step 4: Cut panels cleanly
Fewer chips, less frustration
- On a standard circular saw, tear-out usually shows up on the face that is up, so cut with the good face down when you can.
- Use painter’s tape over your cut line for extra insurance.
- Support the panel well so it does not flex and splinter.
Cutouts for outlets
Trace your outlet box onto the panel after double-checking measurements. Cut the opening with a jigsaw or oscillating tool. Test fit before you glue anything.
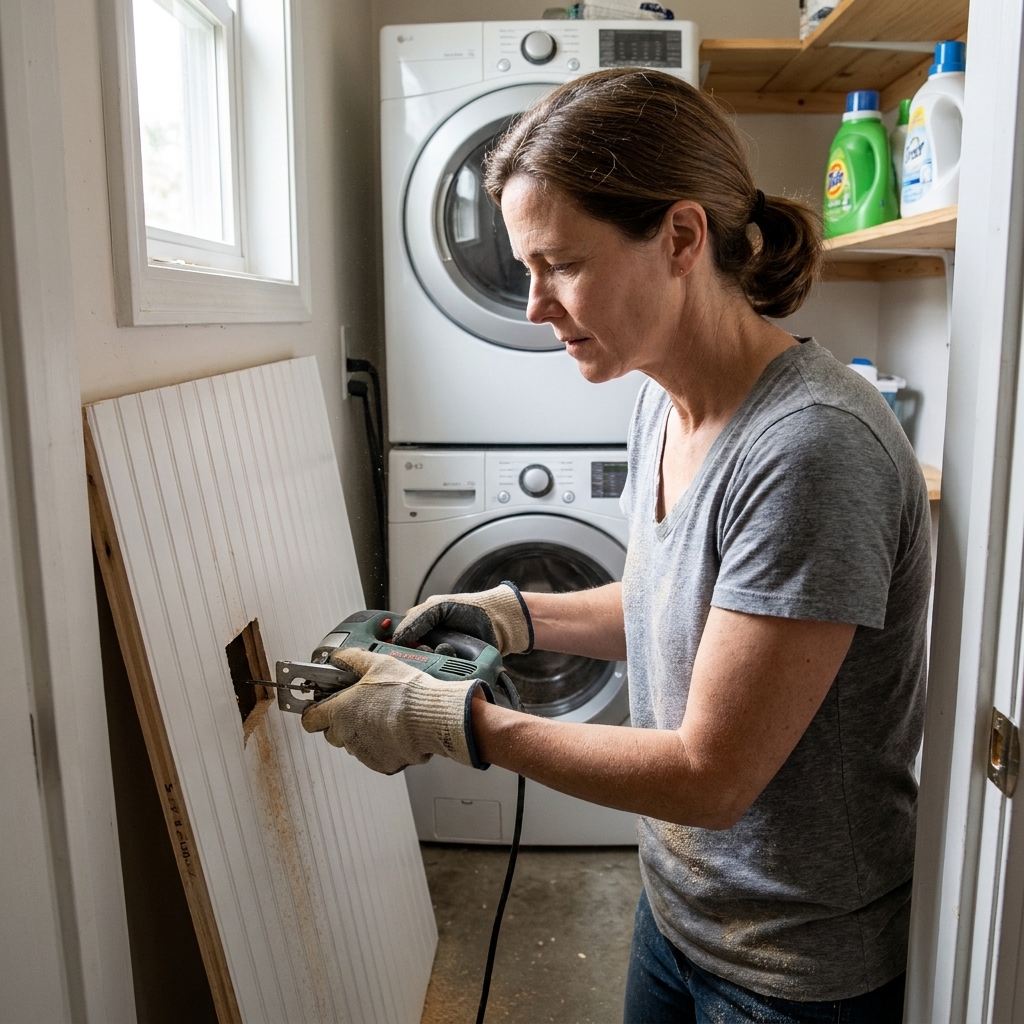
Step 5: Install the beadboard
Adhesive plus nails is the sweet spot in a laundry nook.
- Dry fit first. Place the panel against the wall and confirm the top height, corners, and cutouts.
- Use the right adhesive. Choose a construction adhesive that is compatible with your panel material. Some products are not friendly with certain plastics, so check the label before you commit.
- Apply adhesive. Use a zigzag pattern on the back, staying a couple inches away from edges so glue does not squeeze out.
- Set the panel. Press it into place. Leave a small gap at the bottom, about 1/8 to 1/4 inch, so the panel does not wick up moisture if the floor ever gets damp.
- Nail it. Shoot brad nails into studs where you can, plus a few along edges to keep it tight while adhesive cures.
- Repeat. Work your way around the nook.
Tight nook trick: If your washer and dryer are in place and you cannot move them, you can still do beadboard on the exposed side walls and the back wall above the machines. In that case, measure your reachable zones and focus on what you see most.
Step 6: Add trim
Baseboard
Install baseboard over the bottom edge of the beadboard. This hides gaps and looks finished. If you kept your old baseboard, reinstall it after the panels are up. Quick check first: if your beadboard thickness changes how trim meets door casing, you may need to adjust your trim plan so everything sits cleanly.
Cap rail
This is where the magic happens. A cap board gives you a strong horizontal line and makes the whole nook look intentional. A 1x3 or 1x4 with a slightly thicker profile than the beadboard reads clean and modern.
Optional: framed panel look
If you want more of a “built-in” feel, add vertical trim strips every 16 to 24 inches to create sections. Bonus: those strips are also a very forgiving way to hide panel seams.
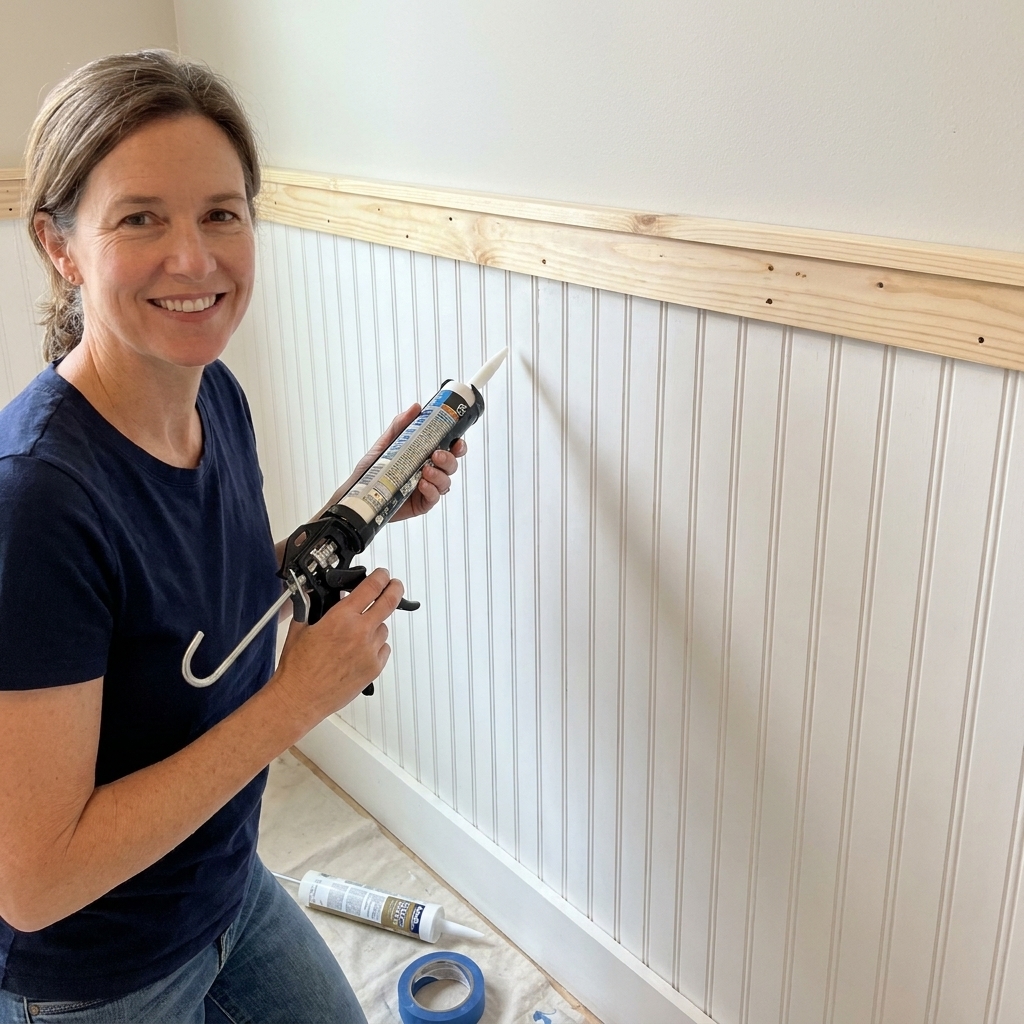
Step 7: Fill, sand, caulk
This part is not glamorous, but it is the difference between “DIY” and “did you hire someone?”
- Fill nail holes and seams with wood filler.
- Sand lightly once dry.
- Caulk along the top of the cap rail, inside corners, and where trim meets the beadboard. Use paintable, mildew-resistant caulk in laundry areas.
- Wipe dust before priming or painting.
Moisture tip: Avoid caulking the very bottom edge to the floor. You want that tiny gap to stay a gap so water cannot get trapped.
Step 8: Prime and paint
Primer matters
If you are using MDF or raw wood trim, prime first. I prefer a stain-blocking primer if the trim is wood with knots, and a standard bonding primer for MDF or glossy surfaces. Do not skip priming the cut edges, because that is where swelling likes to start.
Paint sheen
- Satin: my favorite balance of wipeability and softness.
- Semi-gloss: extra durable and easy to clean, great for messy family laundry zones.
Color ideas that look expensive
- White wainscoting with a warm greige above
- Same color top and bottom in a satin finish for a modern, seamless look
- Muted green or blue wainscoting with creamy white above for a cozy utility vibe
If you are also painting cabinets in the space, read painting builder grade laundry cabinets so everything looks consistent.
Common laundry nook obstacles
Stacked washer and dryer
Stacked units often mean you have one narrow side wall that takes a beating. Beadboard is perfect there. If you are deciding between layouts, I break down space tradeoffs in stacked vs side-by-side laundry.
Wire shelving
Beadboard makes wire shelving look a little nicer by giving the wall texture behind it. If you are not replacing shelves yet, you can still upgrade the look with camouflage wire laundry shelves.
Dryer vent and airflow
Beadboard is thin, but trim can add thickness where clearances are tight. If your dryer sits in a compact closet, make sure you are not crowding the vent path. I have a full guide on airflow and dryer vent clearance in ultra-compact laundry closets.
Beadboard wainscoting FAQ
Do I have to remove baseboards first?
Not always. You can install beadboard above existing baseboards if you are keeping the same height and you are okay with the beadboard starting at the top of the baseboard. For the cleanest look, I remove and reinstall or replace the baseboard over the beadboard.
Can I install beadboard over textured walls?
Yes, as long as the texture is not so heavy that it keeps the panel from lying flat. If your wall has a lot of texture, add extra nails into studs and use adhesive generously.
Is beadboard ok behind a laundry sink?
It can be for light splashes, but it is not ideal for constant water. Seal it well, keep caulk lines maintained, and wipe splashes quickly. If your sink area gets truly wet, choose PVC or another water-tolerant panel, or go with a dedicated backsplash material.
What if my nook is too narrow to cut full panels inside?
Cut panels in the garage or driveway, then bring them in. I like to label the back of each panel (wall A, wall B) with pencil so I do not confuse pieces mid-install.
One finishing upgrade
Once the walls look polished, it is the perfect moment to add one practical detail that keeps the nook feeling calm. My top three favorites are:
- A fold-down drying rack using this wall drying rack install guide
- Back-of-door storage from these back-of-door laundry closet storage ideas
- A simple supply reset using dollar store organization hacks
Beadboard gives you that high-end backdrop, but pairing it with one hardworking system is what makes a laundry nook feel like a tiny sanctuary instead of a forgotten corner.