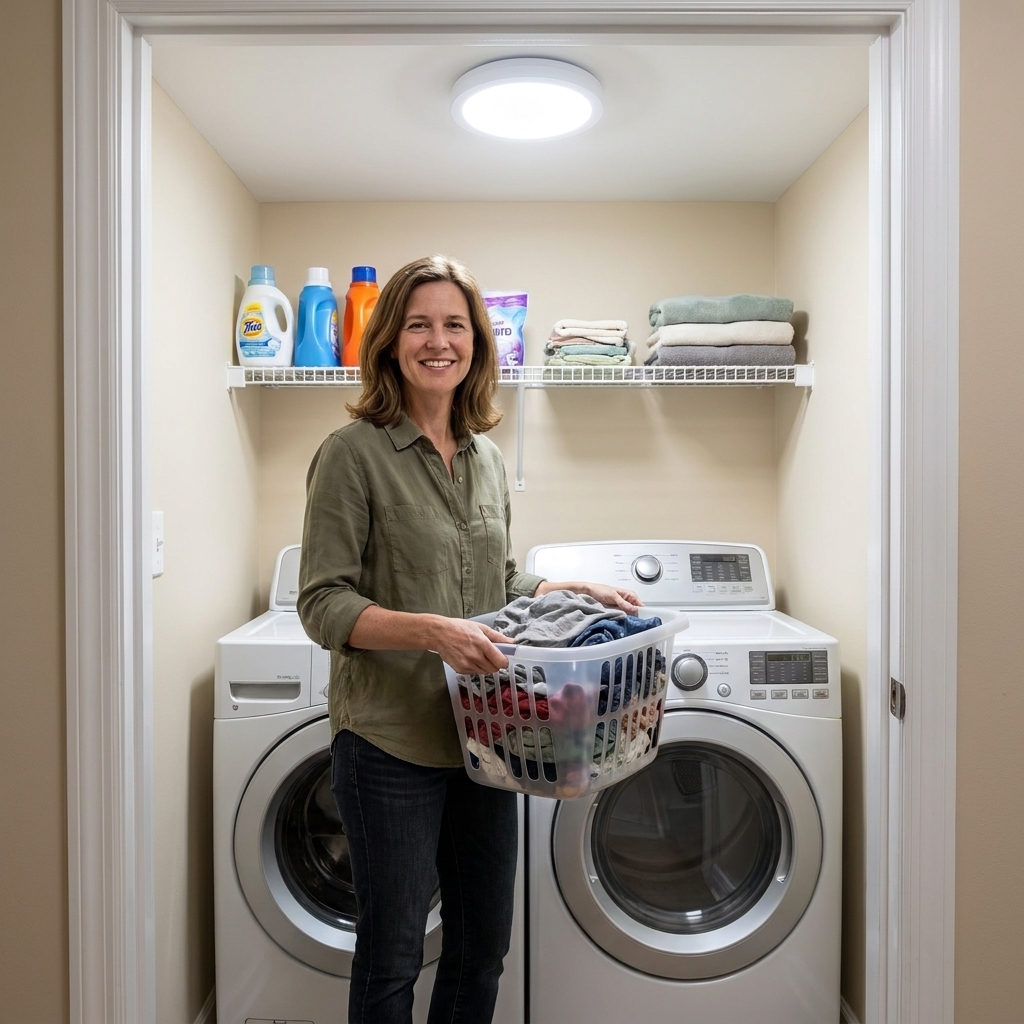
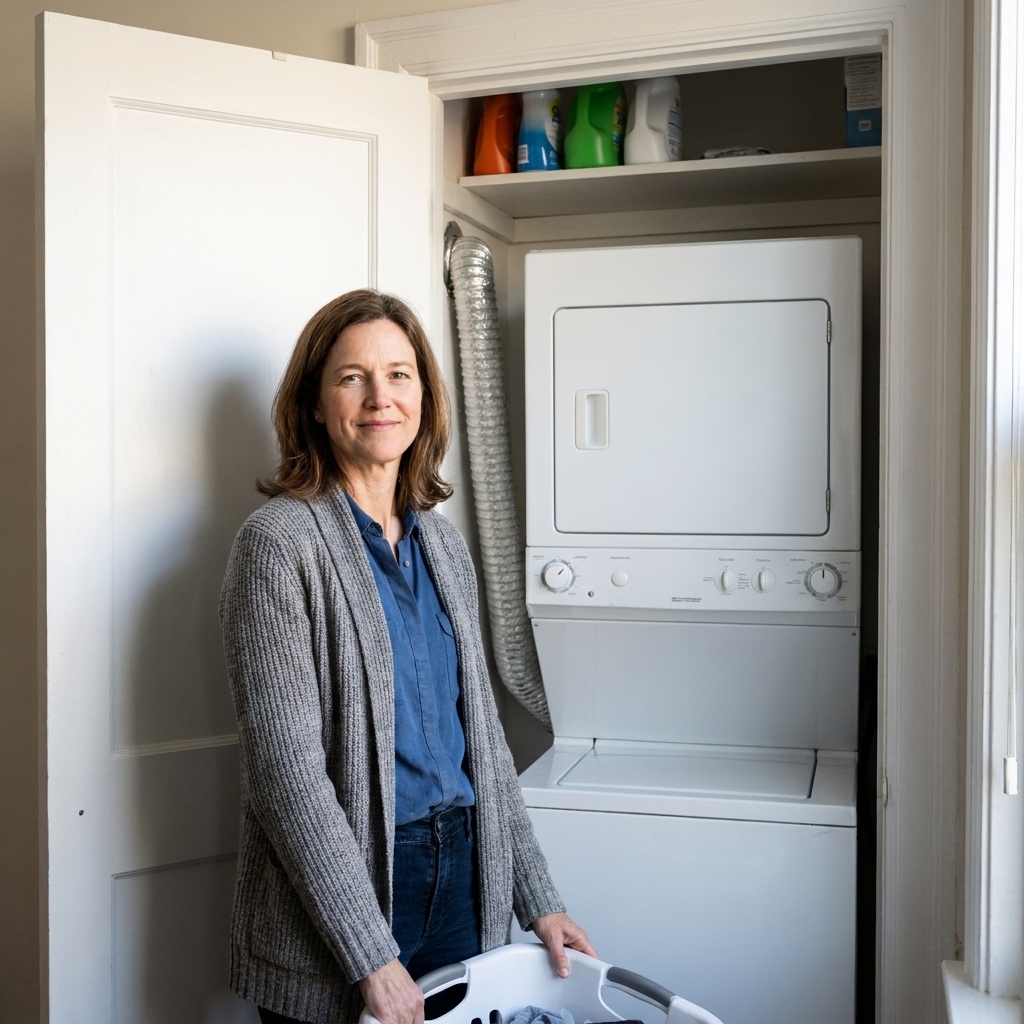
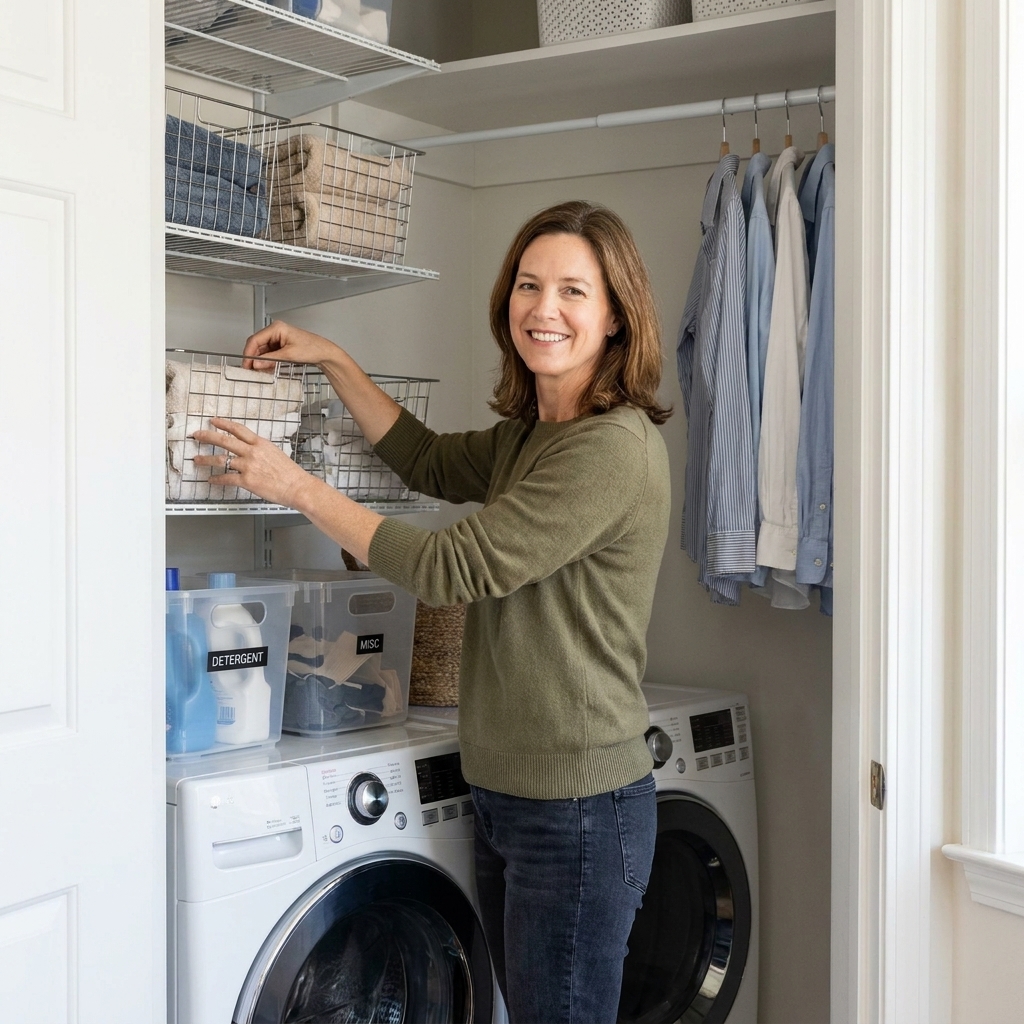
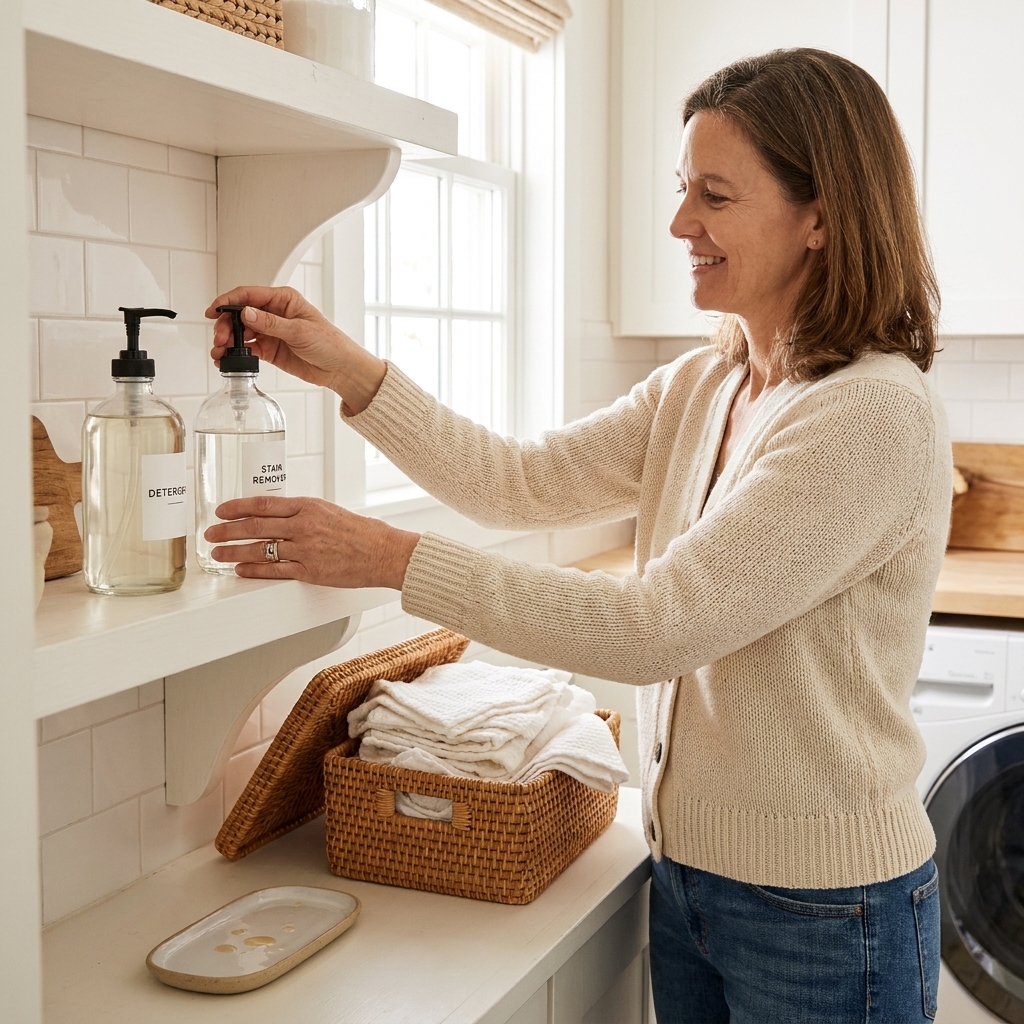
My laundry nook used to feel like the inside of a cardboard box. Dark. Narrow. Always one rogue sock away from chaos. When I finally decided to make it pretty, I had the same debate I hear from other busy homeowners all the time: Do I paint it bright and call it done, or go bold with peel-and-stick wallpaper?
Both can work beautifully in a tiny laundry space, but they solve different problems. Paint is my reliable, light-bouncing workhorse. Peel-and-stick wallpaper is my secret weapon when I want instant personality without building anything.
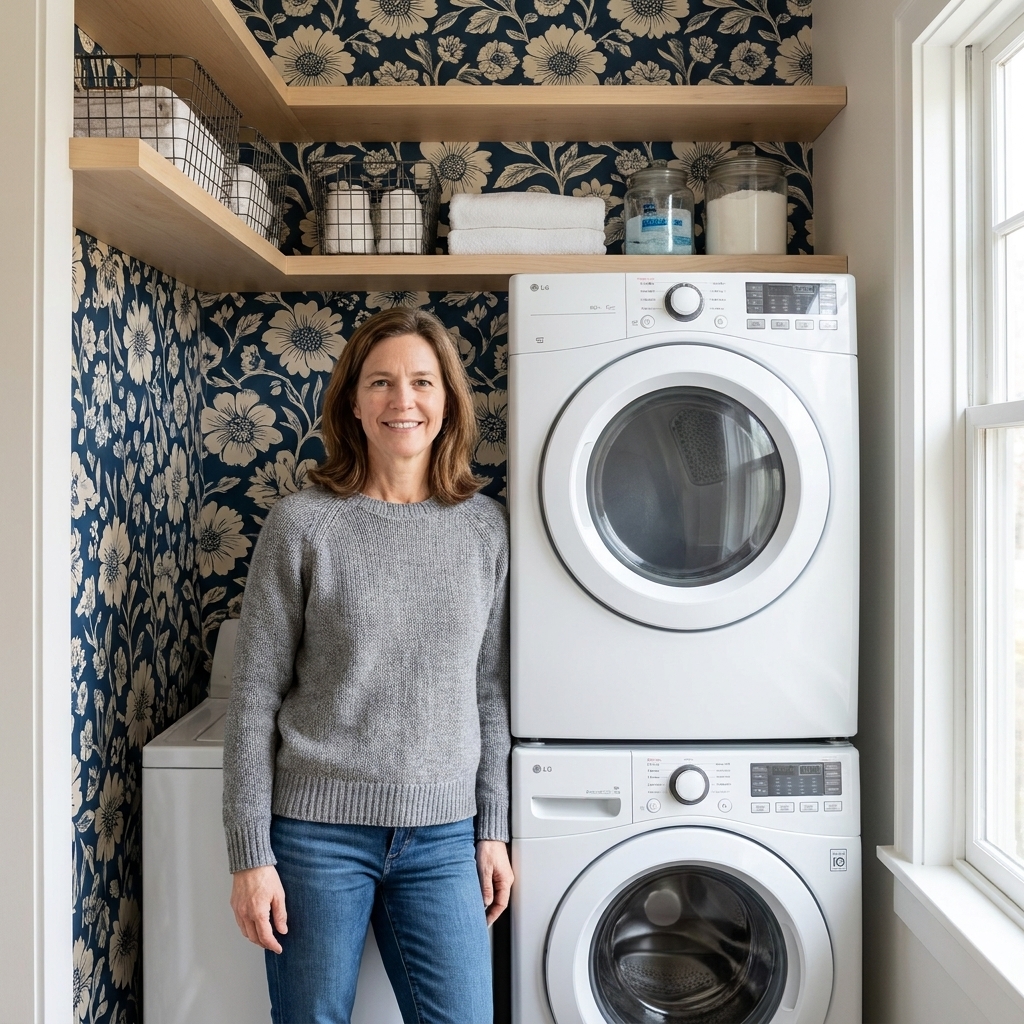
Which makes a tiny space feel bigger?
In a micro laundry nook, “bigger” usually means two things: it feels brighter, and it feels calmer. Here is how each option gets you there.
Paint: best for brightness and clean visual space
- Light-reflecting power: The right paint color and finish can bounce light around like you added a new fixture.
- Fewer visual breaks: Solid color reads as “open” to the eye, which helps in tight closets and nooks.
- Easiest to touch up: In a laundry zone, scuffs happen. Paint is forgiving.
Peel-and-stick wallpaper: best for depth and distraction
- Instant focal point: A patterned wall pulls your eye away from the tight footprint and toward something pretty.
- Depth tricks: Certain patterns can create the illusion of dimension, especially small-scale prints, soft stripes, or subtle geometrics.
- High impact, lower commitment: Peel-and-stick can be removable, but it is not zero-risk. Some walls do great, some paint comes with it. I always test first.
My quick rule: If the nook feels like a cave, start with paint. If it is already fairly bright but boring, peel-and-stick wallpaper makes it feel designed.
Moisture, heat, and durability
Laundry spaces are not quite bathrooms, but they are tougher than a bedroom wall. You have humidity, heat, vibration, lint, splashes, and the occasional detergent drip.
Paint tips that matter in laundry nooks
- Choose the right sheen: Eggshell or satin is usually the sweet spot for wipeability without looking too shiny. Semi-gloss is great for trim and really high-touch areas, but it can highlight wall bumps.
- Use a good primer if needed: If the wall is patched, stained, or glossy, prime so your finish coat looks even.
- Respect cure time: Paint dries fast, but curing can take much longer. Follow the can’s guidance (often 2 to 4 weeks) before you stick anything adhesive to it, including peel-and-stick wallpaper. Light use after a few days is usually fine, but I avoid tape and hooks until it is truly cured.
Peel-and-stick wallpaper tips that matter in laundry nooks
- Ventilation is everything: Peel-and-stick adhesive does not love persistent humidity. If your nook traps heat, improve airflow first.
- Skip the splash zone: I avoid peel-and-stick wallpaper directly behind utility sinks or anywhere the wall regularly gets wet. In those zones, paint wins.
- Choose smooth, wipeable finishes: Heavy texture can grab lint over time. Smooth vinyl-style surfaces tend to wipe cleaner.
- Keep edges away from heat and access points: Do not run wallpaper into spots where it could get blasted with heat, interfere with service panels, or make it harder to pull the machines out for maintenance.
If your laundry area is an ultra-compact closet, it is worth checking clearances and ventilation basics before you commit to any wall finish. I walk through the key safety and spacing considerations here: Airflow and dryer vent clearance in ultra-compact laundry closets.
Cost and time
I am a mom of three, so I measure DIY projects in school pickups and nap windows. Here is the honest breakdown.
Paint: usually cheaper, sometimes slower
- Budget: Typically the lowest cost per square foot.
- Time: Prep plus dry time can stretch a “quick” project into a multi-day annoyance.
- Mess factor: Tape, drop cloths, edging. Not hard, just fiddly.
Peel-and-stick: faster install, higher materials cost
- Budget: Often more expensive than paint for the same wall area, especially if you choose premium brands.
- Time: You can finish a single accent wall in an afternoon if the wall is smooth.
- Mess factor: Minimal, but alignment takes patience.
If you want a makeover on a strict budget, pair either finish with small organizing upgrades like bins, hooks, and gap storage. This roundup is full of low-cost wins: 15 dollar store organization hacks for a budget laundry makeover.
Best looks (and what to avoid)
Paint colors that visually enlarge a laundry nook
- Warm off-whites: Cozy and bright, especially in homes with warm bulbs or little natural light.
- Soft greige and pale taupe: Great if you are trying to hide scuffs and lint a bit more than pure white.
- Pale green-gray or misty blue: Calming, clean, and surprisingly forgiving with utility clutter.
What I avoid: Super flat paint in high-touch laundry zones and very dark paint in nooks with zero lighting upgrades. Dark can be gorgeous, but it needs support.
Peel-and-stick wallpaper patterns that work in cramped spaces
- Small-scale patterns: They read as texture, not chaos.
- Vertical stripes: A classic trick to make walls feel taller.
- Light backgrounds: If you want “bigger,” choose patterns with breathing room.
What I avoid: Huge, high-contrast prints on every wall. In a tiny nook, that can feel like the pattern is leaning in on you.
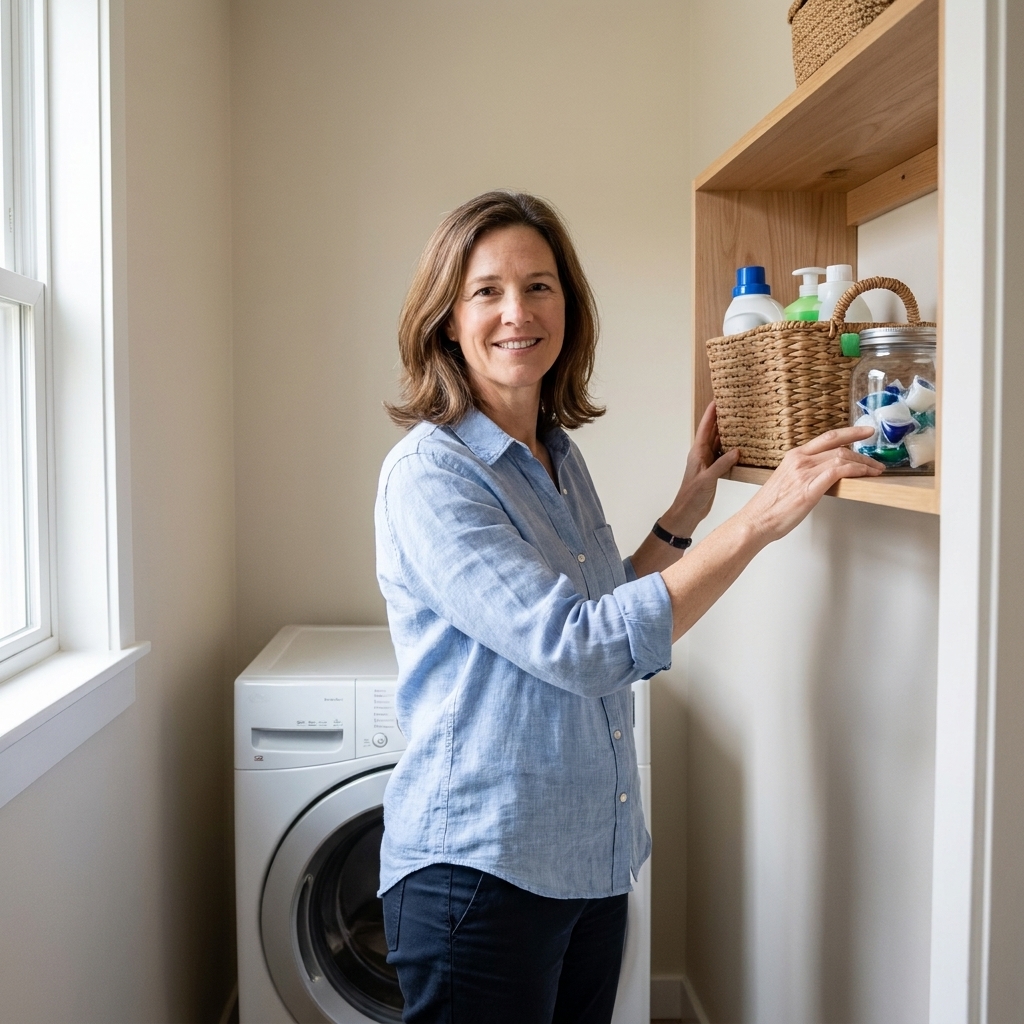
Prep matters most
If peel-and-stick wallpaper fails, it is usually because of wall texture, dust, or poor adhesion on certain finishes. Paint is generally more forgiving than peel-and-stick wallpaper, but wallpaper tells the truth.
Wall prep checklist for paint
- Clean walls with a degreasing cleaner if you have detergent residue or grime.
- Patch holes and sand smooth. In a nook, light hits at odd angles and shows bumps.
- Prime stains or glossy surfaces.
Wall prep checklist for peel-and-stick wallpaper
- Wipe walls thoroughly and let them dry completely. Lint and dust are the enemy.
- Make sure the wall is smooth. Heavy orange peel texture will fight you.
- If the wall was recently painted, wait until it is fully cured (often 2 to 4 weeks) so the adhesive does not pull it up later.
- Remove outlet covers, trim plates, and any wall hardware you can.
Quick compatibility callout
- Paint finish matters: Very flat, chalky, or older paint can release when you remove wallpaper. Ultra “scrubbable” or stain-resistant paints can also be tricky for adhesion. If your wall is glossy, clean it well and lightly scuffing can help.
- Test before you commit: I stick a small strip in a hidden spot (behind the machine is perfect), press it firmly, and peel it off a week later to see how the wall behaves.
My favorite compromise
If you are stuck, here is my most repeatable tiny-laundry formula:
- Paint most of the nook a bright, soft neutral.
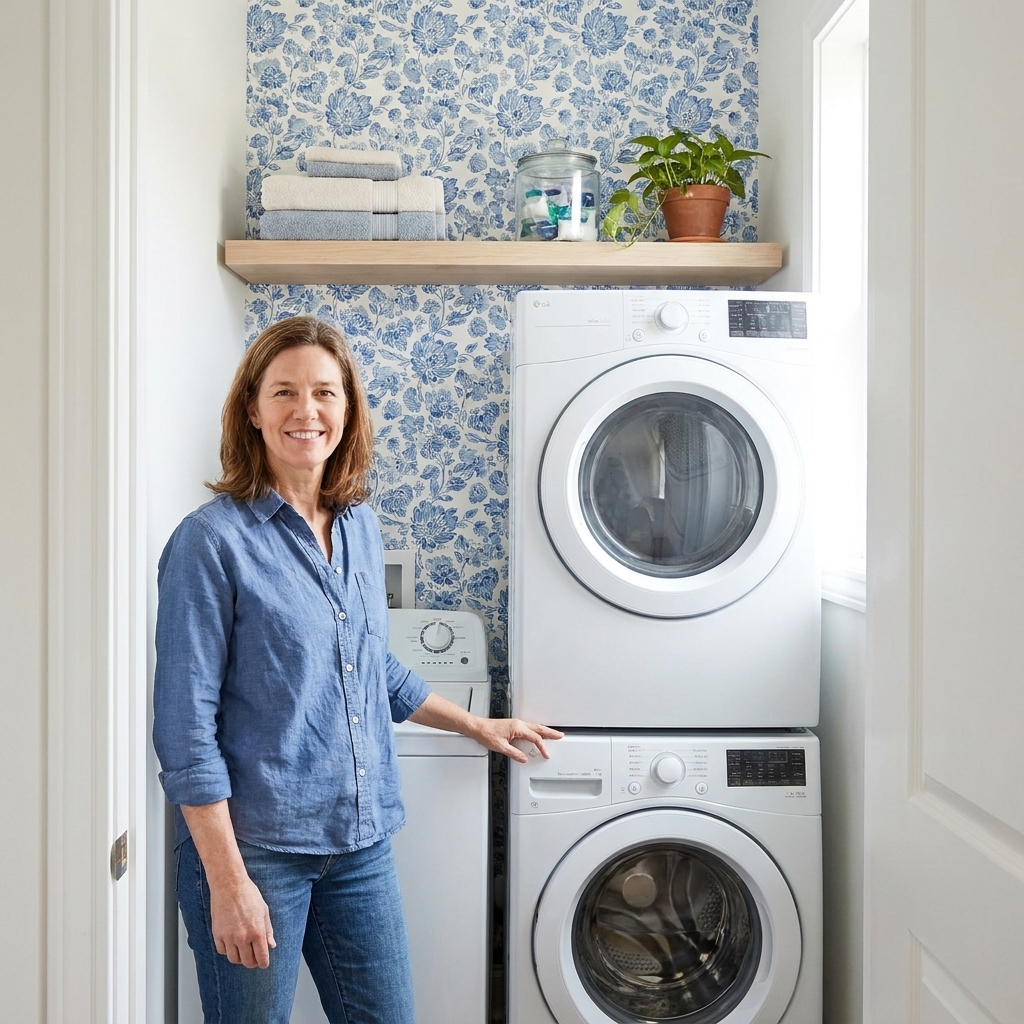
- Add one peel-and-stick wallpaper moment as an accent, usually the back wall behind the machines or the wall you see first when you walk by.
- Keep shelving simple so the pattern gets to shine.
This gives you the light boost of paint with the personality of peel-and-stick wallpaper, without turning a narrow space into a visual maze.
Tips I learned the hard way
If you paint
- Do the ceiling too if it is dingy: In tiny nooks, the ceiling is in your face.
- Use good lighting while you paint: Shadows hide missed spots. A clamp light is your best friend.
- Stop at natural breaks: In closets, paint to corners and trim lines so touch-ups disappear.
If you use peel-and-stick wallpaper
- Measure twice, buy a little extra: Account for pattern matching, mistakes, and weird little cuts around outlets. I would rather have one extra roll than a half-finished wall.
- Start where it is least visible: If you are nervous, start on the wall that is partially hidden behind the machines or shelving so you can get the hang of it.
- Work top to bottom in small sections: Peel a little backing at a time, smooth, then continue.
- Use a soft smoother: A plastic smoother works, but I like a microfiber-wrapped edge to prevent scratches.
- Line up from a plumb line: In old houses, corners lie. A straight starting line saves the whole wall.
- Trim after it is fully pressed: Smooth first, then cut around outlets and edges.
Styling that makes it feel finished
Peel-and-stick wallpaper or paint is the backdrop. The “finished” look comes from the supporting cast.
- Decant your supplies: Matching bottles and labels reduce visual clutter fast. I share my approach here: Decanting and organizing laundry supplies.
- Get stuff off the floor: Even one shelf can make your nook feel twice as wide.
- Use the back of the door: This is prime real estate in tight laundry closets: Back-of-door laundry closet storage ideas.
- Upgrade lighting if the space is dim: Paint and peel-and-stick wallpaper both look better when you can actually see them: Lighting upgrades for dark laundry closets.
Quick decision guide
| Pick this if… | Paint | Peel-and-stick wallpaper |
|---|---|---|
| You need maximum brightness | Best choice | Works if you choose a light pattern |
| Your walls are textured | Usually a good fit | Not ideal unless texture is very mild |
| You rent or want reversibility | Sometimes, with permission | Often a better bet, but test first |
| You want the fastest visual impact | Medium | High |
| Your nook gets steamy and poorly vented | More forgiving | Use caution, focus on airflow first |
FAQ
Will peel-and-stick wallpaper ruin my walls?
Sometimes it removes cleanly, and sometimes it takes paint with it. The biggest risks are uncured paint, very flat or older paint, and textured walls. If you are nervous, start with one hidden strip behind the machine and remove it a week later to test. I would rather learn on a hidden spot than on the one wall you see every day.
What paint finish is best for laundry spaces?
Satin is my go-to for laundry nooks because it wipes well and still looks soft. Eggshell is also a solid choice for walls that do not get constantly bumped. Semi-gloss is tougher and great for trim, but it can highlight wall imperfections.
Can I use peel-and-stick wallpaper in a laundry closet with a dryer?
Yes, but treat ventilation and access like non-negotiables. Make sure the dryer venting and clearances are correct, and keep peel-and-stick wallpaper away from spots where heat and moisture get trapped or where you need regular access to service panels. If your setup is extremely tight, start here: Airflow and dryer vent clearance in ultra-compact laundry closets.