I love a hardworking laundry room, but I am going to be honest: nothing ruins the vibe faster than a litter box parked next to the detergent. In our house, the laundry area is already doing triple duty (mudroom, supply closet, towel factory), so I needed a cat setup that was private, easy to clean, and didn’t look like pet gear exploded under the counter.
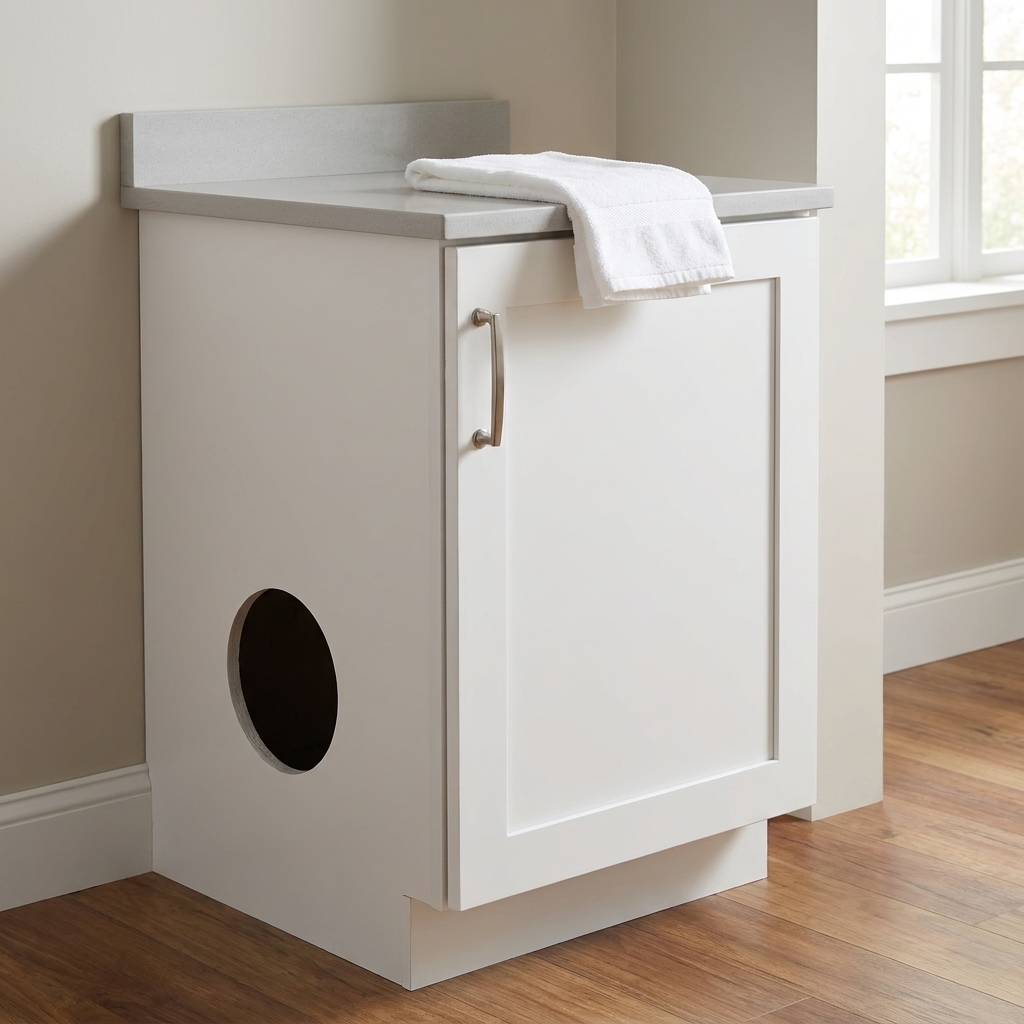
The fix was surprisingly doable: I converted a standard base cabinet into a hidden litter box enclosure, complete with a side entry, a wipeable interior, and airflow that actually helps with odor. If you can use a jigsaw and a drill without panicking, you can do this.
Why a laundry cabinet works so well
Laundry rooms are already built for mess control. You usually have:
- Hard surfaces that wipe down easily
- Good cleaning tools nearby (trash, wipes, broom, spare bags)
- A reason to have cabinetry where a litter box can disappear
Done right, your cabinet enclosure keeps the box visually hidden, reduces tracked litter, and gives your cat privacy without making your whole laundry space smell like “cat.”
Before you start: pick the right cabinet
Best cabinet type
A basic single-door base cabinet is easiest. Think 24 inches wide or wider. Wider is nicer for cleaning and for larger boxes.
- Minimum interior goal: about 22 inches wide x 18 inches deep x 18 inches tall
- Even better: 24 to 30 inches wide so you can scoop without doing gymnastics
Where to place it
- Near a wall end or an open side panel if you want a side entry hole.
- Avoid placing it right next to the washer if your machine walks or shakes.
- Keep it away from floor registers or HVAC returns that could spread dust.
One safety note: I would not use this same cabinet to store household chemicals or laundry pods. Keep anything toxic locked up somewhere else, especially bleach and detergent pods.
If your laundry zone is tight, you might like some of my small-space thinking over in Small Spaces & Closets or the door and wall storage ideas in Back-of-Door Laundry Closet Storage Ideas.
Materials and tools (what I used)
Materials
- Base cabinet (existing or new)
- Litter box that fits comfortably inside (measure first)
- 1x2 or 1x3 wood strips (for cleats and supports)
- 1/4 inch plywood or a scrap panel (optional for a removable floor tray)
- Washable surface for the interior: peel-and-stick vinyl, waterproof shelf liner, or cabinet-grade paint and polyurethane
- Silicone caulk (paintable is easiest)
- Magnetic catch or soft-close bumpers (for quieter door closing)
- Weatherstripping foam tape (optional, used lightly)
- A small litter-catching mat (cut to fit)
Tools
- Measuring tape and pencil
- Drill and bits
- Jigsaw (or hole saw for a round entry)
- Screwdriver
- Sandpaper or sanding sponge
- Painter’s tape
If you’re already in cabinet-refresh mode, pairing this with Painting Builder-Grade Laundry Cabinets can make the whole run look intentional instead of “pet corner.”
Step 1: Measure for real life
Open the cabinet and measure the inside width, depth, and height. Then measure your litter box, including the height if you use a high-sided or hooded box.
- Leave clearance: at least 1 to 2 inches on the sides and back so you can slide the box out.
- Plan your scoop space: you need room to angle a scoop, not just a box that technically fits.
Quick mom tip: I also think about where the scoop and spare litter will live before I cut anything. It saves you from the “now where do I put the scoop?” moment.
Step 2: Choose your entry
Option A: Side entry (most hidden)
This is the cleanest look because the cabinet door stays normal. Your cat enters through a hole cut in the cabinet side panel.
- Round hole: easiest with a hole saw, looks tidy
- Arched or rectangular opening: easy with a jigsaw, can be a little larger for bigger cats
Option B: Door entry (fastest)
If your cabinet sides are against walls on both sides, cut the opening into the cabinet door. This is still cute, just more visible.
Entry size guidance
Comfort matters here. As a starting point, an 8 to 10 inch round opening works for many average cats, and 10 to 12 inches is often better for larger cats or fluffier cats. When in doubt, measure your cat at the widest point (usually shoulders or hips) and give them a little breathing room.
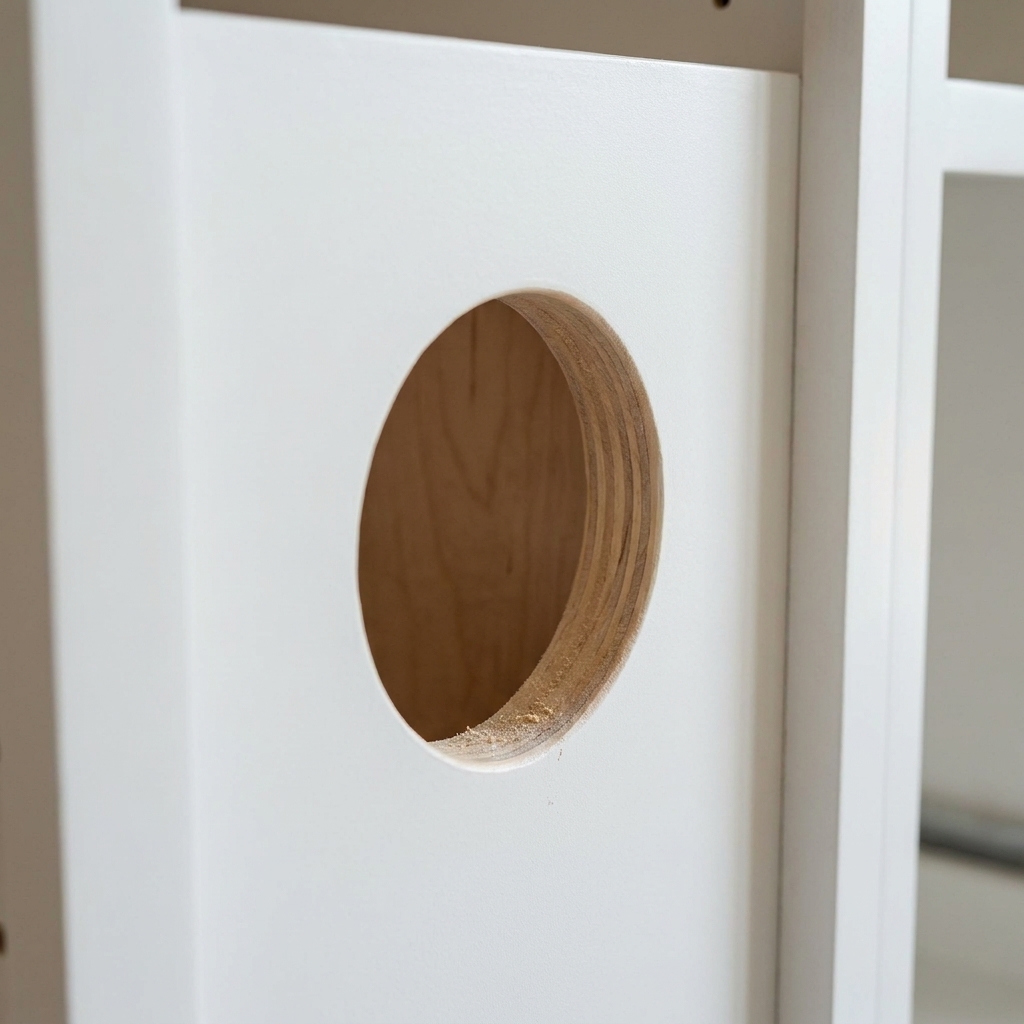
Step 3: Cut the entry cleanly
- Check what is behind the panel before you cut or drill. Cabinets near washers, utility sinks, or outlets can have plumbing and wiring nearby. You are cutting the cabinet, not the wall.
- Tape the cut line with painter’s tape. This helps reduce chipping on the finish.
- Mark the opening at a comfortable height. I like the bottom of the opening about 3 to 5 inches above the cabinet floor to help keep litter inside.
- Support the panel if you can. A scrap board clamped behind the cut area helps prevent tear-out and vibration.
- Use the right blade. A fine-tooth jigsaw blade cuts cleaner in cabinet materials.
- Cut slowly, letting the blade do the work.
- Sand and soften the edge. Round it over so your cat’s shoulders and hips are not rubbing against a sharp edge.
Optional but nice: add a simple edge trim or a sanded wood ring painted to match for a built-in look.
Step 4: Make the inside washable
Odor control is partly litter, partly airflow, but a huge part is cleanup. Raw cabinet particle board will absorb smells over time, so I treat the interior like a mini wet zone.
Washable interior options
- Peel-and-stick vinyl on the cabinet floor and lower walls: wipeable and budget friendly
- Paint plus clear protective topcoat: good if you want a seamless look
- Waterproof shelf liner: quick and removable, but secure it well so it does not bunch up
Real-life note: some peel-and-stick adhesives do not love harsh cleaners. I like to test my cleaner on a small scrap first, and I seal edges and corners so moisture and odor cannot creep underneath.
Seal the gaps
Run a thin bead of silicone caulk along interior seams, especially where the cabinet sides meet the floor panel. Let it cure fully before you put the box in.
If you like simple surface upgrades in utility spaces, you might also enjoy Faux Stone Contact Paper for Laundry Countertops for making the whole laundry area feel more finished.
Step 5: Stop litter tracking
This is the part people skip, then they blame the enclosure for litter everywhere.
- Place a cut-to-fit litter mat inside the cabinet, right at the entry path.
- Keep the box slightly back from the opening so your cat has to step on the mat on the way out.
- Consider a low kick strip (a 1x2) along the inside edge of the opening to keep kicked litter from flying straight out.
Since this is in the laundry room, I also prefer a low-dust litter and I avoid positioning the entry where airflow is blasting (registers, returns, or right next to appliance intake areas).
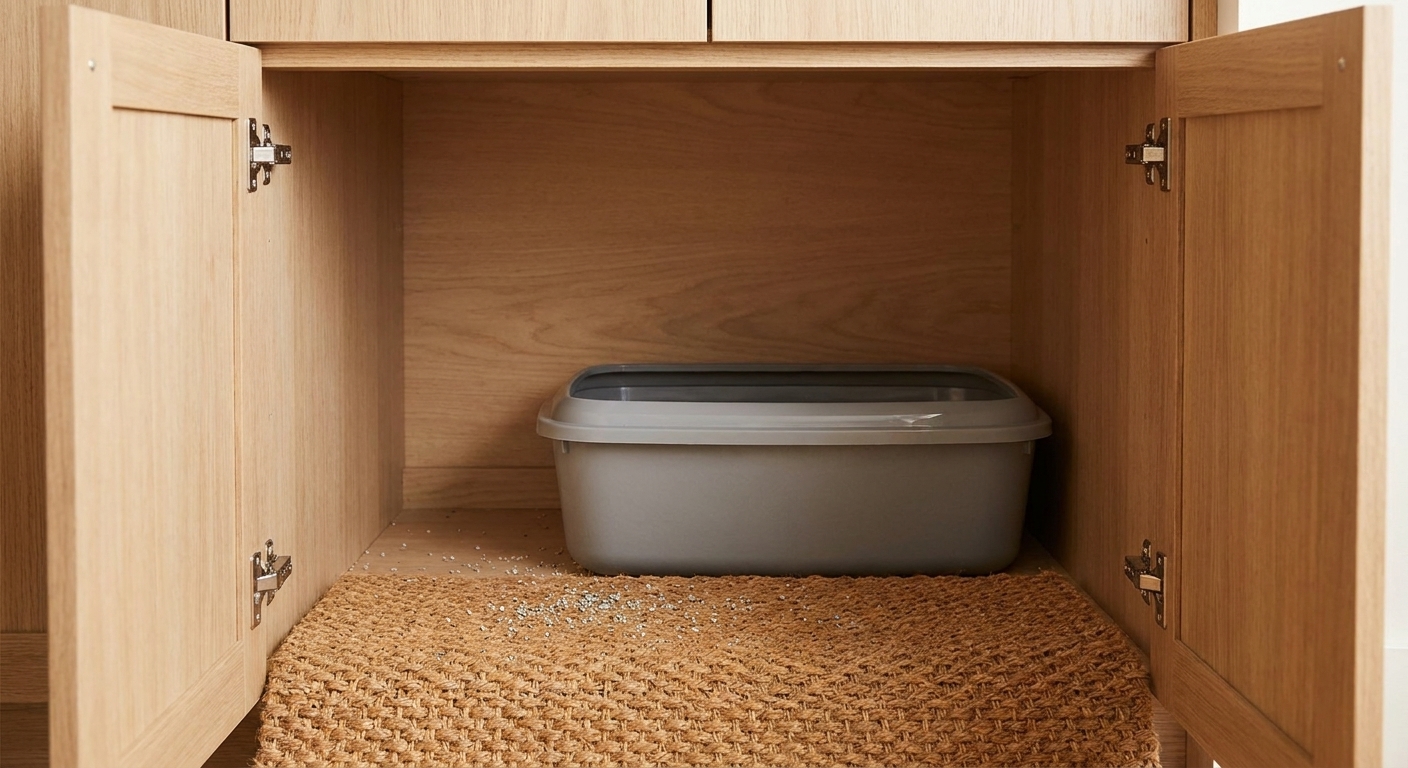
Step 6: Ventilation and odor control
Your cabinet needs air exchange. A sealed box can trap odor, then release a concentrated burst when the door opens.
Easy ventilation options
- Back-panel vents: drill several 1 inch holes high on the cabinet back panel only. Before you drill, confirm you have clearance so you are not hitting anything behind the cabinet (plumbing, electrical, or the wall). Sand the edges.
- Toe-kick vents: add a discreet vent cover on the toe kick area if you have open space behind it.
- Door gap plus light weatherstripping: if you use weatherstripping, do not seal it like a cooler. Odor control is mostly scooping and litter choice, not airtight sealing.
If you want a fan
If you go powered, keep it simple and safe: vent into the room (with a small charcoal filter setup, if you like) or run proper ducting to the exterior if you know what you are doing. I would not vent into any enclosed cavity like a wall, floor void, or cabinet chase. That can create odor issues and is not something I consider a smart DIY shortcut.
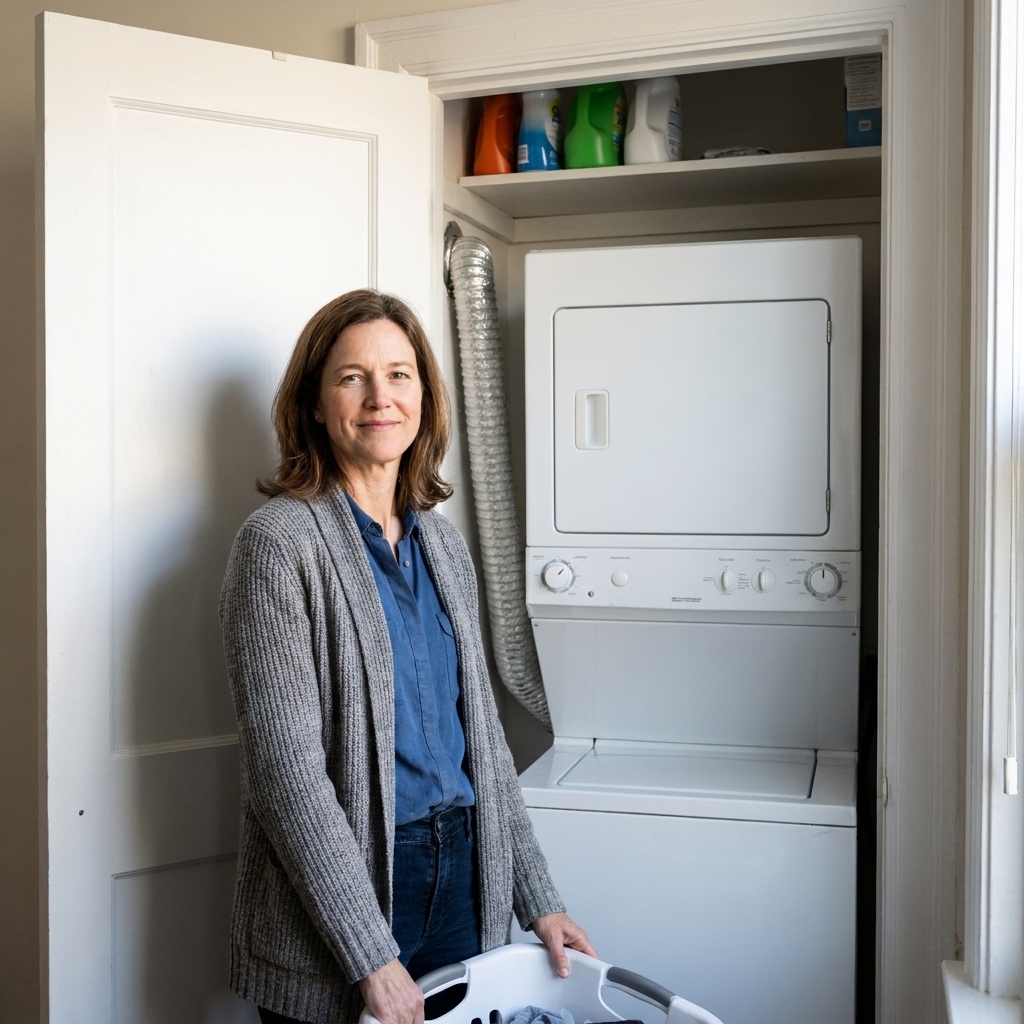
For laundry rooms, airflow matters in general. If your space is ultra tight around appliances, my guide on Airflow and Dryer Vent Clearance in Ultra-Compact Laundry Closets is worth a quick read so everything can breathe the way it should.
Step 7: Make scooping easy
A hidden litter box only works if you will actually use it without resentment.
Two access styles
- Main door access: keep the cabinet door functional so you can pull the box out to dump and deep clean.
- Slide-out base (optional upgrade): build a simple tray on heavy-duty drawer slides so the whole box glides out. This is amazing, but it adds cost and requires more precise install.
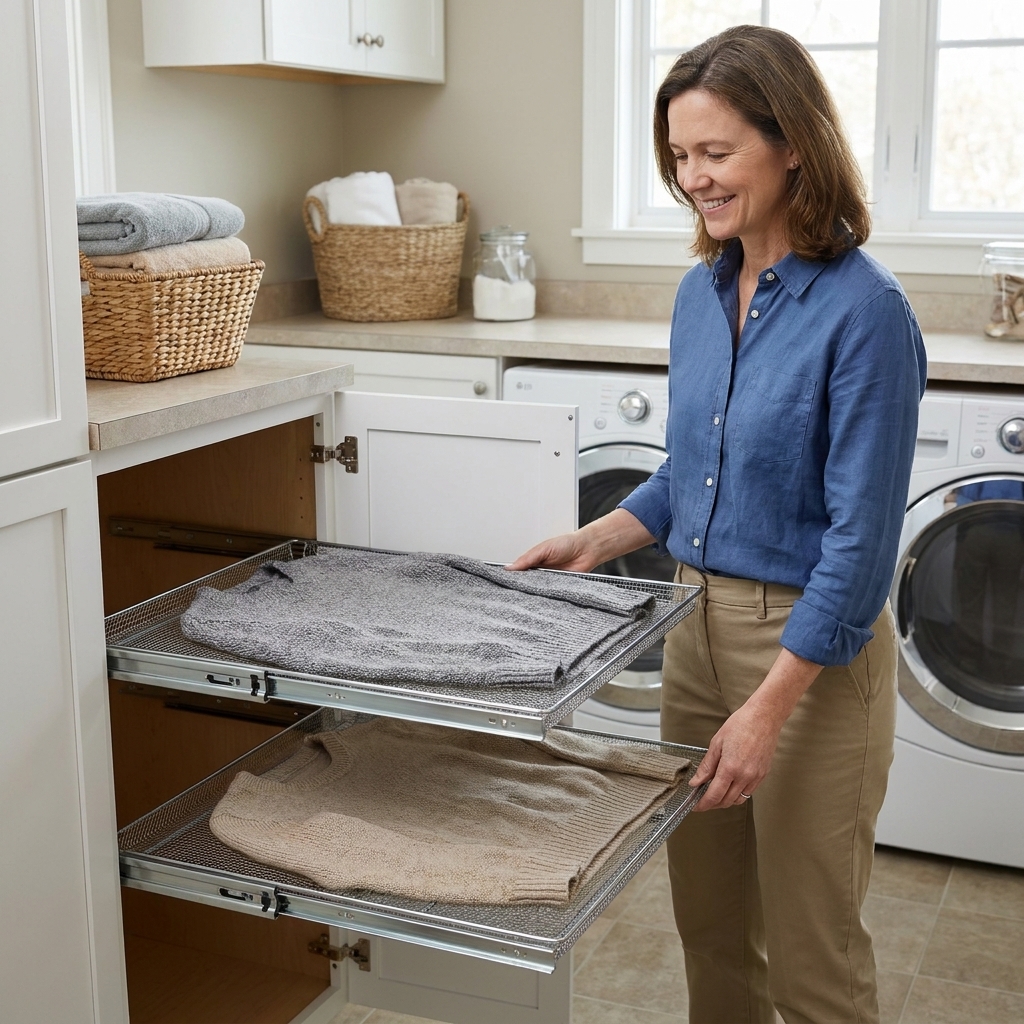
If you already love adding slide-outs to base cabinets, you would probably like the mechanics in DIY Pull-Out Mesh Drying Racks for Base Cabinets. The idea is different, but the “make base cabinets work harder” mindset is the same.
Finishing touches
- Match hardware: use the same knob or pull as the rest of your laundry cabinets.
- Add soft bumpers: so the door closes quietly (less cat spooking, less house noise).
- Touch up paint: on the cut edge and any scuffs from tools.
- Store supplies neatly nearby: I like decanting litter deodorizer or spare bags so the counter does not become a pet station. My organizing approach is over at Decanting and Organizing Laundry Supplies.
Help your cat adjust
This is the part that saves you from building something adorable that your cat refuses to use.
- Keep everything familiar at first: same litter, same box (just in the new cabinet).
- Start with the cabinet door open for a day or two so it feels obvious and safe.
- Do not change everything at once: try not to swap box style, litter type, and location all in the same week.
- Use a little positive reinforcement: calm praise, a treat, whatever your cat loves, right after they investigate.
Cleaning routine
- Daily: quick scoop, wipe any obvious mess on the mat
- Weekly: vacuum or shake out the mat, wipe interior walls and cabinet floor with a pet-safe cleaner
- Monthly: pull the box out, empty fully, wash and dry it, then wipe the cabinet interior again
If you are using liners or vinyl inside, avoid soaking seams. A damp wipe and a dry cloth after is usually plenty.
Common mistakes
- Cutting the entry too small: your cat will avoid it. Size up, especially for chunky cats or long-haired cats.
- Not sealing the interior: unsealed cabinet bottoms can absorb odor over time.
- Forgetting airflow: a totally sealed cabinet concentrates smell.
- Making it hard to scoop: if it is annoying, you will procrastinate, and then everyone loses.
- Using a cabinet under a leaky sink without addressing leaks: fix moisture issues first. Always.
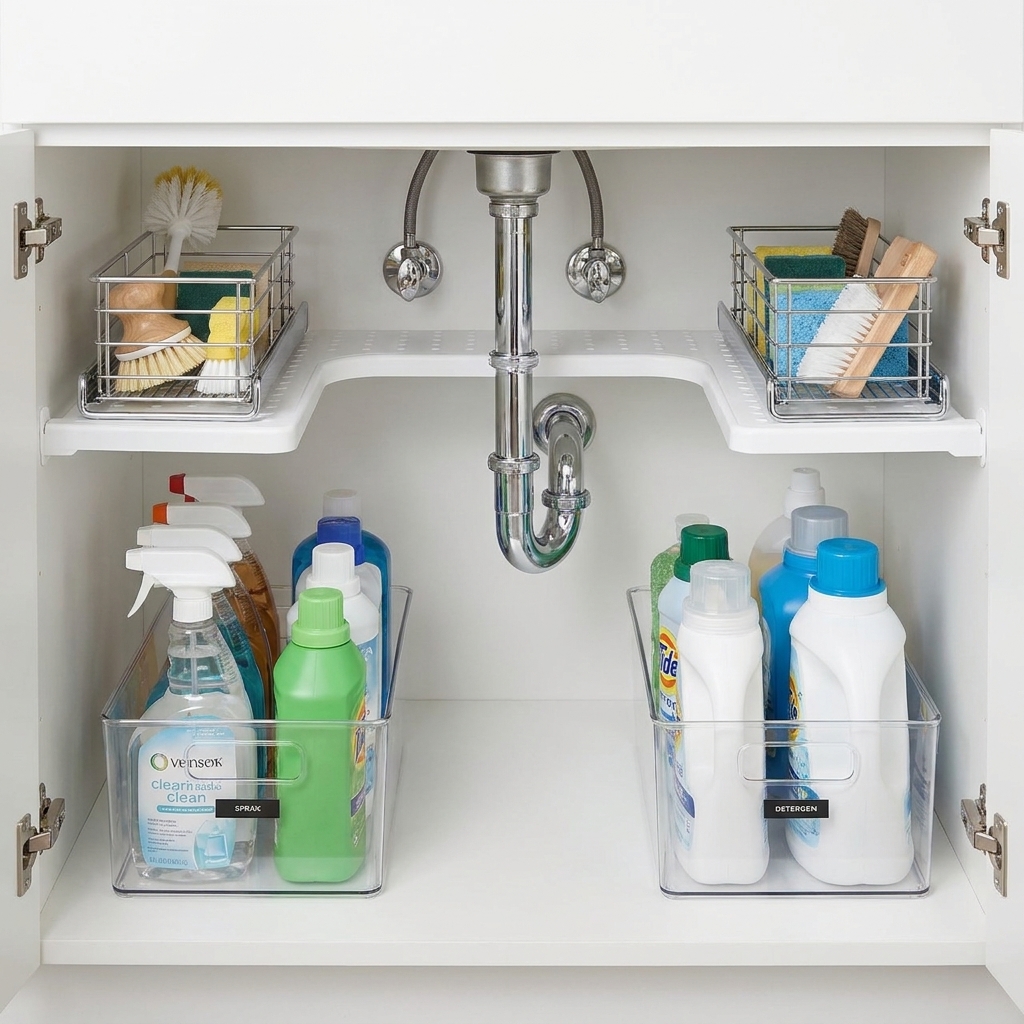
If your litter cabinet is going near a utility sink, keeping the under-sink area tidy helps everything feel calmer. I walk through that here: Organizing Under Your Laundry Utility Sink.
FAQ
Will my laundry room smell like litter?
Not if you handle the three basics: scoop consistently, make the interior washable and sealed, and add ventilation so the cabinet is not an odor trap.
Is it safe to put a litter box near a washer and dryer?
Generally yes, as long as the box is not in a spot where vibration scares your cat and you are not blocking appliance airflow. Keep laundry chemicals secured elsewhere and do not store them in the litter cabinet.
What if my cabinet has a center stile or face frame that gets in the way?
You can usually work around it by placing the box deeper inside or choosing a lower-profile box. If you are modifying structural cabinet parts, keep it minimal so you do not weaken the front frame.
How do I keep litter from tracking out through the hole?
Use a textured litter mat inside the cabinet at the exit path, position the box slightly back from the opening, and consider adding a small interior lip at the bottom of the opening.
One last mom-to-mom note
This is one of those projects that makes your laundry room feel like it is finally working with you, not against you. The first time you walk in and see clean counters, normal cabinets, and no litter box in sight, it feels like you gained space you did not even know you had.
If you are building out a whole “hidden utility” vibe, you might also like A Concealed Laundry Station in Your Pantry or Mudroom. Same energy: the mess still exists, it just has a smart home.