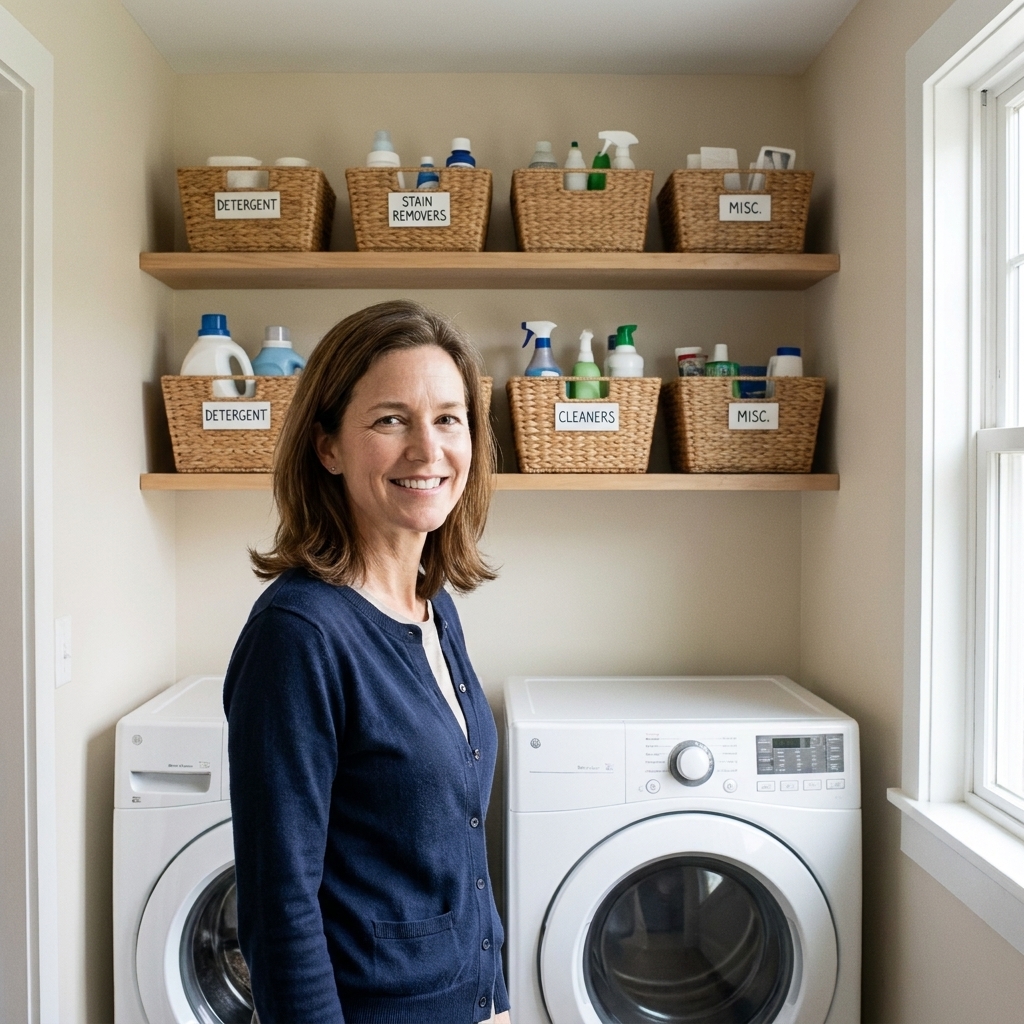
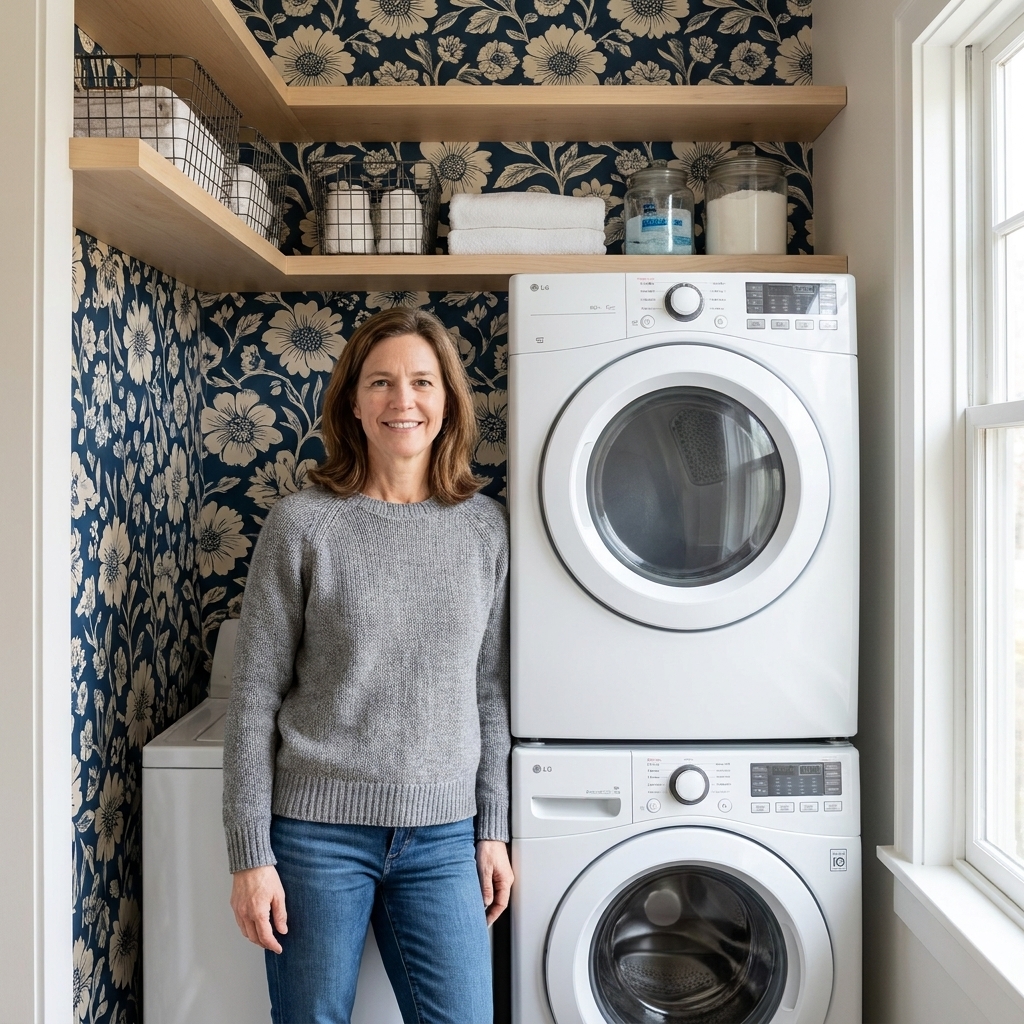
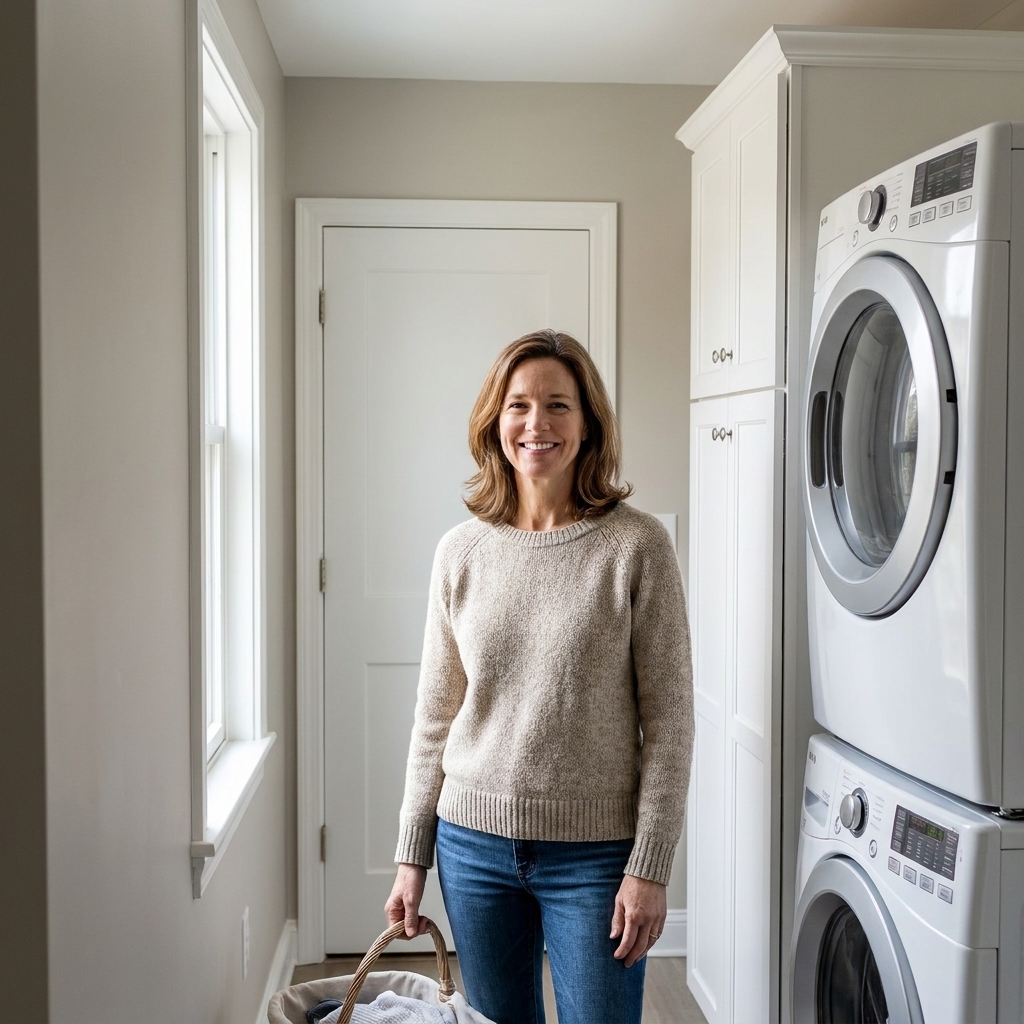
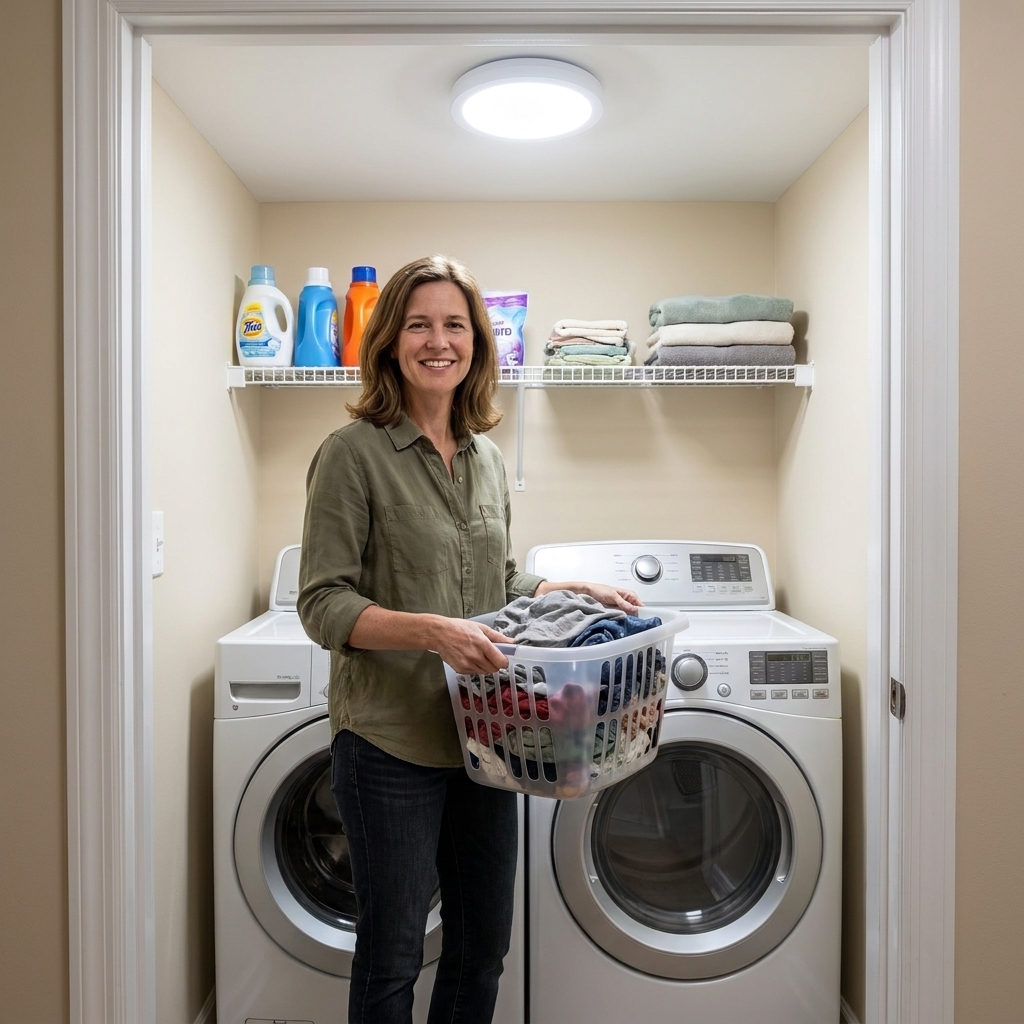
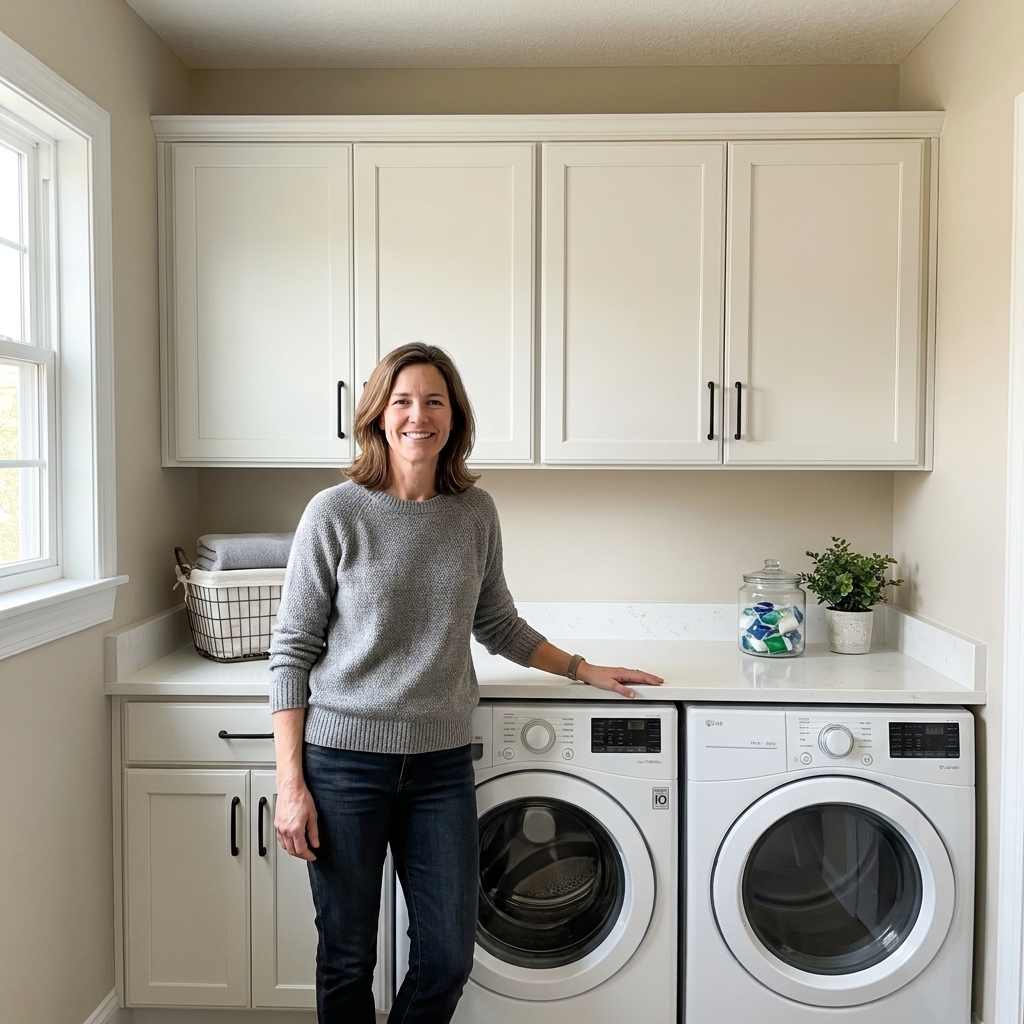
The fastest way I know to make a laundry room feel cleaner (even when the basket is overflowing) is to paint the builder-grade cabinets. Mine used to be that classic orangey oak that somehow made the whole space look dim and tired. I put it off for years because I was convinced painted cabinets would chip the first time a detergent bottle bumped the door.
Good news: with the right prep and a primer that matches your cabinet material, painted laundry cabinets can be both cheap and durable. Below is the exact step-by-step I use now, with separate notes for oak and melamine since they behave very differently.
Before you start
Cabinet paint jobs fail for two reasons: skipping cleaning (laundry rooms get a sneaky film) and using the wrong primer for the surface.
Quick cabinet ID
- Oak or other wood: visible wood grain, usually orange or honey tone, feels like real wood on edges.
- Melamine: very smooth, often white or faux wood, feels slightly plastic, edges may look like banding. In many newer homes, builder-grade uppers are often melamine.
- Thermofoil: smooth vinyl “wrap” over MDF, usually one-piece doors with very soft edges and a uniform finish. If it is bubbling, peeling, or heat-damaged, paint will not fix the underlying problem. Re-adhere loose spots first (or replace doors) before you bother painting.
- MDF: super smooth and dense, usually heavier than you would expect, and often already painted. Edges can get fuzzy if damaged.
If you are unsure, pull a drawer and look at an unfinished edge. Wood shows grain. Melamine looks like a coated particle board core. Thermofoil looks like a thin vinyl skin over a core.
My budget materials list
You can do this without specialty gadgets. The priorities are degreasing, scuff-sanding, dust control, and using the right primer.
Supplies
- Painter’s tape and a drop cloth
- Screwdriver or drill to remove doors and hardware
- Degreaser: dish soap and warm water work, but a stronger degreaser speeds things up if you have years of residue
- Microfiber rags or lint-free cloths
- Sandpaper or sanding sponges: 120, 180, and 220 grit
- Filler (optional): wood filler for dings, spackle for tiny chips, plus a putty knife
- Primer (choose based on surface, details below)
- Paint: cabinet and trim enamel, or a durable interior enamel in satin or semi-gloss (skip wall paint “paint and primer” combos for cabinets)
- High-density foam roller (4-inch) and an angled brush (2-inch)
- Vacuum with a brush attachment plus a slightly damp microfiber cloth for dust
- New hardware (optional)
- Bumpers for doors (highly recommended)
Where to save money
- Use sanding sponges instead of buying a power sander if your cabinets are small.
- Reuse hardware for now and upgrade later. Paint does most of the visual heavy lifting.
- Skip a fancy sprayer. A foam roller plus a good enamel can look smooth in a laundry room.
A quick dust-control note
Laundry rooms make lint like it is their job. Before you paint, vacuum the cabinet boxes, wipe everything down, and let dust settle. If you are painting doors in a garage or basement, sweep first and keep airflow gentle. A fan is great for fumes, but a fan blasting straight at wet paint is a magnet for fuzz.
Also, I usually skip traditional tack cloths with waterborne paints unless the label says they are compatible. Some leave residue. A vacuum and a damp microfiber cloth are my no-drama option.
How to paint oak cabinets
Oak is forgiving, but it has deep grain. If you do nothing, that grain will still show through paint, which can be a cute “painted wood” look. If you want a smoother finish, you can fill the grain, but it adds time.
Step 1: Label and set up
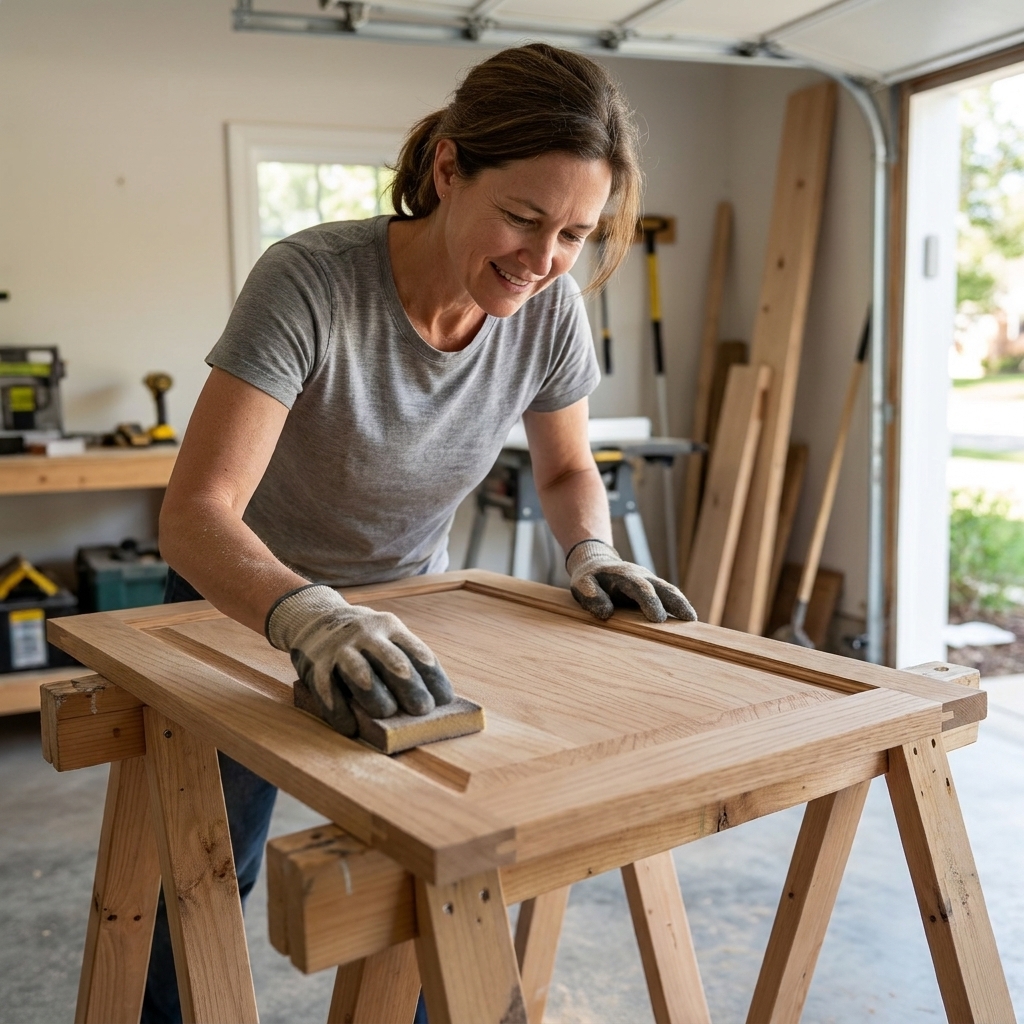
Remove doors, drawers, and hardware. Put screws in a zip bag. I stick painter’s tape inside each door and write where it goes, like “Upper Left.” It feels extra until you are rehanging doors with kids asking for snacks.
Lay doors flat for painting. Flat doors level better and drip less.
Step 2: Clean thoroughly
Wash every surface with warm water and a degreaser. Pay attention to the cabinet area right above the washer where splashes and lint settle. Rinse with clean water and let everything dry fully.
Step 3: Sand to degloss
For oak with a factory finish, I do:
- First pass: 120 or 150 grit to knock down the sheen.
- Second pass (optional): 180 grit to smooth scratch marks.
You are aiming for a uniform dull finish, not stripping. Vacuum the dust, then wipe with a damp microfiber cloth and let it dry.
Step 4: Fix dings and decide on grain
For dents and chips, use wood filler, let it dry, then sand flush with 180 grit.
For oak grain, you have two realistic options:
- Accept some grain: fastest and totally fine for a laundry room.
- Minimize grain: skim a thin coat of filler into the grain on door panels only, sand smooth, then prime. This is the step that makes oak look more like smooth painted cabinets, but it adds a day.
Step 5: Prime (for stain blocking)
For oak and other tannin-rich woods, the goal is blocking stains so they do not bleed through your paint.
- Best for stain blocking: shellac-based primer (very effective, strong odor, ventilate well).
- Good all-around option: a bonding primer designed for cabinets and trim.
Apply a thin, even coat with a foam roller and brush the profile. Let it dry fully, then lightly sand with 220 grit to remove dust nibs. Wipe clean.
Step 6: Paint (thin coats win)
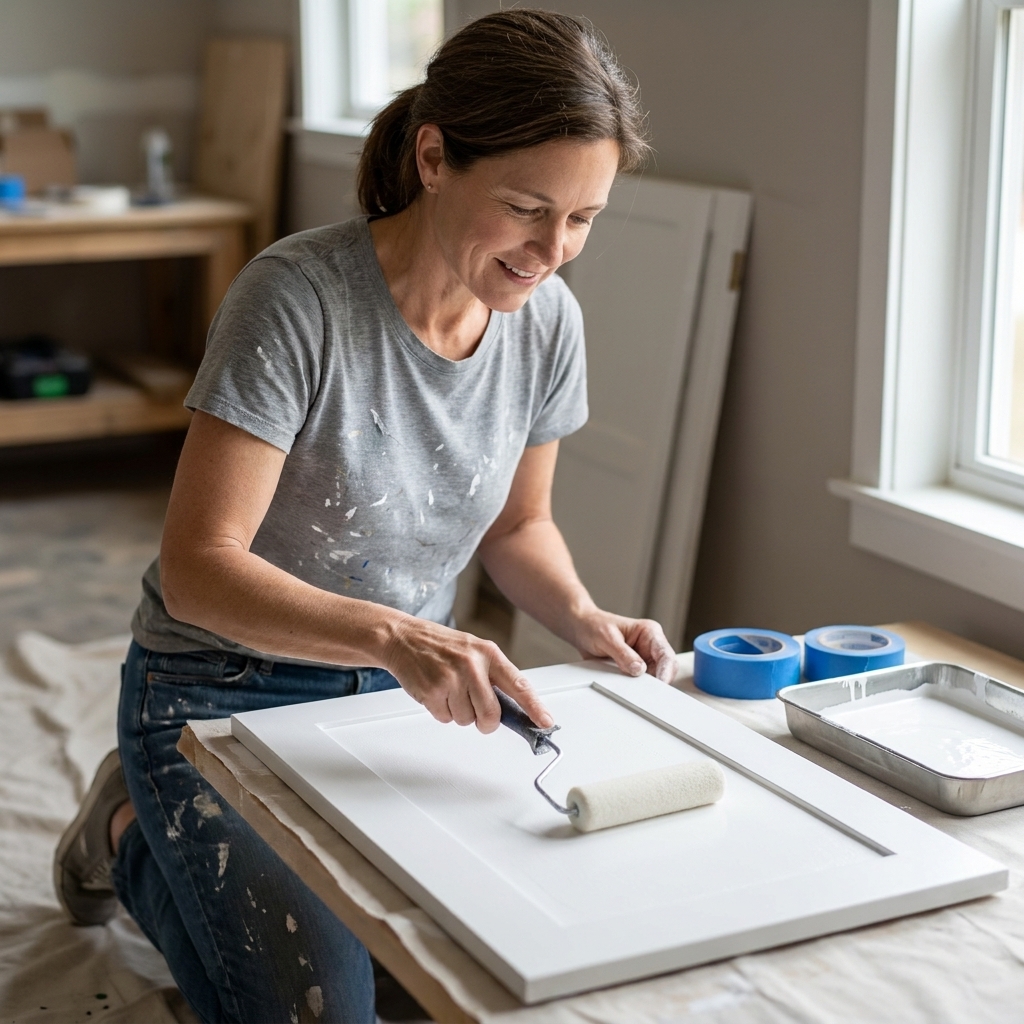
Use a cabinet enamel or durable interior enamel in satin or semi-gloss. I do two coats minimum, sometimes three on darker colors.
- Roll flat areas with a foam roller.
- Brush grooves and edges, then lightly tip off to reduce brush marks.
- After coat one dries, lightly sand with 220 grit, wipe clean, then apply coat two.
Thin coats feel slow, but they cure harder and chip less.
Step 7: Cure and rehang
Paint dries fast. It cures slowly. If you can, wait 48 to 72 hours before rehanging doors, and be gentle for about 2 to 4 weeks while the finish hardens.
Important: check your paint can for recoat, return-to-service, and full cure times. Temperature and humidity matter more than we want them to.
Add fresh bumpers so doors do not stick to frames while curing.
How to paint melamine cabinets
Melamine is the surface that scares people because paint can peel if it does not bond. The trick is scuff plus bonding primer. Do not skip either.
Step 1: Clean and rinse
Melamine holds onto residue. Degrease, rinse, and dry. Any leftover cleaner can mess with adhesion.
Step 2: Scuff sand
Use 180 grit to scuff the surface. You are not trying to remove the coating. You just want a consistent, lightly scratched finish so primer can grip.
Do edges and around handles carefully. Those high-touch areas are where peeling starts.
Step 3: Prime with a true bonding primer
Choose a primer specifically labeled as a bonding primer that adheres to slick surfaces. Apply a thin, even coat. Let it dry fully, then lightly sand with 220 grit and wipe clean.
If your melamine is glossy and you are nervous, a second coat of bonding primer is cheap insurance.
Step 4: Paint with enamel
Use a hard-wearing enamel (waterborne alkyd or acrylic enamel both work well when paired with the right primer). Keep coats thin, and do a light 220-grit sand between coats for the smoothest finish.
Step 5: Let it cure
Melamine cabinets are often in busy pass-through spaces. Give the finish time. If you can, keep doors slightly cracked for the first day so they do not stick.
And again, check your specific paint label for cure timing. Products vary more than you would think.
Safety basics
I am all for a budget makeover, but I am not interested in headache fumes or sticky primer hands.
- Ventilate: open windows, run a fan exhausting out, and take breaks for fresh air.
- Shellac primer warning: it is powerful and stinky. Wear gloves and consider a respirator with organic vapor cartridges if you are working indoors or in a tight laundry closet.
- Keep away from flames: follow the label and keep products away from pilot lights and anything that sparks.
Laundry-room durability rules
- Watch the drip zones: the cabinet next to the detergent shelf gets splashed. Consider a washable tray or better decanting so you are not constantly wiping spills. My full approach is in Decanting and Organizing Laundry Supplies.
- Do not paint gummy hinges: clean or replace them. Painted hinges get sticky and ruin your finish.
- Upgrade bumpers: they keep doors from slamming and protect fresh paint.
- Stick to satin or semi-gloss: flat paint scuffs too easily in a hardworking laundry space.
- Ventilate: especially if your laundry is tucked in a closet. If you are working in a super tight setup, read Airflow and Dryer Vent Clearance in Ultra-Compact Laundry Closets before you start crowding the area with drying doors and paint fumes.
Sanding vs deglosser
I get asked this constantly because everyone wants to skip sanding.
- For oak: I still prefer sanding. It is predictable and it smooths the finish.
- For melamine: sanding is non-negotiable for me. Deglosser can help, but I do not trust it as the only prep on slick cabinet doors that get handled daily.
If you do use a liquid deglosser, follow the label exactly and still plan on a light scuff sand in high-touch areas.
Common problems
Tannin bleed or yellow spots
This happens most on oak. Solution: stop painting, let it dry, then spot-prime with a stain-blocking primer. Repaint. Do not keep piling paint over the stain and hope it disappears.
Peeling on melamine
Usually a cleaning or bonding issue. Solution: scrape or sand off the loose paint, feather the edges, re-prime with a bonding primer, then repaint in thin coats.
Brush marks and texture
Use a foam roller for flats, do not overload your brush, and do a quick, light sand between coats. Also, paint in a comfortable temperature range. Too hot and paint drags. Too cold and it levels poorly.
Doors sticking after rehanging
Give it more cure time and add bumpers. In the meantime, close gently and avoid forcing anything.
How long does it take?
Here is a realistic timeline for a typical laundry cabinet set:
- Day 1: remove hardware, clean, sand, dust, prime
- Day 2: sand lightly, paint coat 1, dry, sand lightly, paint coat 2
- Day 3: optional third coat, or rehanging if everything feels firm
If your schedule is chaos (hello, school sports and missing socks), you can stretch those steps over a week. The key is keeping doors laid flat and as dust-free as possible between sessions.
Make it feel like a full makeover
Painted cabinets are the big win, but if you have an extra afternoon, these add-on upgrades make the room look intentional:
- Swap hardware: even inexpensive knobs can modernize the whole wall of cabinets.
- Add better lighting: a brighter bulb or simple fixture change makes fresh paint look crisper. See Lighting Upgrades for Dark Laundry Closets.
- Freshen the inside: wipe shelves, add shelf liner, and simplify what lives up there.
- Budget organizing: I keep a running list of low-cost upgrades in 15 Dollar Store Organization Hacks for a Budget Laundry Makeover.
FAQ
Do I have to remove the doors?
You can paint them in place, but you will get a cleaner finish and fewer drips if you remove them. In a laundry room, I am always aiming for easy to clean over perfect, but doors laid flat are still worth it.
Do I need a topcoat?
Usually no, not if you use a cabinet enamel designed to cure hard. A topcoat can actually cause adhesion issues if the paint underneath is not fully cured. If you do choose a clear coat, test it on the back of a door first.
Can I paint laminate cabinets the same way as melamine?
Yes, treat slick laminate like melamine: clean, scuff sand, bonding primer, then enamel paint.
What sheen looks best?
Satin is my sweet spot for laundry rooms. It wipes clean but does not show every tiny ripple like high gloss.
One last Clara pep talk
If you are staring at orangey oak or scuffed melamine and thinking your laundry room is doomed, it is not. This is one of those rare DIY projects where the before feels so dated that even a simple paint refresh looks like a full makeover. Take your time on cleaning and primer, keep your coats thin, and you will end up with cabinets that can handle real family laundry life.