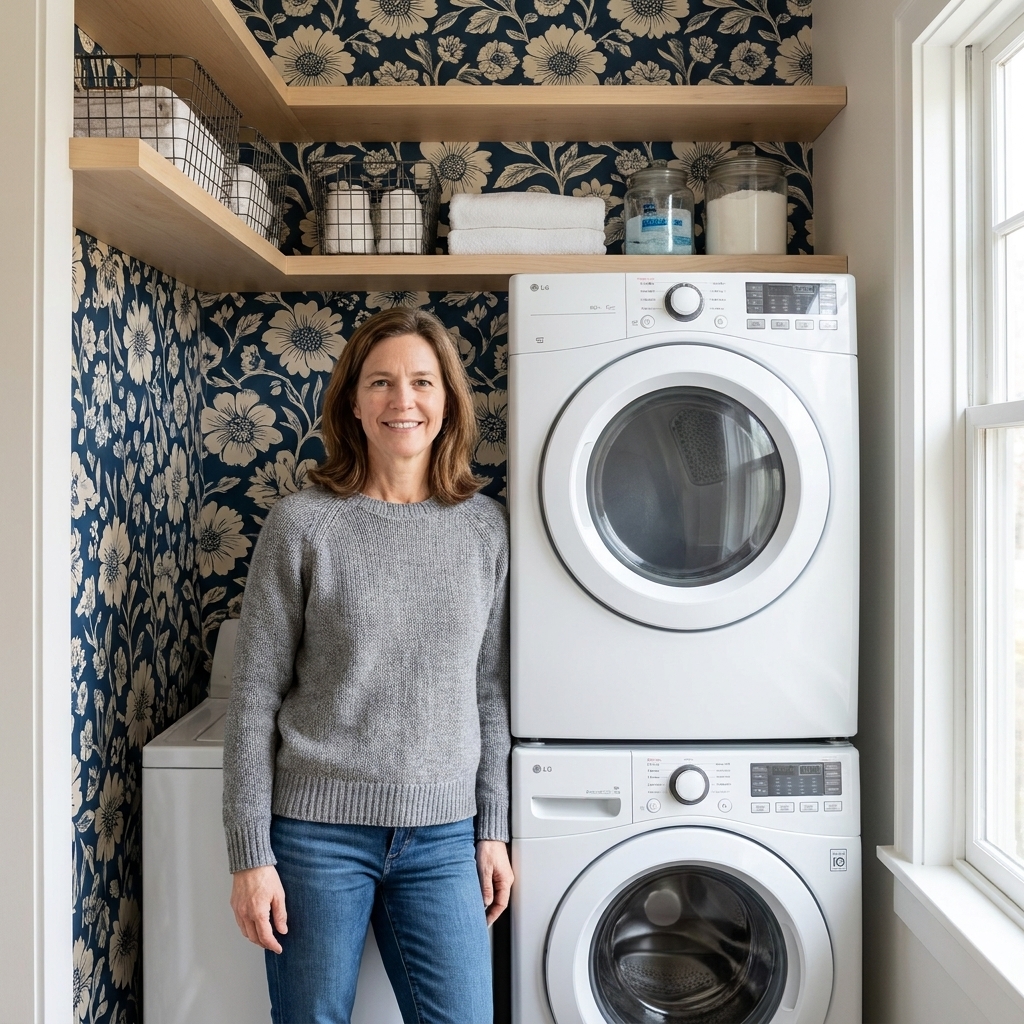
My laundry sink area used to be the unsung villain of my whole “organized home” dream. One enthusiastic kid washing paintbrushes, one bottle of stain remover with a leaky cap, and suddenly the wall looked like it had survived a small storm. The good news is you do not need a full tile job (or a contractor budget) to get a backsplash that wipes clean and looks finished.
Below are seven budget-friendly DIY backsplash ideas that work especially well behind a utility sink. I will also share the little prep details that keep these installs from peeling, warping, or getting gross in a humid laundry zone.

Before you start: 6 must-dos
This is not a decorative powder room wall. This spot gets splashes, drips, and whatever mystery goo ends up on hands during laundry day.
- Choose wipeable materials. If you cannot scrub it with a damp cloth, it will not last behind a sink.
- Prep the wall like you mean it. Fill holes, sand rough spots, wipe off dust, and let any patch compound fully cure before you stick, nail, or tile anything.
- Seal the sink line. Leave a tiny expansion gap where your backsplash meets the sink rim or countertop, then run a thin bead of 100% kitchen-and-bath silicone so water cannot sneak behind.
- Mind the splash zone. The heaviest splash area is typically right behind the faucet and often in the first 8 to 12 inches above the sink, but faucet height and water pressure can change that. If your budget is tight, prioritize coverage where your wall actually gets hit.
- Do not trap moisture. If your drywall has bubbling paint or soft spots, fix that first. A backsplash is not a bandage for water damage.
- Be smart around outlets. If your backsplash adds thickness (panels, tile, metal), turn off power at the breaker before you start. You may need a box extender so the outlet sits flush and stays safe.
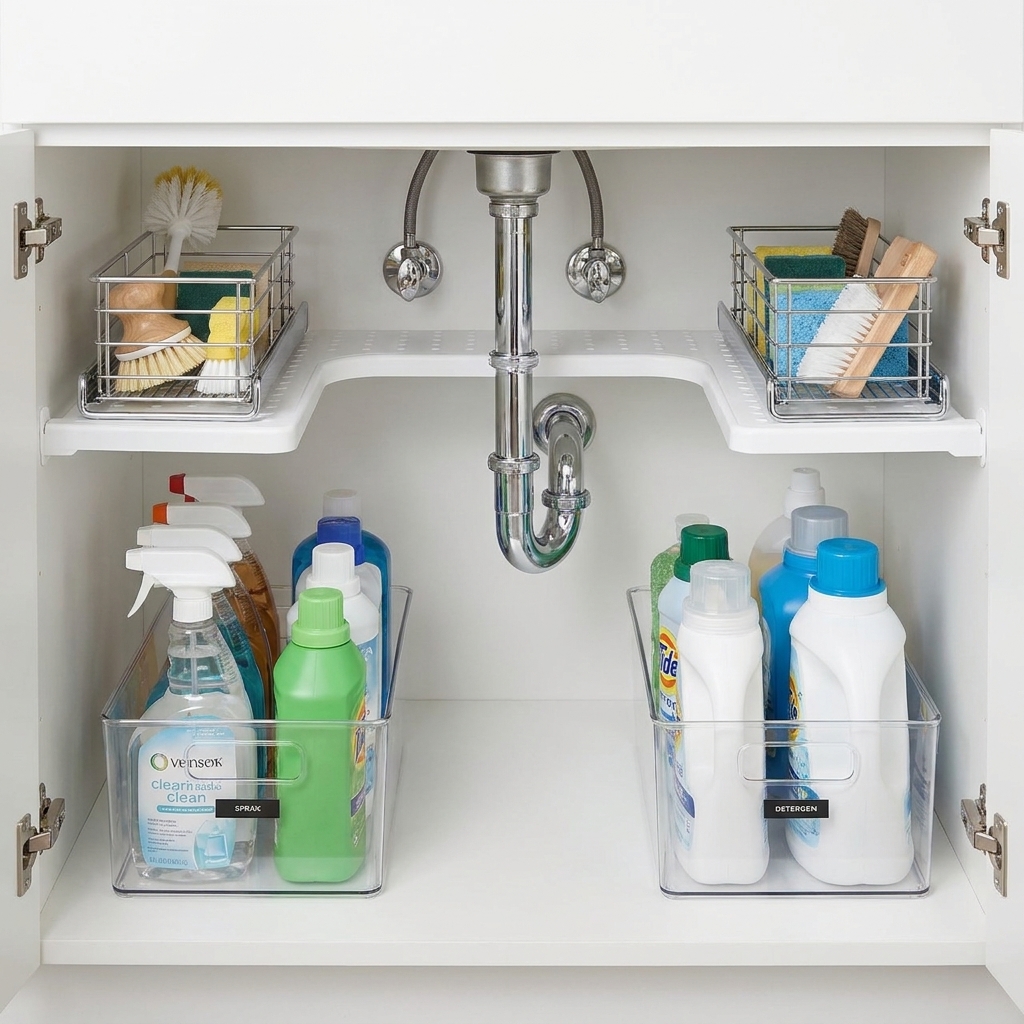
If you are already elbow-deep in a sink-zone refresh, my favorite under-sink reset is in Organizing Under Your Laundry Utility Sink. A tidy cabinet plus a wipeable backsplash is the combo that finally made my utility sink feel calm.
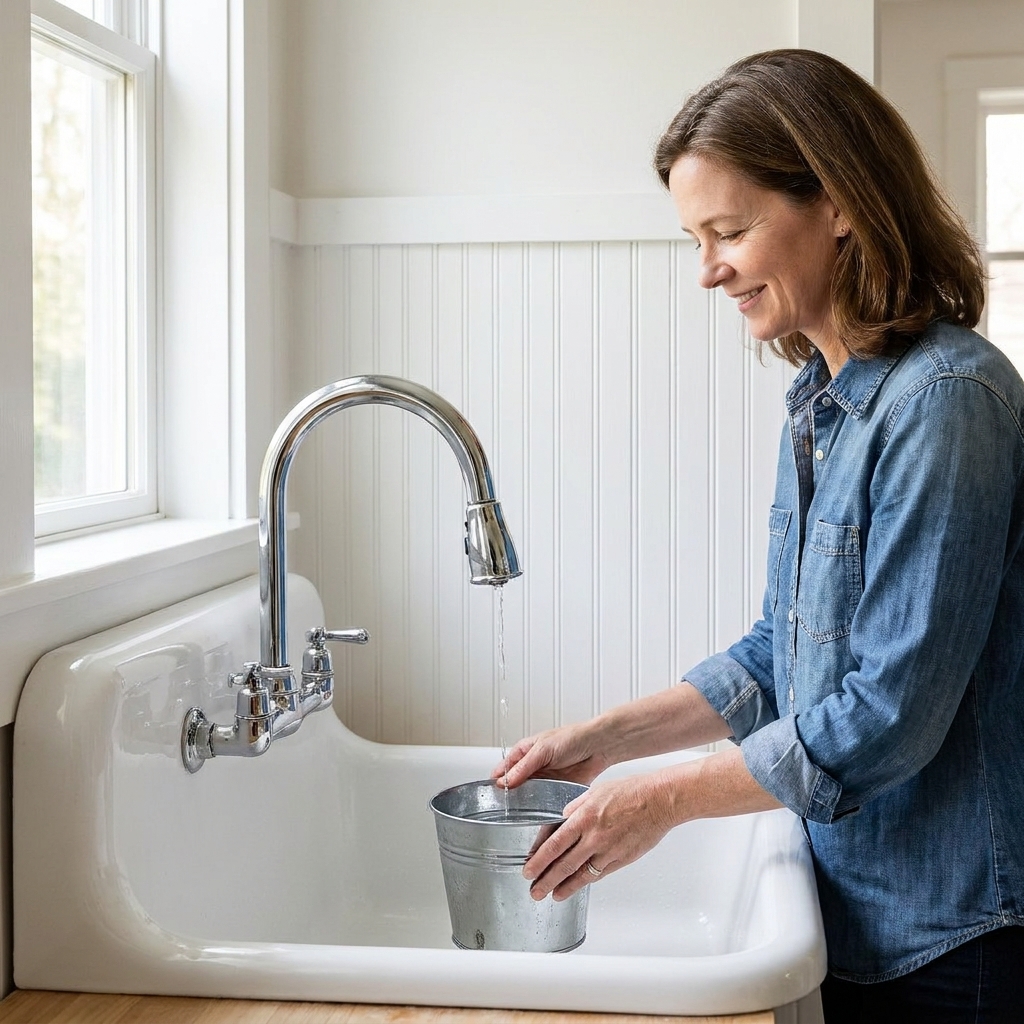
1) Beadboard panels
Beadboard is one of the cheapest ways to get texture and charm fast. For a laundry room, I like PVC beadboard if you know the area gets soaked or splashed often. You can use primed MDF beadboard in a drier nook, but MDF is the high-maintenance friend in this group. If water regularly hits it, it can swell at seams and edges unless you seal it extremely well.
Why it works
- Affordable, especially in panel form.
- Easy to cut with a basic saw.
- Looks “built-in” even in a humble utility nook.
Clara’s install tips
- Paint the panel before you install it, then touch up nail holes after.
- If you are using MDF, seal every cut edge with primer, and do not skip the topcoat.
- Use a semi-gloss or satin enamel so splatters wipe off.
- Caulk seams and the sink line with 100% kitchen-and-bath silicone.
2) Peel-and-stick vinyl tile sheets
If you want the fastest weekend win, peel-and-stick backsplash sheets can be shockingly convincing from a few feet away. Look for vinyl sheets made for kitchens rather than super-thin craft stickers.
One reality check from someone who loves a shortcut: peel-and-stick is best for light to moderate splash. If your sink gets heavy direct spray every day (kids, pets, paint, mop buckets), this is the option most likely to need a redo later.
Why it works
- Low cost and renter-friendly in many cases.
- No grout, so no mildew lines to maintain.
- Great for covering ugly paint or patched drywall.
Clara’s install tips
- Clean the wall with degreaser and let it dry completely.
- Prime glossy paint so the adhesive can grab.
- Use a seam roller or an old gift card to press every edge tight.
- Seal the sink line with clear 100% silicone if it is near direct splash.
- Clean with non-abrasive cleaners so you do not scratch or dull the surface.
If you are debating wallpaper versus paint elsewhere in a tiny laundry nook, I broke down the pros and cons in Peel-and-Stick Wallpaper vs Paint for a Tiny Laundry Nook. The same logic applies here: prep matters more than brand.
3) Faux tin tiles
Faux tin tiles are a budget way to get that vintage utility-room character. They are lightweight and often made from PVC or polystyrene (and sometimes actual metal), so a few splashes are not a big deal.
Why it works
- Adds instant “wow” without expensive materials.
- Often cuttable with tin snips or heavy scissors depending on material.
- Looks amazing behind open shelves or a wall-mounted faucet.
Clara’s install tips
- Use a construction adhesive rated for wet areas.
- If you paint them, use a bonding primer first for best durability.
- Keep your pattern centered behind the faucet so it looks intentional.
4) Painted plywood with a wipeable topcoat
This is my scrappy-mom solution when I want a clean backdrop and I want it now. A smooth piece of plywood (or a pre-sanded project panel) can become a sleek backsplash with the right paint system.
Why it works
- Inexpensive and widely available.
- Custom height and width for awkward sink nooks.
- Acts like a protective panel over less-than-perfect drywall.
Clara’s install tips
- Prime both sides and edges to reduce warping.
- Use cabinet paint or enamel for a hard, scrubbable finish.
- If you want extra water resistance, add a compatible clear topcoat after paint cures.
- Screw it into studs if you want it removable later, or use adhesive for a seamless look.
5) Tempered hardboard panel with trim
If you like the idea of shiplap but not the cost, a tempered hardboard panel gives you a tough, smooth surface. Add simple trim at the top and sides, paint it, and it reads like a built-in backsplash panel.
Why it works
- Super budget-friendly for larger walls.
- More impact-resistant than drywall.
- Easy to repaint when life happens.
Clara’s install tips
- Choose tempered hardboard if possible for better moisture resistance.
- Seal edges with primer, especially the bottom edge near the sink.
- Finish with a scrubbable enamel paint.
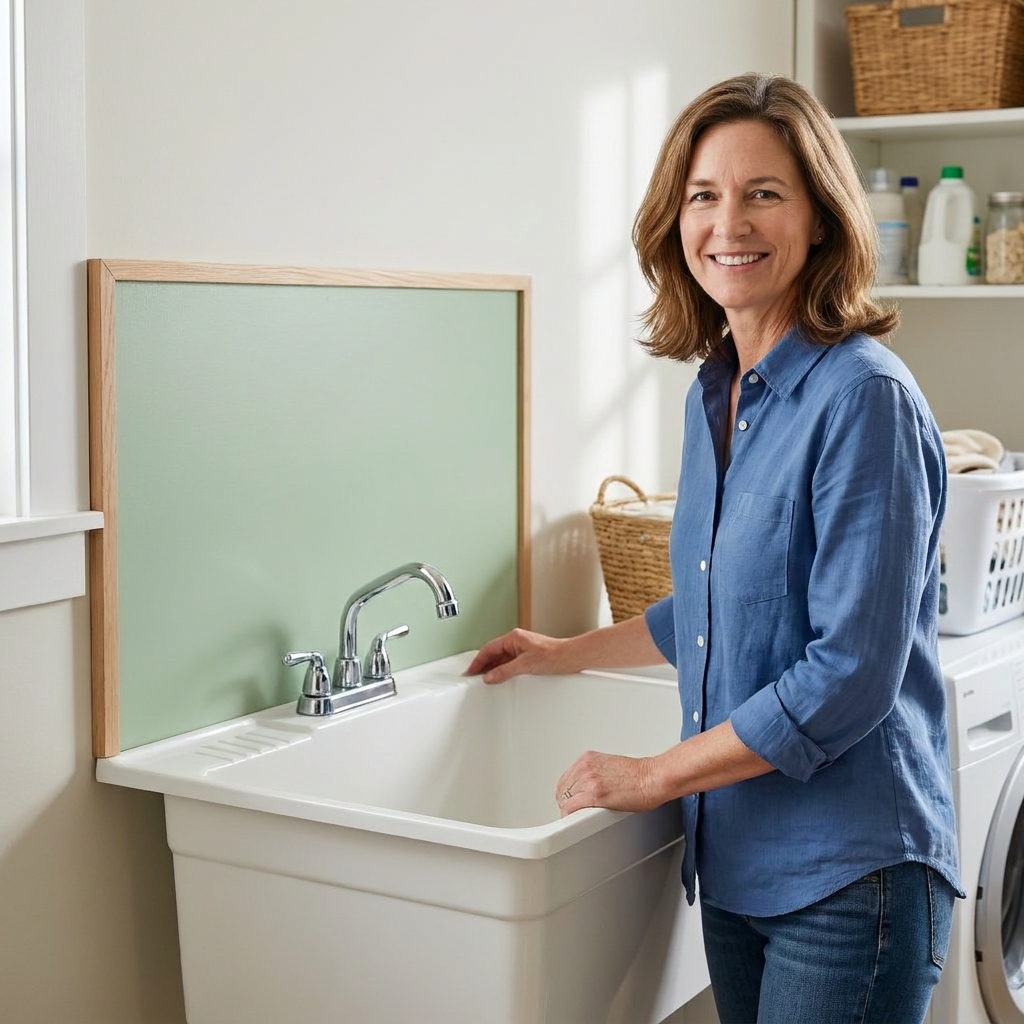
6) Budget ceramic tile (simple pattern)
If you want real tile but you are watching every dollar, go with a basic ceramic subway tile or small square tile and keep the layout simple. You can absolutely DIY this in a weekend if the wall is sound and flat.
Why it works
- Most water-resistant option when installed correctly.
- Timeless look that upgrades the whole laundry zone.
- Easy to clean, especially with sealed grout.
Clara’s install tips
- For a typical backsplash, a mastic (pre-mixed tile adhesive) can be easier than mixing thinset, but confirm it is rated for your tile size and your space.
- Do not use mastic where water can pool, soak constantly, or run behind the tile. If you are unsure, choose thinset and follow the manufacturer instructions.
- Use a small notched trowel and do not over-apply.
- Seal grout once cured to reduce staining from detergents and cleaners.
If your laundry space is tiny and you are stacking upgrades strategically, pairing a clean backsplash with better storage is huge. I love the decision checklist in Floating Shelves vs Wire Racks for Laundry Storage for planning what goes above a sink wall.
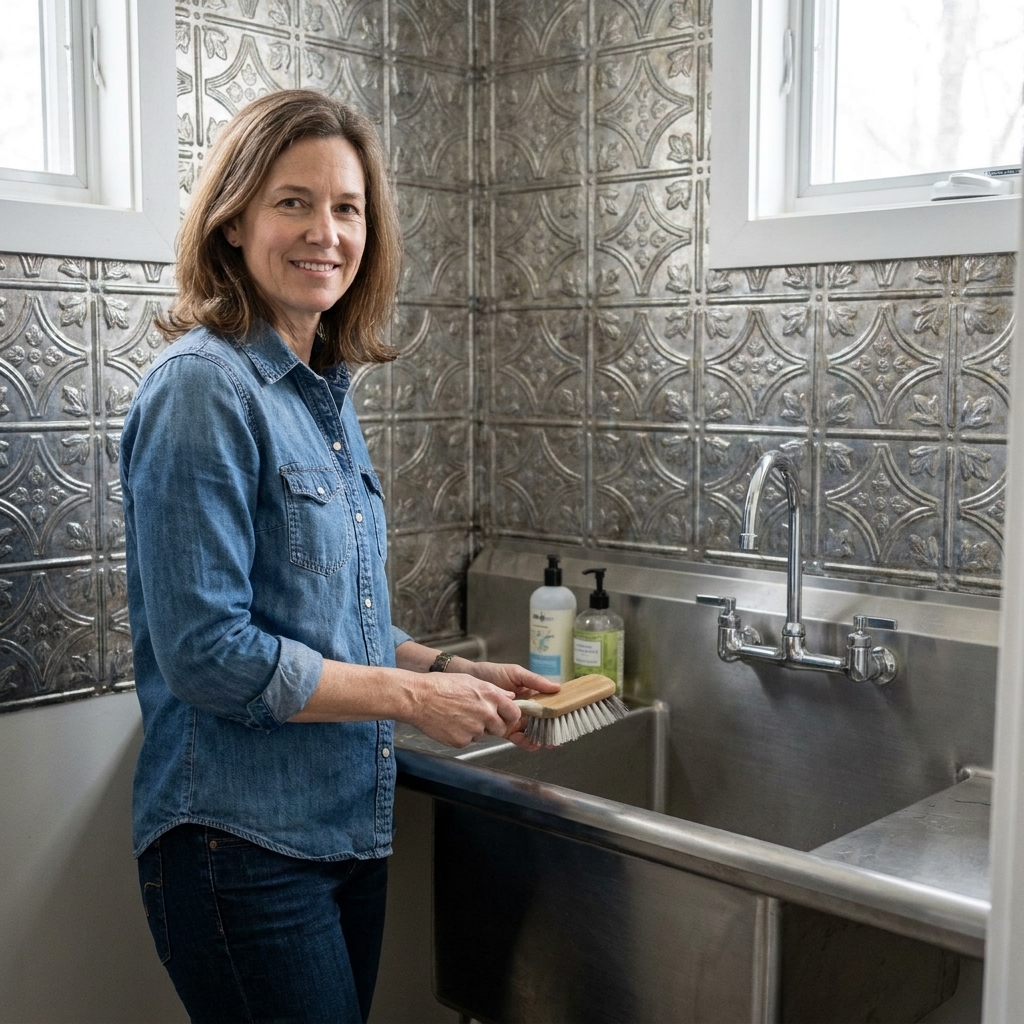
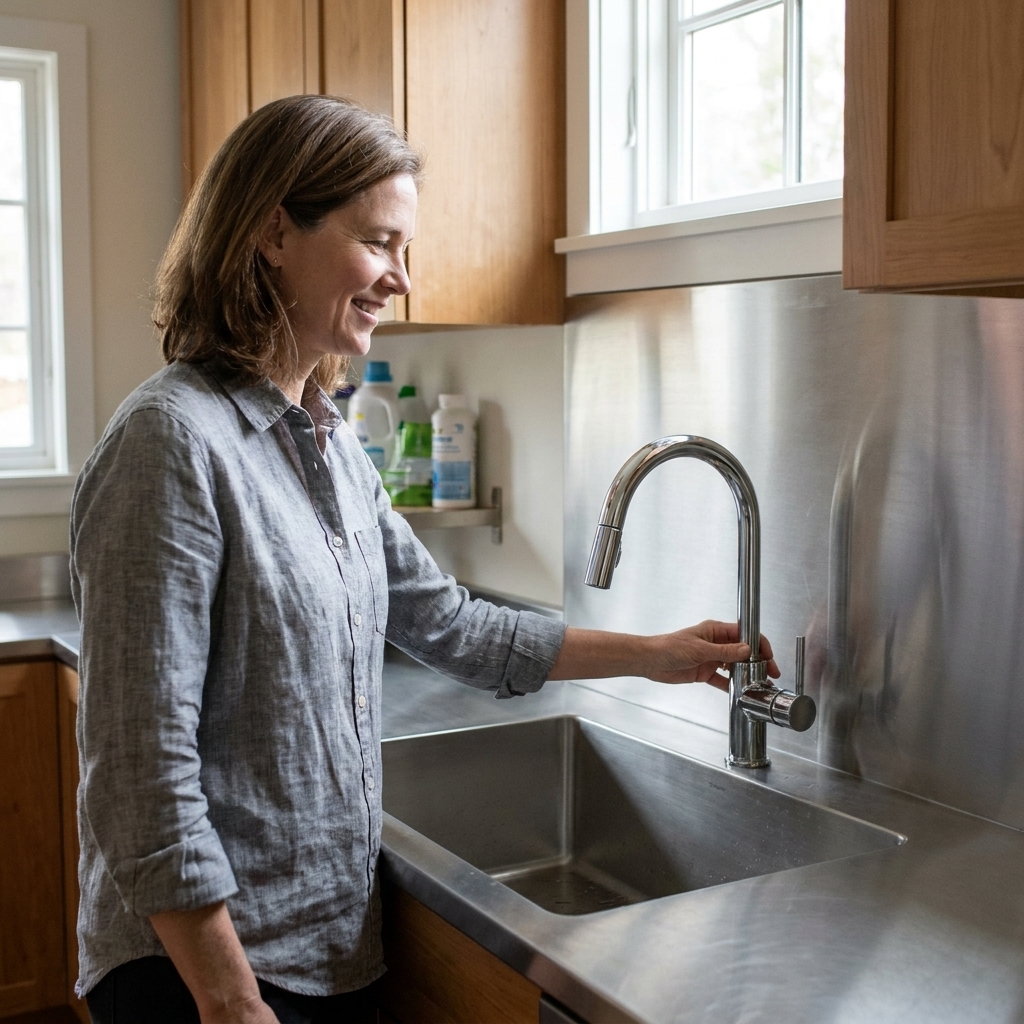
7) Sheet metal wall panel
This one is not about cottage charm. It is about maximum wipeability. A thin stainless or aluminum sheet (often sold as a wall protector) can be cut to size and adhered to the wall for a commercial-style finish.
One small warning before you commit: super-thin flashing can dent, “oil-can,” and show every bump underneath. For a cleaner look, use a sturdier wall-protection sheet, or mount the metal to a smooth backer panel (like plywood or hardboard) before attaching it to the wall.
Why it works
- Holds up to harsh cleaners, splashes, and scrubbing.
- Perfect for laundry sinks that double as pet wash stations or paint cleanup zones.
- Reflects light, which helps gloomy laundry corners feel brighter.
Clara’s install tips
- File or sand cut edges so nobody gets sliced reaching for soap.
- Use construction adhesive suitable for metal and walls.
- Finish edges with simple trim or a metal edge strip for a clean look.
- Skip abrasive scrubbers, since they can scratch metal.
Backsplash height guide
There is no single right answer, but here is what works in real family laundry rooms:
- Minimum: 8 to 12 inches above the sink or counter.
- Most practical: Around 18 inches, especially if you splash a lot when hand-washing.
- Full protection: Up to the underside of shelves or cabinets, or all the way to the ceiling if the sink is your heavy-duty cleanup station.
My favorite tiny-budget combo
If I were doing a sink wall on a tight budget today, I would do PVC beadboard or tempered hardboard painted in a scrubbable satin enamel, plus a tight line of 100% silicone at the sink line. It is forgiving, fast, and it still looks like you meant to have a finished laundry room.
And if your sink wall is part of a bigger budget refresh, you will love 15 Dollar Store Organization Hacks for a Budget Laundry Makeover. That article is basically my whole mindset in one place: make the space easier to use first, then make it pretty.
Common mistakes
- Skipping primer on glossy paint. Adhesives fail when the wall is slick.
- Using painter’s caulk at the sink line. Use 100% kitchen-and-bath silicone where water sits.
- Leaving raw edges. Even budget panels last longer when edges are sealed.
- Ignoring outlets. If the wall gets thicker, make sure outlets are extended properly and power is off while you work.
- Overcomplicating the layout. A simple pattern done neatly looks more expensive than a complicated pattern done in a rush.