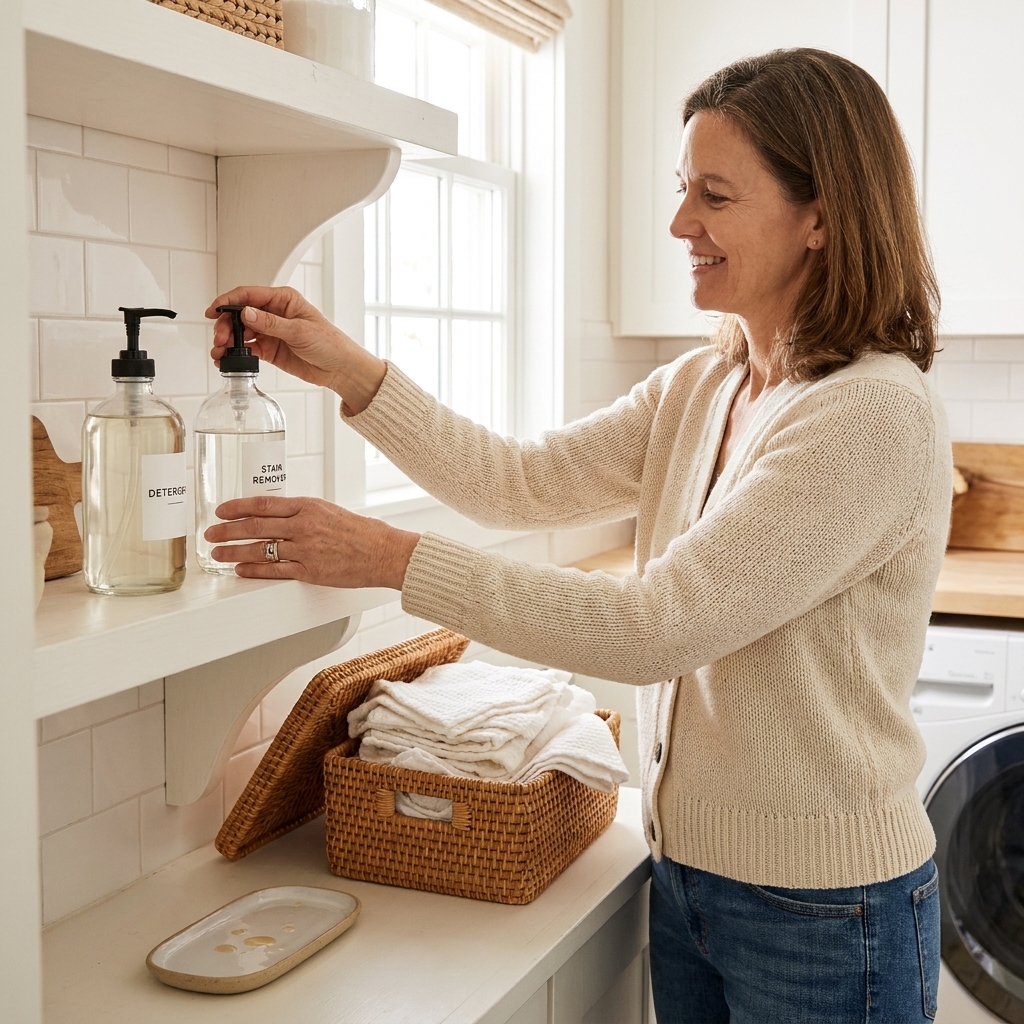
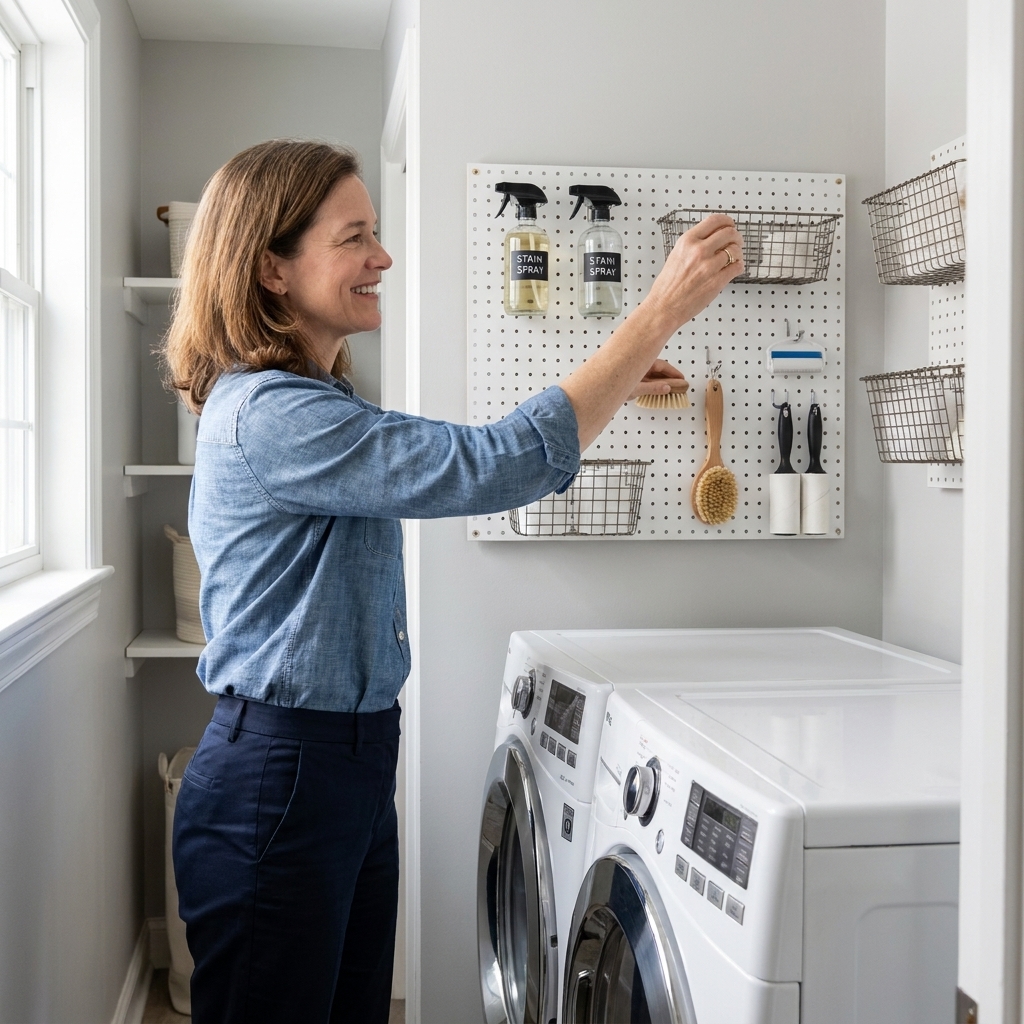
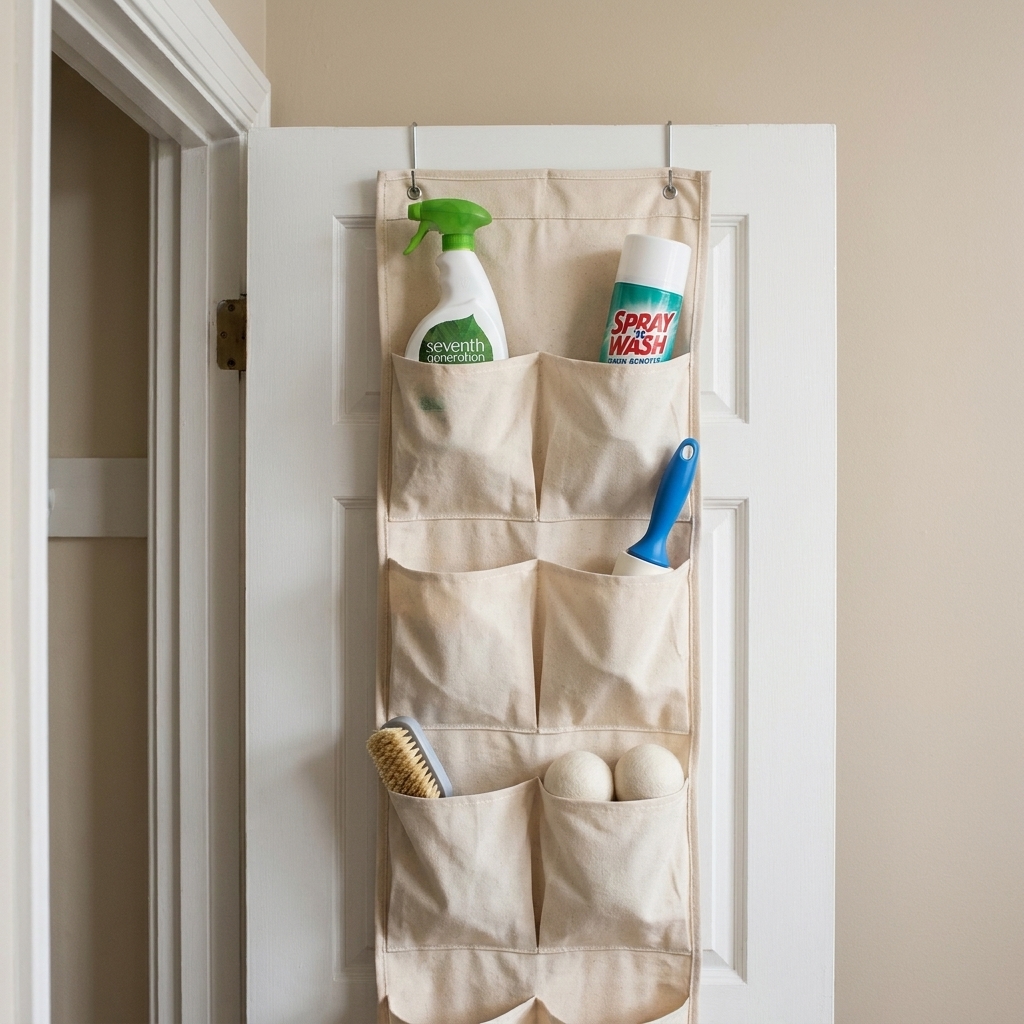
I used to have a “stain treatment drawer” that was really just a tiny disaster zone. Half-used stain sticks rolling under the drawer track, a scrub brush snagging every time I shut it, and that one mystery sponge that definitely should have been thrown away three months ago. The fix was not another plastic bin that almost fit. It was a simple grid of thin wooden slats cut to my exact drawer size.
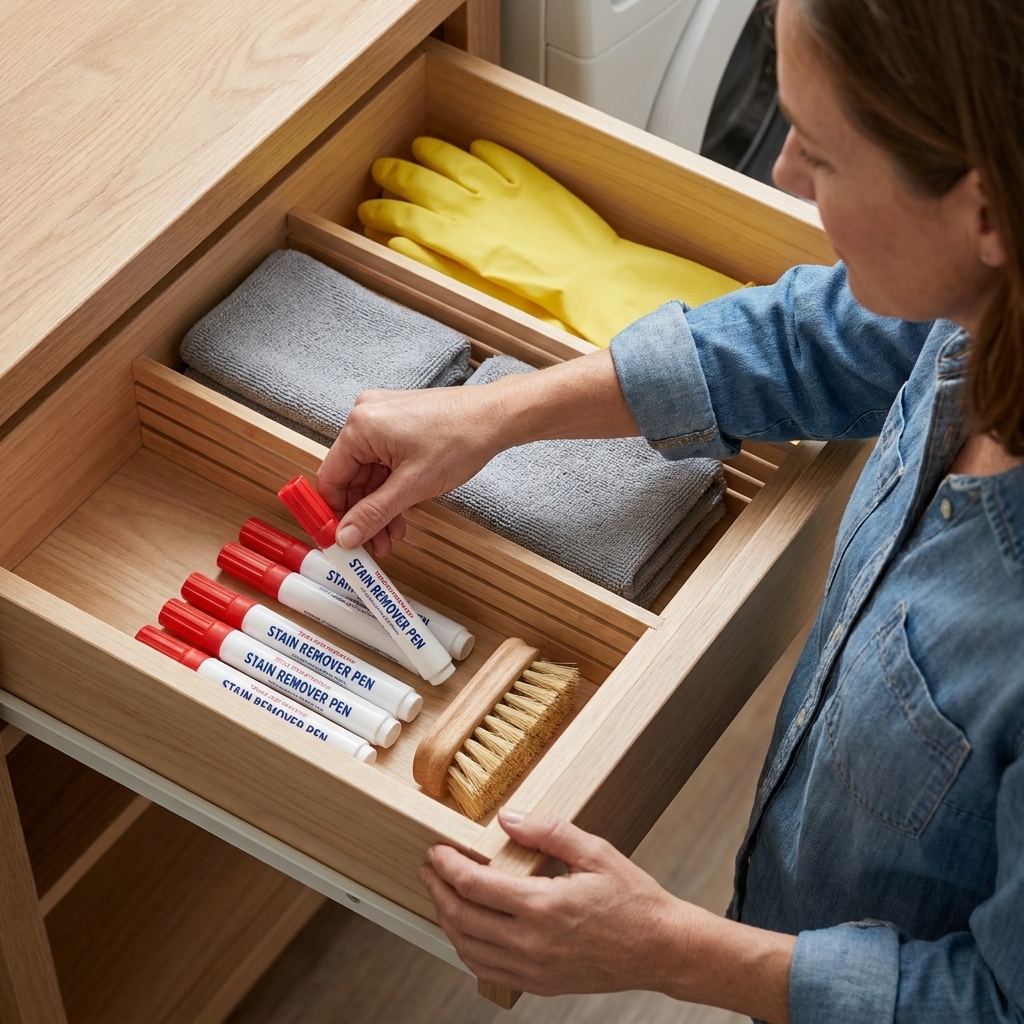
The best part: you can customize the compartments to match the stuff you actually use. Long lane for spray bottles stored on their sides, skinny channel for toothbrushes and detail brushes, a square for gloves and rags. Once you build this once, you will want to do it in every drawer you own.
Why wood dividers beat bins
- No wasted space. You build compartments around the weird shapes: stain pens, brushes, lint tools, seam rippers, bleach pens, and tiny measuring scoops.
- Everything stays put. The drawer closes cleanly with no shifting pile.
- Easy to wipe down. A quick damp cloth takes care of drips and dust.
- They look tidy on messy weeks. Speaking as a mom of three, that matters.
If you are also trying to tame the rest of your laundry supplies, my deep-clean starting point is Decanting and Organizing Laundry Supplies. Dividers pair beautifully with a simplified set of products.
Materials and tools
Materials
- Thin wood slats: 1/8 inch to 1/4 inch thick craft plywood, basswood, or underlayment strips. (Choose the straightest pieces you can find.)
- Wood glue (fast grab is nice, but regular works too)
- Optional: painter’s tape, clear water-based polyurethane, or wipe-on finish for easier cleaning
- Optional non-slip: drawer liner for the bottom (not required, but it feels extra “finished”)
Tools
- Tape measure
- Combination square or ruler
- Pencil
- Miter box and hand saw, or a small miter saw
- Sandpaper (120 and 220 grit) or a sanding block
- Clamps (helpful, not mandatory)
My mom-tip: If you do not own a saw, a miter box and a little hand saw is completely fine for this. These are short cuts, so it is beginner-friendly.
Step 1: Measure the real drawer
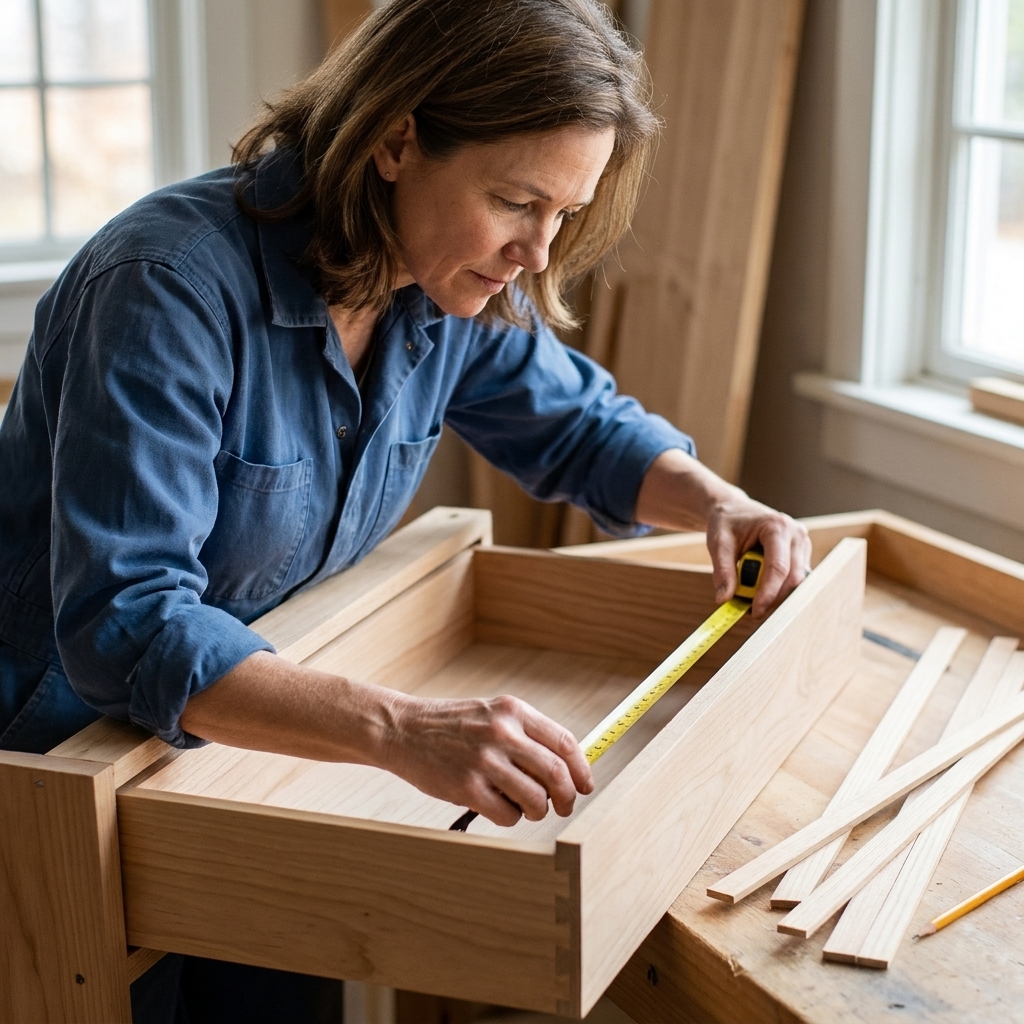
Drawer interiors are rarely perfectly square. Measure in a few spots so your divider grid does not bind.
- Measure the interior width (left to right) at the front and back.
- Measure the interior depth (front to back) on the left and right.
- Use the smallest measurements you get.
I also measure the interior height and then choose slats that are lower than that by at least 1/2 inch. This keeps the dividers from rubbing drawer hardware and makes it easier to grab items.
Quick height rule that works in real life: Go lower than you think. Pens and brushes do fine with shorter dividers, and even horizontal spray bottles do not need tall walls. The only time I go taller is when I am trying to corral a bunch of loose cloths or gloves that like to flop everywhere.
Step 2: Pick what lives here
Before you design compartments, do a quick sort. Toss dried-out products and anything leaking. Then group what is left.
- Stain treatments: pens, sticks, travel sprays, small bottles
- Brushes and tools: scrub brush, toothbrushes, detail brushes, stain scraper
- Small helpers: safety pins, sewing kit, lint tool, measuring spoon, bleach pen
- Messy stuff: gloves, rags, sponges
Now choose your divider style:
- Grid style: a few long dividers running front-to-back plus shorter cross pieces.
- Channel style: several long skinny lanes for pens and brushes, with one larger box for rags and gloves.
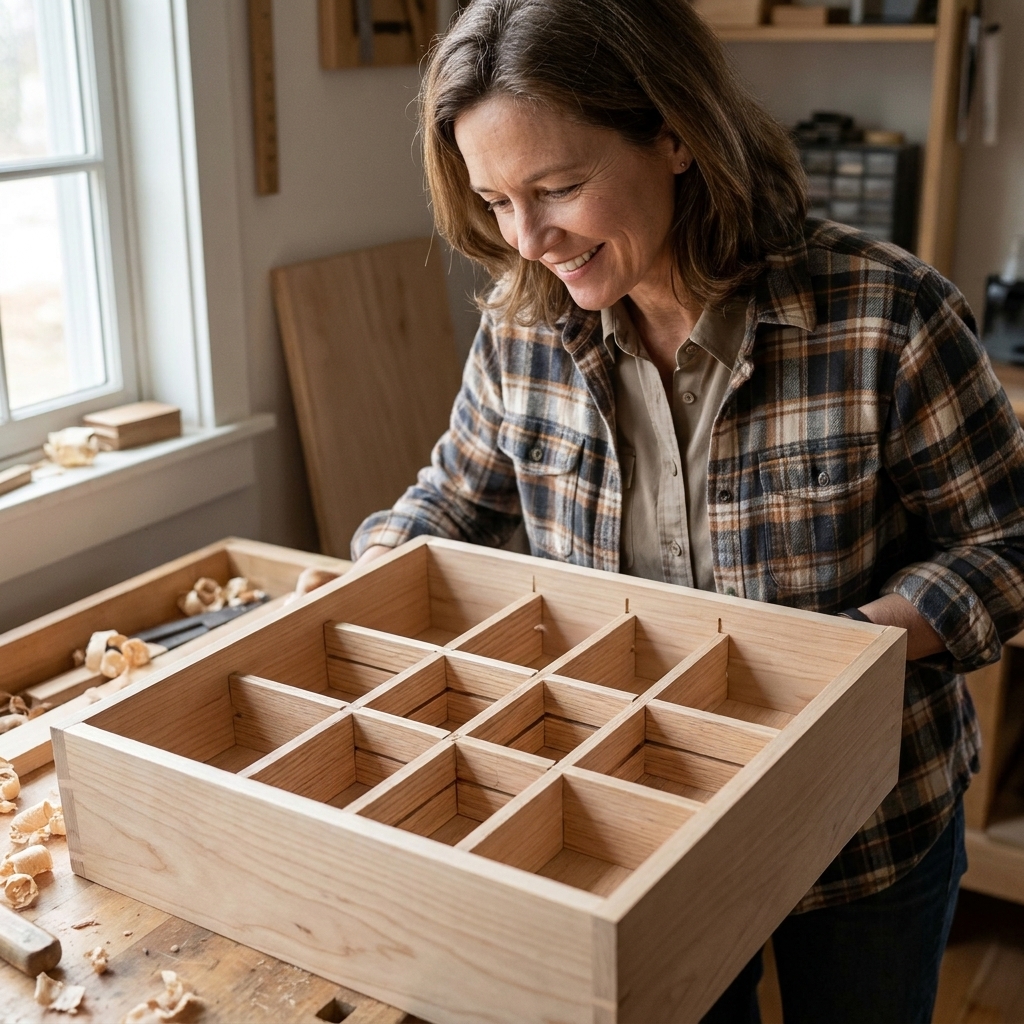
My sweet spot for laundry drawers: one long lane for stain pens and brushes, two medium boxes for sprays and bottles stored on their sides, and one “catch” box for gloves and rags.
Step 3: Plan the layout
You can sketch on paper, but my favorite low-stress method is to plan right in the drawer:
- Lay your items in the drawer where you want them to live.
- Use a few extra slats (or strips of cardboard) to mock up divider lines around them.
- Adjust until everything fits and the drawer still closes easily.
Leave a little breathing room. A compartment that fits a stain remover bottle perfectly today will be too tight the day you buy a different brand.
Quick sizing example: If your drawer is about 12 inches wide by 18 inches deep, start with 2 or 3 long front-to-back rails. That usually gives you 3 or 4 lanes. Then add 2 to 4 cross pieces to carve out one bigger “rag zone” and a couple medium boxes.
Step 4: Cut the main slats
Start with the longest pieces, usually the dividers that run front-to-back.
- Cut the main slats to match the drawer depth (front-to-back), using your smallest depth measurement.
- Dry-fit them in the drawer.
- Lightly sand the cut ends so they slide in without snagging.
Important: Start a tiny bit short, around 1/32 to 1/16 inch, so the grid drops in easily. You can always sneak up on a perfect fit with sanding. You cannot un-cut a piece you made too long.

Step 5: Cut locking notches
This is the part that makes everything feel custom. Instead of just butting pieces together, you cut half-depth notches so the slats interlock like a simple lattice.
Key detail for beginners: Each intersection needs a matching pair of half-depth notches, one on the main slat and one on the cross piece, so they slide together flush (a simple half-lap joint).
How to notch
- Decide where each cross piece will intersect a main slat.
- Mark the notch width to match your slat thickness (for example, 1/8 inch thick slat equals a 1/8 inch wide notch).
- Mark the notch depth at half the slat height.
- Cut down on both notch lines, then carefully remove the middle with repeated shallow cuts.
- Repeat the matching notch on the cross piece at the same intersection location.
- Test-fit. Sand as needed for a snug slide-in fit.
Tip from my own mistakes: Make the notch slightly tight at first. It is easy to sand wider. It is annoying to fix a notch that is too loose.
Step 6: Dry-fit the grid
Assemble everything without glue inside the drawer. This is where you catch the little issues:
- A divider line that steals space from your biggest bottle
- A cross piece that is 1/8 inch too long
- A notch that needs a few swipes of sandpaper
If the grid drops in and lifts out easily, you are ready to glue.
Step 7: Glue or keep it removable
You have two good options, depending on how permanent you want this.
Option A: Glue the grid only
This is what I do most often. Add wood glue in the notches, assemble on a flat surface, and clamp or tape lightly until dry. Wipe away any glue squeeze-out right away with a barely damp cloth. Once it cures, the whole divider lifts out as one piece for cleaning.
Option B: Glue it into the drawer
I only do this if the drawer is deep and heavy-use and I never plan to change the layout. Use a tiny bead of glue along the outside edges, set it in place, and weight it while it dries.
Two small cautions: Protect the drawer finish before you add weight (a scrap of cardboard or wax paper is enough), and keep glue minimal so you do not end up with squeeze-out glued to the drawer bottom.
Dry time: Follow your glue label. In normal conditions, many wood glues are typically safe to handle gently within about an hour, but I still wait overnight before loading it up with heavier items.
Step 8: Seal for easy cleaning
Laundry drawers deal with drips. If you want your dividers to wipe clean like a dream:
- Sand lightly with 220 grit.
- Apply a thin coat of water-based polyurethane or wipe-on finish.
- Let it cure fully before putting products back in.
If you are using unfinished plywood and you have small kids who love to “help,” sealing is worth the extra 10 minutes.
Compartment ideas
- Skinny lane: stain pens, bleach pens, seam ripper, fabric shaver tools
- Medium box: small sprays stored sideways (cap toward the back so leaks are easy to spot)
- Brush bay: scrub brush plus a small cup area for toothbrushes (keep truly wet tools in a washable container)
- Rag zone: microfiber cloths, old socks used as dusting mitts, disposable stain wipes
- Oddball square: safety pins, clothespins, mini scissors, measuring scoop
If your laundry space is more of a closet situation, you might also like Back-of-Door Laundry Closet Storage Ideas for the stuff that does not belong in drawers at all.
Troubleshooting
My drawer is not perfectly rectangular
Use the smallest width and depth measurements so the grid does not jam. If your drawer bows, keep the divider assembly removable and leave a slightly bigger gap on the tight side.
The dividers slide around
Add a piece of drawer liner underneath, or glue two tiny wood tabs to the outside edges of the grid so it keys into place.
My slats warped
Thin wood can warp if it is stored leaning. Pick straighter stock, and seal both sides if you finish it. If a piece is badly warped, replace it. It will never behave.
I need to store leaky bottles
Give anything prone to drips its own compartment and add a small washable tray or a folded rag beneath it. If you want to go deeper on keeping supplies tidy and contained, decanting can cut down on crusty caps and mystery leaks.
Safety notes
I am not a chemist, just a mom who has cleaned a lot of grass stains, but a few basics keep your drawer safer:
- Do not store open or actively wet rags in a closed drawer.
- Keep products tightly capped and wipe threads before putting them away.
- If you use strong chemicals, keep them in original containers so the instructions and warnings stay with them.
- Store stain tools where little hands cannot access them if you have young kids.
How this fits a makeover
This is one of those small builds that makes a laundry room feel done, even if you are still working on bigger upgrades. It pairs nicely with other space-maximizing projects, like a folding surface over machines. If you are dreaming about that next, peek at DIY Waterfall Countertop Folding Station Over Front Loaders.
And if your entire laundry area is tiny, you are my people. There are more ideas in Small Spaces & Closets that are built for real-life layouts.
Quick checklist
- Measure the drawer in multiple spots and use the smallest measurement
- Plan compartments around your actual stain tools
- Cut long pieces first, then notch for interlocking joints
- Dry-fit everything before glue
- Wipe glue squeeze-out right away
- Seal the wood if you want easy wipe-down cleanup
When you are done, you should be able to open that drawer, grab exactly what you need with one hand, and shut it without playing stain stick Jenga. That is the kind of tiny win that makes laundry feel a little less endless.