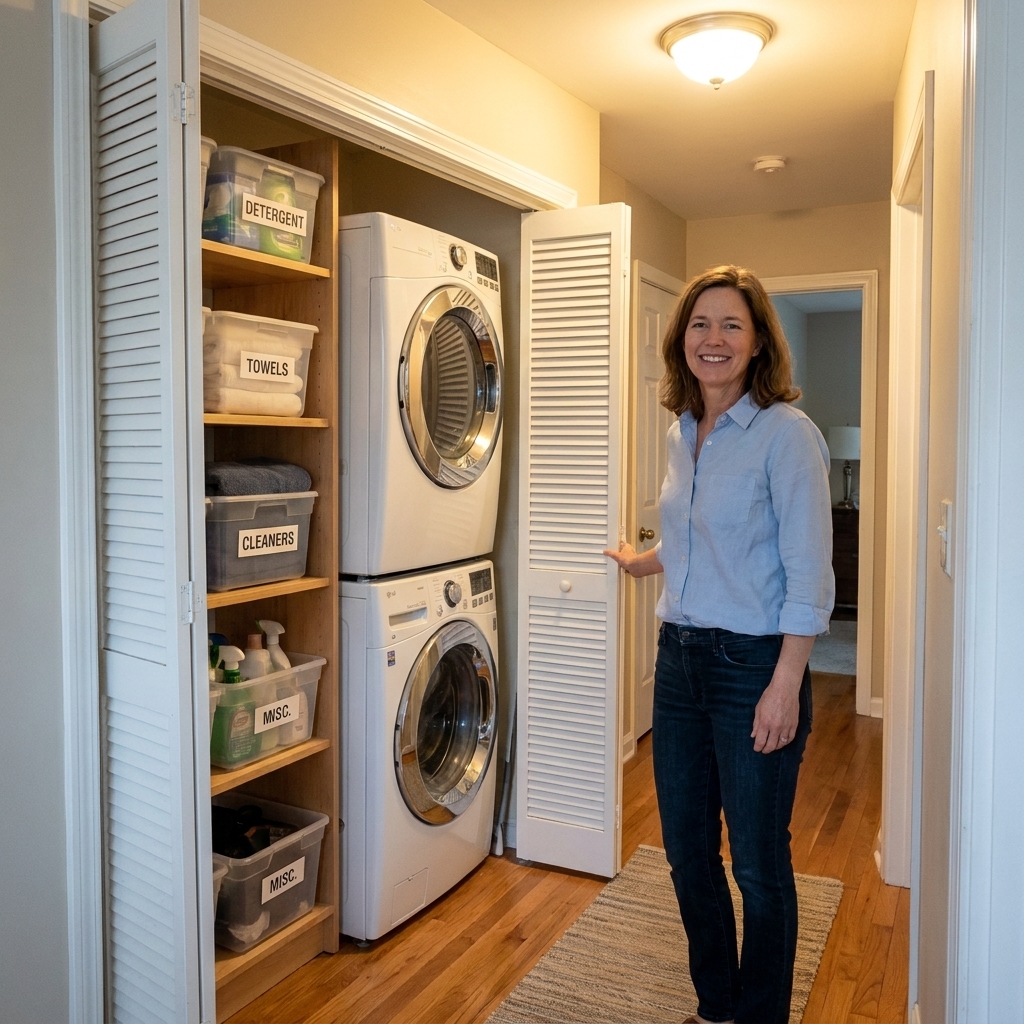
In my house, the laundry closet door is basically a hardworking employee that was never given a job title. For years, it just swung open and shut while the real chaos happened on the shelf above the washer and on the floor (hello, mystery socks). Once I finally treated the back of that door like prime real estate, the whole closet got easier to live with.
If your laundry space is tight, the back of the door is one of the only places you can add storage without stealing elbow room. The trick is choosing the right type of organizer for your door, installing it so it stays put, and keeping what you store there realistic for a door that moves.
Measure first
This is the part that saves you from buying something great that immediately becomes a return. Grab a tape measure and check these five things:
- Door thickness: Many over-the-door hooks are made for standard interior doors around 1 3/8 inches thick, and some fit up to about 1 3/4 inches. Measure your door edge so you know what you are working with.
- Door-to-jamb clearance: Close the door slowly and watch where it gets tight near the stop molding and trim. If clearance is tiny, look for a thinner hanger style or a screw-mounted solution.
- Bottom gap: If you want a full-length organizer, make sure it will not drag on the floor, baseboard, or door sweep.
- What the door hits when opened: If the door swings into shelving or the machines, bulky storage can bang into things.
- Hinge side vs knob side: The knob side often has the tightest clearance against the jamb and casing. If your organizer is thick, it may behave better centered or slightly closer to the hinge side so it is not trying to wedge into the trim every time you close the door.
Clara tip: Before installing anything, tape a folded bath towel to the door at the height you plan to store items. Open and close the door. If it rubs, your future organizer will too.
Choose door storage
There are three workhorse options I reach for over and over: over-the-door organizers, heavy-duty hooks, and narrow shelving. You can use just one, or combine them if you keep the footprint slim.
Option 1: Over-the-door organizers
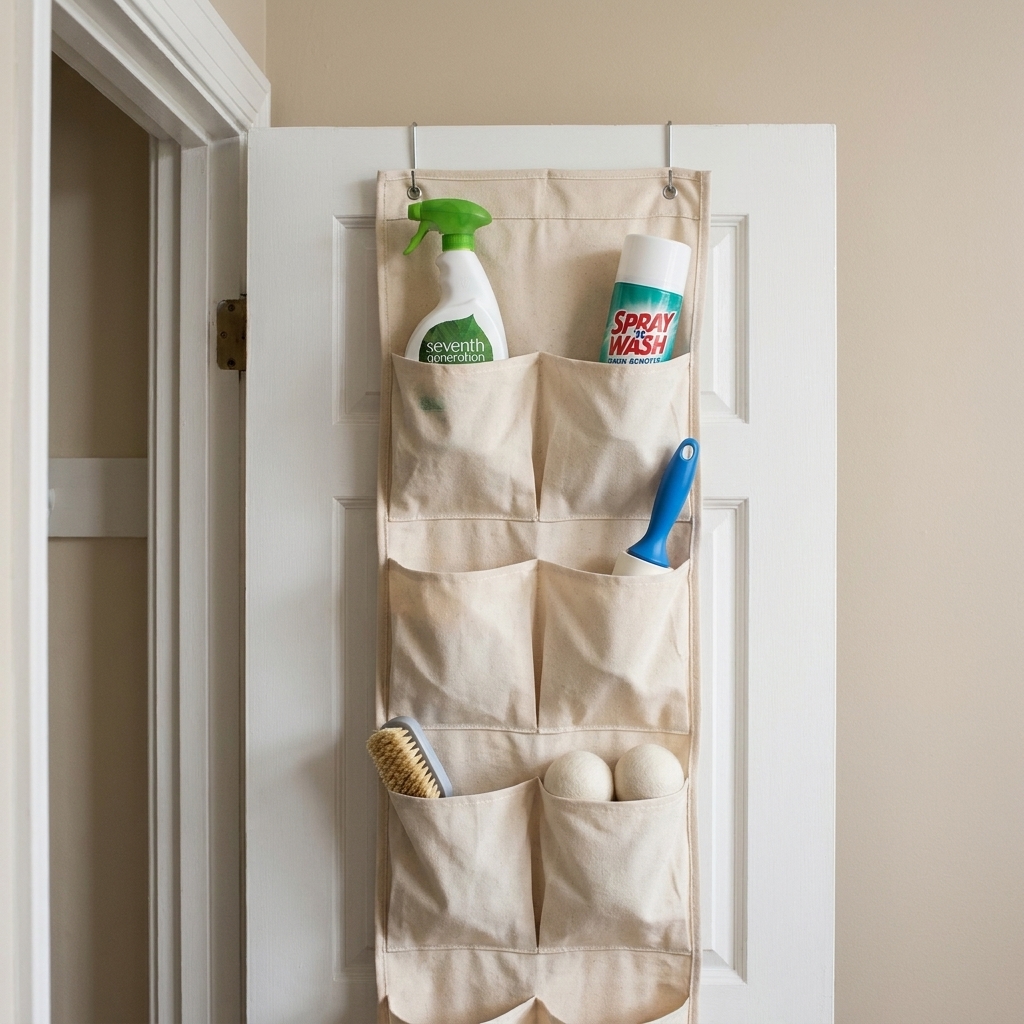
Over-the-door organizers are perfect when you need a home for all the little things that tend to migrate: stain stick, lint roller, delicates bags, dryer balls, measuring scoop, lost buttons, you name it.
- Rigid pocket or bin styles: Better for heavier items. They keep their shape and do not sag.
- Fabric pocket styles: Great for light items, but they can lean and swing if overloaded.
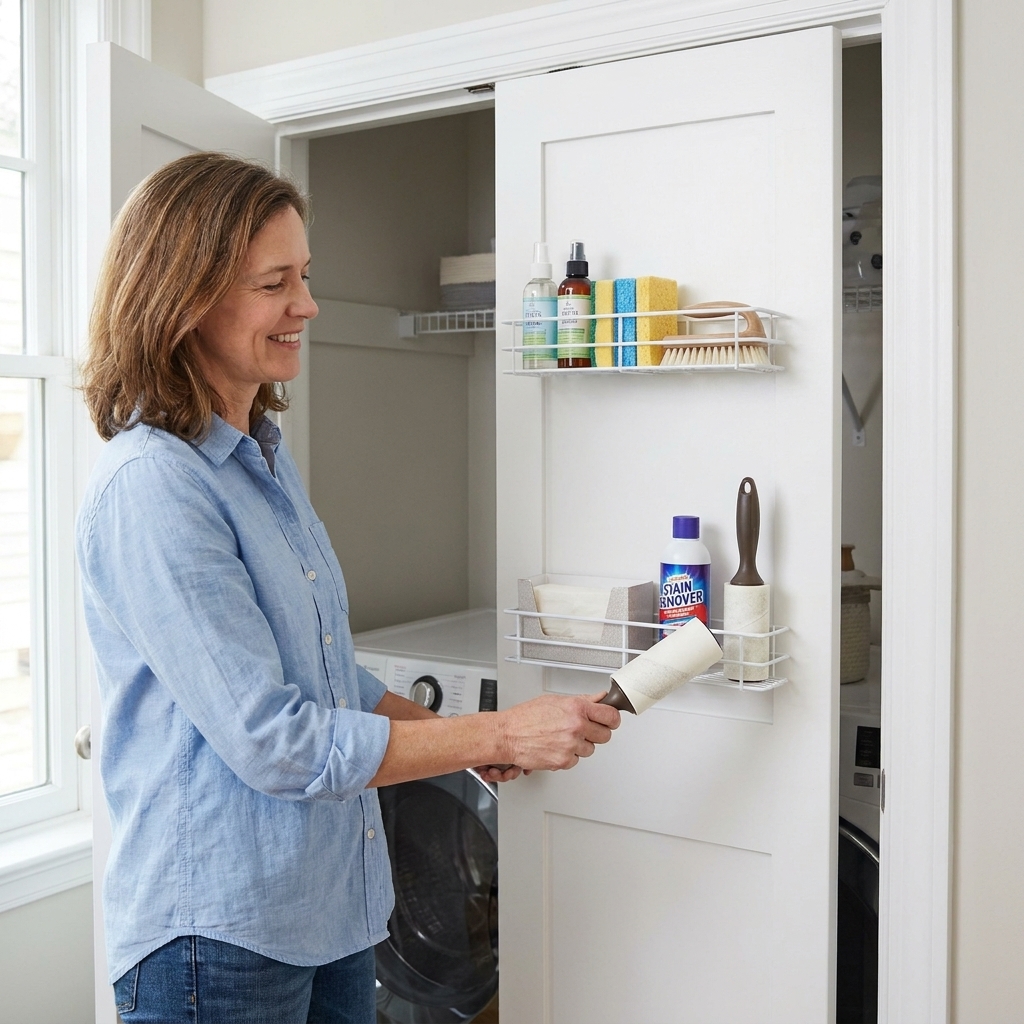
- Wire rack styles: Awesome for sprays and bottles since you can see everything at a glance.
What to store here: stain removers, travel-size detergent, mesh wash bags, lint rollers, clothespins, garment brush, small scrub brush, laundry pen, and a tiny fix-it tool (like a tape measure or mini screwdriver) that you actually use.
What not to store here: giant detergent jugs, gallons of bleach, glass bottles, or anything you would hate to have leak while it swings.
Option 2: Heavy-duty hooks
If you want the simplest upgrade possible, hooks are it. I love them for hanging the things that clutter the floor but do not need a shelf.
- Over-the-door hooks: Fast and renter-friendly.
- Screw-in hooks: More secure and less likely to shift.
- Double hooks: Hold more without everything sliding to the center.
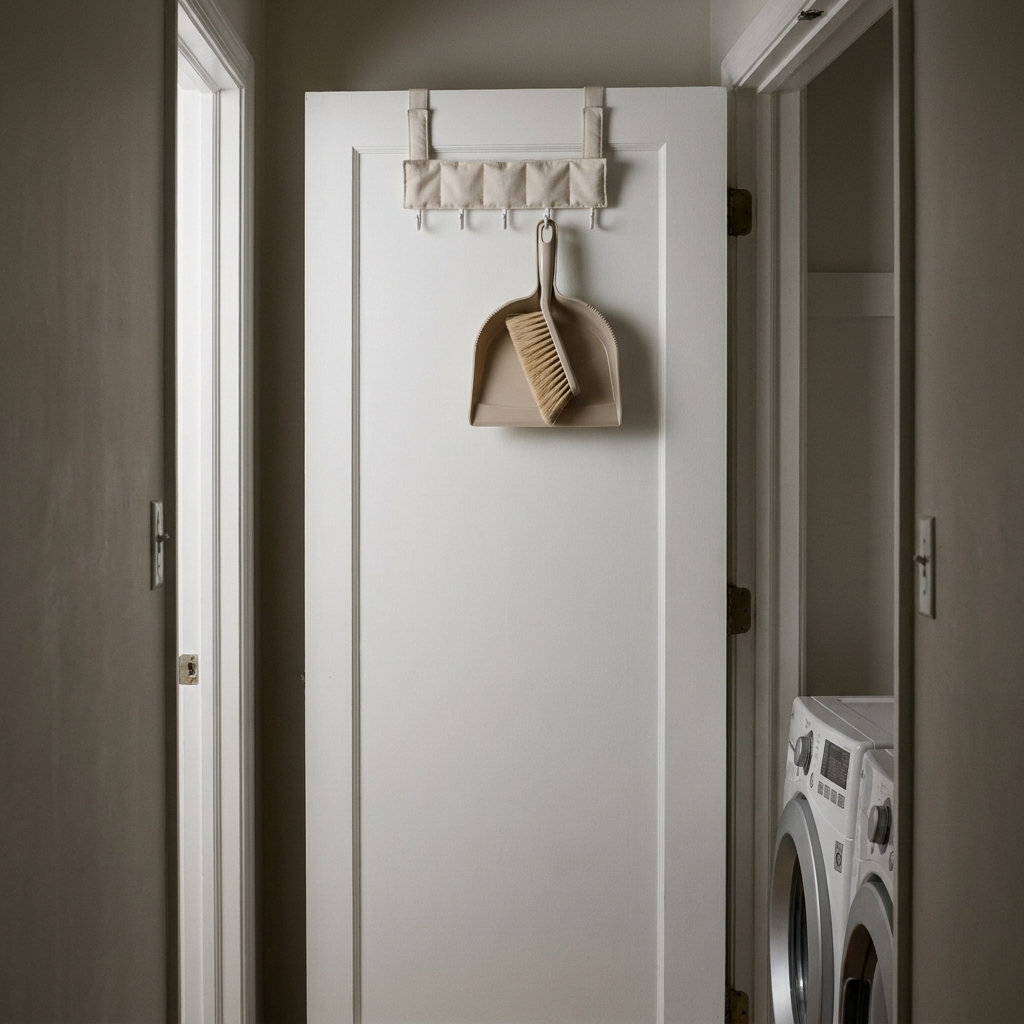
What to hang: a compact foldable drying rack, an ironing mat, an apron, microfiber cloths, a small hand broom and dustpan, a garment steamer (or its storage bag), reusable bags for donations, or an empty tote for “lost and found” clothes.
Option 3: Narrow wire shelving
If your door is solid and flat, you can add narrow wire shelves mounted directly to it. This gives a more built-in feel and can be sturdier than some hanging organizers.
Best uses: small bottles, dryer sheets, wool dryer balls, and lightweight refills. Keep it narrow so the door stays balanced and does not feel like it is fighting you every time you open it.
Install without wobble
The most common complaint I hear is, “It keeps shifting,” or “It bangs when I close the door.” Both are fixable.
Step-by-step
- Clean the door surface. Wipe down the inside of the door where anything might rest against it.
- Add protection to the hooks. If the organizer did not come with pads, stick thin felt pads where the metal touches the door. This cuts down noise and protects paint.
- Hang it and test the swing. Open and close the door slowly. Make sure the top hooks do not scrape the trim.
- Stabilize the bottom. Use removable mounting strips or a small amount of museum putty behind the lower corners to keep it from swaying. Quick note: some strips do not love textured paint or dusty doors, and they can pull paint if removed the wrong way. Test a small spot first and follow the removal directions.
- Load heavier items low and lighter items high. This keeps the weight down and reduces wobble.
Safety note: Store chemicals up high only if you have little kids. If kids can reach the organizer, keep anything hazardous elsewhere or behind a childproof latch. Also, if your closet runs warm, skip storing aerosols or flammables on the door, and keep bleach and ammonia-based products separated.
Install hooks securely
If you are hanging anything with weight (like a dustpan set or a steamer), the quality of the hook matters as much as the install.
Two secure approaches
- Over-the-door hook, stabilized: Add felt pads and use removable strips near the lower part of the hook plate so it cannot wiggle sideways.
- Screw-in hook (most secure): Pre-drill a small pilot hole and screw the hook into the door. For hollow-core doors, choose anchors designed for hollow-core doors, keep loads modest, and do not overtighten. You want secure, not crushed.
Clara tip: Keep hanging items flat. A bulky bag sticking out will catch on you every time you walk by, especially in a hallway laundry closet.
Add slim door shelves
Door-mounted shelving is a great fit when you want a cleaner look than pockets, and you are okay with a little drilling.
Installation basics
- Choose a shelf depth that is truly slim. The shallower the better for door clearance.
- Mark placement with painter’s tape. Aim for shelves at heights that match what you store. Bottles low, small items higher.
- Use appropriate anchors. Solid wood doors can take screws directly. Hollow-core doors usually need hollow-door anchors rated for the load, and a gentle hand so you do not crush the skin.
- Level each shelf. A small level saves you from the slow slide of bottles toward one side.
- Do a close test. Close the door gently and check for rubbing at trim and jamb before fully loading.
If your laundry closet is very narrow, you may also like the strategies in Maximizing Storage in a Tiny Bi-Fold Laundry Closet, since door clearance can be extra tricky with bi-folds.
What to store on the door
Doors are great storage, but they are not the place for everything. Think “light, frequent, and not fragile.”
Good door items
- Stain remover pens and small sprays
- Lint roller and garment brush
- Mesh delicates bags
- Dryer balls and clothespins
- Measuring scoop and a small funnel
- Microfiber cloths
- Small sewing kit for quick fixes
- Label maker or marker, if you actually use it
Store elsewhere
- Large detergent jugs and heavy refills
- Glass containers (they do not love door movement)
- Overflow backstock you rarely touch
- Strong chemicals within kid reach
- Anything that could leak and make a mess every time the door swings
If you are trying to tame the bottles and refills in general, pairing door storage with decanted, right-sized containers can make the whole space calmer. I walk through that process here: Decanting and Organizing Laundry Supplies.
Door zones that work
When I set up a door, I try to create zones so everyone in the family can find what they need fast.
Top zone: grown-up supplies
- Extra stain remover
- Whitening booster
- Small bottle refills
Middle zone: daily grab-and-go
- Lint roller
- Delicates bags
- Dryer balls
- Fabric shaver
Bottom zone: drop it here
- Lost socks bin
- Small donation bag
- Cleaning cloths
For families, I also love building a simple sorting system so laundry does not pile up in random corners. If you need that next step, take a peek at Built-In Laundry Sorting Hamper System for Families.
Renter-friendly swaps
If you cannot drill, you can still get a ton of function back there.
- Choose over-the-door solutions first. They do the heavy lifting with zero holes.
- Use removable strips for stability. The goal is not to “hold the weight.” The goal is to stop swinging and banging. Test first, and remove slowly according to the package directions to protect paint.
- Go lighter than you think. A door organizer packed with heavy bottles can scuff paint, dent the top edge, or stress the hooks and hardware over time.
- Pad everything. Felt pads are cheap and save your sanity.
Fix common issues
The door will not close
- Move bulky items to higher pockets where the door often has a little more clearance.
- Switch to a slimmer organizer profile.
- Try a screw-mounted solution that sits flatter to the door.
- Shift the organizer slightly toward the hinge side if the knob side is binding against the jamb.
It bangs when the door moves
- Add felt pads anywhere metal touches the door.
- Stabilize the bottom corners with removable strips or putty.
- Keep heavier items low.
The organizer leans or sags
- Reduce weight, especially in the top pockets.
- Swap fabric pockets for rigid bins or wire racks.
- Secure the bottom with strips, or use a discreet screw if allowed.
Things fall out
- Use small bins inside pockets to cup tiny items.
- Keep sprays in deeper racks with a front bar.
- Do not store tall, top-heavy bottles on the top row.
15-minute monthly reset
Door storage only stays helpful if it does not turn into a junk drawer on hinges. About once a month, I do a fast reset:
- Toss empties and dried-out markers.
- Wipe sticky bottle bottoms.
- Return rogue items to their real homes.
- Limit duplicates to one backup max per product.
If your laundry makeover is happening on a tight budget, you might also enjoy my round-up of low-cost organizing wins: 15 Dollar Store Organization Hacks for a Budget Laundry Makeover.
Quick recap
- Measure thickness and clearances before you buy, especially at the jamb on the knob side.
- Keep door storage light and stable, with pads and bottom anchors if needed.
- Store only what you use often, and do a quick monthly reset to keep it from creeping back into chaos.