In my house, single socks multiply the way bobby pins do. They show up in the hallway, under beds, and somehow in the clean laundry basket after I just paired everything. After my third kid started "rescuing" lonely socks from the dryer and tossing them onto the counter like tiny surrendered flags, I finally gave those strays a designated home.
This decorative DIY lost socks display board is one of those quick, satisfying projects that makes your laundry room feel more intentional without adding another bin to the floor. It uses a simple wood board and clothespins so you can clip up singles until their match turns up.

Why a lost socks board actually works
I love any system that does two things at once: contains clutter and reduces repeat decisions. A sock board helps because:
- Singles stay visible, so they get paired faster than socks tossed in a drawer.
- Kids can participate without digging through baskets. Clip it up and move on.
- It looks cute on the wall, which is a small win in a very unglamorous room.
- It is flexible. Add more clothespins, swap seasonal paint, or change the size anytime.
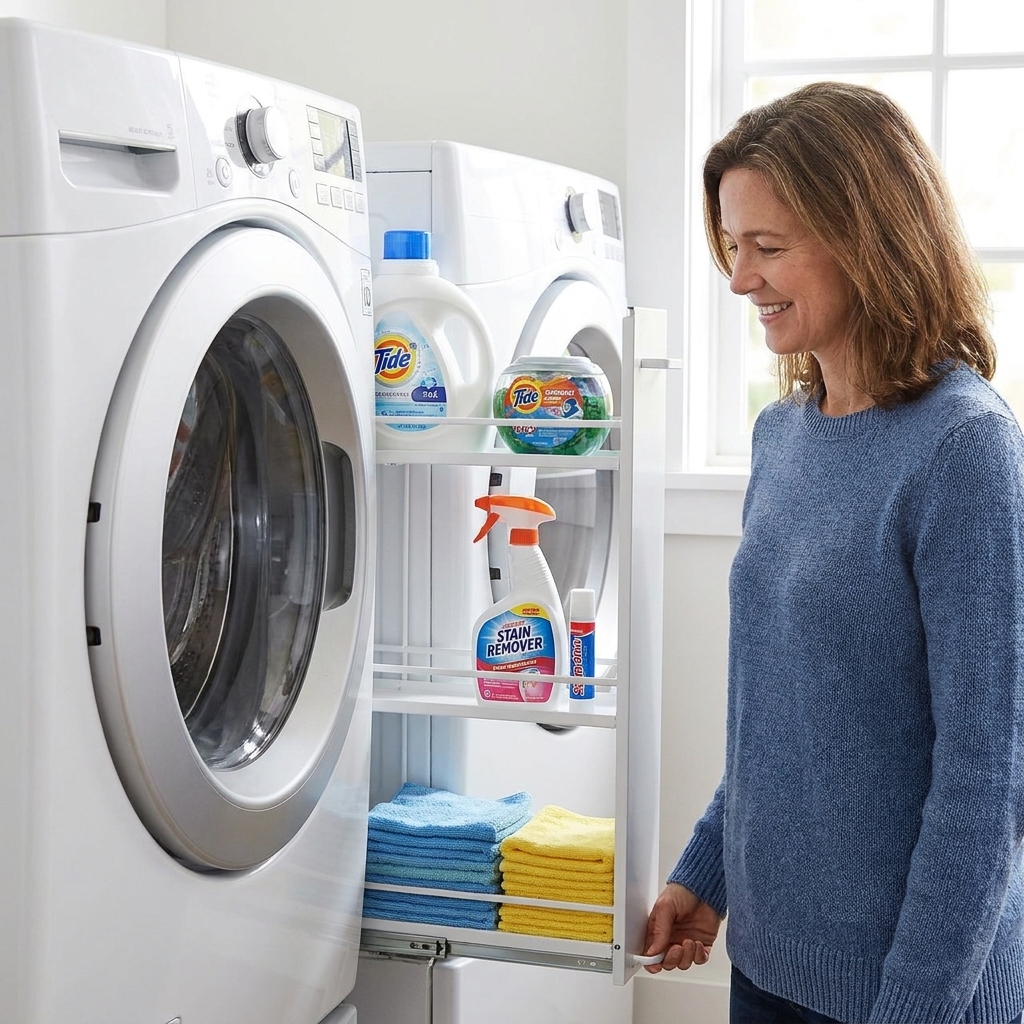
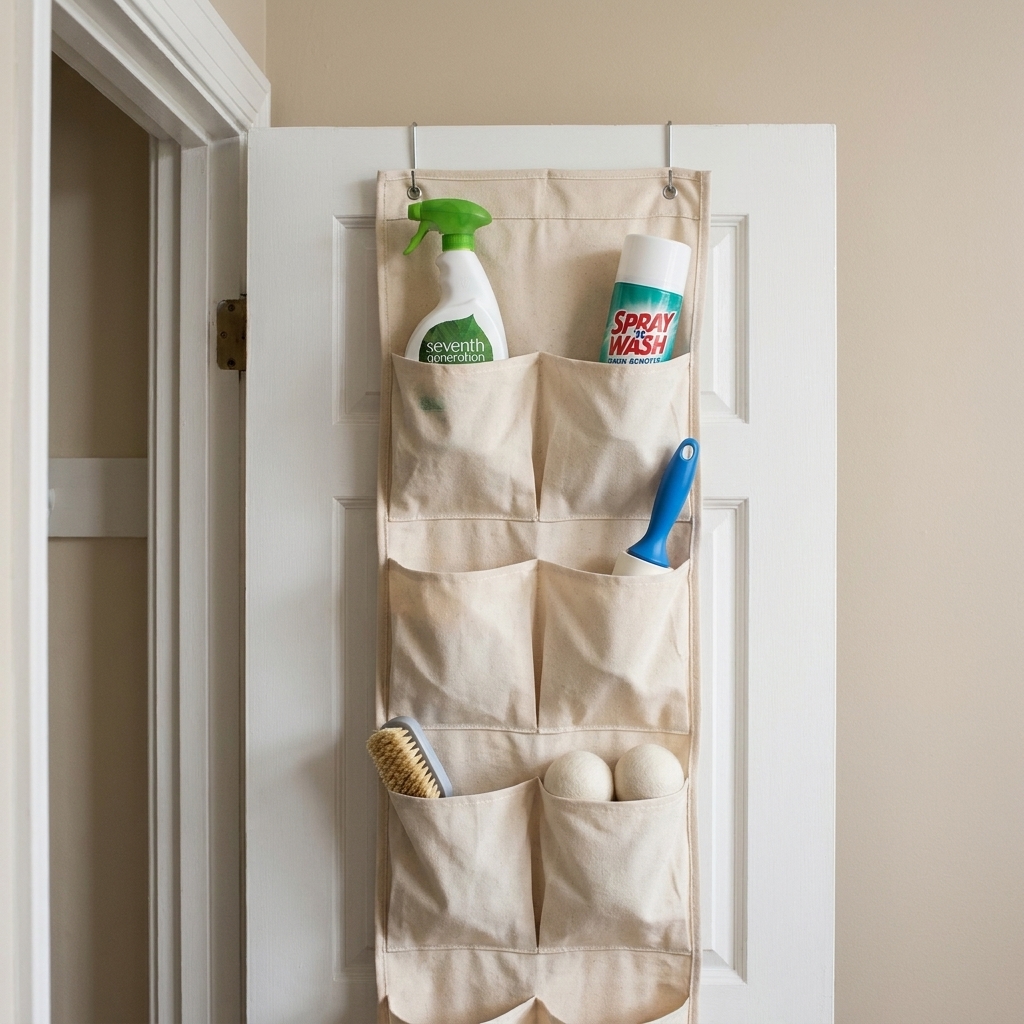
If you are working with a truly tight laundry setup, pairing this with vertical storage helps a lot. My favorite no drama options are back-of-door storage and a few simple upgrades from dollar store organization hacks.
Supplies
You can make this with what you already have in the garage, which is my favorite kind of project. Here is what I use.
Materials
- One wood board, roughly 1x6 or 1x8 (about 18 to 30 inches long)
- 6 to 12 mini wooden clothespins (or regular clothespins if you want it chunkier)
- Wood glue and small nails or screws (glue alone works, but hardware makes it sturdier)
- Sandpaper (120 and 220 grit, or whatever you have)
- Primer (optional but helpful if your board is knotty or previously stained)
- Paint or stain
- Clear topcoat (optional, especially in high humidity laundry rooms)
- Hanging hardware (sawtooth hanger, D rings, or a keyhole bracket)
Tools
- Tape measure
- Pencil
- Paintbrush or small foam roller
- Drill or hammer
- Level (strongly recommended if you want it to look polished)
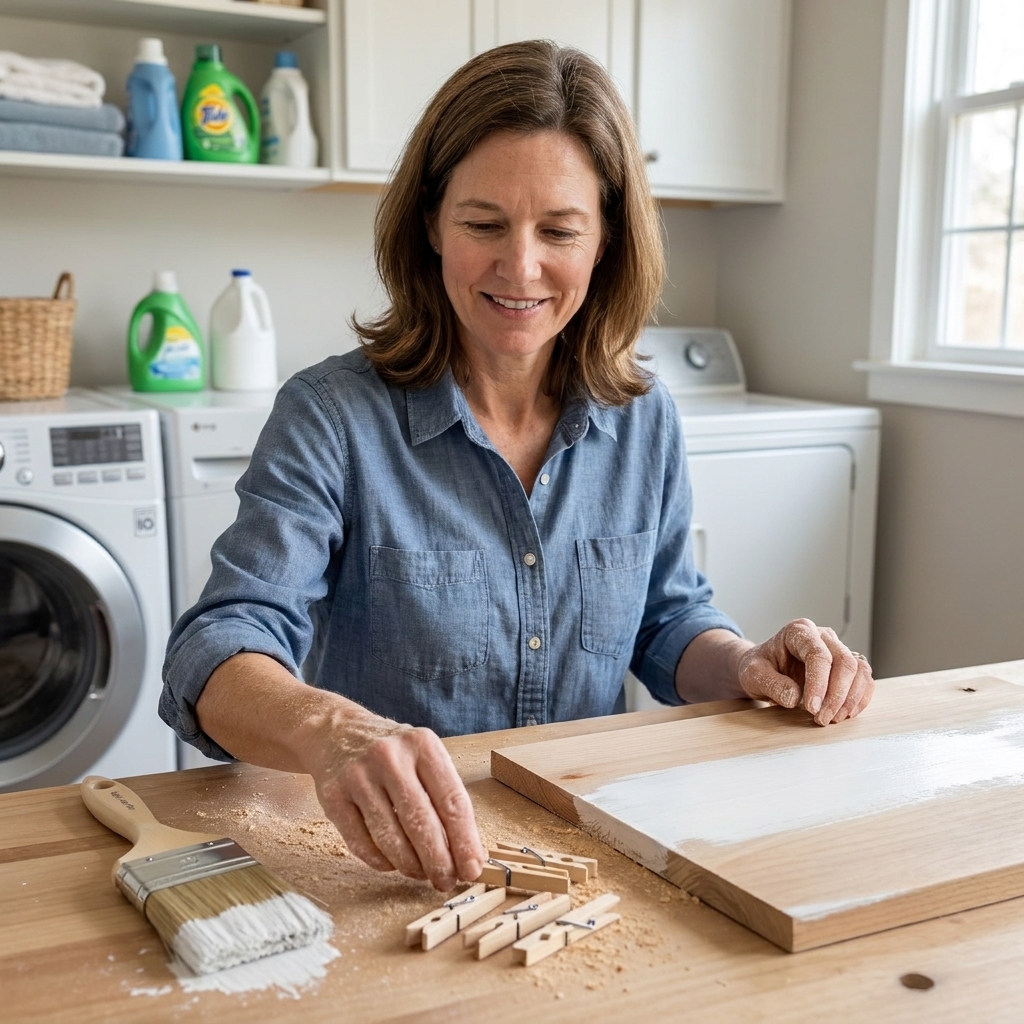
Step-by-step: paint and assemble your board
1) Pick your size based on your sock reality
Be honest about how many strays you usually have at one time.
- Small family or minimalist laundry pile: 18 inches wide with 6 to 8 pins.
- Busy family laundry room: 24 to 30 inches wide with 10 to 12 pins.
I like 2 to 2.5 inches between clothespins so bulky athletic socks do not fight each other.
2) Sand like you mean it
This is the difference between “cute handmade” and “splinter board from the scrap pile.” Do a quick pass with 120 grit, then a smoother pass with 220. Round the corners slightly so nobody catches a hip on a sharp edge in a narrow laundry nook.
3) Paint or stain
Prime if your board has knots or if you are painting it a light color. Then do 2 thin coats of paint, letting it dry fully between coats.
My go-to laundry room trick is using leftover wall paint for the board and a contrasting color for the clothespins. If you have extra paint sitting around, that same strategy works beautifully for small upgrades like I share in leftover paint projects.
4) Mark clothespin placement
Measure and lightly pencil where each clothespin will sit. Start by marking the center point, then work outward so spacing stays even.
5) Attach the clothespins
You have a few options here:
- Fast and simple: wood glue. Hold each pin in place for 20 to 30 seconds, then let the whole board cure overnight.
- Best for heavy use: wood glue plus a tiny nail or screw through the clothespin base. Pre-drill to prevent splitting.
- Extra polished: mount the clothespins on a thin wood strip first, then attach the strip to the board. This creates a nice dimensional look.
6) Seal it (optional but worth it)
If your laundry room gets steamy or your board will be near a sink, add a clear water-based topcoat. It keeps the paint from getting scuffed when kids clip and unclip socks with all the gentleness of a raccoon in a pantry.
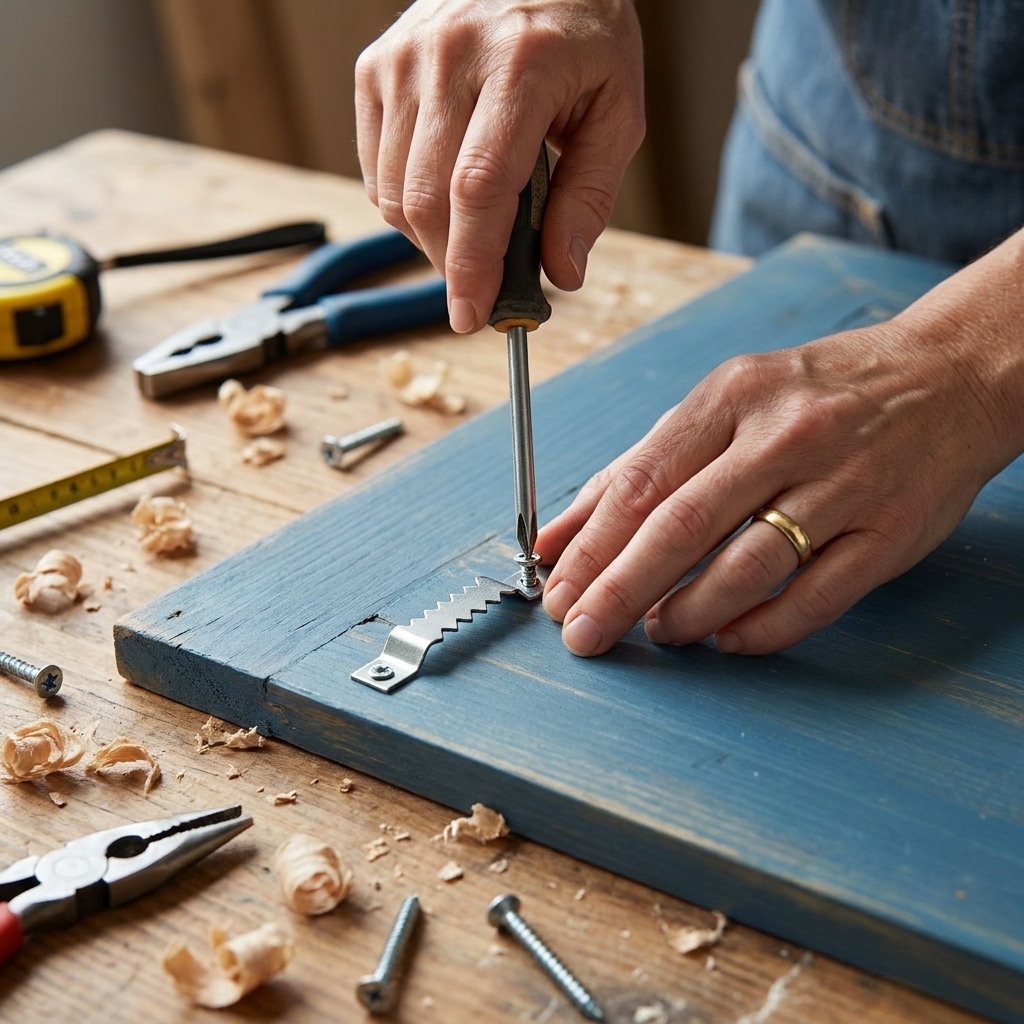
7) Add hanging hardware
Install a sawtooth hanger centered on the back, or use D rings if the board is longer. If you are mounting on drywall, hit a stud when you can. If you cannot, use a proper wall anchor rated for the weight of the board.
Where to hang it in a laundry room
The best placement is wherever socks naturally land in your routine. A few tried-and-true spots:
- Above the folding surface so singles get clipped up while you are sorting.
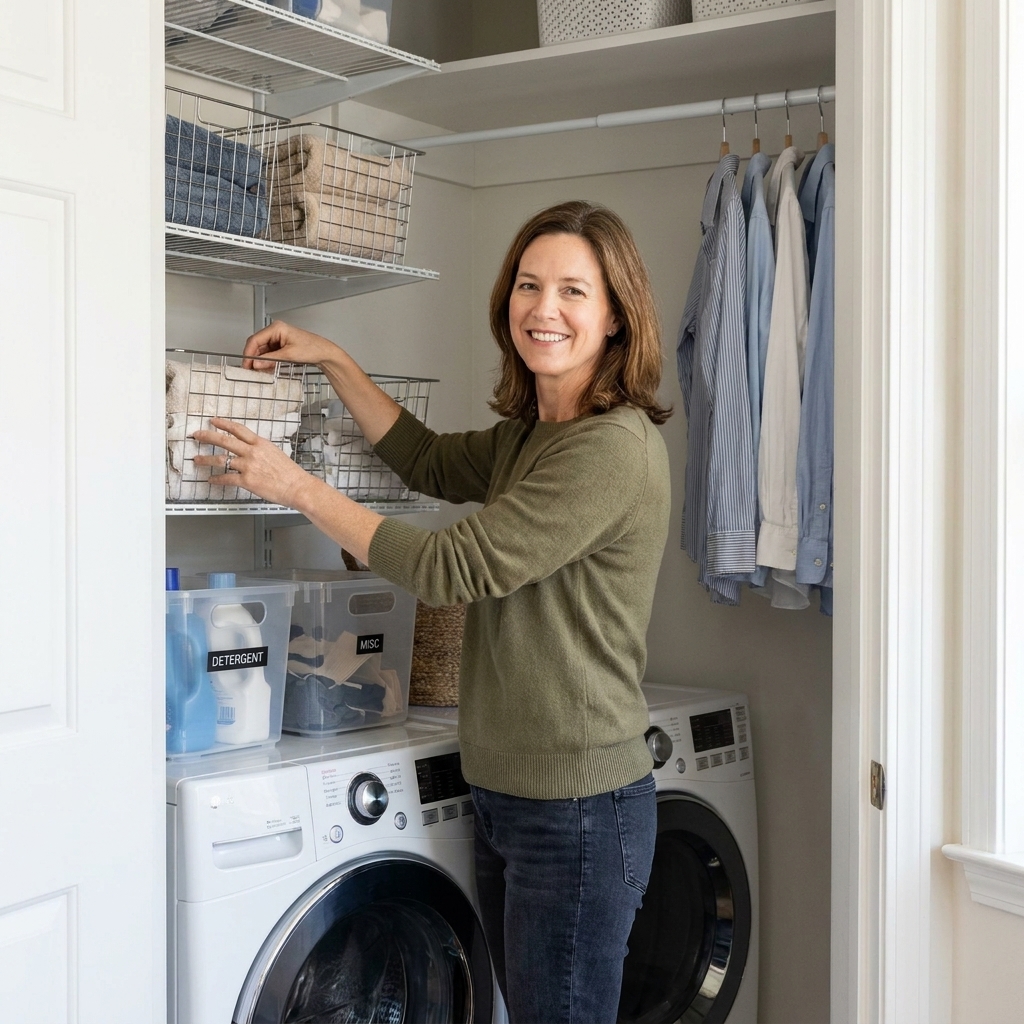
- Inside a laundry closet on the side wall, as long as it does not interfere with door swing.
- Near the hamper zone so kids can clip their own strays immediately.
- By the dryer, but not so close that heat or vibration becomes annoying.
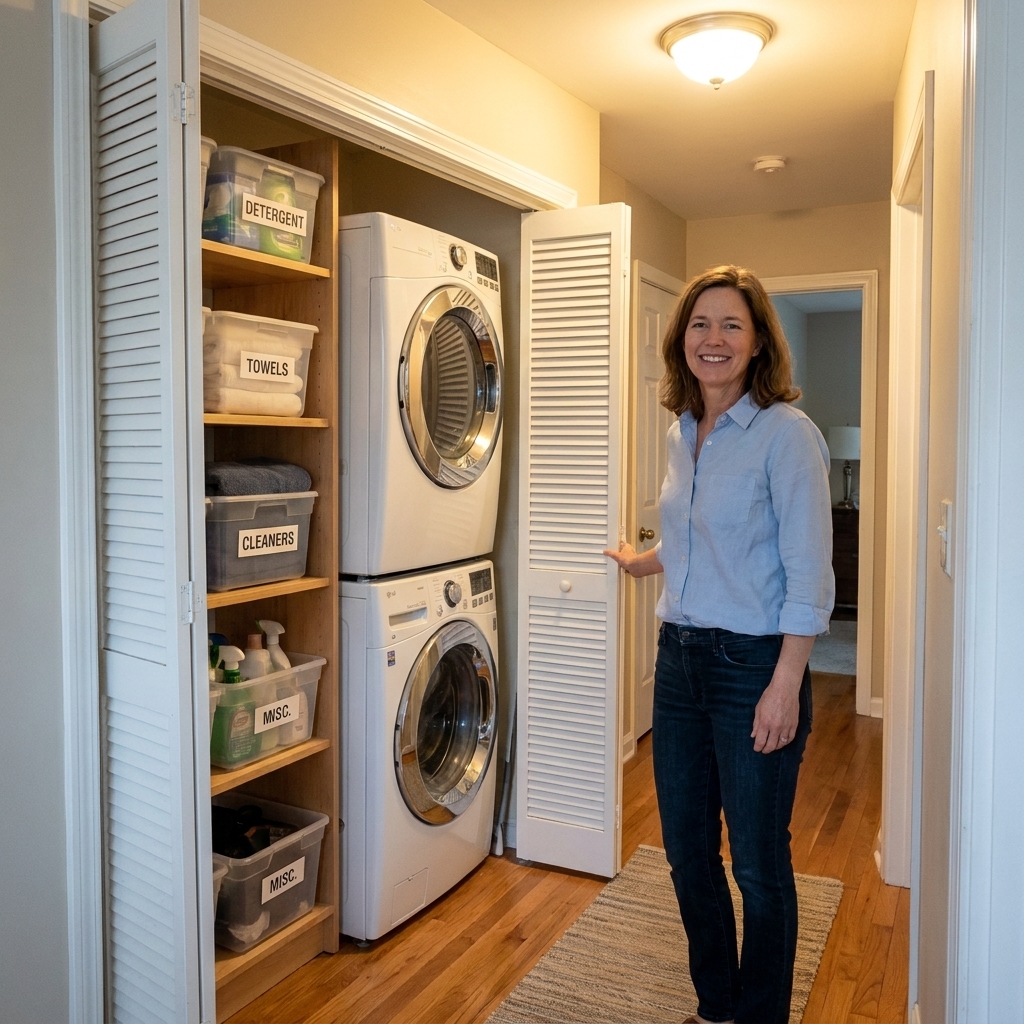
If your laundry is tucked into a closet, you will probably like the wall-friendly ideas in maximizing storage in a tiny bi-fold laundry closet.
Make it decorative without making it fussy
You do not need fancy lettering tools to make this feel intentional. A few easy ways to dress it up:
- Two-tone paint: neutral board, colored clothespins.
- Stain plus white pins: classic and clean, especially with wood shelves.
- Simple stripe: tape off one band across the bottom third of the board and paint it a contrasting color.
- Hardware upgrade: swap mini clothespins for brass clips or small binder clips on tiny screws (a little more industrial, very sturdy).
If you love the look of labeled everything but you want it to be budget-friendly, you might also enjoy my method for high-end laundry labels with packing tape and water.
House rules that keep this from becoming a sock museum
A lost socks board only stays helpful if it does not turn into a permanent exhibit. Here is what works in our house:
- Weekly reset: On laundry day, anything older than 2 to 3 weeks gets reassigned. Either it becomes a rag, goes in the “mystery sock” bin, or gets donated if it is orphaned beyond hope.
- One sock per pin: If two get clipped together, nobody can tell what is actually missing.
- Kids clip their own: If they are old enough to wear socks, they are old enough to operate a clothespin.
Troubleshooting
My clothespins keep popping off
Wood glue needs clamping pressure and cure time. Hold each pin firmly when placing, then let it cure overnight. For a forever fix, add a small nail or screw through the base of each clothespin.
Socks slide out of the pins
Some mini clothespins are weak. Try full-size clothespins, or clip socks by the thicker cuff. You can also lightly rough up the inside grip with sandpaper.
The board looks crooked
Use a level when hanging, and measure from the ceiling or shelf line rather than eyeballing. Laundry rooms have a way of making crooked look extra obvious.
A tiny upgrade that makes laundry feel calmer
I am not claiming this will solve the mystery of where all the missing socks go. But it will give the strays a cheerful place to wait, instead of cluttering your folding station or migrating into drawers like little lint-covered gremlins.
If you are building out a whole laundry wall, this pairs nicely with a vertical tool zone like a pegboard. I walk through that build in custom pegboard wall for a skinny laundry room.