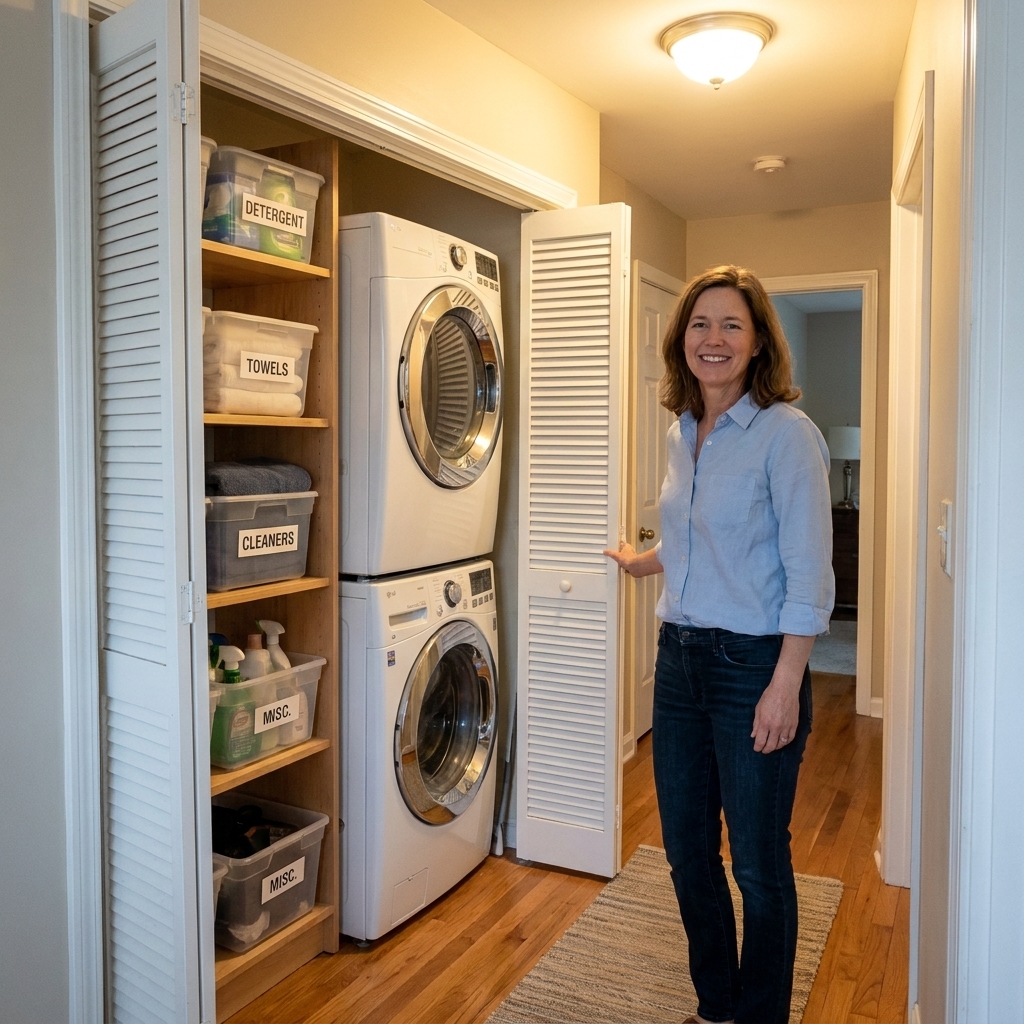
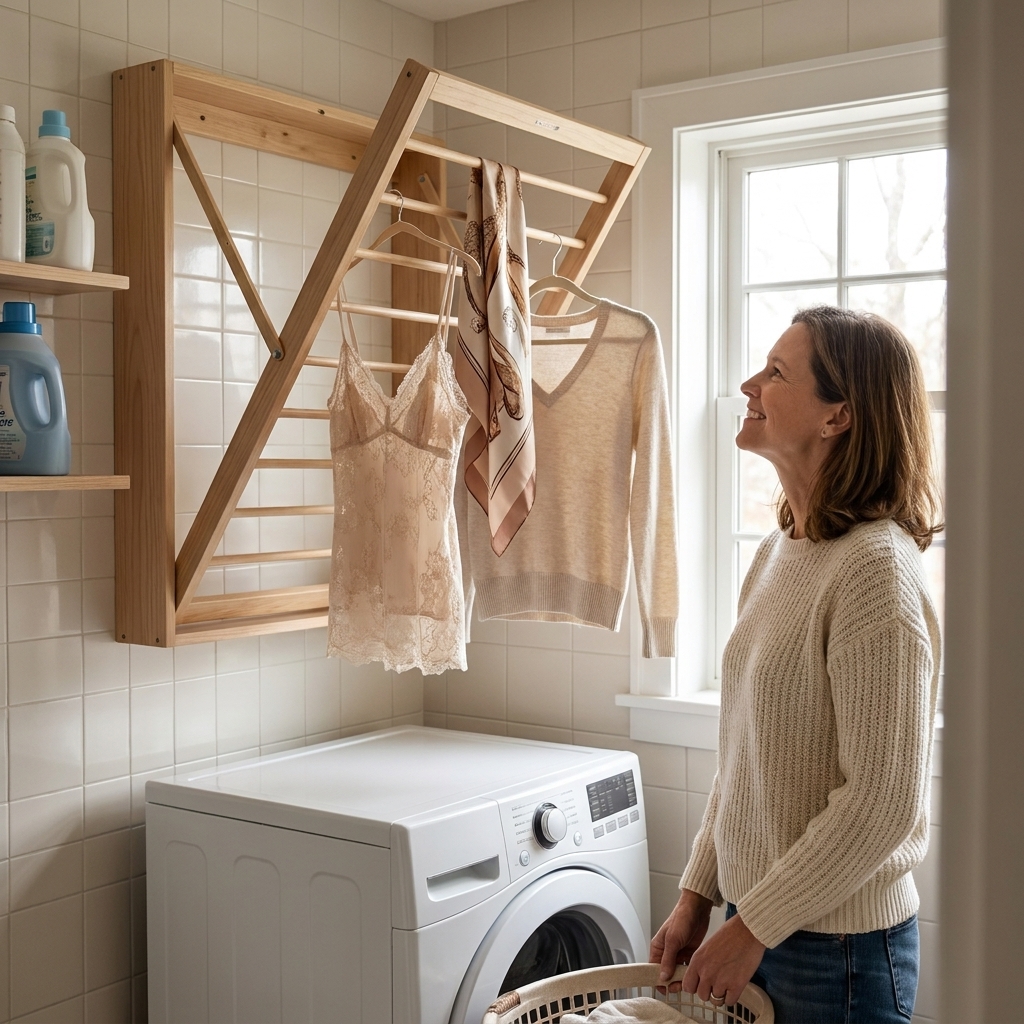
My laundry room is basically a hallway closet with ambition. When I first started trying to air-dry bras, sweaters, and the one shirt my oldest insists is “too fancy” for the dryer, I was draping things over every available surface. It worked, technically, but it also made the whole space feel cluttered and damp. A fold-down wall drying rack fixed that fast because it gives you vertical drying space when you need it, and disappears when you do not.
Here’s how I install a fold-down or retractable wall drying rack so it feels rock-solid, even with wet clothes hanging from it.
Pick the right spot
The best drying rack is the one that does not annoy you every time you walk past it. Before you touch a drill, stand in your laundry room and open doors and lids.
My favorite spots
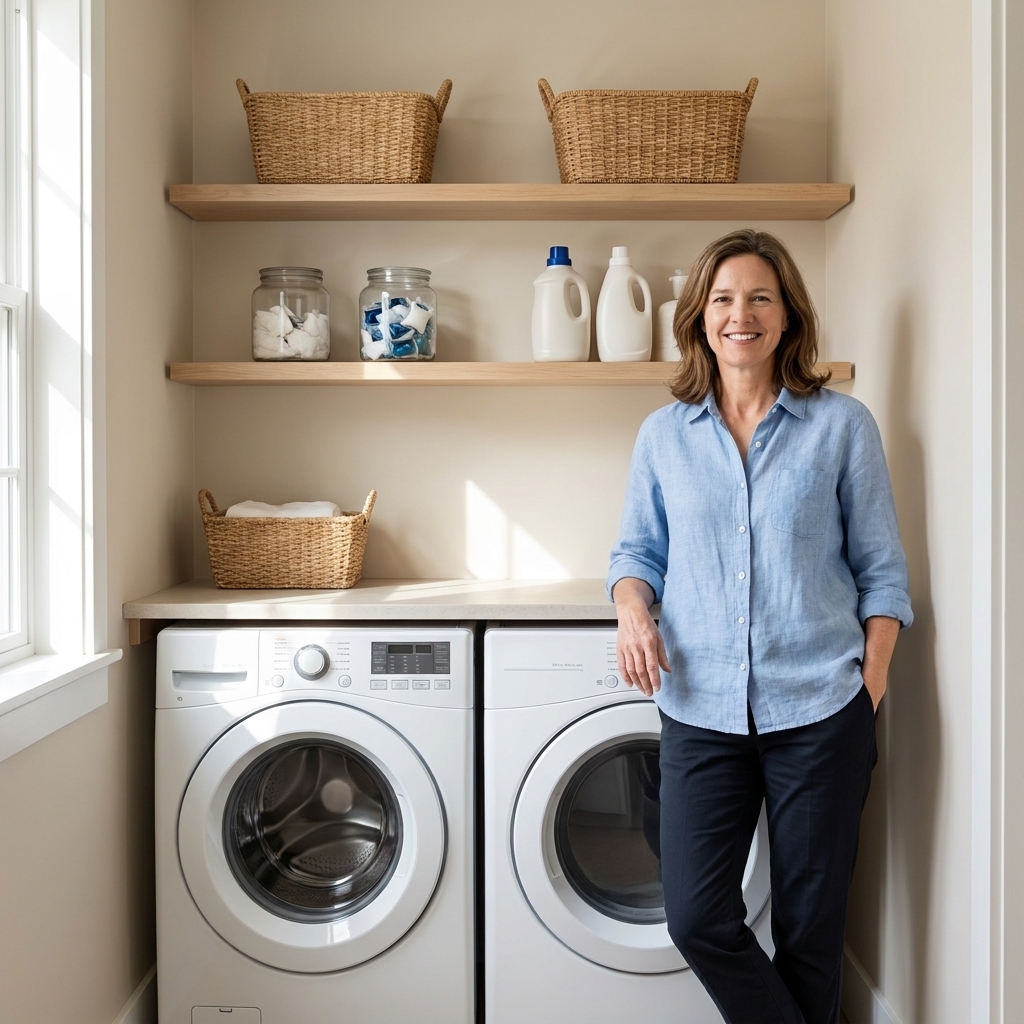
- Above the washer and dryer: Great use of dead wall space, especially in tight rooms.
- Next to the machines, on a clear wall: Easier reach for delicates without leaning over appliances.
- Inside a laundry closet (side wall): Perfect for small spaces if you can still close bi-fold doors without bumping the rack.
Clearance checklist
- Open clearance: Measure the rack’s depth when open and make sure it will not hit cabinet doors, a door swing, or your head.
- Closed clearance: Make sure it folds flat enough for your walkway.
- Airflow: Avoid tucking it behind hanging clothes or directly under a shelf that blocks air movement.
- Drip zone: Expect occasional drips. Keep it off wallpaper and away from outlets and power strips.
If you are organizing a tight laundry closet, you will probably like my small-space tips here: Maximizing Storage in a Tiny Bi-Fold Laundry Closet.
Rack types
Most wall drying racks fall into a few categories. Knowing which one you have helps you mount it the right way.
- Accordion style (often wood): Spreads weight across the side rails, but it still acts like a lever when loaded, so stud mounting matters.
- Fold-down arms (often metal): The bracket takes a lot of outward pull when the arms are open. These really benefit from solid framing behind them.
- Retractable line: The mounting points take tension, not just downward weight. If you crank the line tight, it can pull harder than you expect.
No matter the style, I treat the wall connection like the whole project. A pretty rack is only helpful if it stays put.
Tools and materials
Your rack will come with its own mounting directions. Follow those first. What I am sharing here is the stud-finding and secure-mounting method that keeps the rack from loosening over time.
Tools
- Stud finder (the kind that detects wood studs behind drywall)
- Pencil
- Tape measure
- Level (or a laser level)
- Drill/driver
- Drill bits (small bit for pilot holes, plus the size needed for any anchors)
- Screwdriver bit to match your screws
Materials
- Fold-down or retractable wall drying rack
- Screws (ideally sturdier than the tiny ones some kits include)
- Wall anchors (only if you cannot hit studs, or if the manufacturer requires them)
- Optional: 1x4 board to use as a mounting backer (great when studs do not align with the rack holes)
My screw rule of thumb
I still follow the manufacturer’s hardware requirements, but in plain DIY terms: for drywall over wood studs, I usually reach for #10 or #12 wood screws long enough to sink about 1 1/2 inches into solid wood after passing through drywall and the bracket. In many cases that means a screw around 2 to 2 1/2 inches long, but your wall thickness and rack bracket thickness can change that.
Find studs
A drying rack is a lever. Wet laundry adds weight, and that weight is pulling outward on the wall. That is why I treat stud-mounting as the default, not a bonus.
Step 1: Scan and mark edges
Run your stud finder horizontally across the wall at the height where the rack will sit. When it indicates a stud, mark the left edge and right edge of the stud. The stud center is halfway between those marks.
Step 2: Check the pattern
In many homes, studs are often spaced 16 inches on center, and sometimes 24, but it varies a lot (especially in older homes and remodels). Use the stud finder to confirm rather than trusting the tape measure alone.
Step 3: Do a tiny pilot test
If I am unsure, I drill a very small pilot hole where a mounting screw will go. If I hit solid wood behind the drywall, great. If it is hollow, I patch that tiny hole with a dab of spackle and adjust.
Important: If you hit something that feels like metal, or the drill suddenly stops hard, stop. You might be on a nail plate, metal stud, or something you do not want to drill through. Move the location and reassess.
Extra caution for laundry walls: Plumbing and electrical can share wall cavities. I avoid drilling near outlets and switches, and if placement is close to a plumbing wall, I keep screw length conservative. If you are at all unsure about what is behind that spot, it is worth turning off the nearby circuit at the breaker before drilling and choosing a different location.
Mounting height
My practical rule: mount it high enough that longer items do not drag on counters or the tops of machines, but low enough that you will actually use it without hauling out a step stool.
- Typical sweet spot: Around shoulder height for the primary laundry-doer.
- For dripping items: A bit higher helps keep drips off countertops.
- For kids’ uniforms and small items: Lower can be fine, as long as it does not become a hip-check hazard.
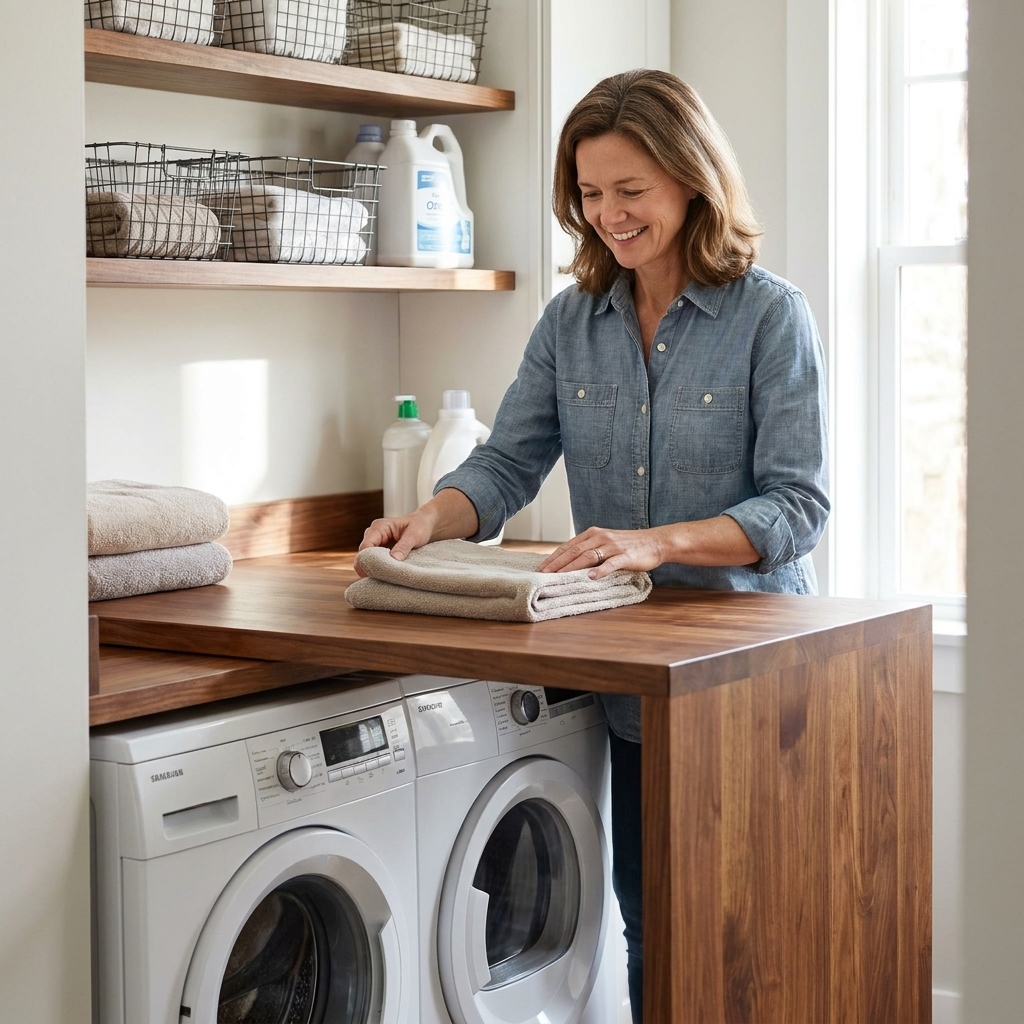
If you are building out a folding area too, you might enjoy: DIY Waterfall Countertop Folding Station Over Front Loaders.
Install the rack
Step 1: Hold it up and mark holes
Open the rack (or extend it) so you understand how it moves. Hold the mounting bracket against the wall, then use a level to make it straight. Mark the screw holes with a pencil.
Step 2: Drill pilot holes into studs
Drill pilot holes at your marks where they land on stud centers. Pilot holes keep screws from splitting wood and make the final install much easier.
Step 3: Screw it in
Drive screws through the bracket and into the studs. I like to start all screws before tightening any of them fully. That way you can make small adjustments to keep everything square.
Step 4: Test the movement
Open and close the rack a few times. Make sure it locks or clicks as intended and does not bind against the wall.
Step 5: Do a gentle load test
Before you hang your heaviest wet sweater, do a careful test. I pull down slightly on the rack with both hands. If anything shifts, squeaks, or flexes at the wall, stop and reinforce.
If holes miss studs
This is so common, especially with narrower racks. You have three options, and I will tell you which one I choose in real life.
Option A (my go-to): a backer board
Mount a 1x4 board horizontally across two studs, then mount the rack to the board.
- Why it works: You get solid stud support, plus freedom to place the rack wherever you want on that board.
- How to do it: Cut the board long enough to hit two studs. Level it, pre-drill, then screw it into studs with sturdy screws. After that, attach the rack to the board using the hardware recommended for wood.
You can paint the board to match the wall for a built-in look.
Option B: heavy-duty anchors
If you absolutely cannot hit studs, use anchors rated for the load and the pull-out force. In plain terms: use the strongest anchors appropriate for your wall type, and do not overload the rack. Follow the rack manufacturer’s guidance. If the rack will regularly hold heavy wet items, I avoid this option.
Option C: move it a few inches
Sometimes shifting left or right makes the holes land perfectly on studs and saves you extra steps.
Wall types
Most of my installs are on painted drywall over wood studs, but laundry rooms like to surprise you. Here is the quick version of what changes.
- Drywall: Straightforward. Hit studs whenever you can.
- Plaster and lath: Go slow. Plaster can crumble and lath spacing is not always friendly to standard anchors. Pre-drill carefully, and if the plaster is fragile, the backer board method is often the cleanest way to spread out the load and avoid a cracked wall.
- Tile or masonry: Use the correct masonry or tile bit, and follow the rack instructions for anchors. This is not the place to wing it.
- Metal studs: You will need hardware designed for metal framing, or use a backer board anchored appropriately. If you are not sure what kind of stud you have, that is a good reason to pause and confirm before committing to holes.
Use it without clutter
A drying rack is helpful, but it can turn into a permanent laundry exhibit if you do not set simple rules.
- Keep hang time realistic: As a rule of thumb, if something is still wet after about a day, you likely need more airflow, fewer items at once, or a different spot.
- Leave space between items: Crowding slows drying and can cause that musty smell.
- Pair with a small basket: I keep a bin for “air dry” items near the machines so they do not get mixed into the dryer pile.
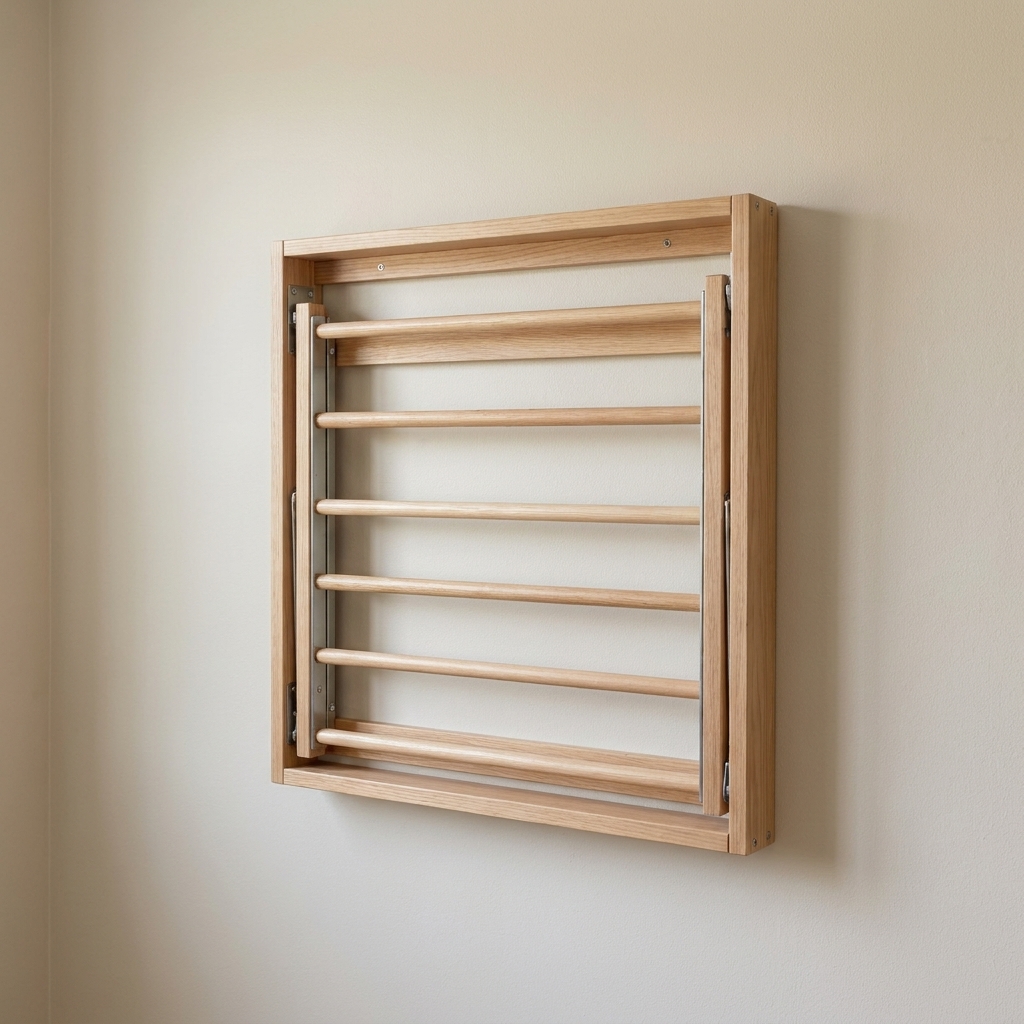
- Fold it down when empty: This is the magic of the whole setup, so enjoy it.
For more vertical storage ideas that keep walls working hard, see: Floating Shelves vs Wire Racks for Laundry Storage.
Safety basics
- Avoid mounting above outlets: Drips happen, even with spin cycles.
- Avoid drilling near switches and outlets: Wires often run vertically and horizontally from those boxes.
- Know your wall: If you are mounting into tile, plaster, masonry, or metal studs, use the correct bit and anchors for that surface and follow the rack instructions carefully.
- Watch plumbing walls: If your laundry shares a wall with a bathroom, be extra conservative with screw length and placement.
- Respect the load rating: These racks are perfect for delicates and lightweight knits. They are not meant to hold soaking comforters.
Troubleshooting
My rack feels wobbly
- Confirm at least two screws are in studs, not just drywall.
- Tighten all screws, then re-check level.
- If you used anchors, upgrade to stronger anchors or switch to a stud-mounted backer board.
The rack is level but looks crooked
- Your wall corners might be out of square (very normal). Trust the level.
- Step back and view it from several angles before re-drilling.
Clothes dry too slowly
- Hang fewer items with more space between them.
- Increase airflow. If your laundry area shares air with a bathroom, running the exhaust fan can help. A small fan aimed across the rack can help even more.
- Move the rack away from a dead corner if possible.
Finishing touches
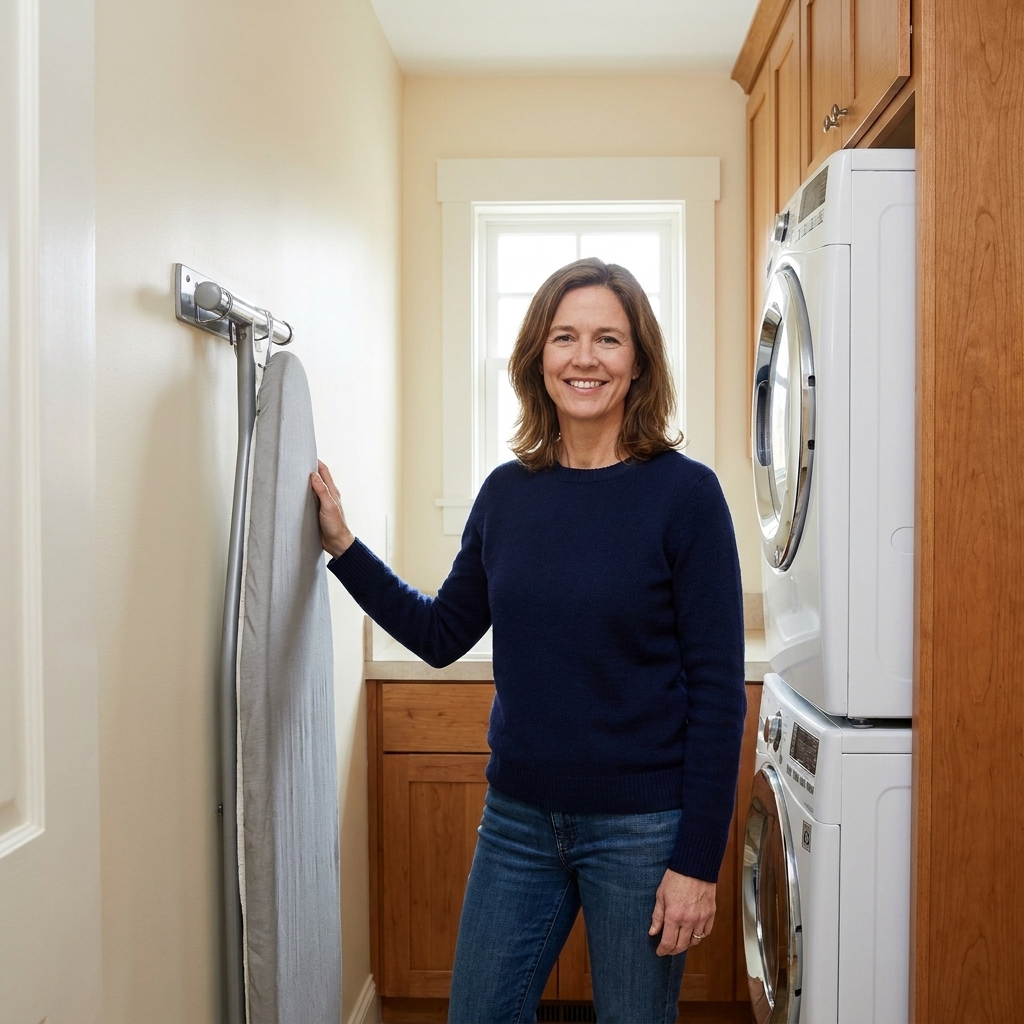
Once the rack is up, the whole wall usually needs just a tiny bit of styling to feel done. I like one small shelf above or beside it for clothespins and mesh bags, or a slim wall-mounted ironing board solution nearby so all the garment-care tasks live together. If that sounds like your kind of order, here is a roundup I put together: The Best Wall-Mounted and Hidden Ironing Board Storage Solutions.
And if you are tackling a full budget refresh, you will love these low-cost organization ideas: 15 Dollar Store Organization Hacks for a Budget Laundry Makeover.
Quick FAQ
Do I need to hit studs?
If you plan to hang wet clothing regularly, yes, I strongly recommend it. The outward pull is what gets you over time, not just the weight.
Can I mount a rack on a door?
Some racks are made for door mounting, but most wall racks are not. Door mounting also adds swing and vibration, which can loosen hardware. If your rack is designed for a door, follow that hardware and weight rating exactly.
How much space do I need above a washer?
Enough that the rack can open fully and your longest items do not hit the machine top. Measure the rack’s open depth and the hanging length you expect, then add a little breathing room for airflow.