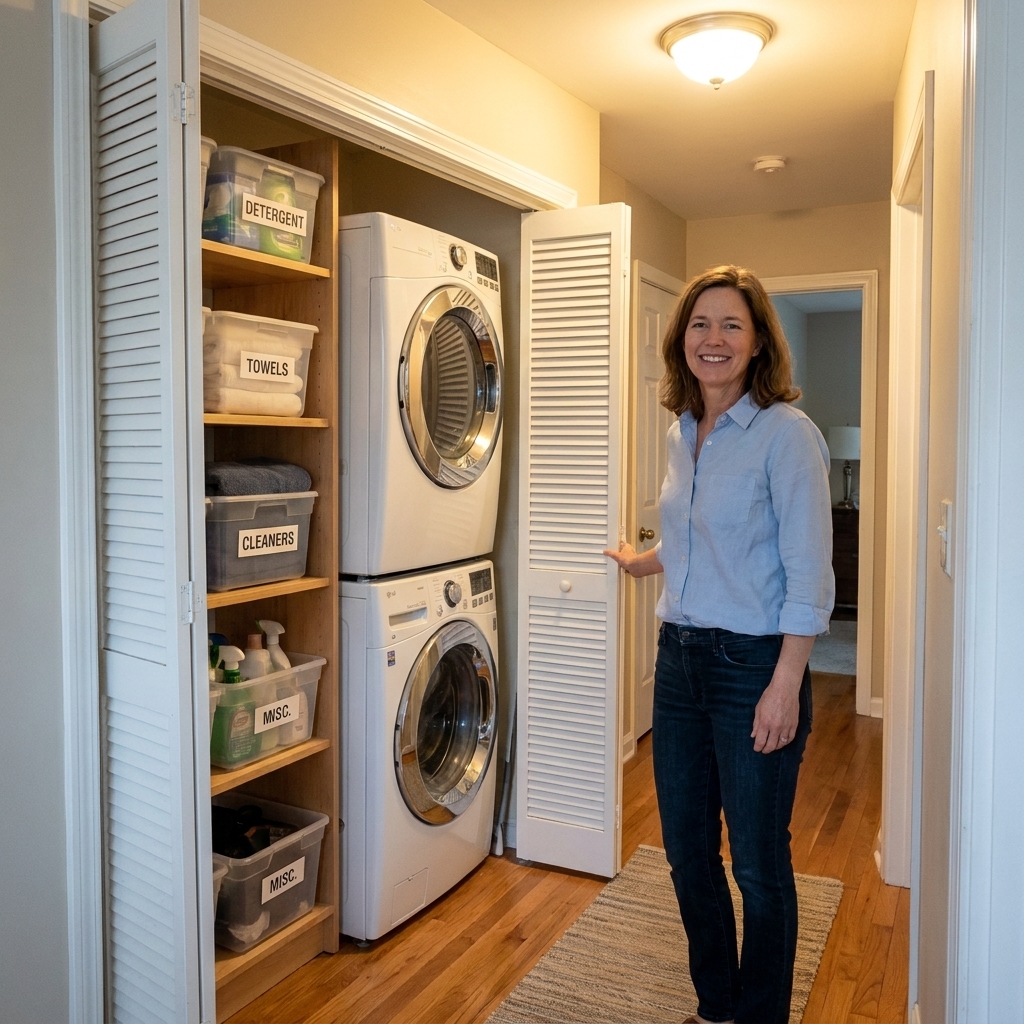
When I first squeezed a full-size dryer into our dark hallway laundry closet, I learned something fast: in an ultra-compact space, airflow is not a “nice to have.” It is the difference between a closet that runs smoothly and one that runs hotter than it should, takes forever to dry, and quietly collects lint where you cannot see it.
This is the safety side of small-space laundry makeovers, and it is worth doing right before you add the pretty stuff like shelves and baskets. Let’s walk through clearances, vent routing, and the low-profile duct options that can help when every inch counts.
Quick note before we start: always check your dryer installation manual and local code for required clearances, door openings, and maximum vent length. Compact closets are where those details matter most.

Start with the two clearances that matter most
In a tiny closet, we tend to focus on “Will it fit?” but for dryers the better question is “Will it breathe?” Here are the two clearances I check every time.
1) Space behind the dryer for the vent connection
You need enough room for the duct to connect without crushing, kinking, or popping loose when the dryer vibrates. A crushed duct is one of the quickest ways to end up with slow drying and a dryer that runs too hot.
- Look for a gentle path from the dryer outlet to the wall or floor connection.
- Avoid sharp bends right at the back of the dryer. Tight turns add resistance and catch lint.
- Plan for service wiggle room so you can pull the dryer out later without tearing the duct.
2) Makeup air for the closet
A vented dryer pushes air out of your home. That air has to come from somewhere. In a sealed-tight closet, many dryers struggle, run hotter, and dry poorly. How much opening you need varies by manufacturer and local code, so your manual is the best starting point.
- Make sure the closet can draw air in while the dryer runs. Louvered doors help, and even a modest door undercut can make a difference.
- Do not pack the closet to the ceiling if it blocks airflow around the machines or blocks door louvers.
Quick mom-of-three reality check: if you ever notice the closet door pulling inward or “sucking shut” when the dryer is on, that can be a clue your space is starved for air. It can also happen when a louver is blocked or the vent is partially restricted, so I treat it as a “pause and investigate” moment, not a diagnosis.
Pick the right duct type for a tight fit
When space is generous, flexible ducts can behave. In a tiny closet, “flex” often turns into “crushed accordion full of lint.” My goal is always a smooth, sturdy pathway with the fewest turns possible.
Best choice when you can: rigid metal duct
Rigid metal duct (galvanized steel or aluminum) has the smoothest interior, which means better airflow and less lint snagging. It is also more crush-resistant when you are shoving appliances into a shallow closet.
Good for short runs: semi-rigid metal duct
Semi-rigid metal duct can work well when you need a little flexibility but still want a mostly smooth interior. It is far better than thin foil-style flex duct.
Best for shallow closets: periscope (telescoping) duct
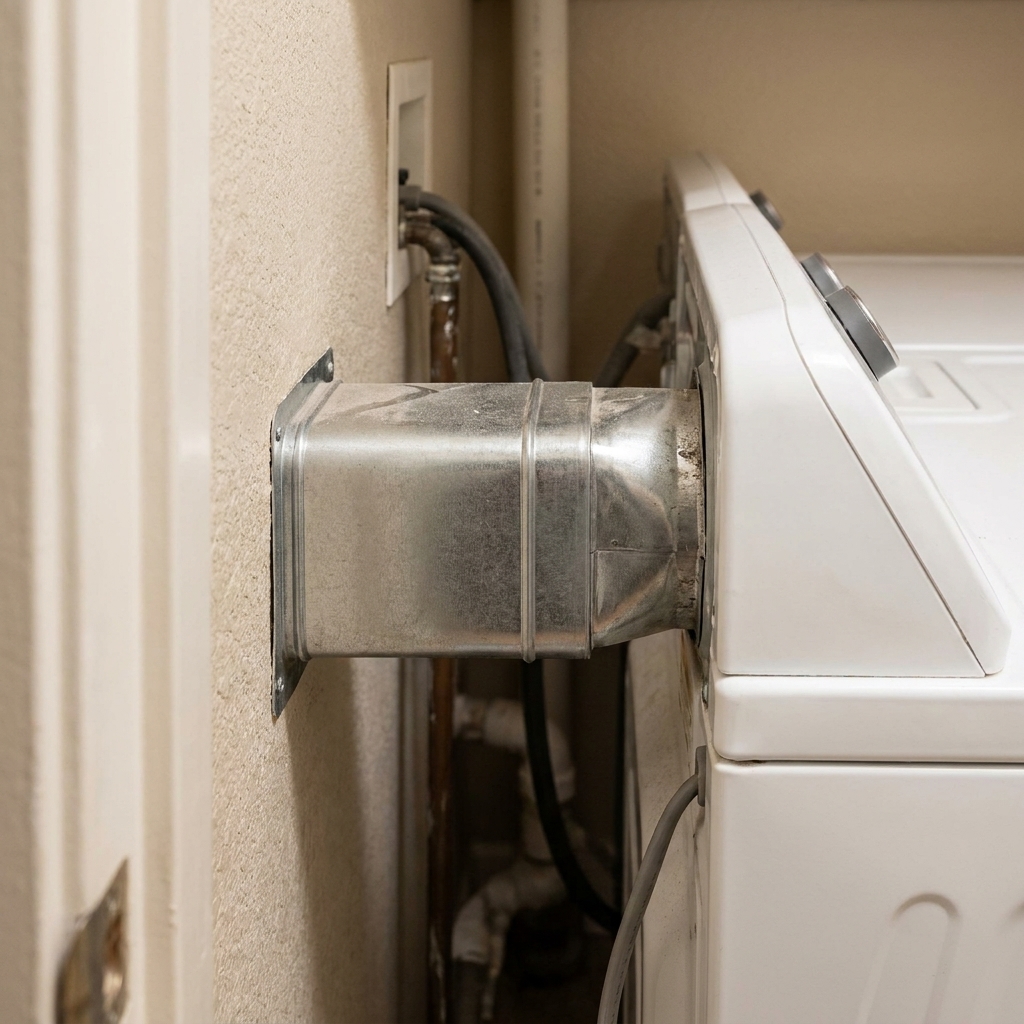
If your dryer is practically kissing the wall, a periscope-style duct (also called a telescoping or low-profile duct) can be a lifesaver because it stays relatively flat and avoids a big loop of duct behind the machine.
- Best use: short distances where the wall outlet and dryer outlet are close but slightly misaligned.
- Why it helps: it reduces the chance of the duct being crushed when you push the dryer back.
- Watch for: extra seams and joints. Every joint is a lint-catch opportunity, so keep the run as simple as you can.
Route the vent like you are helping your future self
I like vent planning because it is basically organizing, just with air instead of bins. The rules are simple: shorter, straighter, smoother.
Keep the run short and minimize elbows
Every turn adds resistance. Resistance means slower drying, hotter operation, and more lint falling out where you cannot reach it.
- Choose the most direct path to the exterior termination point.
- If you must turn, make it a wide, gentle turn, not a crumpled bend.
- Remember that elbows reduce the maximum allowed vent length. Your dryer manual usually lists a maximum “equivalent length” based on how many turns you have.
Seal joints correctly
Use foil HVAC tape listed for ducts to seal joints. Avoid standard cloth “duct tape” because it can dry out and fail with heat over time.
Also, avoid fasteners that stick into the airstream. Screws can snag lint and build clogs over time. For many setups, clamps and foil tape are the safer choice. Follow your manufacturer instructions and local code.
Do not vent into an attic, crawlspace, or inside the house
It can be tempting in older homes or apartments to accept a “good enough” setup. A dryer needs to exhaust outdoors to avoid moisture problems and lint accumulation.
Make sure the outside vent is actually letting air out
Ultra-compact closets hide problems until you notice a pile of damp towels. A quick exterior check can save you a lot of frustration.
- Go outside while the dryer is running. You should feel a strong, steady stream of warm air.
- Check the flap or louver. It should open freely and close when off.
- Look for lint buildup. Lint collecting on the hood is a sign you need cleaning or you have too much restriction inside.
One more thing I watch for: exterior hoods with a screen or mesh cover. Those can clog fast with lint. If yours has a screen, check it often and consider swapping to a code-approved hood style that does not rely on a screen, if allowed where you live.

Signs your compact closet has an airflow problem
In a big laundry room, you might not notice small performance issues. In a closet, you will feel them immediately. These are the red flags I do not ignore.
- Clothes take longer to dry than they used to, especially towels and jeans.
- The dryer feels unusually hot compared to normal (not just warm during operation).
- The closet gets steamy or smells humid after a cycle.
- A burning or dusty smell that shows up mid-cycle.
- The dryer shuts off early or trips a thermal safety switch (some models will stop to prevent overheating).
If you are seeing any of these, pause the makeover plans and troubleshoot the venting first.
My compact-closet vent check routine
I am a big fan of routines that do not require a perfect life. Here is what I keep on my calendar (some tasks are every load, some monthly, and some seasonal), and it has kept our tiny closet running smoothly.
Step 1: Clean the lint screen every load
Obvious, yes. Still the fastest way to improve airflow.
Step 2: Vacuum the lint screen housing monthly
Lint slips past the screen. Use a crevice tool and go gently.
Step 3: Check the vent connection behind the dryer every few months
In compact closets, the duct can shift when you bump the dryer or store something beside it. If you cannot access the back easily, plan access into your closet design instead of pretending you will “deal with it later.”
Step 4: Confirm exterior airflow seasonally
That quick outside check tells you more than you would think.
Design choices that protect airflow
Once your vent plan is solid, you can make storage choices that do not sabotage it.
Keep the gap zones clear
That skinny space behind and beside appliances is not bonus storage. It is a safety buffer. If you need ideas for using gaps carefully, I share options in Genius Storage for the Gap Between Washer and Dryer, but always prioritize airflow and access first.
Use wall storage instead of deep shelves
Shallow shelves and well-placed hooks usually beat bulky cabinetry in a closet. If you are debating shelf styles, Floating Shelves vs Wire Racks for Laundry Storage breaks down what works where.
Build access into your makeover
If your machines are boxed in so tightly you cannot reach the vent, you will eventually avoid maintenance. I like designs that allow quick pull-out or a removable panel.
If you are planning a full mini-closet overhaul, Maximizing Storage in a Tiny Bi-Fold Laundry Closet is a great starting point for layout ideas that still leave room to breathe.
FAQ
Are flat dryer ducts safe?
They can be, when they are metal, properly installed, and used in short runs where they prevent crushing. The goal is always smooth airflow and a duct that stays open when the dryer is pushed into position.
Can I use plastic or vinyl dryer hose?
I do not recommend it. In tight closets especially, you want a metal ducting solution that resists heat and crushing. Always follow your dryer manufacturer instructions and local code requirements.
How do I know if my vent is too long?
If drying times are creeping up, the exterior airflow feels weak, or lint buildup is frequent, your total run length and number of elbows might be working against you. Many dryer manuals list a maximum “equivalent length,” and elbows reduce that allowance. A straighter route or fewer turns often fixes what a “more powerful dryer” never will.
Do I need a professional?
If you smell gas (for gas dryers), suspect a hidden blockage in a long run, need to move the vent termination location, or have any concern about combustion air or carbon monoxide, it is smart to bring in a licensed pro. For simple duct replacement in an accessible closet, many confident DIYers can handle it safely with the right materials, careful sealing, and the manual in hand.
The bottom line
In an ultra-compact laundry closet, ventilation is part of your organization system. When the vent run is short, smooth, and not crushed, your dryer works better, your closet stays cooler, and your whole laundry routine gets easier.
Before you add shelves, baskets, or a folding surface, take one evening to check clearances, manual requirements, and routing. It is one of those unglamorous upgrades that pays you back every single load.