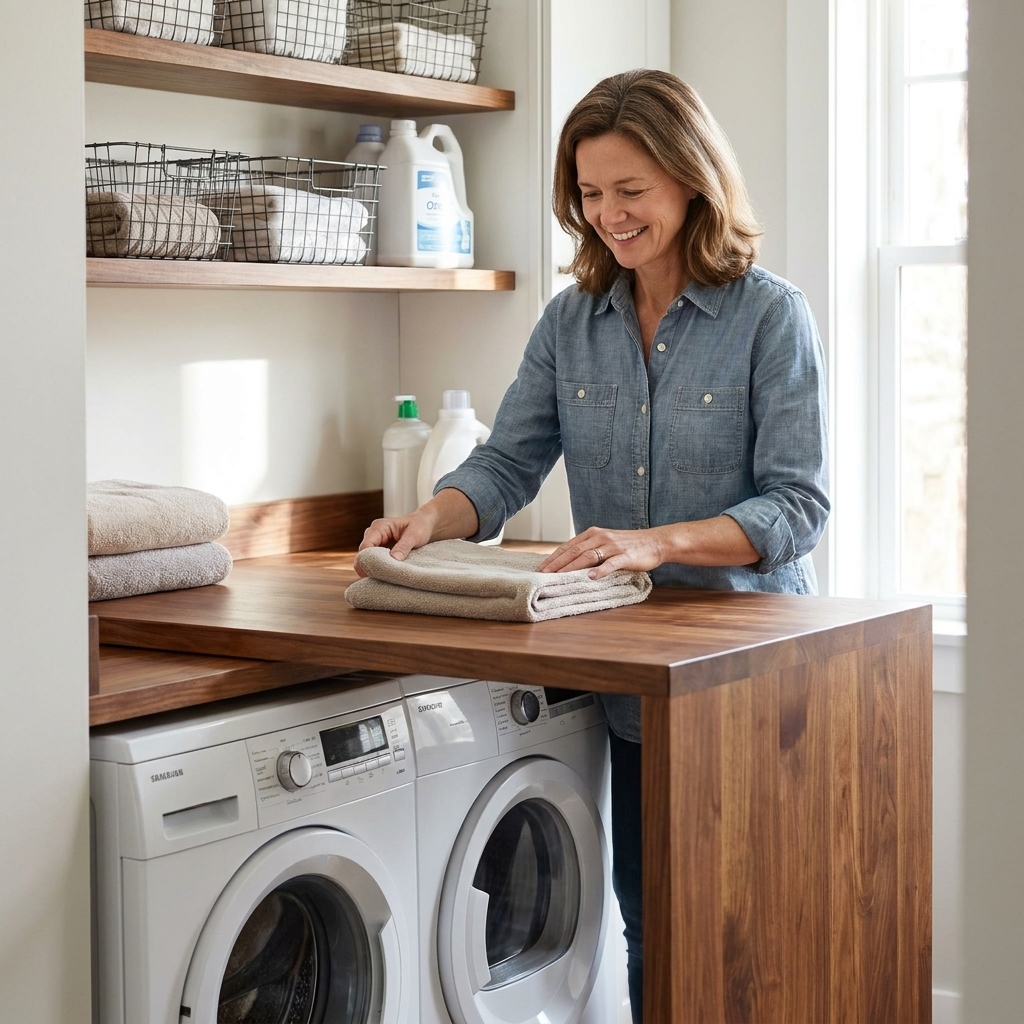
My laundry room breakthrough moment was realizing I did not need more room to fold. I just needed a surface that showed up exactly when I needed it and disappeared the second I didn’t. A wall-mounted drop-leaf table is my favorite “instant folding station” for small laundry rooms because it gives you real counter space without permanently eating your walkway.
Below is the version I recommend for busy households: a setup that can be built sturdy enough for real laundry days, slim enough to fold flat, and simple enough to tackle in an afternoon with basic tools. Your final strength depends on your bracket rating, fasteners, wall framing, and how well you hit studs.
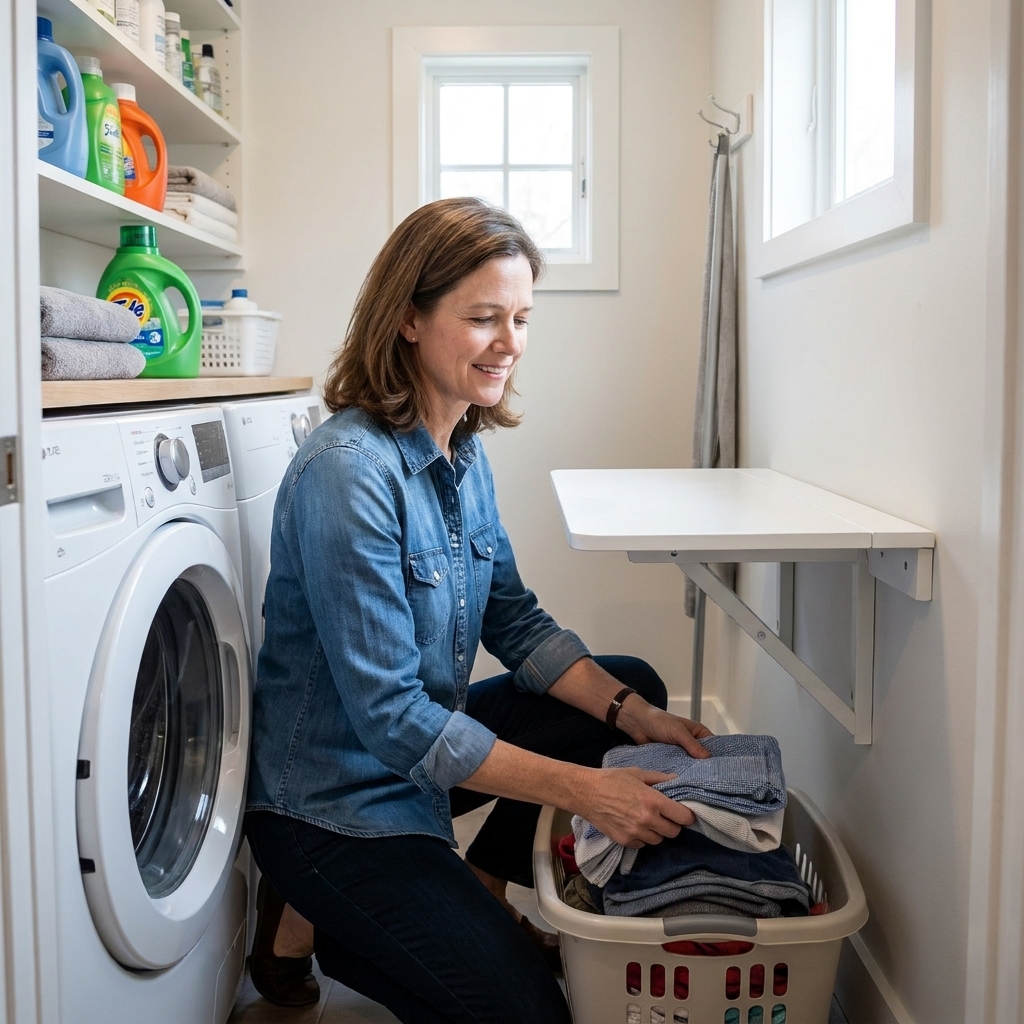
Why a drop-leaf table works
- It creates folding space on demand without blocking doors or baskets.
- It is safer than balancing on machines, especially if you have a top-loader or a wobbly stack.
- You can set the height that feels best for your back.
- It adapts: folding, stain treating, sorting, even a spot for a steamer.
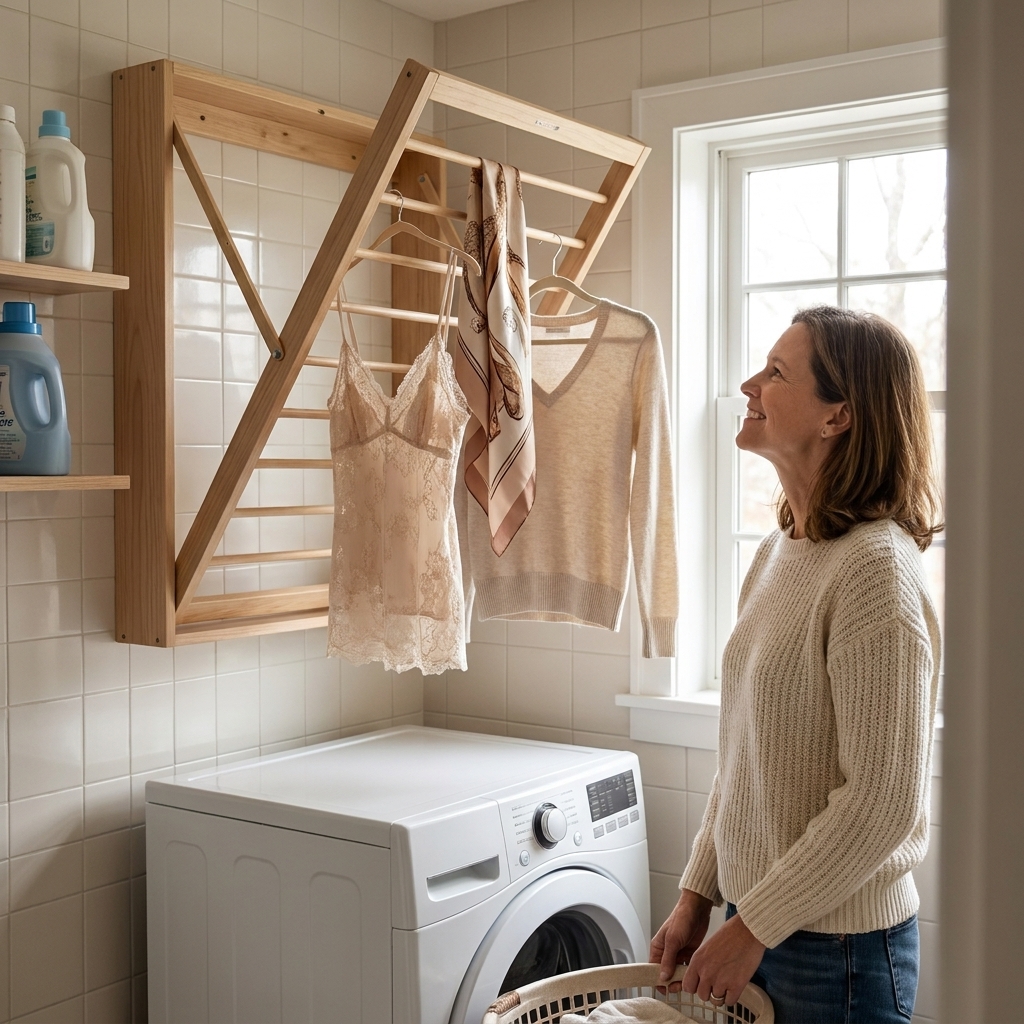
If you also need drying space, pair this project with a fold-down rack. I share a full install walkthrough here: How to Install a Space-Saving Fold-Down Wall Drying Rack.
Pick your size
The best size depends on what you are folding and how tight your walkway is. These two sizes work in most laundry closets and narrow rooms.
Option A: Slim and simple
- Finished size: 36 in wide x 18 in deep
- Best for: quick fold-and-stack sessions, small walkways
Option B: Real folding station
- Finished size: 42 in wide x 20 in deep
- Best for: family loads, towels, jeans, bulkier items
Clara tip: Before you cut anything, use painter’s tape on the wall to outline the tabletop size, then walk past it holding a laundry basket. If you catch your hip on the tape, go slimmer.
Materials and hardware
Lumber
- 3/4 in plywood (cabinet grade looks nicest, but standard sanded plywood works great)
- 1x2 or 1x3 pine for edge banding or a front stiffener (optional but makes it feel thicker and more finished)
- 1x4 or 1x3 for the wall cleat and leaf support arms (details below)
Hardware
- Hinge: one continuous piano hinge (recommended) or 2 to 3 heavy duty door hinges
- Supports: two folding shelf brackets or two DIY drop-leaf arms (I show both methods)
- Screws for studs: 2 1/2 to 3 in wood or structural screws (aim for about 1 1/2 in of solid embedment into the stud after drywall and the cleat)
- 1 1/4 in wood screws for attaching hinge and tabletop parts
- Wood glue (optional)
Tools
- Stud finder
- Level
- Drill and bits
- Miter saw or circular saw
- Sander or sanding block
- Tape measure and pencil
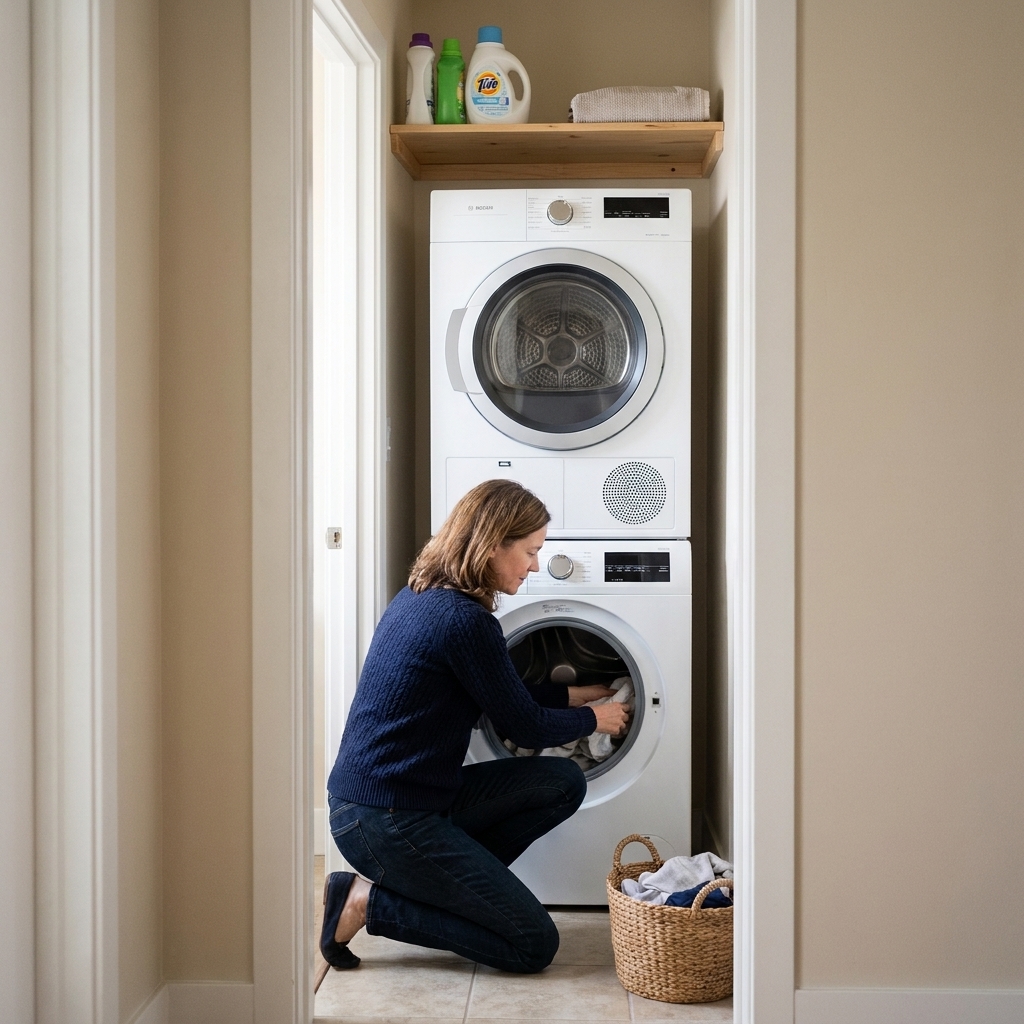
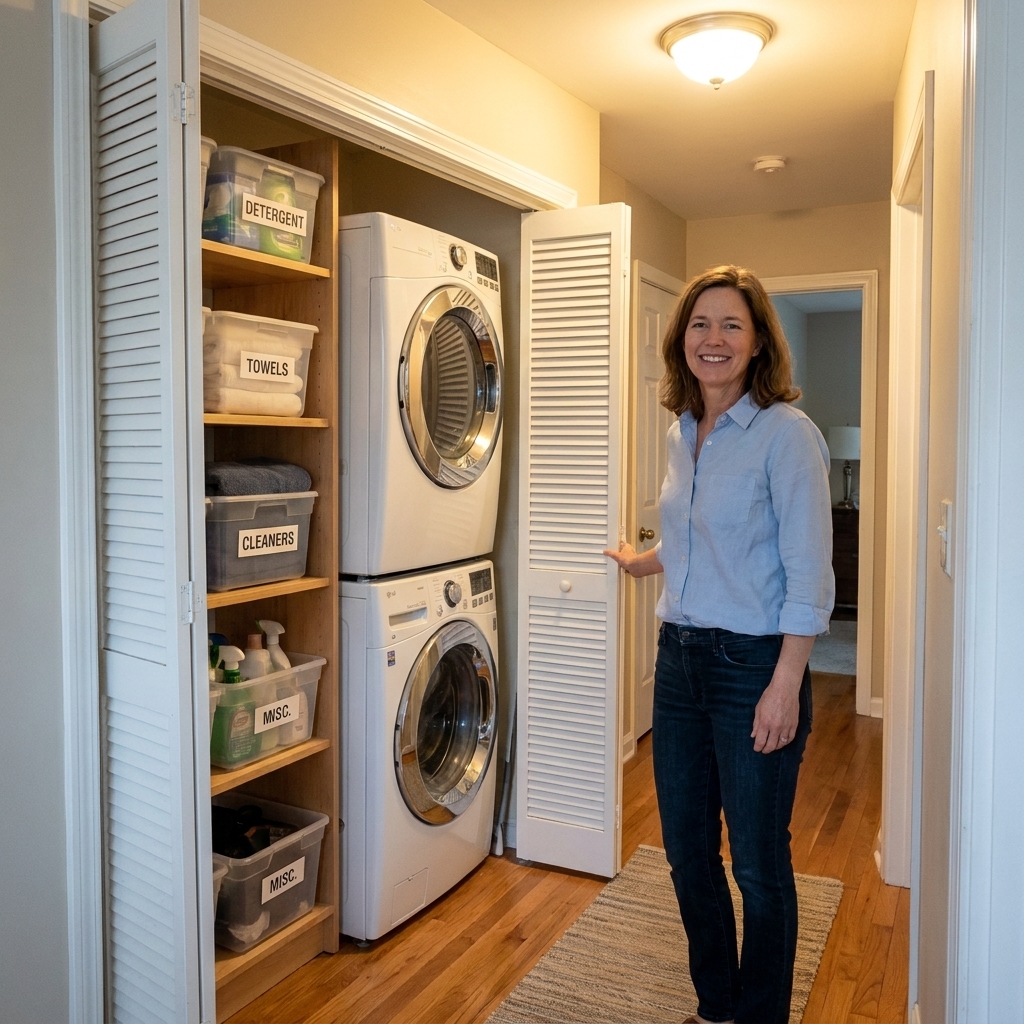
If your laundry space is more closet than room, you might also like: Maximizing Storage in a Tiny Bi-Fold Laundry Closet.
Cut list
Below is the cut list for Option A: 36 in x 18 in. For Option B, keep the same concept and swap the lengths to your preferred width and depth.
Tabletop
- (1) 3/4 in plywood: 36 in x 18 in
- (2) Optional edge pieces (1x2): 18 in each
- (1) Optional front stiffener (1x2 or 1x3): 36 in
Wall cleat
- (1) 1x4: 36 in (same width as tabletop)
Support method choices
Method 1: Folding shelf brackets
- (2) Folding shelf brackets sized for your depth (18 in brackets for an 18 in table)
Method 2: DIY drop-leaf arms
- (2) Arms from 1x3: 16 in (for an 18 in deep top, you want arms slightly shorter)
- (2) Wall blocks from 1x3: 6 in
- (2) Table blocks from 1x3: 6 in
- (2) 1/4 in or 5/16 in bolts with washers and nylon lock nuts (for the pivot)
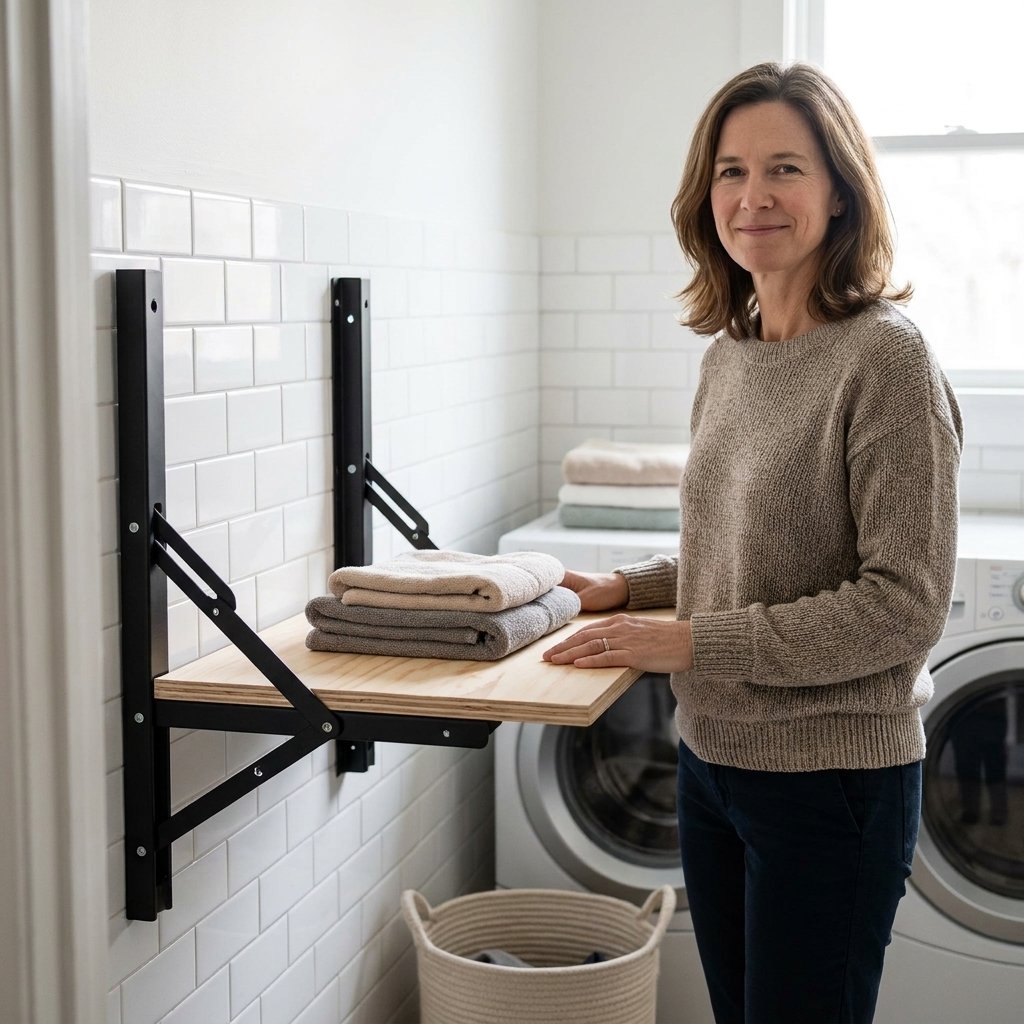
Step-by-step build
Step 1: Choose the height
I like a folding surface around 36 to 38 inches high as a starting point, but comfort depends on your height and what you are doing. If you plan to slide a hamper underneath, measure that too. Make sure the folded-up table will not hit a light switch, shelf, or door trim.
Step 2: Build a solid tabletop
Sand the plywood edges first. If you want a thicker, more built-in look, glue and nail a 1x2 or 1x3 along the front edge. This tiny detail makes the table feel less like a sheet of plywood and more like real cabinetry.
- Sand all faces and edges.
- Attach the front stiffener with wood glue and 1 1/4 in screws or brad nails.
- Attach optional side edge strips if you want a finished look on the sides.
Step 3: Find studs and mark the cleat line
This is where the table goes from “cute idea” to “actually safe.” Laundry baskets get heavy fast, so plan to hit studs for the cleat and hinge.
- Use a stud finder and mark stud centers at your chosen height.
- Draw a level line for the top of your wall cleat.
Step 4: Install the wall cleat
Pre-drill your 1x4 cleat, hold it to the wall, level it, then screw it into at least two studs using 2 1/2 to 3 in screws. If you can catch three studs, even better.
Clara tip: If your studs land weird and you cannot catch two studs, do not “hope for the best” with drywall anchors. Move the table location or make the cleat longer so you can reach more studs.
Step 5: Attach the hinge
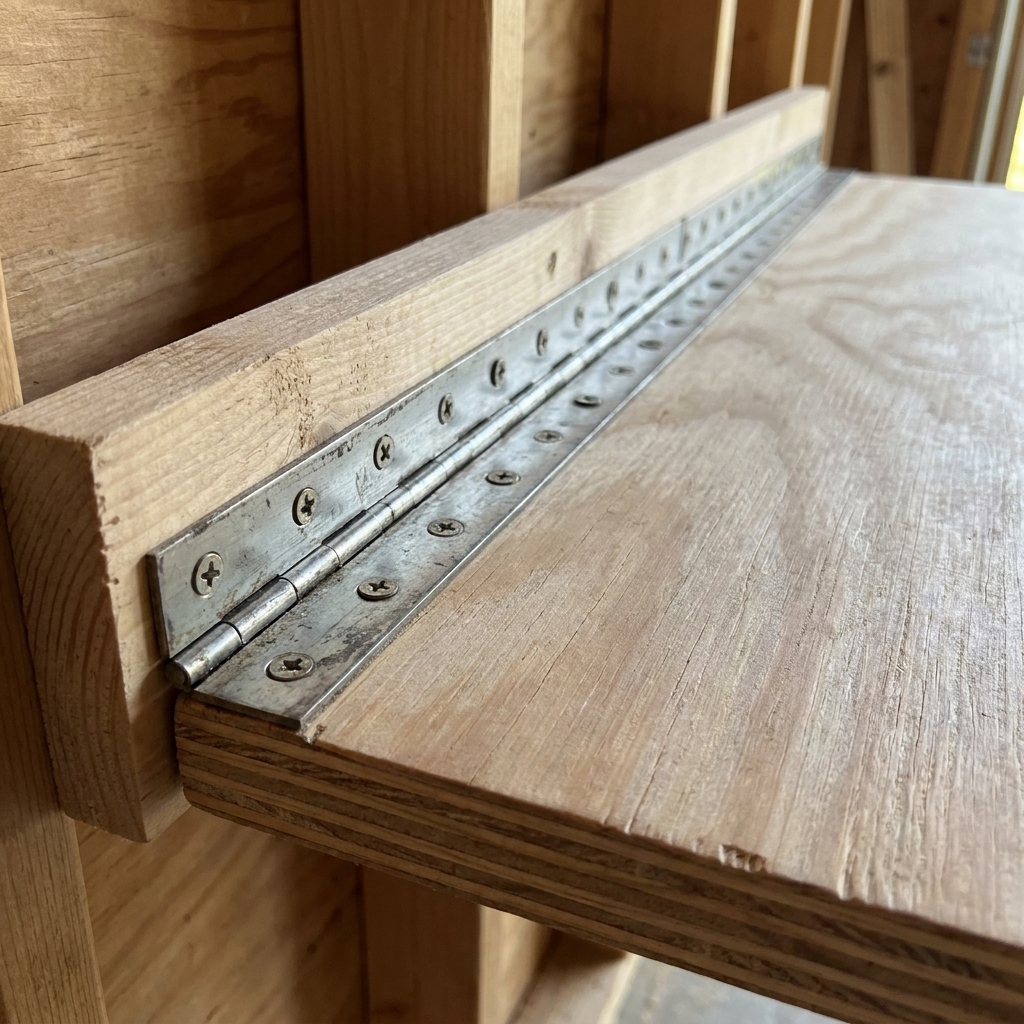
A piano hinge spreads weight evenly and helps prevent side-to-side wiggle.
You can do this in either order. Some days it is easier to attach the hinge to the tabletop first, then bring the whole assembly up to the cleat. Other days I attach it to the cleat first and let a stack of books hold the tabletop at the right height. Either way, the goal is simple: everything square and level.
- Attach one side of the hinge to the cleat (or to the tabletop first if that feels easier).
- Support the tabletop at the correct height.
- Attach the other side of the hinge to the back edge of the tabletop.
Step 6: Add your supports
Method 1: Folding shelf brackets
This is the method I recommend if you want sturdy with minimal fuss.
- With the tabletop down and level, position one bracket near each side, about 3 to 5 inches in from the edges.
- Best: fasten bracket wall plates into studs.
- If studs do not line up: keep the cleat and hinge stud-mounted, and treat anchors for the bracket plates as a last resort. Use heavy duty toggles or strap toggles that match the bracket manufacturer’s instructions and rating, and follow the bracket instructions exactly.
- Fasten bracket arms to the underside of the tabletop.
- Test the lock and release a few times. It should click firmly into place.
Method 2: DIY drop-leaf arms
This classic setup looks simple but takes a little patience. The goal is smooth movement with no binding and no pinch points.
- Create two pivot arms from 1x3 lumber and round over the corners so nothing is sharp.
- Attach a wall block to the wall (ideally into a stud) under the tabletop, one on each side.
- Attach a matching table block under the tabletop, aligned with the wall block.
- Drill straight pivot holes sized for a 1/4 in or 5/16 in bolt.
- Bolt together using washers and nylon lock nuts, then tighten until snug but still able to swing freely.
- If your arms want to over-swing, add a small stop block so the table always lands level.
Finishing touches
Sand like you mean it
Laundry rooms are where elbows lean, baskets drag, and kids bump corners. Round over the front corners with sandpaper so you are not catching hips and belt loops on sharp plywood.
Paint or seal for moisture
- Paint: Two coats of a durable trim paint holds up beautifully.
- Clear coat: Polycrylic or a water-based polyurethane is great if you like the wood look and want wipeable protection. Oil-based polyurethane can amber and smell stronger while it cures, which I do not love in a small laundry space.
Add a quiet bump
A couple of small rubber bumpers on the underside can stop that loud thunk when you fold it up.
Consider a simple latch
If you have kids, pets, or a door that slams, add a small magnetic catch or a simple hook-and-eye to keep the table firmly in the up position.
Make it feel built-in
If you want the table to blend in with wire shelving or builder-grade storage, you can disguise what you already have. This is one of my favorite tricks: Camouflage Wire Laundry Shelves (No Replacement Needed).
Best placement spots
- Beside the washer and dryer as a dedicated folding spot.
- Over a front-loader if you do not have room for a permanent counter.
- At the end of a narrow laundry run where a fixed cabinet would pinch the walkway.
- Inside a laundry closet on the side wall, especially if your doors swing out of the way or you use a curtain.
If your laundry area is dark and tucked away, good lighting makes a folding station feel twice as usable: Lighting Upgrades for Dark Laundry Closets.
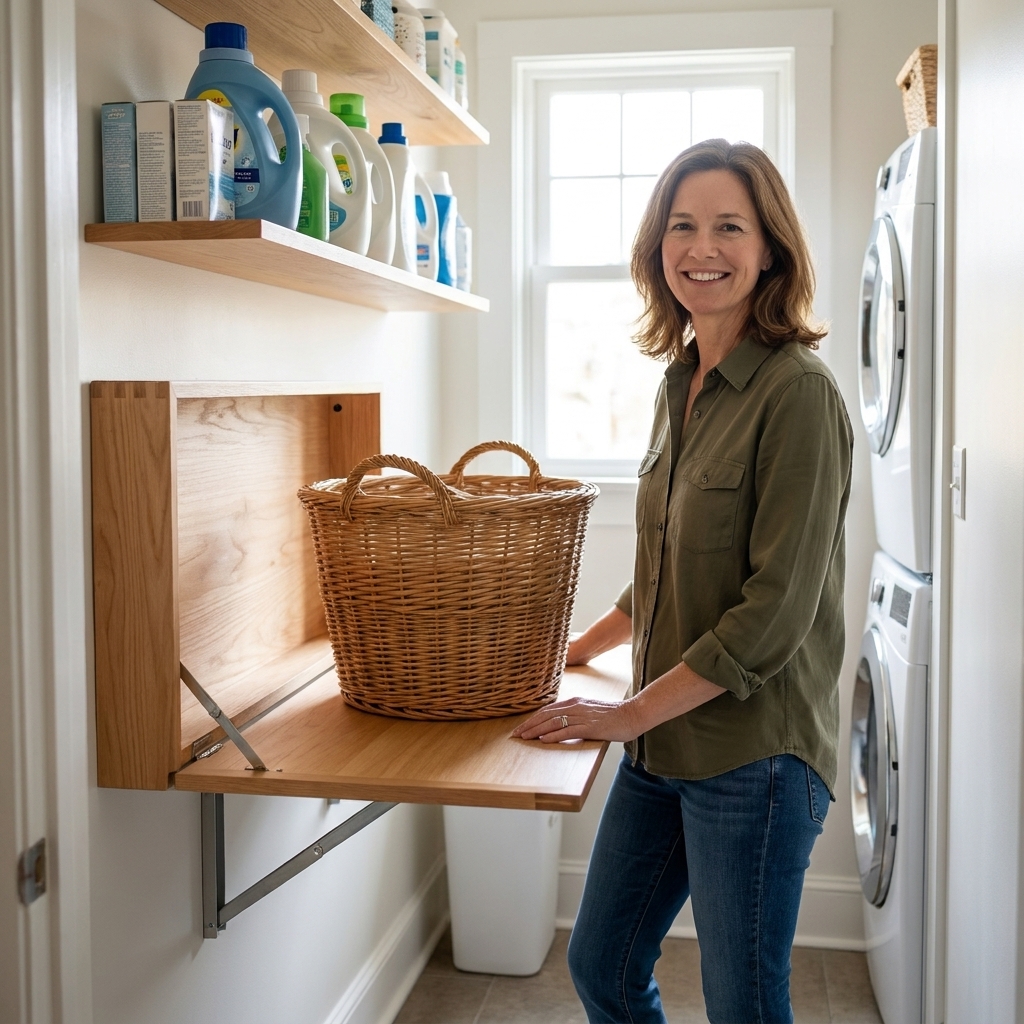
Wall types to know
Most of the steps above assume standard wood studs behind drywall. If your laundry space is different, pause and adjust the plan.
- Tile or a backsplash wall: plan your layout so the cleat screws still land in studs. Use the right drill bit for tile and go slowly.
- Metal studs: they do not hold the same way as wood. You may need specialty fasteners and a different mounting strategy.
- Masonry or concrete: use masonry anchors and a hammer drill, or consider hiring help if this is not your comfort zone.
Safety checks
- Keep fingers clear: folding brackets and hinge lines pinch. Teach kids not to help with the folding mechanism.
- Open and press down: put gentle weight on the front edge. The table should not flex dramatically or creak.
- Check level: if it slopes forward, adjust the support brackets or arm position.
- Watch the hinge line: screws should feel tight. If any spin out, swap to a longer screw into solid wood.
- Mind airflow: do not block dryer venting or access panels. If your setup is ultra tight, this guide helps you avoid common clearance issues: Airflow and Dryer Vent Clearance in Ultra-Compact Laundry Closets.
Troubleshooting
My table wobbles
Usually this means the supports are too close to the center, or the hinge screws are not biting into solid wood. Move brackets closer to the sides and confirm the cleat is anchored into studs.
The tabletop is not level
Check that your cleat is level first. Then adjust bracket placement. Even a small shift can change the resting angle.
It is hard to fold
If you used DIY arms, loosen the lock nuts slightly. If you used folding brackets, make sure they are mounted square and not twisted.
The table feels thin
Add a front stiffener (1x3 is my favorite) and paint it the same color as the tabletop. That single strip makes it feel custom.
Small upgrades that help
- Hang a slim lint bin nearby so lint does not migrate across your folding surface.
- Use a small tray or caddy for stain stick, measuring scoop, and missing sock clips.
- Add back-of-door storage to keep the table clear. These ideas work even in tight closets: Back-of-Door Laundry Closet Storage Ideas.
FAQ
How much weight can it hold?
It depends on how you mount it and what supports you use. A tabletop anchored into studs with a solid cleat, a quality hinge, and brackets rated for the load can handle typical laundry tasks comfortably. I still avoid sitting on it or using it as a step. Think “laundry loads,” not “ladder.”
Can I mount it on drywall only?
I do not recommend it for a folding station that will see daily use. If you cannot hit studs for the cleat and hinge, relocate the table or switch plans. This is not a project where drywall anchors should be doing the main work.
What surface is easiest to clean?
Paint plus a clear topcoat is the easiest wipe-down finish in my house. If you want more of a countertop feel, you can also apply a peel-and-stick surface, but keep the edges sealed so it does not lift with humidity.
Is there a no-build option?
Yes, there are ready-made wall-mounted drop-leaf tables. They can be a great option for renters if your lease allows wall anchoring. I still prefer DIY because you can custom-fit the exact awkward wall you have.
The payoff
Once you have a drop-leaf table, you stop doing that hunched-over shuffle of folding on top of the dryer while the next load buzzes at you. You get a clean surface, a calmer routine, and your laundry room stays walkable.
If you build yours, my best advice is simple: mount the cleat and hinge into studs, choose supports rated for the job, keep the depth comfortable, and finish it so you can wipe it down in ten seconds. That is the difference between a project that looks good on day one and a project you still love during the fifth load of the weekend.