The day I finally stopped leaning our vacuum in the corner of the laundry closet was the day our whole hallway felt calmer. In a narrow laundry room, clutter is not just messy, it is in the way. Floor-to-ceiling utility cabinets are one of the few upgrades that truly change how the space functions because they use the one dimension narrow rooms still have in abundance: height.
This is the exact approach I use to plan tall pantry-style cabinets for mops, brooms, a stick vacuum, bulk detergent, and all the awkward stuff that never fits on a shelf. You can do it with ready-made cabinets, a tall pantry cabinet plus a filler, or a simple DIY box cabinet if you are comfortable building.

Why tall cabinets work
When floor space is tight, open shelving often turns into visual noise and shoulder-level chaos. A tall cabinet gives you:
- A dedicated vertical bay for long tools like a broom, mop, or vacuum wand
- Dust control for detergent, pet hair tools, and refills
- One “drop zone” to hide the real-life stuff between loads
- Safer storage for pods, stain removers, and bleach if you have little kids
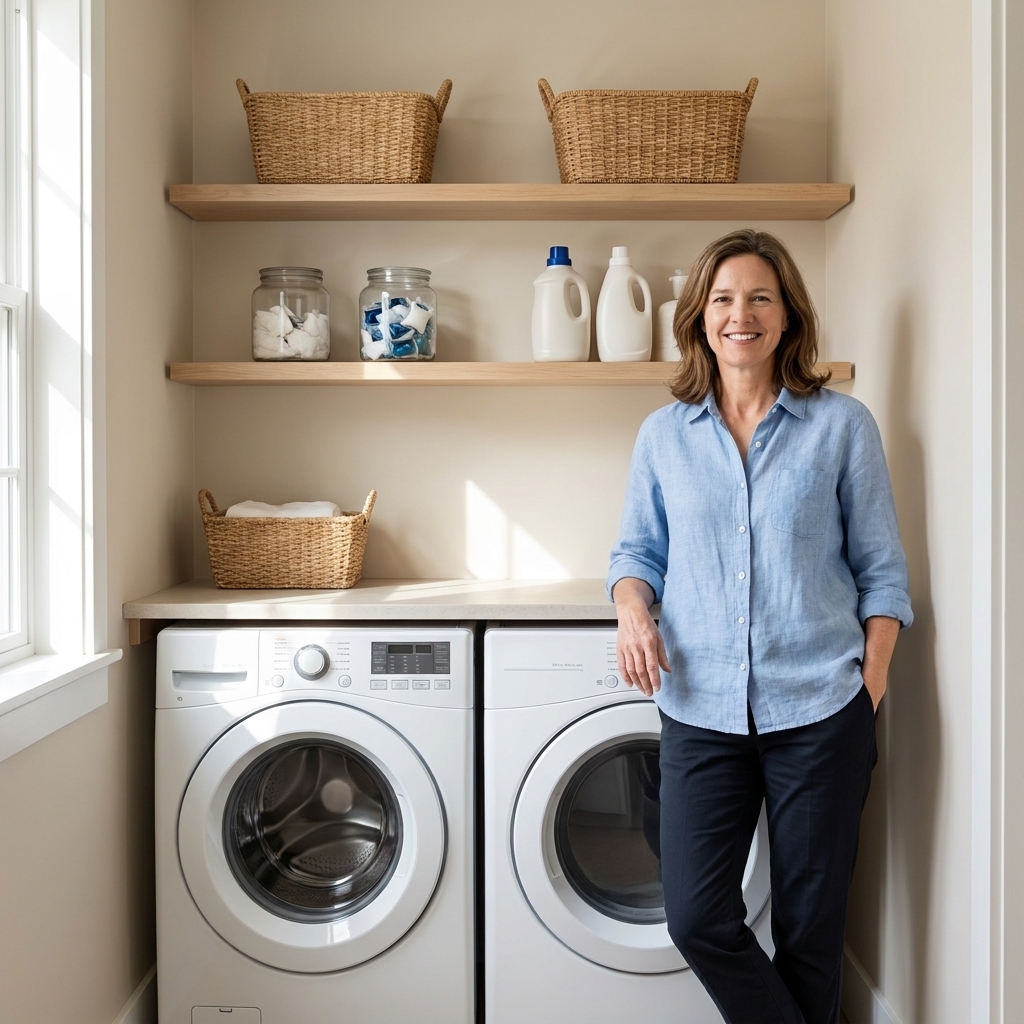
If you are comparing storage types, I talk through the tradeoffs in Floating Shelves vs Wire Racks for Laundry Storage. In narrow rooms, I lean closed and tall whenever you can pull it off.
Measure first
Before you fall in love with a cabinet online, grab a tape measure and write down these three measurements:
- Ceiling height: measure in 2 to 3 spots. Old houses love to be “almost” level.
- Usable depth: measure from the wall to the edge of anything that sticks out, like washer hookups, a dryer vent box, or baseboard trim.
- Clear aisle width: measure the walking path once appliances and doors are open where they need to open.
A quick comfort check
I do not treat this as code advice because local requirements vary, but for day-to-day comfort I like to see at least about 30 inches of clear aisle in front of the machines. More feels luxurious. Less can still work, but you will want to plan door swings and “where do I stand” moments very intentionally.
Depth guidelines that keep the room usable
- 12 to 16 inches deep: my favorite in very narrow rooms, but do a reality check first. Measure your largest detergent bottle (front-to-back) and your stick vacuum base (especially if it docks or has a charger cradle). Some bottles and docking bases need more depth than you think.
- 18 to 24 inches deep: can store more, but it steals aisle space fast. Only do this if your room is wide enough or the cabinet is on a wall that is not part of your main walking lane.
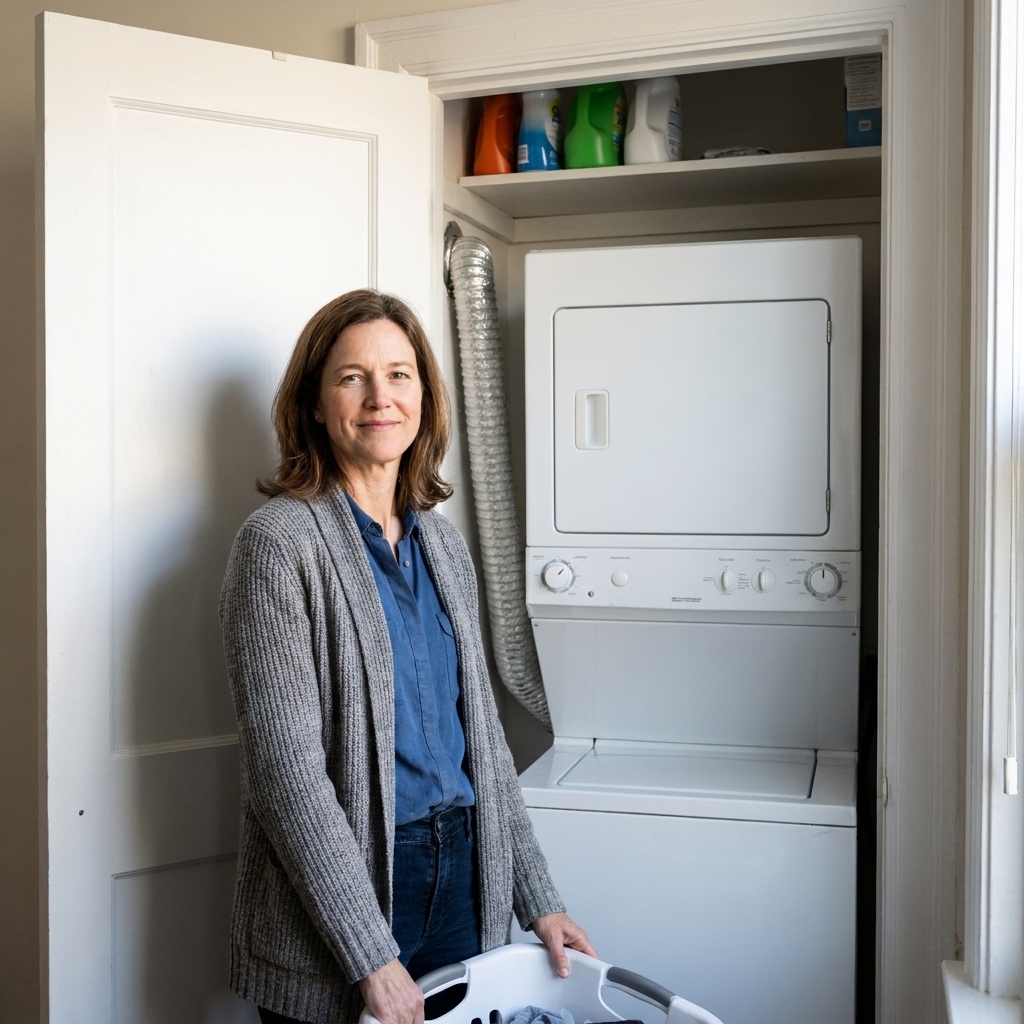
If your dryer vent or hookups are part of the challenge, read Airflow and Dryer Vent Clearance in Ultra-Compact Laundry Closets before you finalize depth. A cabinet that blocks service access is the kind of “upgrade” that turns into a headache later.
Choose the right cabinet
Option 1: Pantry-style cabinet
This is the simplest path: a tall pantry cabinet with doors. Look for adjustable shelves and a full-height door that lets you load awkward items easily.
Option 2: Split utility cabinet
Some tall cabinets are designed with one long open bay on one side and shelves on the other. If you can find this layout, it is perfect for:
- Stick vacuum, handheld vacuum, attachments
- Broom and dustpan
- Swiffer-style mop, steam mop, refill pads
- Ironing board (if you store it upright)
For ironing board ideas that do not eat your aisle space, I rounded up options in The Best Wall-Mounted and Hidden Ironing Board Storage Solutions.
Option 3: DIY floor-to-ceiling boxes
If you have a truly weird nook, DIY can be the only way to get a tight fit. The key is to build a sturdy box, anchor it like a bookcase, and finish it with a door. By “anchor it like a bookcase,” I mean anti-tip it into studs (or solid blocking) so it cannot rack, sway, or tip forward.
Layout rules
Rule 1: Prevent door collisions
In skinny rooms, cabinet doors fighting appliance doors is the #1 daily annoyance. Before you install anything, stand in the room and act out a real laundry routine: open washer, open dryer, pull out basket, turn around, place items down. If a cabinet door will collide with your appliance door, switch to one of these:
- Sliding doors (more custom, but amazing in tight spots)
- A single door cabinet instead of double doors
- Open cubby at mid-height with doors only on top and bottom
Rule 2: Think about hinges and handles
Two small choices can make a tight aisle feel twice as workable:
- Hinge swing: if you are buying new doors or a cabinet system, check the hinge opening angle. A wider-opening hinge can be helpful for access, but it can also steal aisle space in a narrow room.
- Handle projection: chunky knobs and long pulls look great, but they also stick out. In a narrow pass-through, I prefer hardware that does not snag sleeves or laundry baskets.
Rule 3: Plan a “tall zone” and a “grab zone”
Tall zone is for mops, brooms, vacuum, wrapping paper, or a drying rack. Grab zone is between about chest and eye level and should hold what you use weekly: stain spray, pods, dryer sheets, lint rollers, mesh bags.
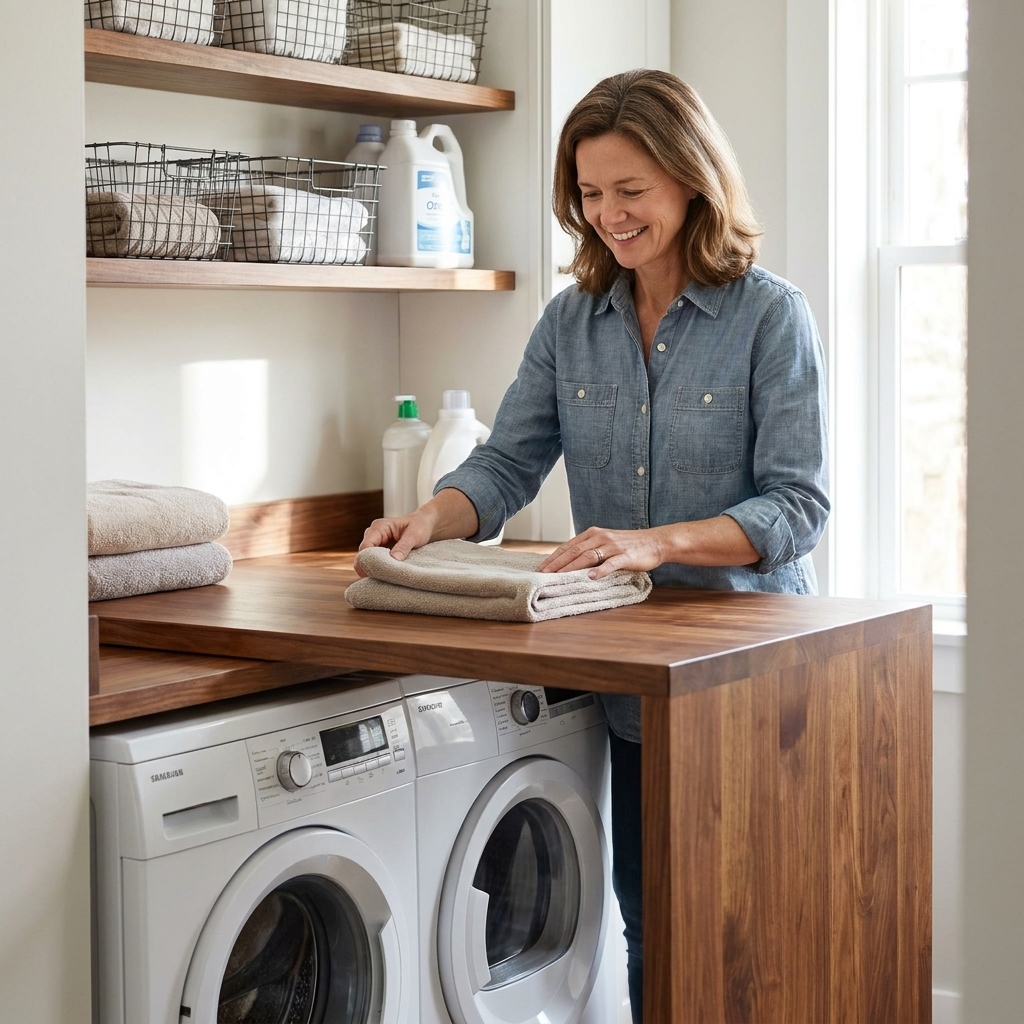
If you are also adding a folding counter, plan cabinet placement around it. This guide pairs well with DIY Waterfall Countertop Folding Station Over Front Loaders. For top-loaders, remember you need lid clearance and room to stand close enough to load and pretreat. That often means the counter or cabinet next to them needs to be shallower or shifted so the lid can open fully.
Rule 4: Do not enclose utilities without a plan
Dryer vents, shutoff valves, electrical connections, and cleanouts matter. In many homes (and in many jurisdictions), they must remain accessible and code-compliant. If your cabinet would cover them, do not “just box it in.” Options that can work, depending on your setup, include:
- A removable back panel behind the cabinet
- A toe-kick cutout with an access door
- Positioning the cabinet on the opposite wall
If you are unsure, this is a good moment to ask a pro. Convenience is not worth creating an unsafe or unserviceable setup.
Organize the inside
A tall cabinet is only as useful as its interior. Here is a simple setup that works for most families:
Bottom zone
- Bulk detergent refills
- Paper towels
- Cleaning caddies
- A small bin for “empty bottles to recycle”
Middle zone
- Daily and weekly supplies in bins
- Stain spray, bleach, oxygen boosters
- Lint rollers, sweater shaver, mesh bags
Top zone
- Backstock and seasonal items
- Extra sponges, trash bags, lightbulbs
- Guest bedding or towels if the room is dry and clean
What I always add: hooks
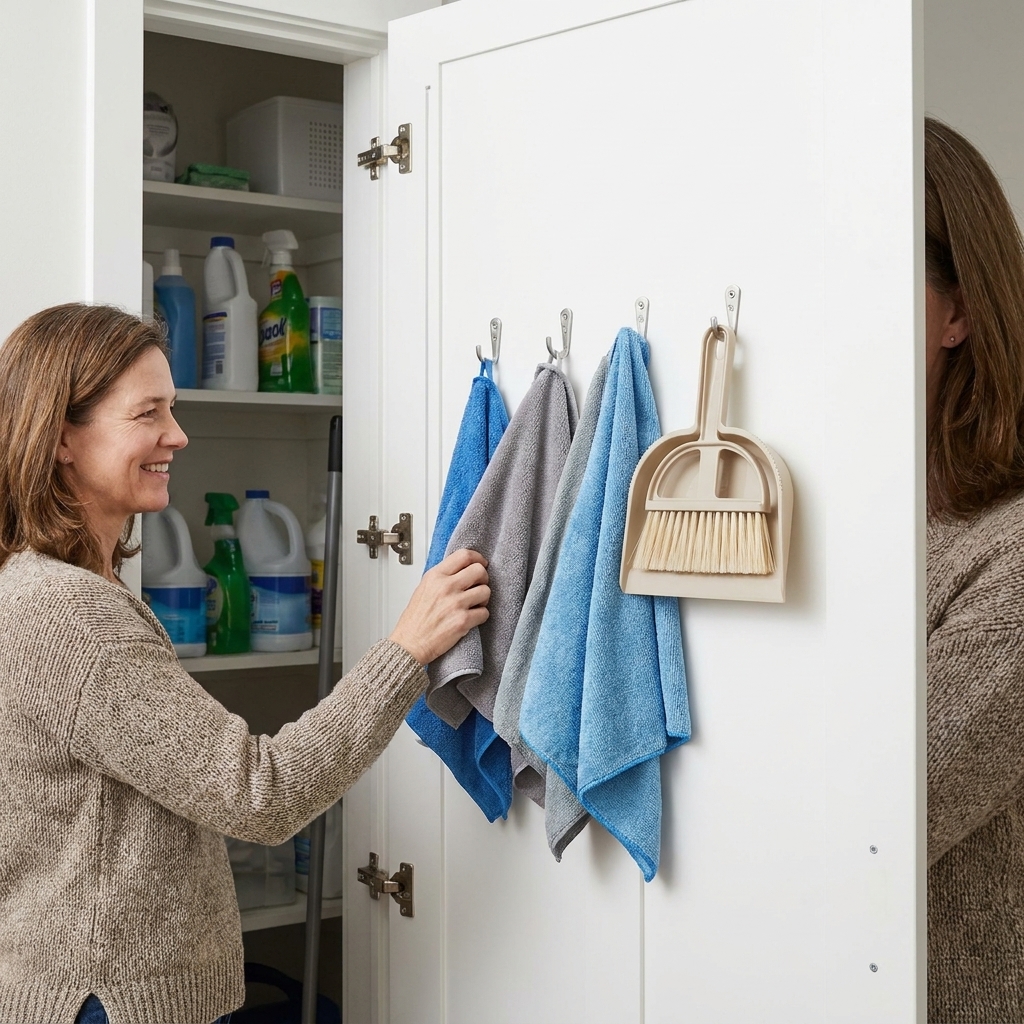
Even one row of hooks on the inside of the door makes a tall cabinet feel twice as functional. Hang a handheld vacuum, a small dustpan, microfiber cloths, or a mesh bag of dryer balls. If you like the “everything has a home” approach, you will also enjoy Decanting and Organizing Laundry Supplies.
Moisture and chemical basics
Laundry rooms are hard-working spaces, and the stuff we store there can be harsh. My simple rules:
- Store bleach and strong cleaners sealed, upright, and low, ideally in a bin that can catch drips.
- Avoid storing corrosives above metal parts or directly above your machines where leaks can drip down.
- If the cabinet smells like chemicals when you open it, back off on how much you store there and rethink ventilation and containment.
Install step by step
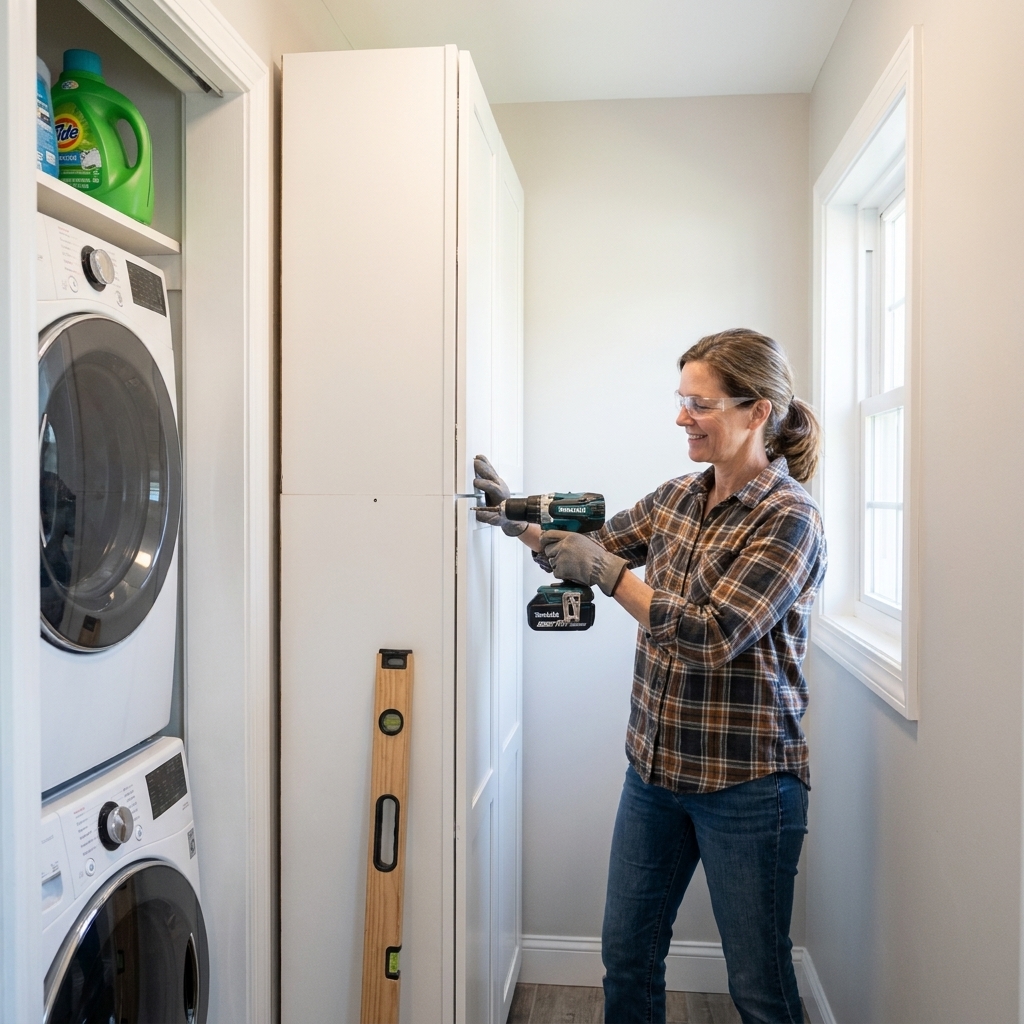
If you can assemble flat-pack furniture and use a drill, you can install a tall cabinet safely. Take your time. A floor-to-ceiling cabinet needs to be anchored like it means business.
Tools and supplies
- Stud finder
- Level (2-foot is fine, 4-foot is even better)
- Drill and driver bit
- Cabinet screws or structural wood screws (length depends on cabinet and wall type)
- Shims
- Painter’s tape and pencil
- Optional: trim or filler strips, caulk, paint
1) Mark the footprint
Use painter’s tape to mark the cabinet edges on the wall and floor. In narrow rooms, this is where you catch problems early, like a baseboard that pushes the cabinet out or a vent cover that interferes.
2) Deal with baseboards
You have three common options:
- Notch the cabinet so the baseboard fits behind it (clean look, takes patience)
- Remove the baseboard only behind the cabinet and reinstall to the side
- Add a scribe or filler so the cabinet clears the baseboard (easiest, costs a little width)
3) Set it in place and shim level
Shim under the cabinet until it is level left-to-right and front-to-back. In skinny rooms, a cabinet that leans even a little can make doors swing on their own.
4) Anchor into studs the right way
Use the cabinet’s intended fastening points whenever possible, like a top hanging rail or solid stretcher. If your cabinet only has a thin back panel, do not rely on it alone for strength. The goal is solid wood-to-wood fastening into studs.
Use at least two studs if possible. If you can only hit one stud, do not guess your way through the other side. Use hardware rated for the load and appropriate for your wall type, or add blocking so you can anchor securely.
5) Secure the top
If the cabinet meets the ceiling, add an L-bracket inside the top where it will not be seen, anchored into a stud or solid blocking. This is a big safety upgrade in homes with kids who climb.
6) Close gaps with a filler strip
Skinny rooms rarely have perfectly square walls. A filler strip between cabinet and wall hides gaps and keeps the look built-in. Caulk, then paint for a seamless finish.
7) Install shelves and set zones
Do this with your actual items in hand. I like to place the vacuum and mop first, then build shelves around them.
Easy built-in upgrades
- Add crown or simple top trim to close the ceiling gap
- Swap knobs for pulls that match your home’s hardware
- Use matching baskets inside so the cabinet stays easy to maintain
- Paint the cabinet the wall color in super narrow rooms to visually widen the space
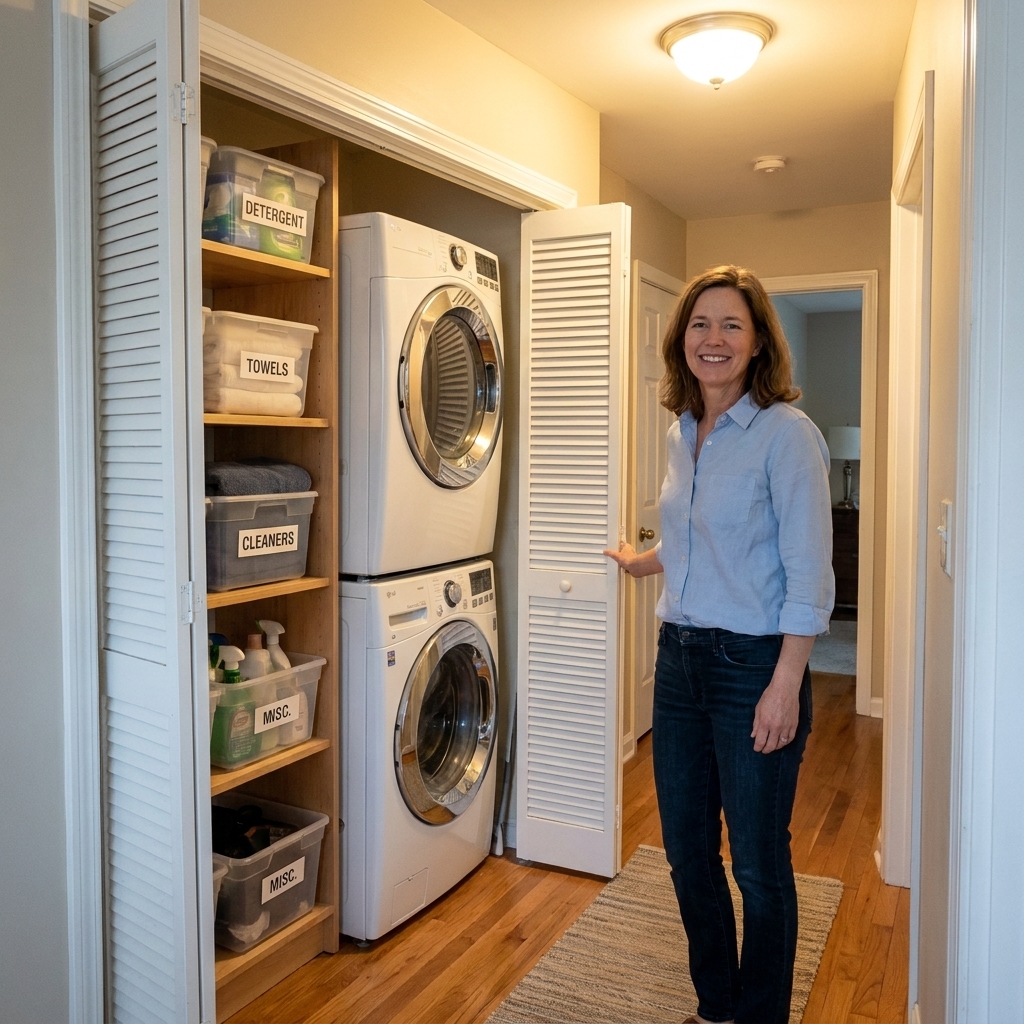
If you are working on a tiny closet-style laundry area, my best small-space strategies are in Maximizing Storage in a Tiny Bi-Fold Laundry Closet.
Common mistakes
- Buying too deep and losing your aisle. When in doubt, go shallower and go taller, but confirm your biggest bottles and vacuum base will fit.
- Forgetting door swing for both the cabinet and the appliances, including handles and hinge swing.
- Skipping anchoring because the cabinet “feels sturdy.” Tall and narrow means tip risk.
- Storing heavy liquids up high. Keep detergent and bleach low for safety.
- Blocking airflow or access near the dryer. Clearance, service access, and code compliance matter.
FAQ
Do tall cabinets make a narrow room feel smaller?
Not when they are planned well. A single tall cabinet with closed doors usually feels cleaner than three or four smaller storage pieces. Matching the cabinet color to the walls also helps the room feel calmer.
One tall cabinet or two narrow ones?
If you need a long-tool bay for a vacuum and mop, one tall cabinet is often better. Two narrow cabinets can be great if you want more adjustable shelving and do not need a full-height open bay.
Where should the cabinet go?
Usually on the wall you do not need to stand in front of while loading machines. If your laundry room is a pass-through, place it where it will not pinch the walkway.
How do I store a stick vacuum inside?
Plan one vertical bay at least as tall as the vacuum when docked, and measure the docking base footprint too. If you want charging inside the cabinet, have a licensed electrician handle any outlet changes and keep everything code-compliant. I do not recommend running cords through drilled holes or pinching them in a door.
Still short on storage?
If your room is so narrow that a full cabinet is not realistic, do not give up on tall storage completely. Sometimes the better answer is a slim solution between appliances or behind the door. These two ideas have saved my sanity in tight layouts:
But if you can fit even a 12 to 16 inch deep floor-to-ceiling cabinet and your actual supplies fit, it is one of those upgrades you feel every single day.