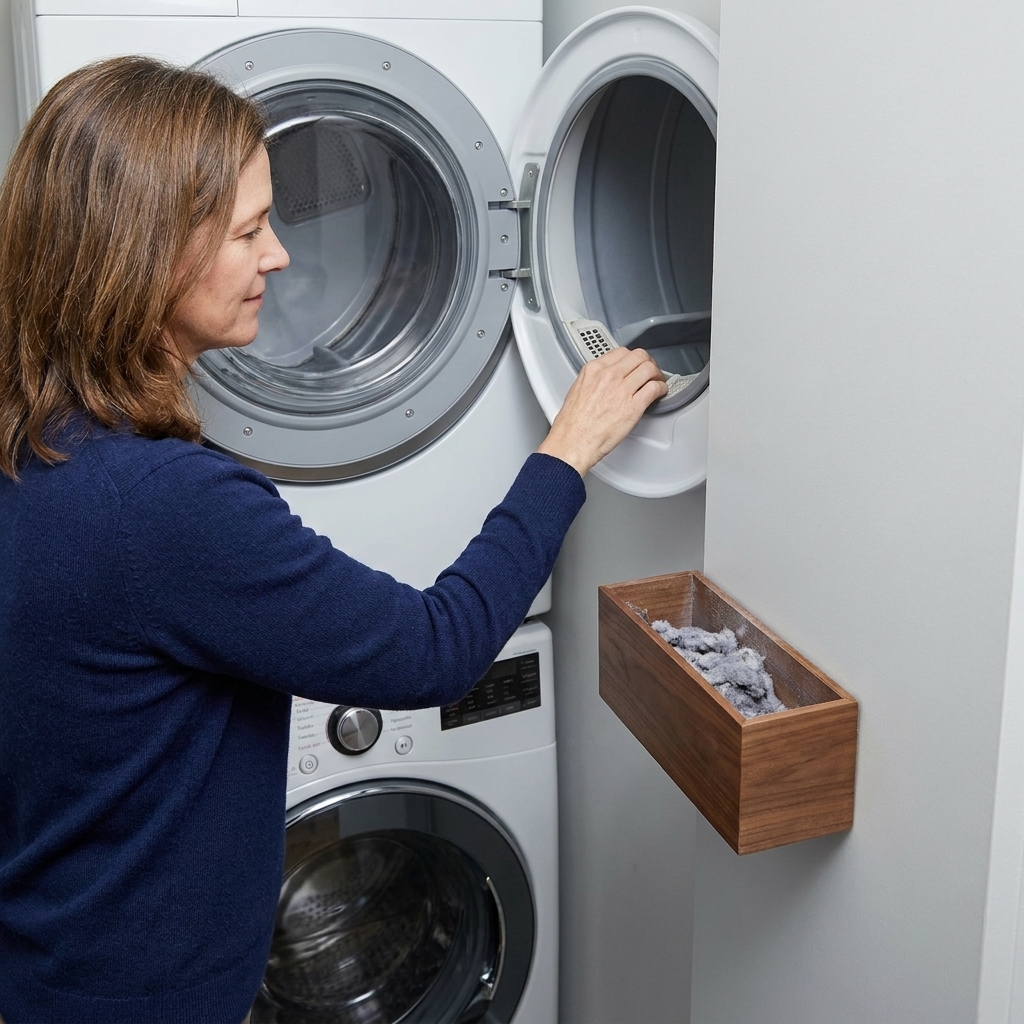
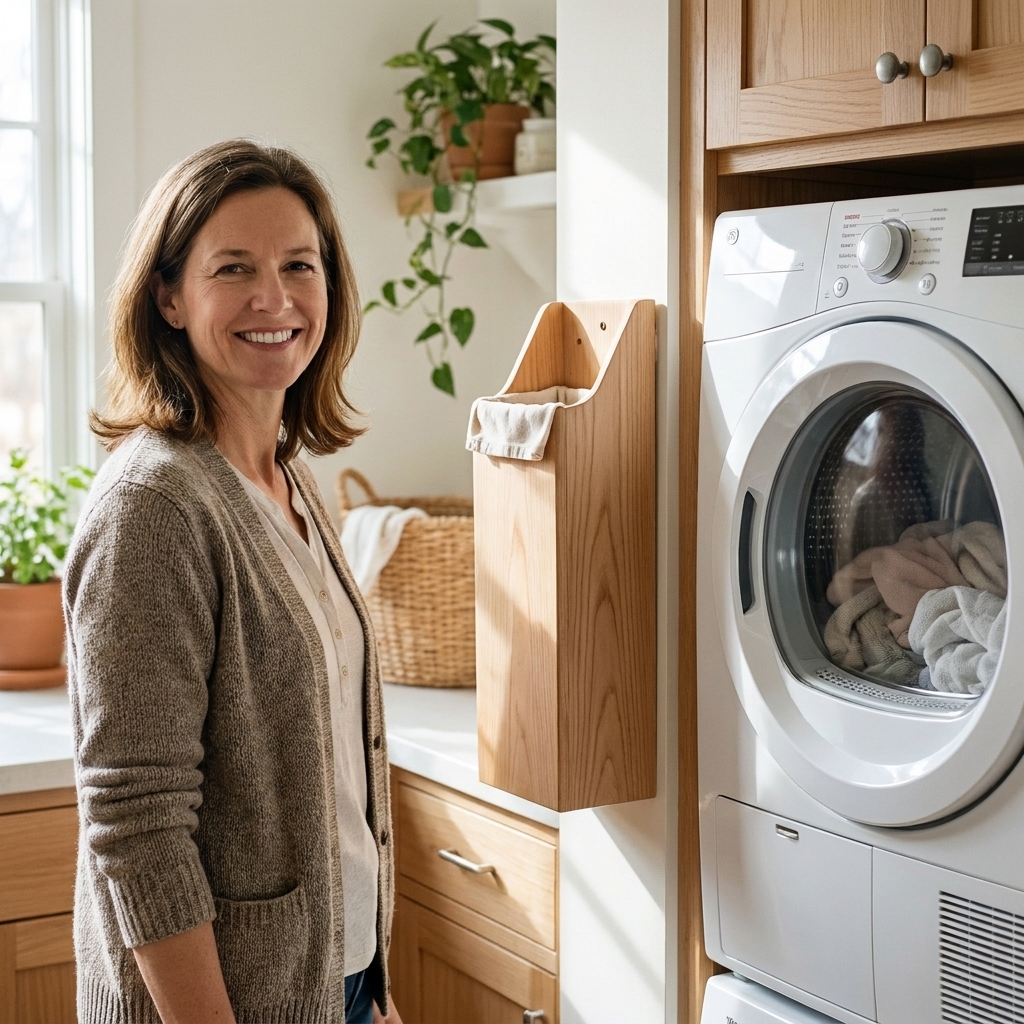
I used to leave a little grocery bag on the floor next to the dryer for lint and laundry room “bits” like empty scent booster packets and used dryer sheets. It worked until it didn’t. The bag tipped. The lint escaped. Someone (usually me) stepped on it. After the third time picking lint confetti off the baseboards, I built a slim wall-mounted bin that lives right where my hand naturally goes when I pull the lint screen.
This project is one of my favorite tiny upgrades because it fixes a daily annoyance without stealing any floor space. You can make it pretty, too. Mine looks like a simple wood accent, but it functions like a mini trash can that never wanders off.
Why a wall-mounted bin helps
Lint is lightweight, staticky, and weirdly determined to travel. When your “lint trash” is a bag or an open can on the floor, it is easy to kick, knock over, or overfill without noticing. A wall-mounted bin solves a few problems at once:
- Always in the same spot, right at lint-screen height.
- No floor footprint, which is huge in tight closets and narrow nooks.
- Cleaner look, especially if you keep your supplies decanted and minimal.
- Easier habit for kids and partners because it is obvious and reachable.
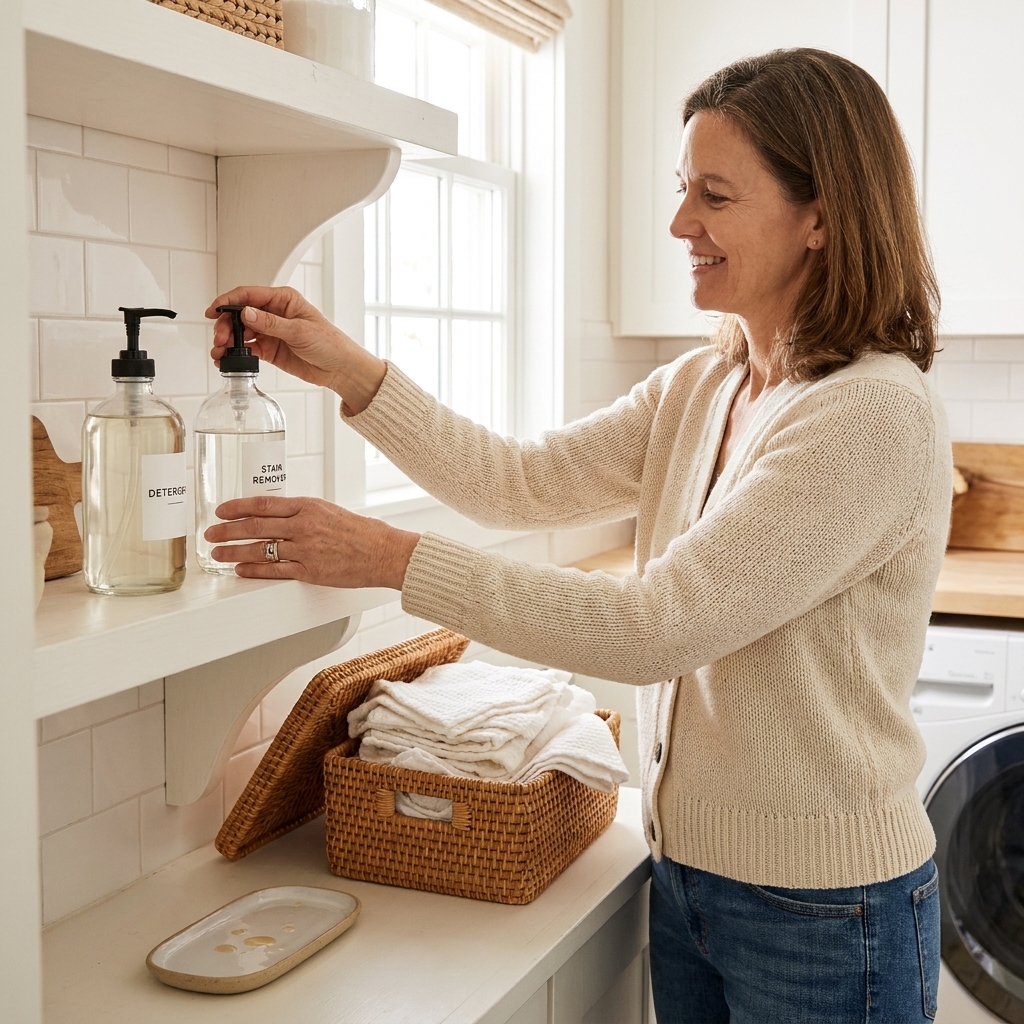
If you are already working on an organization refresh, this pairs nicely with my approach to decanting and organizing laundry supplies so the whole zone feels intentional.
Safety first: placement
Dryer lint is flammable. Your goal is convenience without creating a fire risk.
Do place it:
- On a side wall next to the dryer, within easy reach of the lint screen.
- At about countertop height (or slightly higher) so you can drop lint in without bending.
- Where it will not interfere with pulling the dryer out for vent cleaning.
Do not place it:
- Behind the dryer where it could get warm and crushed.
- Over the vent connection, outlet, gas shutoff (if you have one), or vent clamp.
- On the dryer itself, or anywhere it could touch the vent duct or restrict airflow.
If you are working in an ultra-tight closet, it is worth reading airflow and dryer vent clearance in ultra-compact laundry closets before you commit to placement.
Tools and materials
This is a beginner-friendly build. If you can cut straight lines and drive screws, you can do this.
Materials
- 1 board: 1x6 (actual about 3/4 in x 5 1/2 in) for the front
- 1 board: 1x4 (actual about 3/4 in x 3 1/2 in) for the sides and bottom (no ripping required)
- 1 thin board for the back (optional but recommended): 1/4 in plywood or scrap paneling
- Wood glue
- 1 1/4 in wood screws or brad nails
- Sandpaper (120 and 220 grit)
- Paint or stain plus a clear coat (optional)
- Mounting hardware: 2-hole picture hangers, a small French cleat, or keyhole hangers
- 2 screws to hit studs or appropriate wall anchors for your wall type
- Small liner: a mini trash bag, folded grocery bag, or a reusable washable liner
Tools
- Miter saw or circular saw (even a hand saw works if you take your time)
- Drill and bits
- Clamps (helpful, not required)
- Tape measure and pencil
- Stud finder
- Level

Choose your size
I like giving you sizes that are easy to cut and easy to live with. All three are narrow enough for small spaces.
How this bin is built: the 1x6 is the front face, and the 1x4 side pieces are attached behind it. The 1x4s are oriented so the 3 1/2 inch dimension becomes the depth of the bin.
Alignment rule (this makes the dimensions make sense): Keep the side boards flush with the outer edges of the 1x6 front. That keeps the outside width at 5 1/2 inches from top to bottom, and it lets the back panel fit cleanly.
Because the sides sit behind the 3/4 inch-thick front, the finished depth is deeper than a 1x4 alone. With the optional 1/4 inch back panel added, the overall depth lands right around 4 1/2 inches.
| Bin size | Good for | Finished outside width | Finished height | Finished depth (with back) |
|---|---|---|---|---|
| Small | Lint only | 5 1/2 in | 10 in | 4 1/2 in |
| Medium (my favorite) | Lint plus dryer sheet packaging | 5 1/2 in | 12 in | 4 1/2 in |
| Tall | Busy family laundry traffic | 5 1/2 in | 16 in | 4 1/2 in |
In this tutorial, I am building the Medium. You can adjust the height without changing anything else.
Cut list (Medium)
All pieces below are simple cross-cuts from standard boards. No ripping needed.
- Front (1x6): 1 piece, 12 in tall
- Sides (1x4): 2 pieces, 12 in tall
- Bottom (1x4): 1 piece, cut to the inside width between the sides after you attach them (this depends on your exact alignment, so measure your actual opening)
- Back panel (optional but tidy, 1/4 in plywood): 1 piece, 12 in tall by 5 1/2 in wide (this overlays the back edges neatly if your sides are flush with the front’s outer edges)
Quick measuring tip: If you are using screws, pre-drill to avoid splitting. These narrow cuts are exactly where wood likes to get cranky.
Build it step by step
1) Sand first
Sand the faces and edges before assembly. It is so much easier than trying to sand inside corners later. Start with 120 grit, then finish with 220 grit.
2) Assemble the U shape
Set the front (1x6) face-down. Run a thin line of glue along one long edge on the back of the front board, then place a side piece (1x4) behind it, flush with the outer edge. The 3 1/2 inch dimension of the 1x4 should run front-to-back to create the bin depth.
Repeat for the other side.
- If using screws: Pre-drill, then drive screws from each side board into the edge of the front board. Two screws spaced evenly down each side is plenty for a lint bin.
- If using brad nails: Tack in place, then add a couple more nails per side to lock it down.
3) Cut and add the bottom
Now measure the inside width between your two side pieces and cut the bottom to match. This is a true “measure and cut” piece, and that is a good thing. It guarantees a snug fit even if your boards are a hair different.
Decide whether you want the bottom flush with the side bottoms or lifted about 1/2 inch up from the bottom edge. I like it lifted slightly because it keeps the liner from peeking out.
Glue the bottom in place, then secure it through the sides. If you are using screws, two per side into the bottom piece is a solid, beginner-proof number.
4) Add the back (optional, but I recommend it)
A back panel keeps lint from snagging on drywall texture and makes the whole thing feel finished. Cut a 1/4 inch panel to 12 in tall by 5 1/2 in wide and attach it to the back edges of the box so it acts like a simple cover. Glue it, then nail or screw it on.
If your sides are flush to the front edges (the alignment rule above), that 5 1/2 inch width will line up cleanly. If your sides drifted inward or outward during assembly, measure the actual outside width across the back edges and cut the panel to match.
5) Soften the top edge
Take a moment to soften the top edge with sandpaper. Your knuckles will thank you when you are moving fast.
6) Paint, stain, or seal
In a laundry area, I prefer a wipeable finish. A simple clear coat over stained wood, or a semi-gloss paint, stands up to moisture and drips.

Final dimensions (Medium)
If you like having the numbers locked in before you hang anything, here is what you can expect for the Medium build when the sides are kept flush with the front’s outer edges:
- Outside width: 5 1/2 in (set by the 1x6 front)
- Outside height: 12 in
- Outside depth: about 4 1/2 in with the 1/4 in back panel installed
- Inside width: measure after assembly (this is why the bottom is a “measure and cut” piece)
This is also why the project feels so slim on the wall, but still catches lint easily.
Mounting options
Because you will be tossing lint in with one hand, the bin needs to feel rock-solid. Here are three mounting methods that work well.
Option A: Screw into a stud
Hold the bin where you want it, mark the stud location, and drive two screws through the back panel into the stud. If you did not add a back panel, add two small wood blocks inside the bin near the top back edge to give screws something thicker to bite into.
Option B: French cleat
A small French cleat lets you lift the bin off the wall to empty it or wipe it down. Attach one cleat to the wall (into studs if possible) and the matching cleat to the bin.
Option C: Heavy-duty wall anchors
Use anchors rated for the combined weight of the bin plus whatever you might toss into it. Lint is light, but a toddler tugging on it is not.
Placement tip: Mount it so the top opening sits near the height of your dryer lint screen. That is what makes this feel effortless instead of one more thing.
Liner ideas
You can absolutely use this bin without a liner, but liners make it faster to empty and keep the inside fresher.
- Mini trash bags: easy and tidy.
- Folded grocery bag: free, but it can look bulky if it shows.
- Reusable cloth liner: sew a simple rectangle bag with an elastic top, then toss it in the wash.
If the liner edge is visible, lower the bottom panel a touch or add a thin trim strip around the inside top edge to hide it.
Make it match
This is the fun part. A wall bin can look built-in, not like an afterthought.
- Match your cabinetry with the same paint color or hardware finish. If you are refreshing builder-grade cabinets, my process is in painting builder-grade laundry cabinets.
- Add a tiny face frame with 1x2 strips for a more furniture-like look.
- Use leftover paint for a pop of color. I am a big fan of using what you already have, and leftover paint projects are perfect for small builds like this.
Keep lint under control
- Empty weekly if you do laundry often. For my family of five, once a week is the sweet spot.
- Wipe the inside monthly with a damp cloth. Lint likes to cling to corners.
- Do not let lint pile up for later. Treat it like trash, not storage.
And if you are already in laundry-optimization mode, a few small upgrades go a long way. I keep a short list of quick wins like these in my DIY Projects & Builds section.
Troubleshooting
My bin feels wobbly
Add a second mounting point and make sure at least one screw hits a stud. If you used anchors, upgrade to a heavier-duty anchor rated for your wall type.
Lint clings to the wood
Seal the inside with a clear coat or semi-gloss paint. A smoother surface releases lint much more easily.
The opening feels too small
Drop the front height by 1 inch or make the tall version so you have more room to toss packaging without aiming.
I want a real trash option too
Make two matching bins and mount them side-by-side: one for lint, one for packaging. Or build the tall version and hang a small divider panel inside.
One last mom tip
If you have kids who “help” with laundry, mount the bin just slightly higher than their shoulder height. High enough that they are not tempted to treat it like a basketball hoop, low enough that you can still use it one-handed while holding a basket. That tiny placement tweak has saved me more than once.