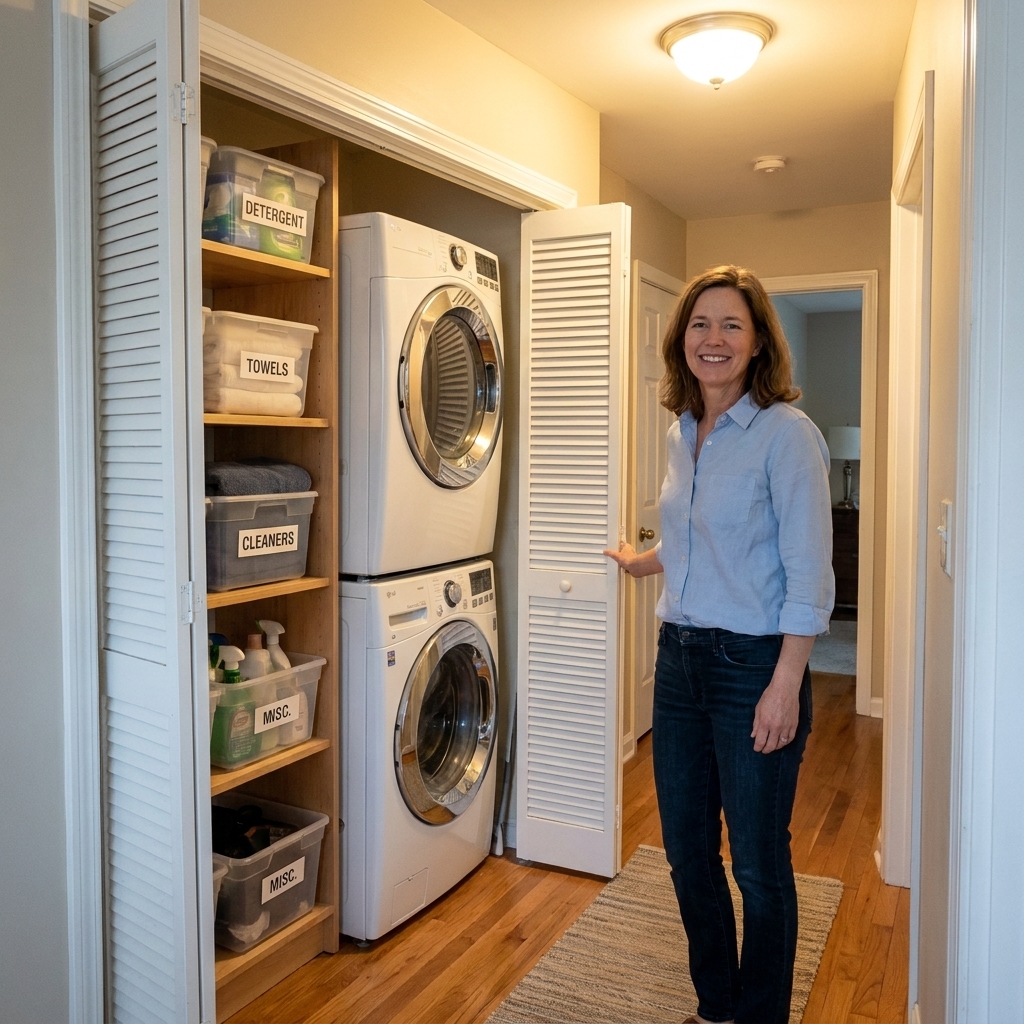
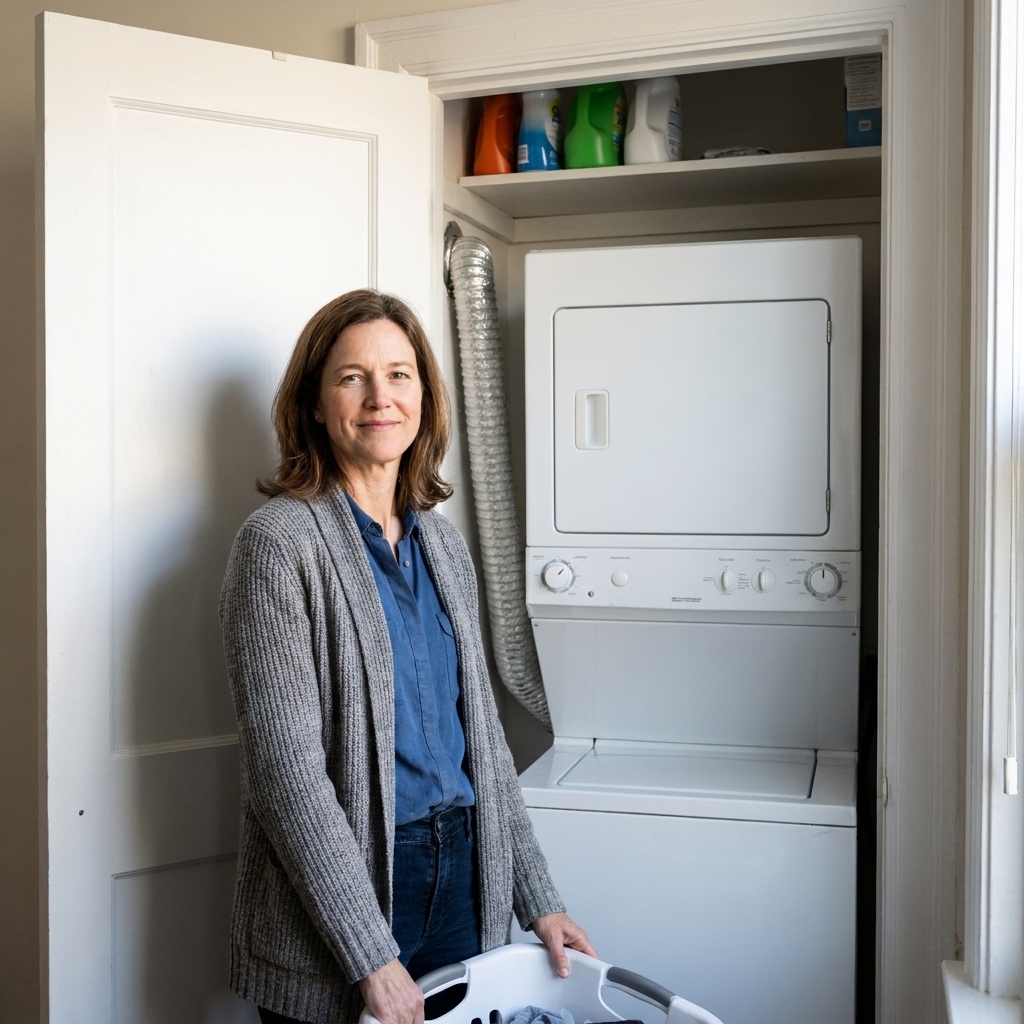
Wire shelving is one of those “it works, but I do not love looking at it” features. In my first laundry closet makeover, the white ventilated shelf wasn’t technically a problem, but it made the whole space feel like a storage cage. And with three kids worth of detergent, stain spray, and random socks, that shelf was always on display.
The good news is you can make wire shelves look clean and custom without ripping them out. The trick is choosing a cover that fits how you use the shelf: wipeable for liquids, rigid for baskets, and removable if you rent.
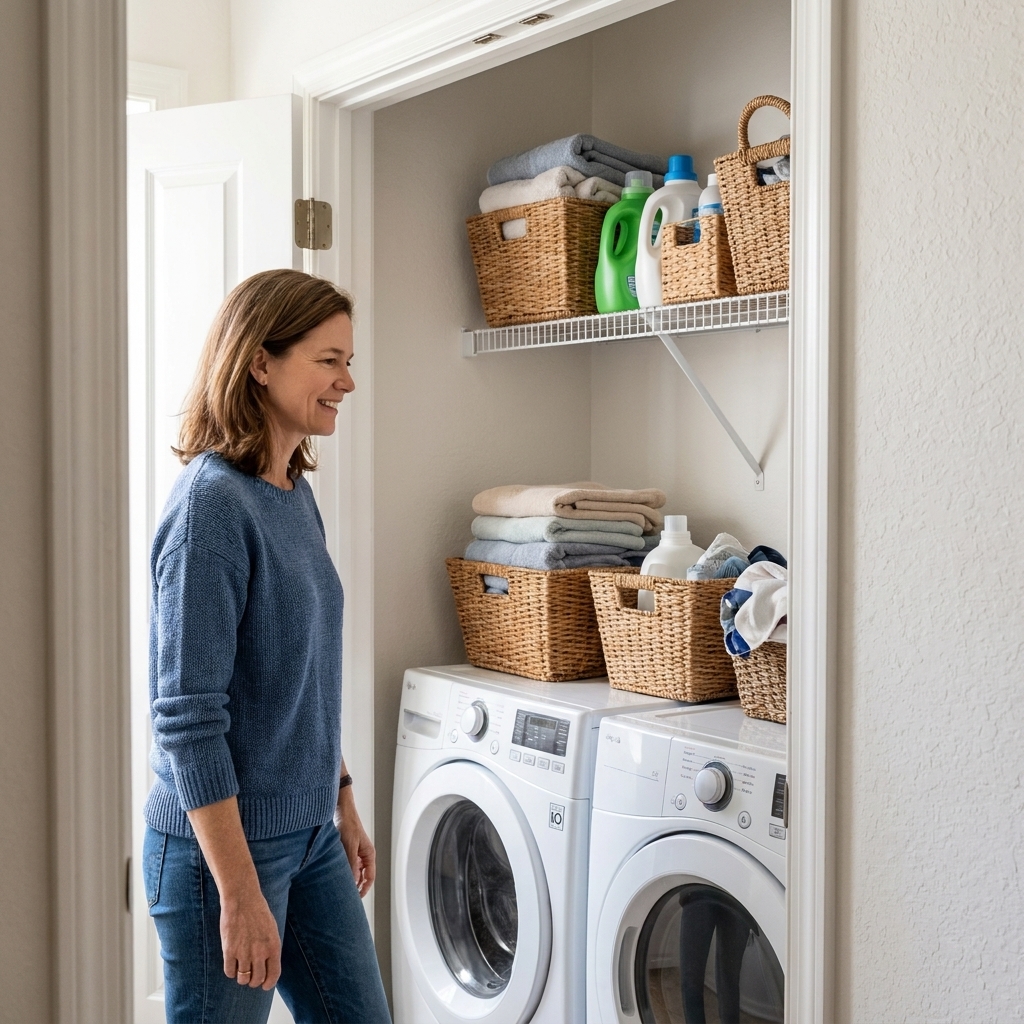
Before you start: pick the right cover style
I like to choose based on what the shelf holds and how permanent the upgrade can be.
- For detergents and drips: vinyl shelf liner (wipeable) or a sealed thin wood skin.
- For baskets and bins: foam board or hardboard panels (flat, lightweight, budget-friendly).
- For rentals: anything held on with zip ties or a friction fit. Skip glue and nails.
- For trim only: Command strips can be fine for lightweight fascia pieces or a fabric skirt, but I do not trust them to support a full panel long-term (humidity and dust love to mess with adhesion).
- For tight closets: check door clearance before you commit. Even a 1/4 inch panel plus tall bins can be enough to make bi-fold doors rub.
- Measure around supports: look for wall brackets, diagonal supports, and the front lip. Plan your cuts so your cover sits flat and does not interfere with the shelf hardware.
- For high heat areas: keep any cover away from dryer exhaust paths and maintain required clearances. Covering the shelf surface is often fine, but only if you are not restricting dryer venting or airflow where your machines need it. If your shelf is near your dryer exhaust path, read this safety-focused guide: Airflow and Dryer Vent Clearance in Ultra-Compact Laundry Closets.
Option 1: Foam board shelf skin
If you want the biggest visual change for the smallest effort, foam board is my go-to. It turns that bumpy wire surface into a clean, solid plane so baskets slide nicely and nothing tips over.
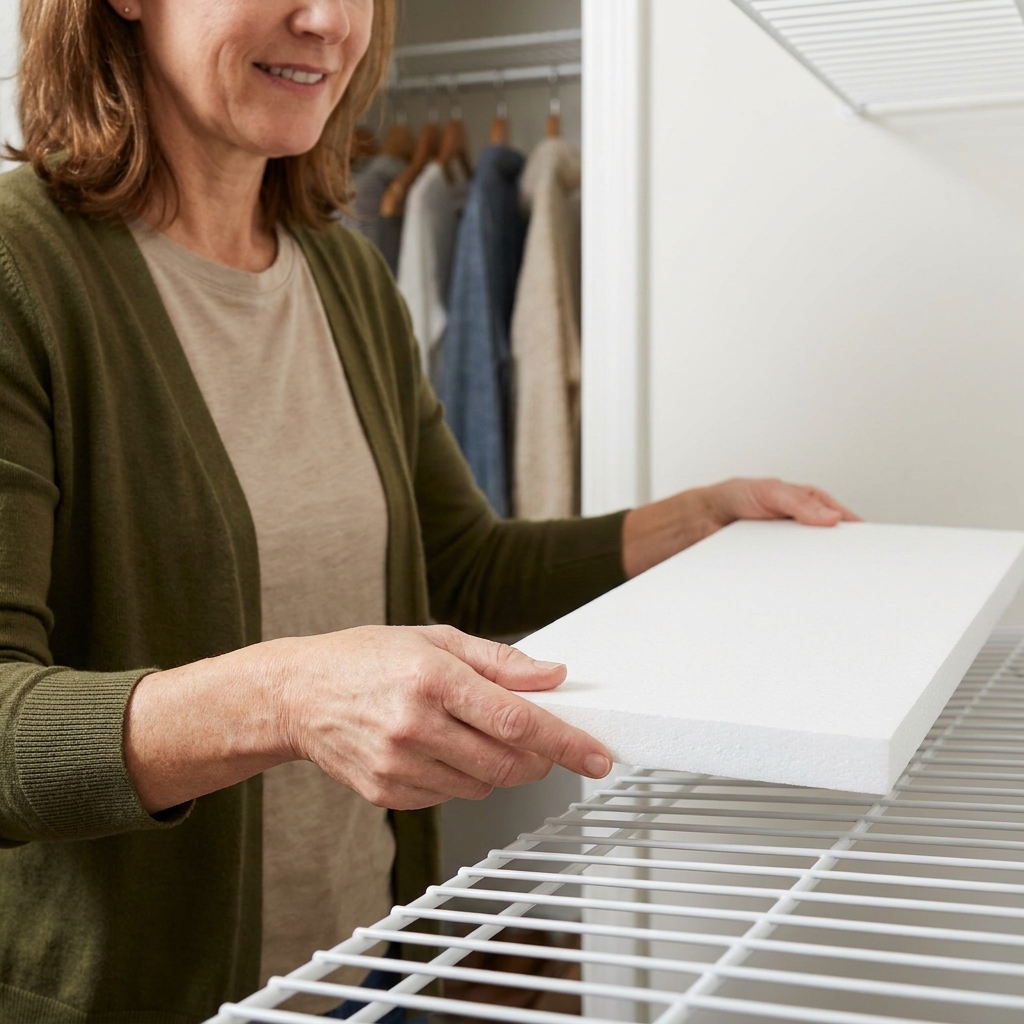
What you need
- Foam board (standard 3/16 inch works, 1/2 inch feels sturdier)
- Measuring tape
- Sharp utility knife and a straightedge
- Zip ties or clear packing tape (for securing)
- Optional: peel-and-stick wallpaper or vinyl for the top surface
How to do it
- Measure the usable shelf area. Measure width and depth. If your shelf has a front support bar, measure to the outer front edge so the board looks intentional. Mark any wall brackets or diagonals you need to notch around.
- Cut foam board. Use a straightedge and make several light passes with the knife instead of one deep cut.
- Test fit, then trim. You want it to drop in without bowing and without pushing against bracket hardware.
- Secure it. For a clean look, I use zip ties at the back corners and a couple along the sides. Snip ends flush.
- Make it wipeable (optional but smart). Cover the top with peel-and-stick vinyl or shelf liner so detergent drips do not soak in.
My practical notes
- Best for: baskets, folded towels, lightweight supplies.
- Not great for: wet bottles sitting directly on foam board unless you add a wipeable layer.
- Heat and weight note: keep foam board away from hot spots and do not rely on it for heavy, concentrated loads. I corral bleach and big detergent jugs in a tray so a drip does not turn into a soggy mess.
- Pro tip: If the shelf has a diagonal support, trace it and cut a small notch so the board sits flat.
Option 2: Thin wood panel cover
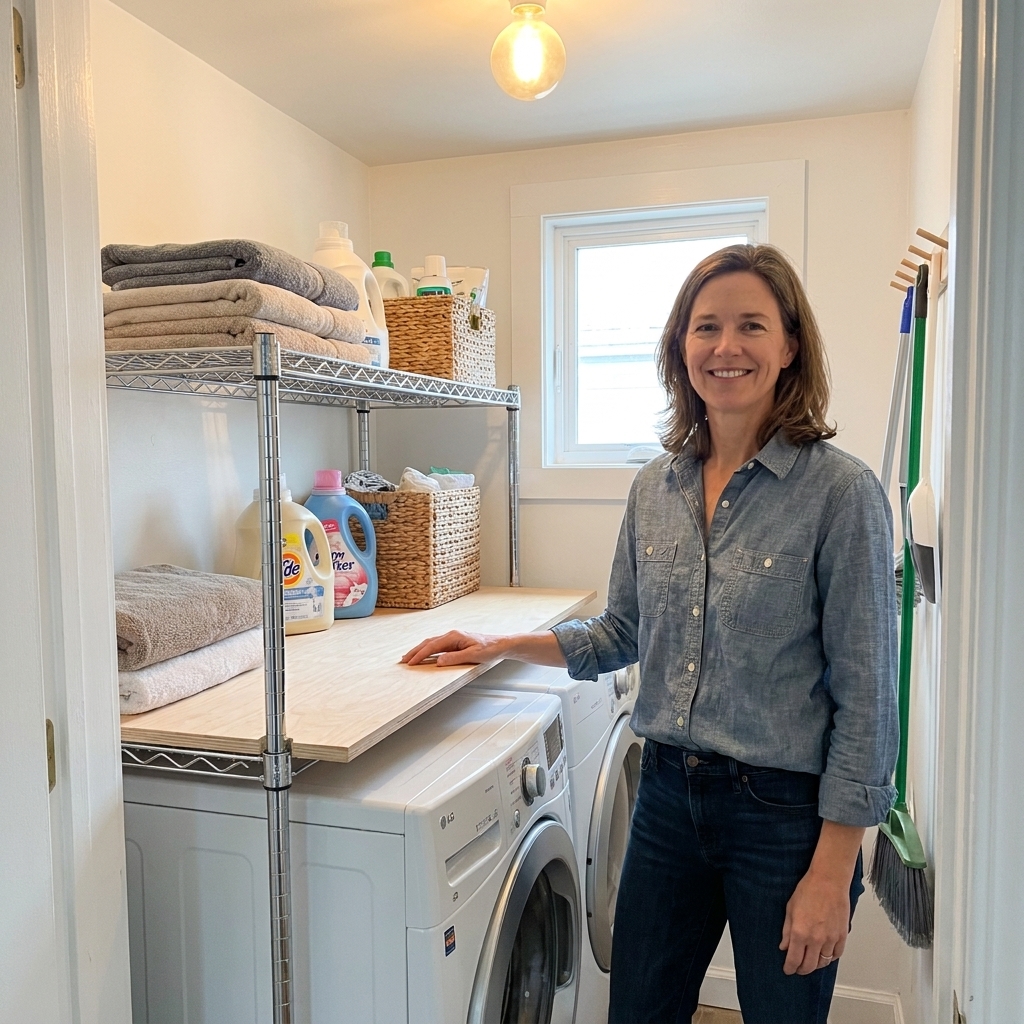
If you want your wire shelf to read more like a real wood shelf, a thin panel is the sweet spot. It is basically a wood cap that hides the wire texture and warms up the whole laundry nook.
What to use
- 1/8 inch hardboard: very budget-friendly and easy to cut, best when the wire grid and brackets support it well.
- 1/4 inch plywood: sturdier for longer spans or heavier bins.
- Pre-finished thin panel: great if you want zero painting.
How to do it (simple, no carpentry)
- Measure and cut. Have it cut at the store if you can. For an at-home cut, a straightedge and fine-tooth saw works. Plan notches for brackets or diagonals so the panel sits flat and does not press on hardware.
- Sand edges lightly. Especially the front edge so it feels finished when you reach up.
- Seal it. Even a single coat of water-based polyurethane makes it much more laundry-proof. This matters if you store anything that can leak or splash. Wipe spills quickly to prevent warping and stains.
- Attach without drama. Drill small holes near the back and side edges of the panel (not centered, and not right on a corner where it can crack), then loop zip ties around the wire and through the holes. Pull snug, but do not crank so hard that you bow thin hardboard.
- Add a front face (optional). A 1x2 strip along the front edge hides the wire lip and makes it look thicker. You can attach the strip to the panel with wood glue and brad nails, then zip tie the whole unit to the wire shelf.
A quick zip tie caution
Zip ties are great for reversible installs, but they can relax over time, especially in warmer or high-humidity laundry zones. I use good-quality ties, keep heavier items closer to wall brackets, and give them a quick check now and then.
Make it match the rest of your nook
If you are already doing other small upgrades, tie the finish in. A warm wood top looks beautiful with peel-and-stick floors, for example. If you are planning a floor refresh, this pairs well with Peel-and-Stick Vinyl Tile for Laundry Room Floors.
Option 3: Vinyl liners and pretty surfaces
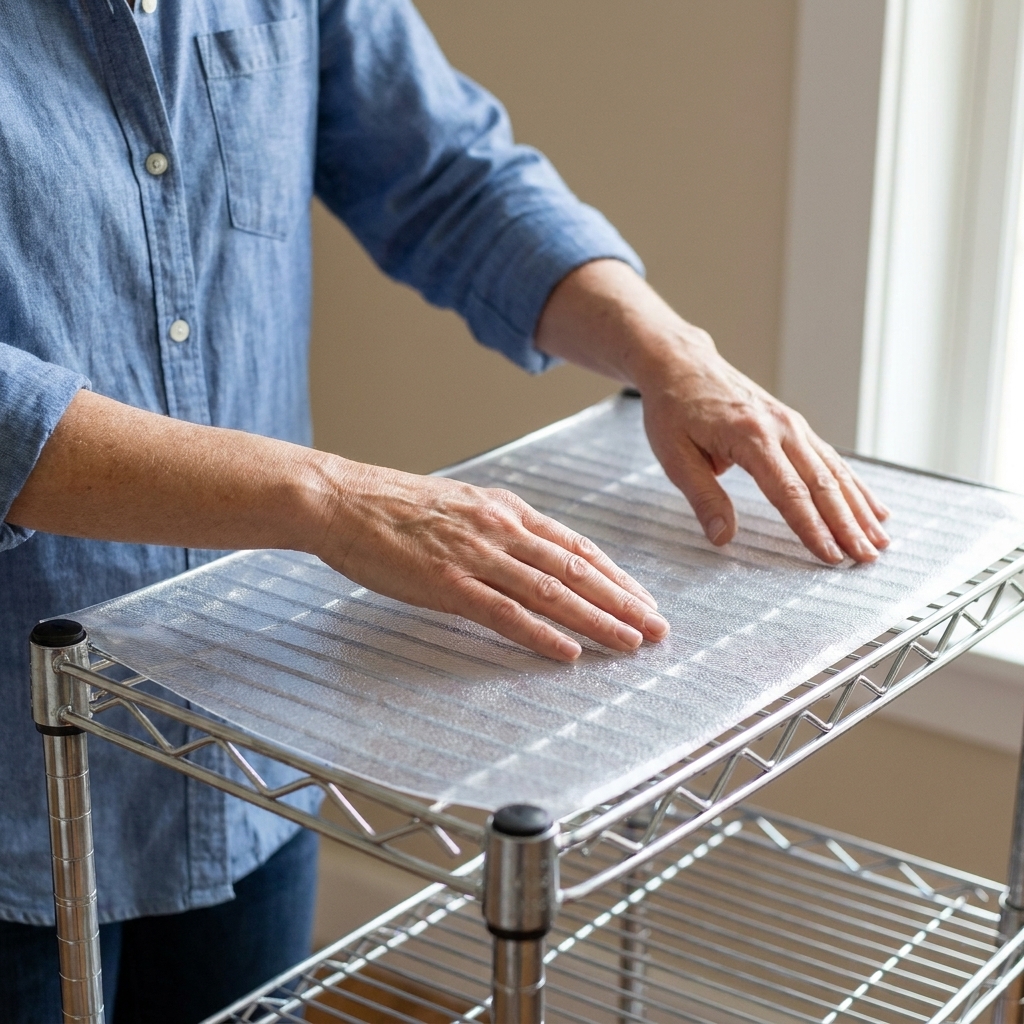
If your biggest complaint is the visual clutter and the wire pattern showing through, vinyl liners are a quick win. They also protect the shelf from sticky detergent rings. I like this option when the shelf is already the right size and I do not want to change how it functions.
Two ways to do it
- Non-adhesive shelf liner: easiest to remove, good for rentals. Use a few small pieces of clear tape underneath to keep it from shifting.
- Adhesive vinyl (drawer liner or contact paper): smoothest look. If you rent, test in an inconspicuous spot first. Also, remember adhesive products can leave residue even if the shelf itself is unharmed.
How I make it look neat on wire
- Cut liner a little oversized.
- Lay it on the shelf and press it down into the wire pattern.
- Trim to final size with a sharp blade.
- If you see sagging between wires, add a thin underlayer first (foam board is best, but even thin cardboard can help in a pinch).
Want the whole shelf area to look calmer, not just covered? This is a great moment to decant supplies into matching bottles so your shelf looks intentional: Decanting and Organizing Laundry Supplies.
Option 4: Fabric shelf skirt
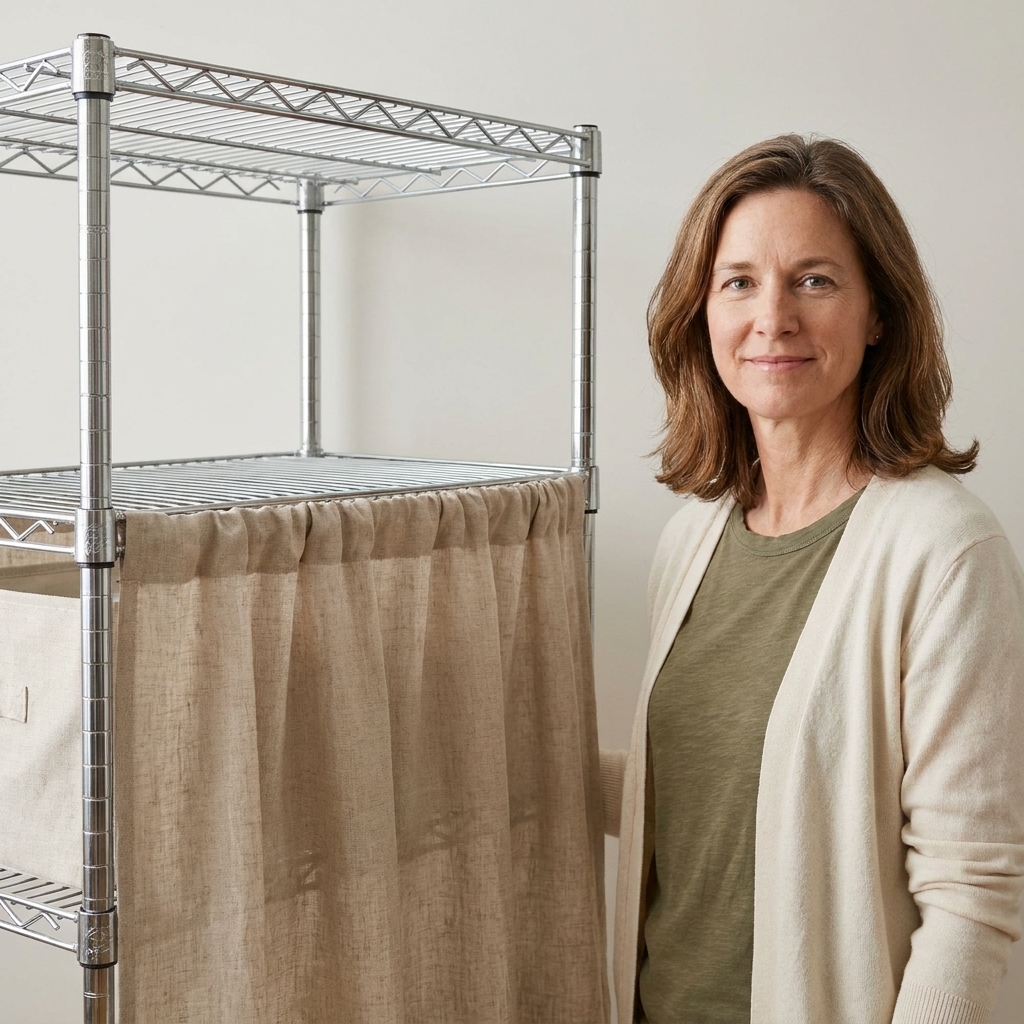
If the wire shelf is high up and your main annoyance is seeing the underside, a fabric skirt can be a surprisingly pretty fix. This does not change the shelf surface, but it camouflages the whole thing from the room view.
How to do it
- Cut fabric to shelf length, with enough drop to cover what you want hidden.
- Hem the bottom with iron-on hem tape if you do not sew.
- Attach using hook-and-loop tape along the shelf front support bar, or use small curtain clips clipped directly to the wire.
Mom-life honesty: I only use a skirt if I know I will not be grabbing bottles constantly. Fabric near detergent can get drippy. If this shelf holds mostly paper goods or extra linens, it is great.
Option 5: False bottom inserts
Sometimes you do not need to cover the whole shelf. You just need the bins to stop tipping and snagging. In that case, make inserts that sit only under your baskets.
- Cut rectangles of foam board or thin plastic placemats to fit under each basket.
- Drop them in place and let the basket hold them down.
- Swap or wipe as needed.
This is especially helpful if your shelf is narrow and every inch matters. If you are fighting for space overall, you may also like Maximizing Storage in a Tiny Bi-Fold Laundry Closet.
Little details that make it look intentional
Once the shelf is covered, the rest is styling and function. These are my cheap, high-impact finishing touches.
- Use matching bins. A mixed-bin shelf still reads messy, even with a beautiful cover. Dollar store bins can look surprisingly cohesive. Start here: 15 Dollar Store Organization Hacks for a Budget Laundry Makeover.
- Add one containment tray for liquids. A small plastic tray corrals detergent drips and makes wipe-downs fast.
- Label with your system, not your fantasy self. If your kids put socks in the wrong bin, make the bins bigger or the categories fewer.
- Leave breathing room. Overstuffed shelves are the fastest way to hate your laundry area again.
Common questions
Will covering wire shelves reduce weight capacity?
The wire shelf is still doing the structural work. Foam board or thin wood usually adds very little weight. A rigid panel can also help distribute point loads (so a basket does not teeter on two wires), but it can create false confidence to overload the shelf. Keep heavy jugs close to wall brackets, and do not exceed the shelf manufacturer’s rating.
How do I cover a shelf without blocking airflow?
Do not create a sealed box around appliances or vents, and do not crowd the shelf so tightly that air cannot move. Covering the shelf surface is often fine, as long as you are not restricting dryer exhaust or other required airflow paths and you maintain proper clearances. For tight laundry closets, this guide walks through the clearance thinking: Airflow and Dryer Vent Clearance in Ultra-Compact Laundry Closets.
What is the most renter-friendly method?
Non-adhesive liner plus a foam board or thin panel held with zip ties. When you move, snip the ties and lift everything off the shelf. If you used adhesive products, you may still have a little residue to clean up.
How do I make it look custom on a tiny budget?
Do a thin wood top (even hardboard), paint it the same color as your trim or cabinets, and add a simple front face strip. Then use matching bins. It reads like a built-in for the price of a pizza night.
Take it one step further
Once your shelf looks good, you may find the rest of the laundry nook starts begging for small upgrades too. If your space is more closet than room, you might like these next:
- Back-of-Door Laundry Closet Storage Ideas
- Swap Laundry Closet Doors for Curtains
- Lighting Upgrades for Dark Laundry Closets
- Floating Shelves vs Wire Racks for Laundry Storage
Wire shelves may not be glamorous, but once they are smoothed, covered, and styled, they stop screaming “builder basic” and start quietly doing their job. Which is really all I want from my laundry zone on a Tuesday night.