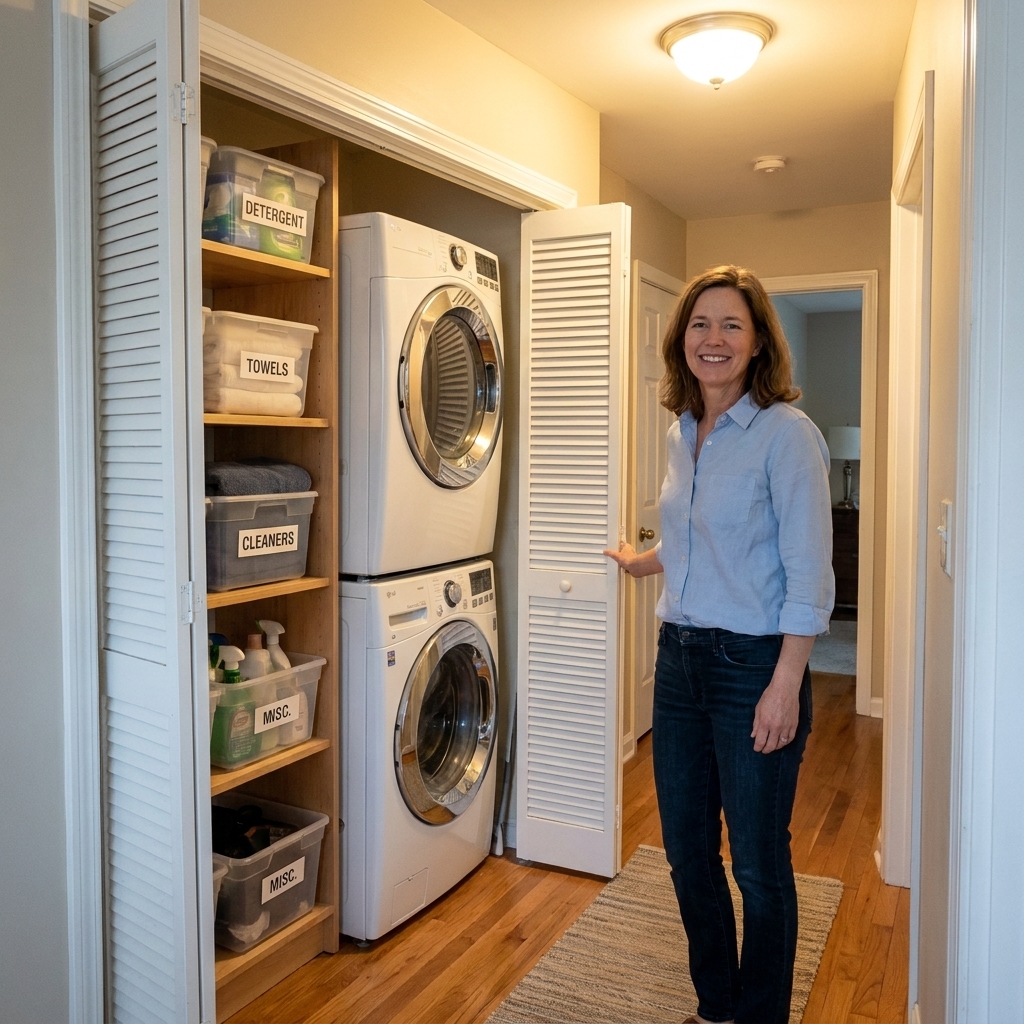
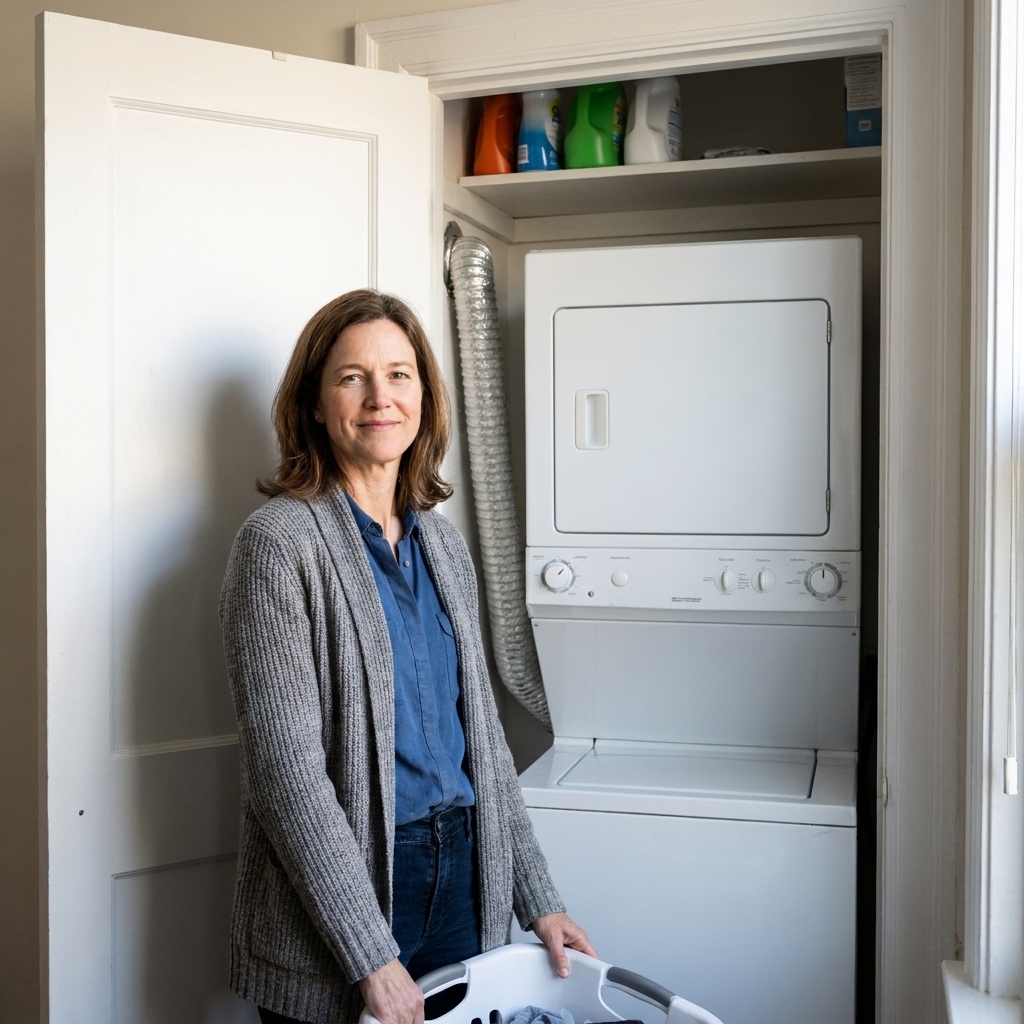
My very first “laundry room” was a hallway closet with bifold doors and exactly one sad ceiling light that seemed to swallow brightness instead of make it. I used to carry socks out into the hall just to check for stains. If your laundry zone feels like a cave, lighting is the fastest upgrade you can make, and you do not have to do a full remodel to get a space that feels clean, safe, and easy to work in.
This guide breaks down my favorite battery-operated and hardwired lighting upgrades for tiny, windowless laundry closets, plus how I install them so they actually last through humidity, vibration, and the daily chaos of a busy house.
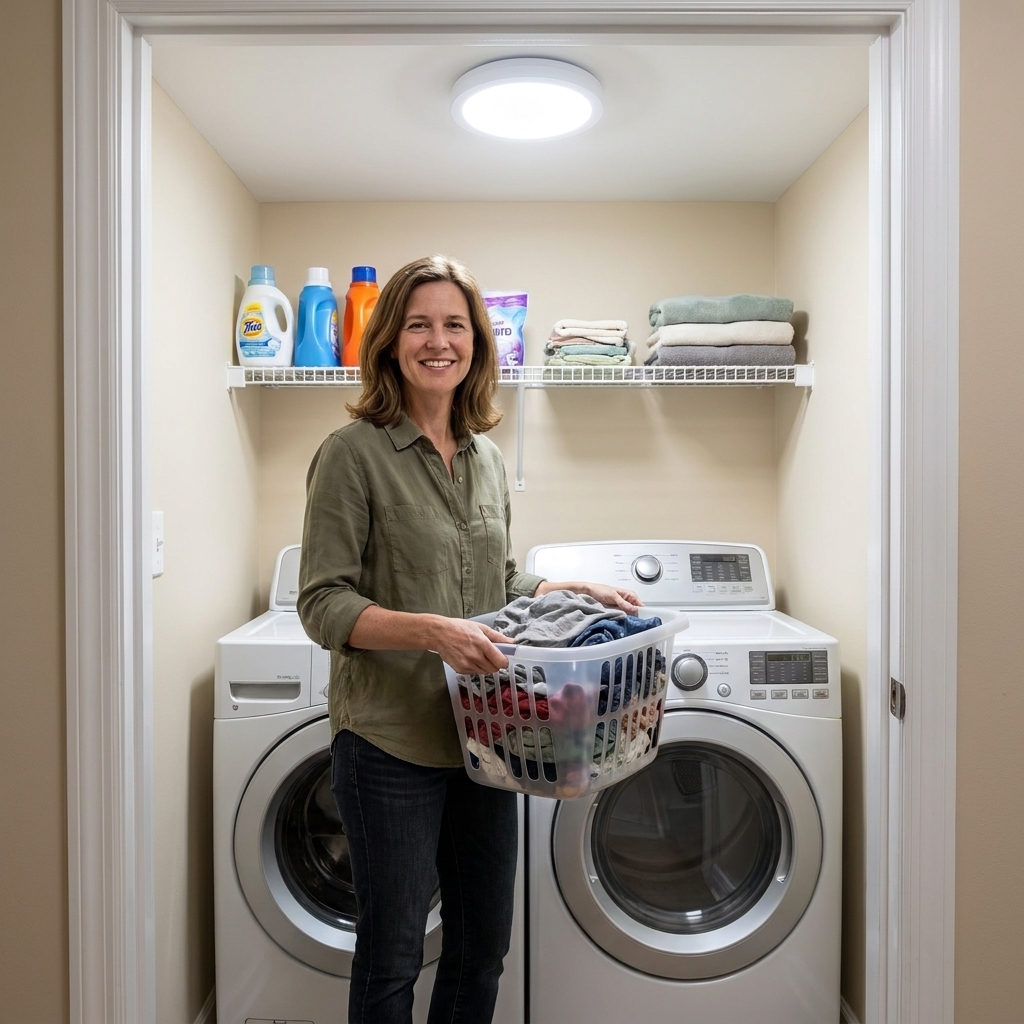
Start here: what your laundry closet needs
Before you buy anything, take two minutes to “diagnose” the space. It will save you money and a lot of re-sticking lights that keep falling off.
- Do you need light the second the door opens? Motion-sensor lights are a lifesaver when your arms are full of towels.
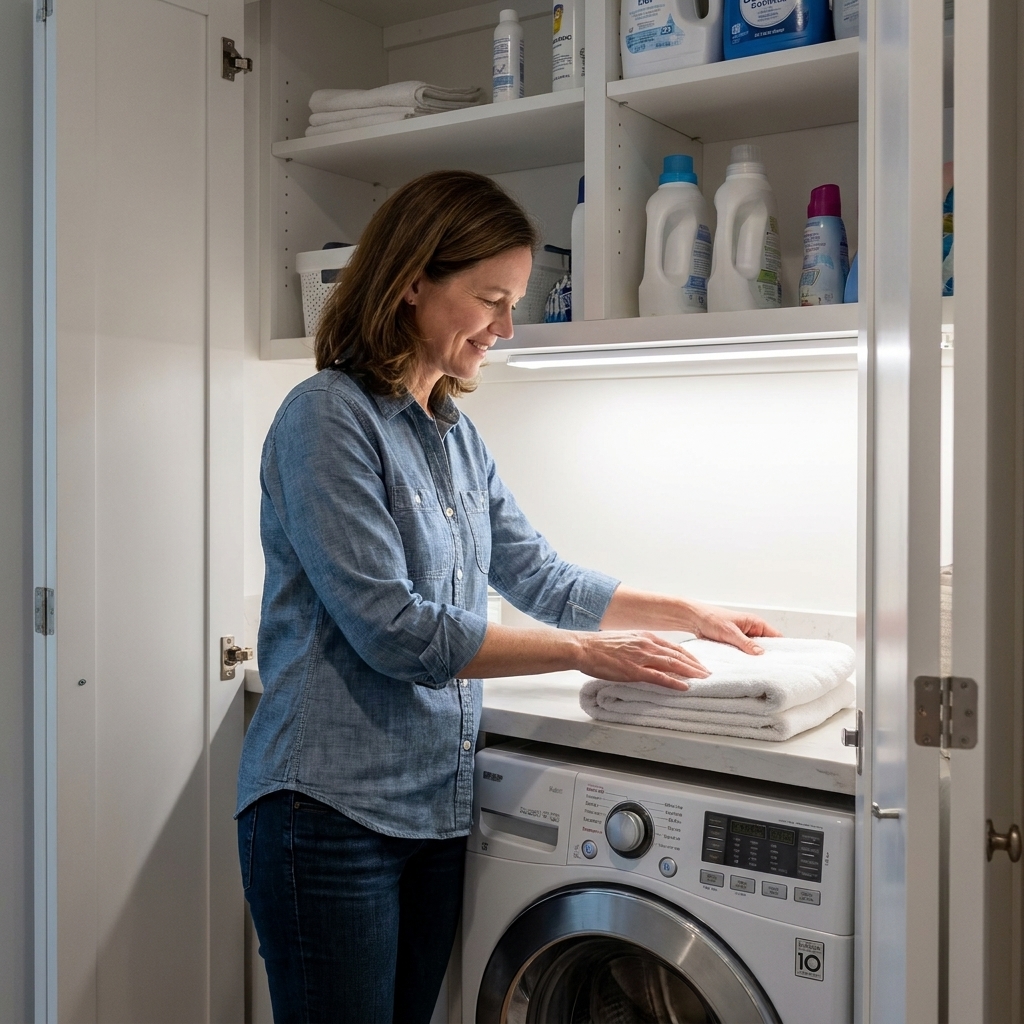
- Do you fold or treat stains inside the closet? You need task lighting, not just a brighter ceiling glow. Under-shelf bars or strips are best for this.
- Is the ceiling light centered? Many closets have one fixture that casts shadows behind you. Adding lighting closer to the door opening (or the front edge of shelves) fixes that instantly.
- How much are you willing to install? Battery lights are quickest. Hardwired is most reliable long-term, especially if you are in this house for a while.
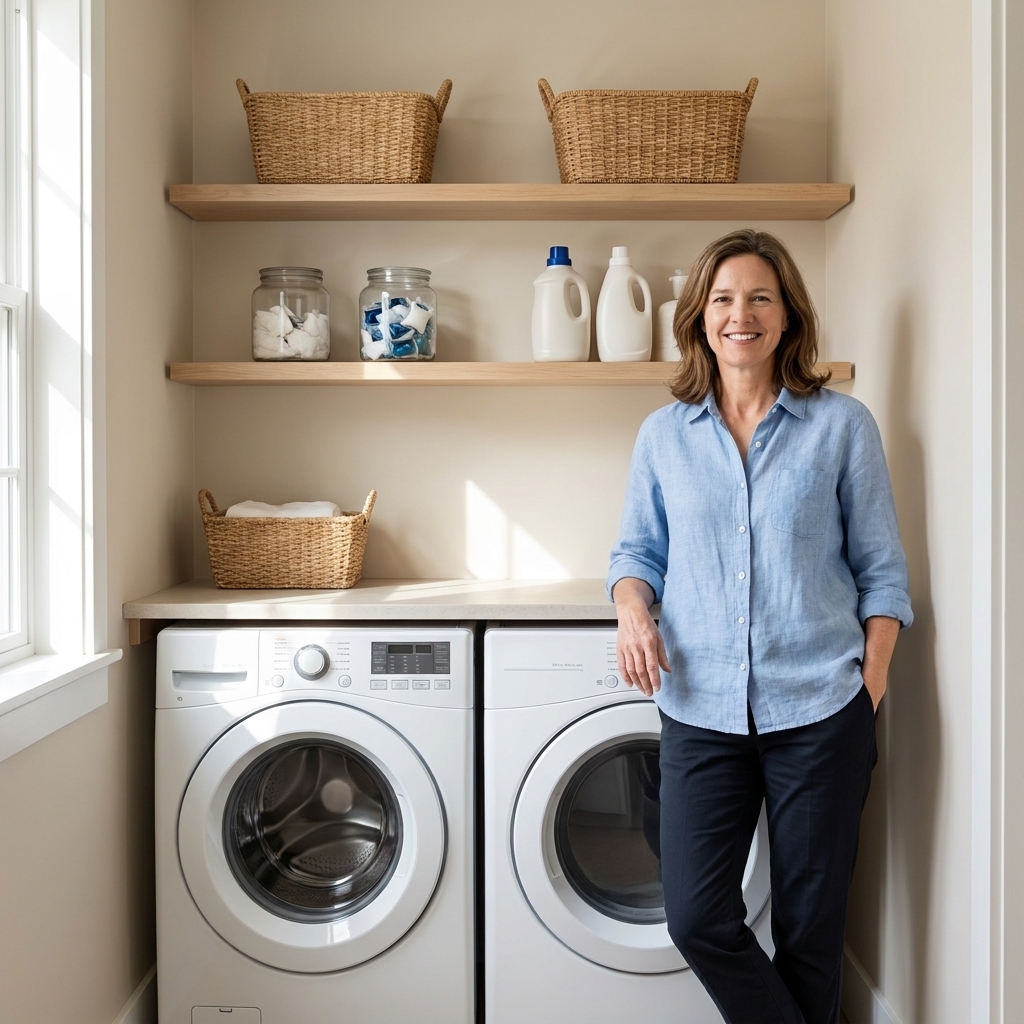
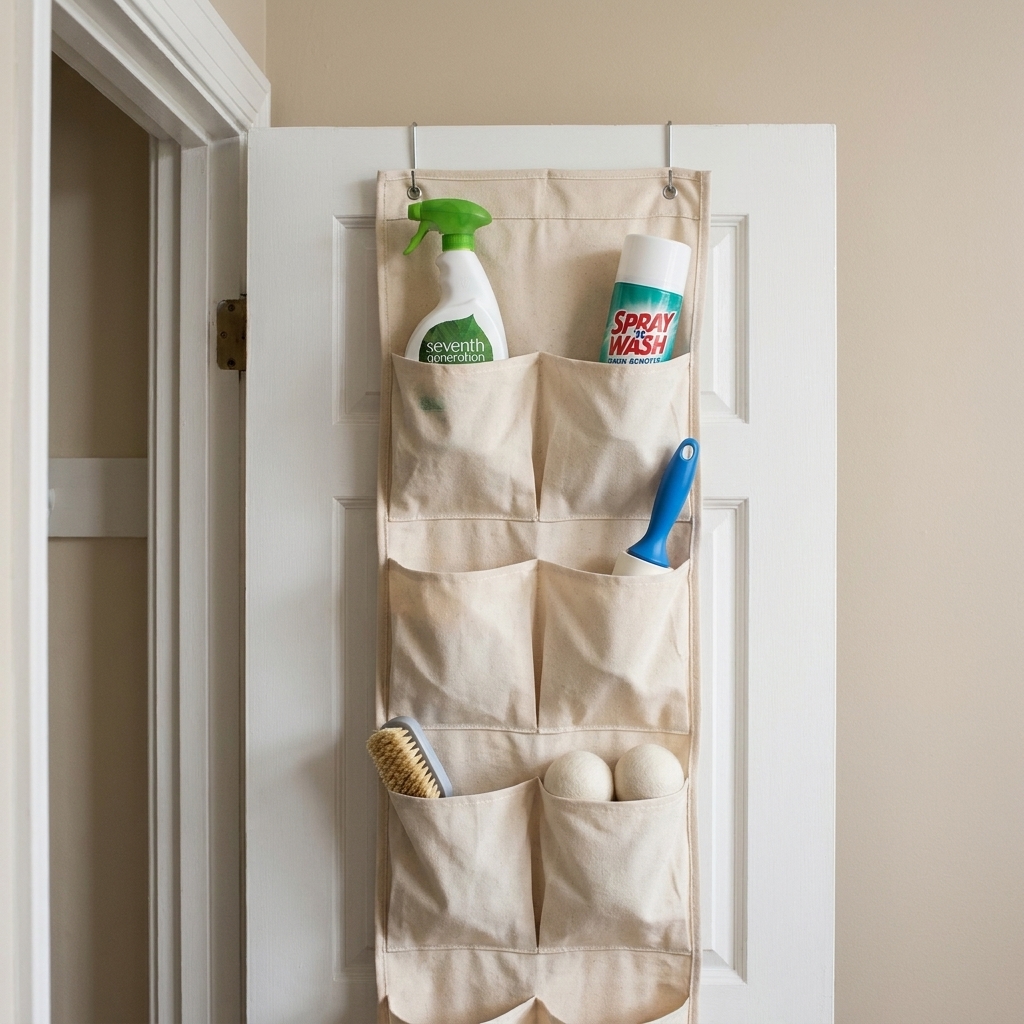
If you are also rebuilding storage, lighting is the perfect partner upgrade. I love pairing it with better shelf choices and door storage so you are not digging in the dark. See Floating Shelves vs. Wire Racks for Laundry Storage and Back-of-Door Laundry Closet Storage Ideas.
The best battery-operated upgrades
Battery lighting has come a long way. The secret is choosing the right style for the job, then mounting it like you mean it.
1) Motion-sensor puck lights
Best for: super-dark closets, renters, anyone who wants instant light with zero wiring.
What I like: Pucks create a big payoff fast. Put one near the front of the closet and suddenly you can see detergent labels, sock pairs, and that mystery spot you swear was not there yesterday.
Look for:
- Motion + manual mode (sometimes you want the light to stay on while folding)
- Warm-to-neutral white options (around 3000K to 4000K is the sweet spot for laundry)
- High-adhesion mounting plate or screw-mount option
- Easy battery door you can open without removing the whole light
My install tips (so they do not fall):
- Clean the mounting surface with rubbing alcohol and let it dry fully.
- Skip the included flimsy tape if you can. Use strong double-sided mounting tape rated for walls, or screw-mount if allowed.
- Mount pucks on the ceiling closer to the door opening, not centered deep in the closet. This reduces shadows on shelves.
- If your closet has wire shelving, mount to the ceiling or underside of a solid shelf, not to the wire itself.
2) Rechargeable under-shelf LED bars
Best for: folding shelves, stain-treatment zones, and anywhere you need bright, even task lighting.
These are the battery option that feels most “built-in.” Mounted under a shelf, they light the counter or machine tops exactly where your hands are working.
Look for:
- Diffused lens (prevents harsh dots of light on your countertop)
- Motion sensor that can be turned off (motion is great until the dryer vibration or door movement triggers it constantly)
- USB rechargeable (no hunting for weird battery sizes)
- Brightness around 200 to 600 lumens per bar for a small closet
Placement that works: I mount one bar under the front third of the shelf so the light washes down the cabinet face and across the work surface.
Glare tip: If your machines are glossy, aim the bar slightly forward (toward the doors) instead of straight down. A diffuser helps a lot here.
3) Stick-on LED strip lights (battery packs)
Best for: adding glow inside a cabinet, along the top of a closet frame, or under a shelf where you want continuous light.
Strips are great, but the battery pack is the weak point. In a laundry closet, vibration and humidity can loosen adhesives over time.
My honest take: Use battery strips when you need a quick win, but if this is your long-term home and you are already annoyed by poor lighting, consider jumping to a plug-in or hardwired strip.
How I make strips last longer:
- Wipe the mounting area with alcohol.
- Use mounting clips when possible (even a few makes a difference).
- Keep strips away from the dryer vent path and the hottest area behind the machines.
4) Door-activated lights (a motion-sensor alternative)
Best for: very tight closets where motion sensors feel fussy, or where the machines shake enough to confuse a sensor.
Door-activated options turn on when the doors open and turn off when they close. If you are tired of lights popping on during a spin cycle, this style can be calmer and more predictable.
The best hardwired and plug-in upgrades
If you are tired of batteries dying at the worst moment, hardwired or plug-in lighting is the “set it and forget it” route. You can still keep it low-profile and closet-friendly.
1) Low-profile LED flush mount fixture
Best for: replacing a dim builder-grade closet light with something bright and clean-looking.
A slim LED flush mount spreads light wide without hanging down into your storage space. This is my go-to when the closet has one ceiling box already in place.
What to look for:
- Low profile so it does not interfere with bifold doors
- Selectable color temperature (choose 3000K to 4000K for laundry)
- Dimmable rating if you have a compatible switch
- High CRI if you care about stain-checking (look for CRI 90+ if you want whites and colors to look more “true”)
DIY note: Swapping an existing fixture is doable for many homeowners, but if your wiring is older, crowded, or confusing, this is the moment to call an electrician. Laundry closets tend to be tight, and I would rather you be safe than stubborn.
2) Motion-sensor hardwired switch or occupancy sensor
Best for: closets where you already like the fixture but hate fumbling for the switch.
This upgrade is sneaky good. Instead of adding more lights, you make your existing ceiling light automatic. It feels luxurious in a tiny space.
Where it shines: When your closet light is reasonably bright, but the problem is access and convenience.
3) Plug-in LED strip lighting (the best “almost hardwired” option)
Best for: under-shelf lighting when you have an outlet nearby (or inside the closet).
Plug-in strips are brighter than most battery options, and you are not constantly recharging. If your laundry closet has a receptacle, this is the sweet spot between easy and durable.
Make it look tidy: Use adhesive cable clips to route the cord along the back corner and down the side, then tuck the power brick where it is accessible but out of sight.
Brightness and color basics
How bright should a laundry closet be?
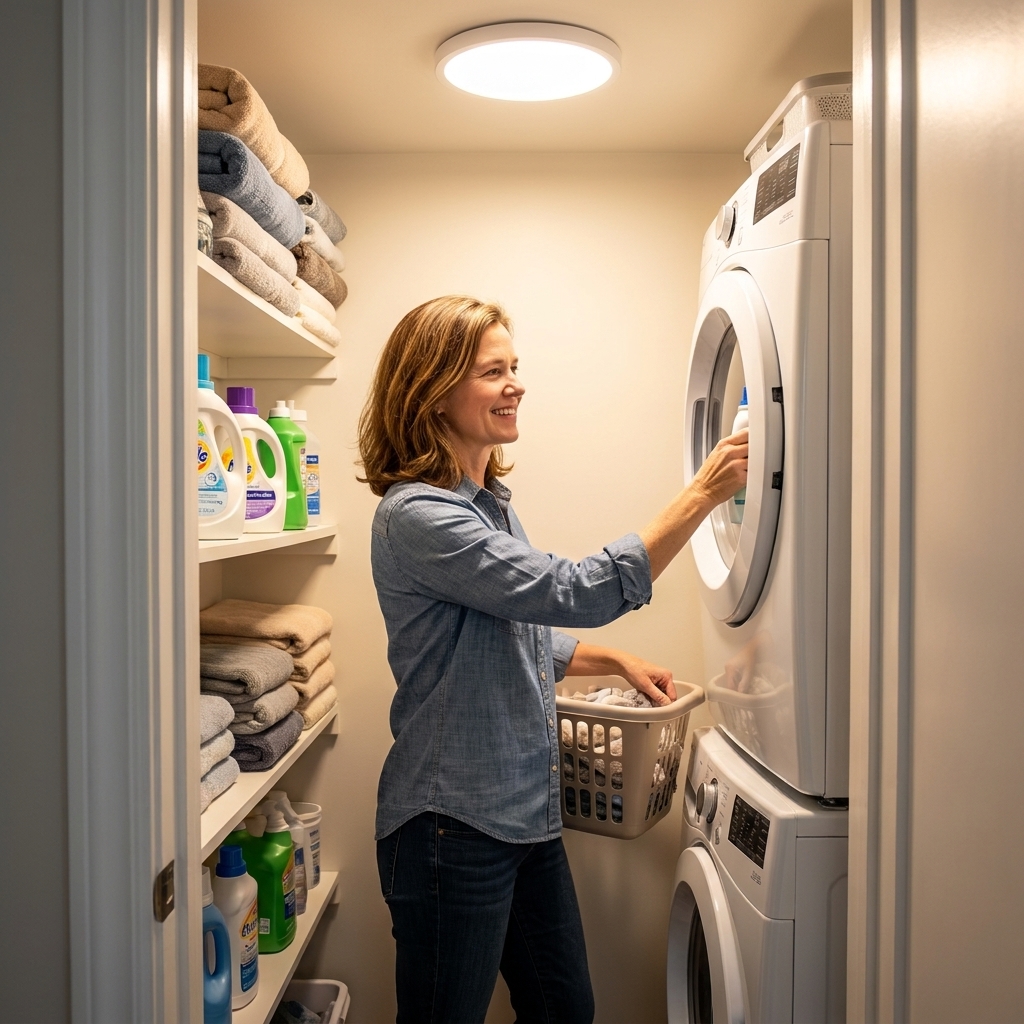
For a typical small closet, a common target range is about 800 to 1500 total lumens from overhead lighting, then add task lighting under shelves if you fold or spot-treat inside the space. The “right” number depends on ceiling height, wall color, and whether your fixture throws light forward or traps it in the back.
- Smaller closet, light walls: you can often land closer to the lower end, especially with good placement.
- Deeper closet, dark walls, shelves that block light: plan for more overhead output and add under-shelf lighting.
Best light color temperature
- 3000K (warm white): cozy and homey, but warmer light can make subtle discoloration harder to spot.
- 3500K to 4000K (neutral white): my favorite for laundry. Clean, bright, and practical.
- 5000K (daylight): very crisp, sometimes harsh in a tiny closet.
If you do a lot of stain checking, neutral white and a higher CRI bulb or fixture usually makes color differences easier to see.
Installation: my step-by-step
Step 1: Map your shadow zones
Stand where you normally fold or reach for detergent. Notice where your body blocks the light. That is where you need a puck or under-shelf bar most.
Step 2: Clean surfaces properly
Adhesives fail most often because of dust, lint, or residue. I wipe with rubbing alcohol and let it dry fully before sticking anything.
Step 3: Mount lights where they work
In laundry closets, centered overhead lights often cast shadows on the front of shelves. I mount battery pucks closer to the door opening, or add under-shelf lighting to push light forward.
Step 4: Manage cords and access
For plug-in lights, secure cords along corners with clips. Leave enough slack so you can remove the light for cleaning or servicing, but not so much that cords droop into your workspace.
Step 5: Let adhesives cure
Press adhesive mounts firmly for 30 to 60 seconds. If your tape recommends a cure time, give it that full window (often 24 hours) before you run the dryer and heat up the closet.
Step 6: Test motion settings with the machines running
Some motion sensors can be sensitive to vibration, door movement, or shifting shadows. Run a cycle and see what happens. If the light turns on constantly, switch to manual mode, adjust sensitivity if your light allows it, or reposition the sensor away from the machine.
Safety notes
- Heat and moisture: Keep adhesive lights away from the hottest area behind the dryer and avoid placing strips where steam or heat regularly hits them.
- Do not block vents: Lighting should never interfere with a dryer vent hose or airflow.
- Keep plug-ins dry: Keep plug-in connections and power bricks away from splash zones, and do not place cords where they can sit in puddles or collect drips.
- Do not pinch cords: Route cords so they cannot get trapped behind a machine or crushed when the washer vibrates or the dryer shifts.
- When to call a pro: If you smell hot insulation, see flickering, find aluminum wiring, or need to add a new ceiling box, hire a licensed electrician.
If your closet includes a utility sink, good organization helps just as much as lighting. See Organizing Under Your Laundry Utility Sink.
Quick picks by scenario
- Renters: motion-sensor puck lights + rechargeable under-shelf LED bar.
- One ceiling light but still gloomy: swap to a low-profile LED flush mount, then add one under-shelf bar for task lighting.
- Closet with shelves over machines: plug-in or rechargeable under-shelf bars for the biggest real-life improvement.
- Always juggling laundry baskets: motion-sensor solution, either pucks or a hardwired occupancy switch.
- Motion lights keep misbehaving: try a door-activated option instead.
If you are working on the whole closet layout too, start with lighting, then move into storage. My favorite small-closet reset is Maximizing Storage in a Tiny Bi-Fold Laundry Closet, because once you can actually see what you have, it is much easier to keep it organized.
FAQ
Do puck lights work on textured walls or ceilings?
Sometimes, but textured surfaces reduce how well adhesives grip. If you can screw-mount, do it. If not, choose strong mounting tape, press firmly for 30 to 60 seconds, and let it cure (often 24 hours) before you run the dryer.
Will LED strips peel off because of laundry humidity?
They can. Good prep helps, but laundry spaces are tough. Clips plus clean surfaces are the combo that holds up best in my experience.
Is 5000K too bright for a closet?
It can feel harsh in a tiny space. If you want “clean and crisp,” try 4000K first. It is bright without looking icy.
What is the single best upgrade if I only pick one?
If you have one dim ceiling light, upgrade to a low-profile LED flush mount. If you already have a decent ceiling light but shadows on shelves drive you crazy, add an under-shelf LED bar right where you work.
What does CRI mean, and does it matter in a laundry closet?
CRI is color rendering. Higher CRI lighting makes colors look more accurate, which can help when you are checking whites, stains, or “is this navy or black?” socks. If it is listed on the box, I look for CRI 90+ for laundry task areas.