The day I realized my laundry room did not need more bins, it needed less decision-making, was the day I stopped buying pretty containers and started building dispensers. With three kids and a laundry pile that regenerates faster than I can fold it, anything that turns “find the thing, open the lid, don’t spill it” into “grab one and go” is a win.
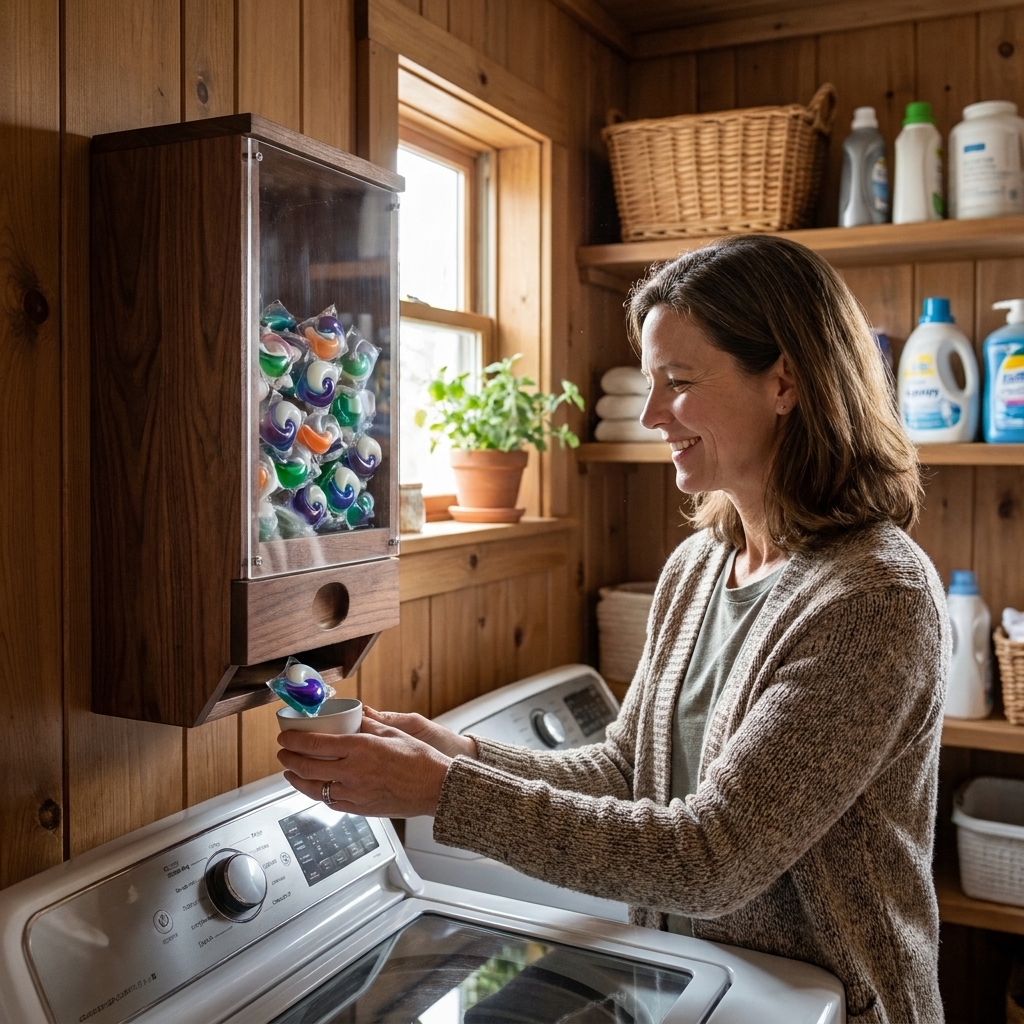
This gravity-fed wooden dispenser is basically a wall-mounted hopper with a slanted floor. You load pods or wool dryer balls from the top, and they roll or slide forward so one is always waiting at the bottom opening. It looks tidy, it saves shelf space, and it can help keep supplies child-inaccessible when you mount it high and secure it well.
Before you build
Laundry detergent pods are hazardous if ingested, and kids are fast. A DIY dispenser is not a substitute for child-resistant packaging or safe storage practices. If you have small children or visiting littles, mount the dispenser high, use a secure lid (a latch is a smart add-on), and do not place it where a stool makes access easy. Store pods in their original container until your dispenser is mounted securely and out of reach.
What you will build
You will make two small wall boxes:
- Pod dispenser: a narrow channel that feeds pods down a sloped floor to a bottom grab opening.
- Dryer ball dispenser: a slightly larger channel that lets balls roll down and dispense one at a time.
You can build one, or build a matching pair. I love them stacked vertically near the washer so my routine is literally: pod, start, ball, dry.
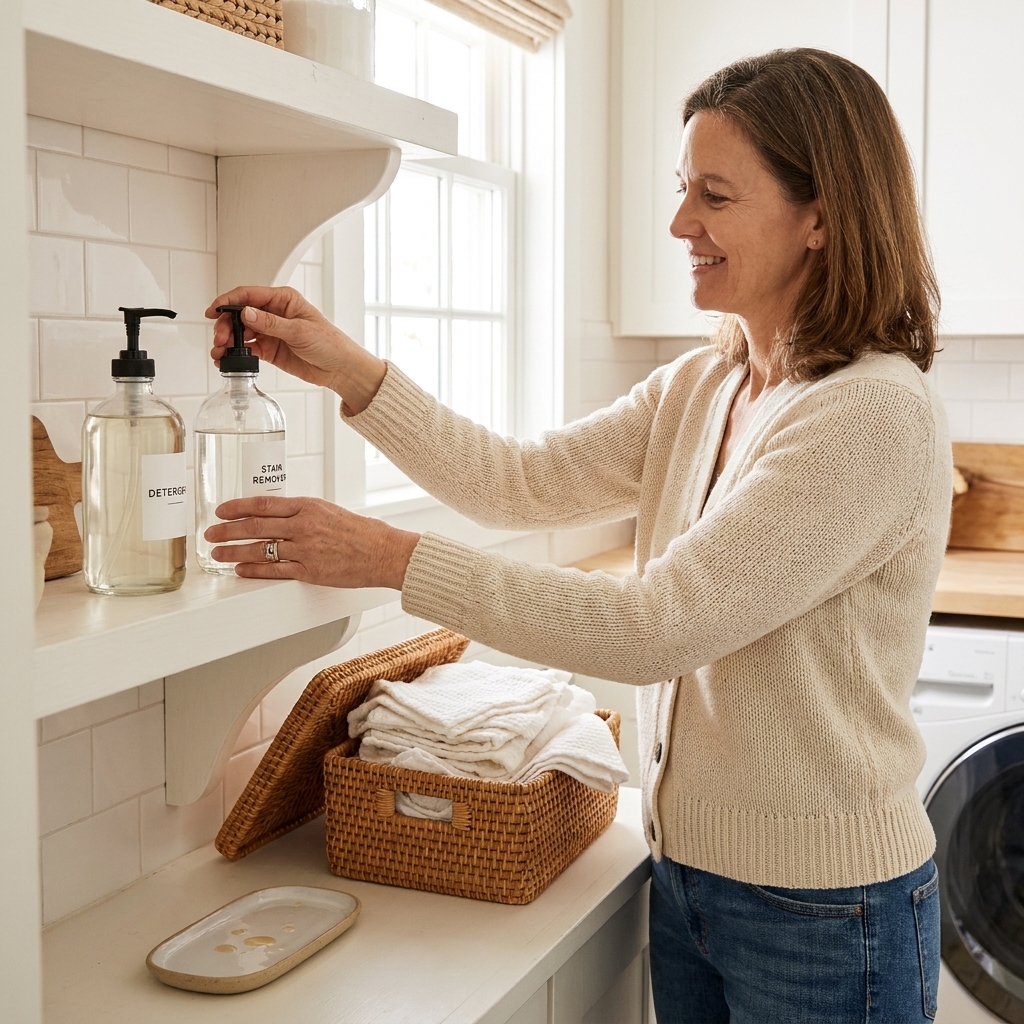
If you are also working on overall supply organization, you might like my approach to decanting and organizing laundry supplies, especially for the items that do not work in a dispenser.
Materials
Lumber and panels
- 1x8 board (actual 3/4 in thick x 7 1/4 in wide), 6 to 8 ft length is usually enough for one dispenser, more for a pair
- 1/4 in plywood or hardboard for the back panel
- Clear acrylic sheet for the front (1/8 in is fine). You can also use 1/4 in for extra stiffness.
Hardware
- Wood glue
- 1 1/4 in brad nails or 1 1/4 in wood screws
- 2 small hinges for the lid (or one continuous piano hinge)
- 1 small knob or pull for the lid
- Magnetic catch (optional, but nice)
- Wall mounting: 2 in wood screws into studs, or heavy-duty wall anchors rated for your wall type
- Optional: thin weather stripping or felt dots to reduce rattle
- Optional: small latch for the lid (helpful for kid safety)
Finishes
- Sandpaper (120 and 220 grit)
- Paint or clear coat (water-based polyurethane is my go-to for durability)
Tools
- Miter saw or circular saw with a straightedge guide
- Drill and bits
- Brad nailer (optional but makes assembly easier)
- Clamps (helpful, not required)
- Measuring tape, square, pencil
- Jigsaw or oscillating multi-tool (for cutting the bottom opening)
- Safety glasses and hearing protection
One quick tool reality check: If you want a very specific outside width or you are adding a face frame, you may need to rip boards to width (table saw, or a circular saw with a guide). You can also design around the widths you can buy off the shelf and keep this build simple.
Sizing
Instead of forcing you into one exact cut list, I want this to work with the supplies you actually buy. Here is the simple method I use on my workbench:
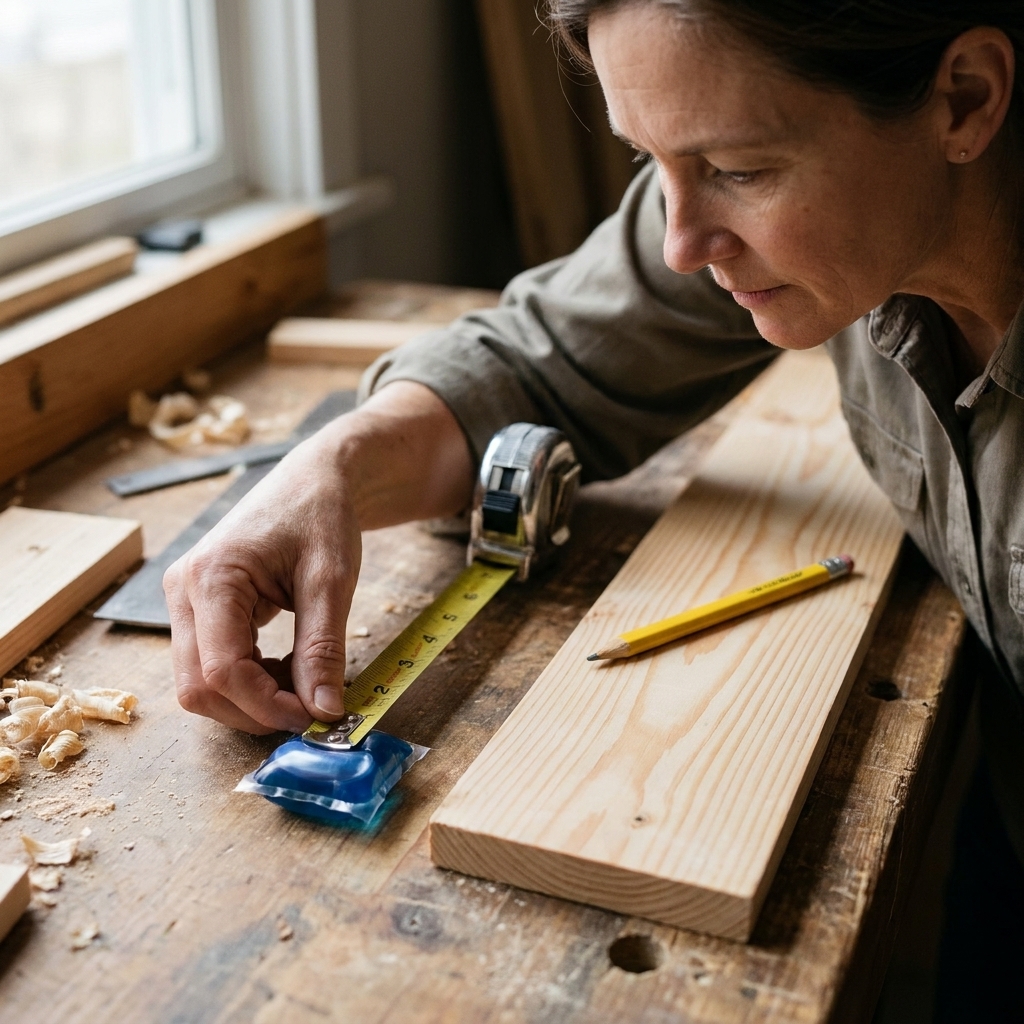
- Measure your item. For pods, measure the widest point. For dryer balls, measure the diameter.
- Set the inside width. Inside width should be item width plus about 1/2 in. That gives room to slide without flipping sideways and jamming.
- Set the inside depth. Inside depth should be item depth plus about 1/2 in.
- Choose height by capacity. A 20 to 24 in tall box holds a surprising amount without looking bulky.
My starting sizes that work for many brands:
- Pod dispenser (typical): inside width 4 1/2 in, inside depth 4 1/2 in, height 22 in
- Dryer ball dispenser (typical for 3 in balls): inside width 3 3/4 in, inside depth 4 1/2 in, height 22 in
Inside vs outside example: If you build a simple box with 3/4 in thick side walls and make the outside width 6 in, the inside width ends up about 4 1/2 in (6 minus 3/4 minus 3/4). That is why you will see 6 in outside and 4 1/2 in inside in the sample numbers below.
If your pods are chunky or you use larger balls, bump the inside width first. Width is what prevents most jams.
How the gravity feed works
The secret is a slanted floor inside the box. Items naturally roll or slide toward the front opening. For pods, you are aiming for a gentle slope so they slide without tumbling. For dryer balls, a steeper slope is fine because they roll.
Good starting slope angles (test and adjust):
- Pods: about 15 to 20 degrees
- Dryer balls: about 20 to 30 degrees
You do not need a fancy angle finder. I usually start by raising the back edge of the floor piece 1 1/2 to 2 in higher than the front edge across a 6 to 7 in depth, then I test with the exact pods or balls I plan to use.
Pod texture matters: Some pod films are tackier or softer (especially in humid rooms), which can make them stick. A well-sealed floor helps a lot, and a slick liner (like a thin smooth panel) can be a game changer if your pods drag instead of slide.
Cut list
These cuts assume you are building a dispenser with outside dimensions roughly 6 in wide x 6 in deep x 22 in tall using 3/4 in material. Adjust to your measurements.
- Sides (2): 22 in tall x 6 in deep
- Bottom (1): 6 in wide x 6 in deep
- Internal sloped floor (1): 6 in wide x 6 in deep (trim as needed during fitting)
- Back panel (1): 22 in x 6 in (1/4 in plywood)
- Front acrylic (1): 18 to 20 in tall x 5 in wide (leave room for a bottom opening and top lid)
- Lid (1): 6 1/2 in x 6 1/2 in (slight overhang looks finished)
About the front opening: I like the acrylic front to stop about 2 1/2 to 3 in above the bottom. That lower area stays open so you can grab one pod or ball. In other words, the dispensing opening is an uncovered cutout/open space at the bottom, and the acrylic starts above it.
Step-by-step
1) Build the basic box
- Sand first. It is easier to sand flat boards than tight corners later.
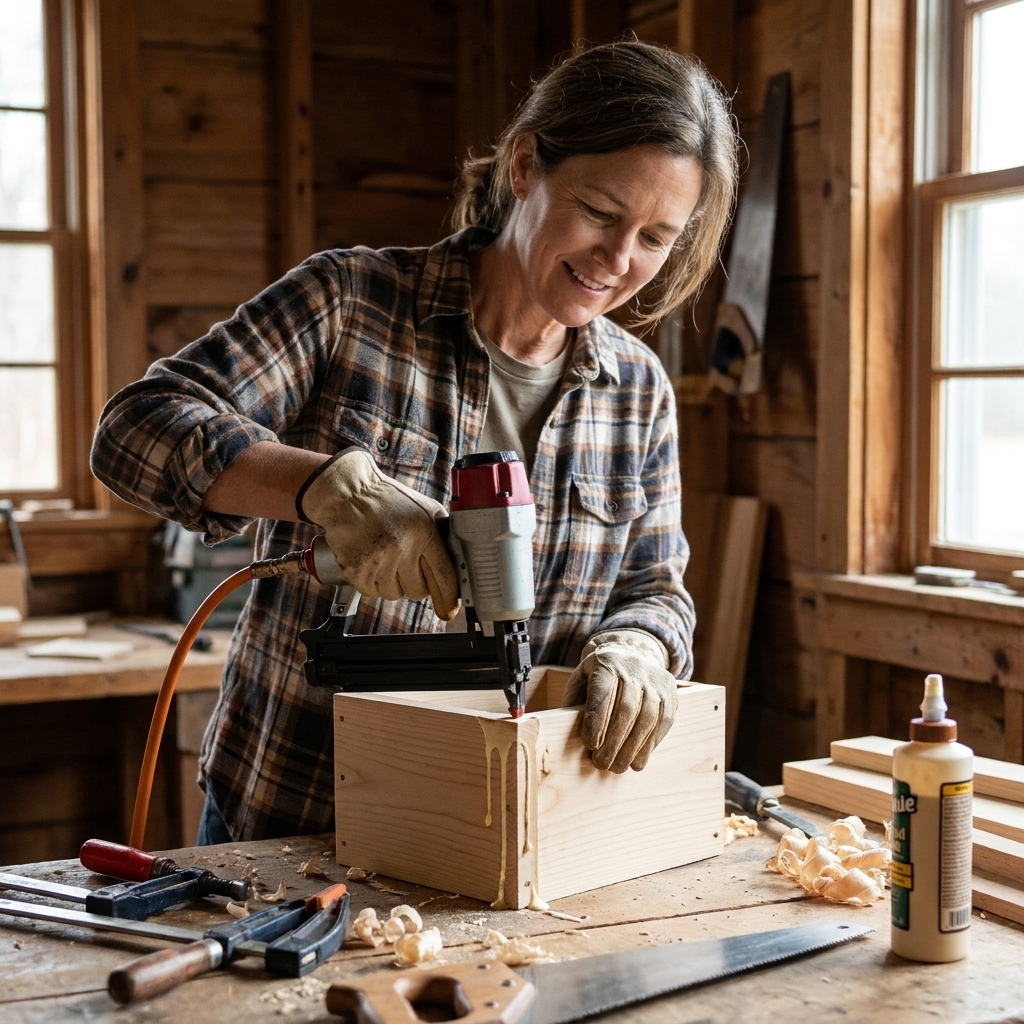
- Attach the bottom to the sides. Glue and brad nails, or predrill and screw. Keep everything square.
- Attach the back panel. Glue around the edges and nail it on. The back panel adds a ton of rigidity.
2) Install the sloped floor
- Mark your slope line. On both side pieces, draw a line showing where the sloped floor will sit. Start the front edge about 3 to 3 1/2 in above the bottom so you have room for the dispensing opening.
- Test-fit with your item. Before fastening, set the floor piece in place and drop in a pod or ball. Make sure it slides or rolls forward cleanly.
- Fasten the floor. Glue and nail through the sides into the floor piece. If you are using screws, predrill to avoid splitting.
Tip: If pods stick instead of sliding, smooth the floor with 220 grit and wipe on a thin clear coat. A slick surface makes a huge difference.
3) Create the bottom dispensing opening
This is the part you want to get right. Too small and you will fight it. Too big and two items can try to escape at once.
Where this opening goes: It is the open area at the bottom front of the box. The acrylic panel stops above it, so you are not cutting the acrylic for this part.
- Mark an opening centered on the front. For pods, start around 2 1/2 in wide by 2 1/2 in tall. For dryer balls, a half-moon opening about 2 3/4 in wide by 2 in tall works well for 3 in balls.
- Cut with a jigsaw. Drill a starter hole, then cut slowly along your lines.
- Sand the edges. Round them slightly so nothing catches.
Anti-double-dispense trick: Add a small interior lip at the opening. A thin strip of wood glued right behind the opening can make the next pod or ball wait its turn.
4) Add the clear front
I like acrylic because you can see when you are running low. It also keeps pods from bulging out.
- Pre-drill acrylic. Use a small bit and go slow. Acrylic can crack if you rush.
- Mount it with screws. Small pan-head screws work well. Do not overtighten.
- Start the acrylic above the opening. Leave that 2 1/2 to 3 in gap at the bottom for grabbing items.
5) Build and attach the lid
- Sand and finish the lid piece.
- Attach hinges at the back. A piano hinge is super forgiving if your cuts are not perfect.
- Add a knob or pull.
- Optional: Add a magnetic catch so it stays shut.
- Optional: Add a latch if you need extra security.
6) Fill, test, and tweak
Load 6 to 10 items and test dispensing one at a time. If anything binds:
- Increase the opening slightly.
- Sand and seal the sloped floor.
- Add that interior lip near the opening.
- Widen the interior by 1/4 in on your next build. Pods vary a lot by brand.
Wall mounting
These dispensers get tugged on. Between kids, guests, and your own one-handed grab while holding a basket, you want it solid.
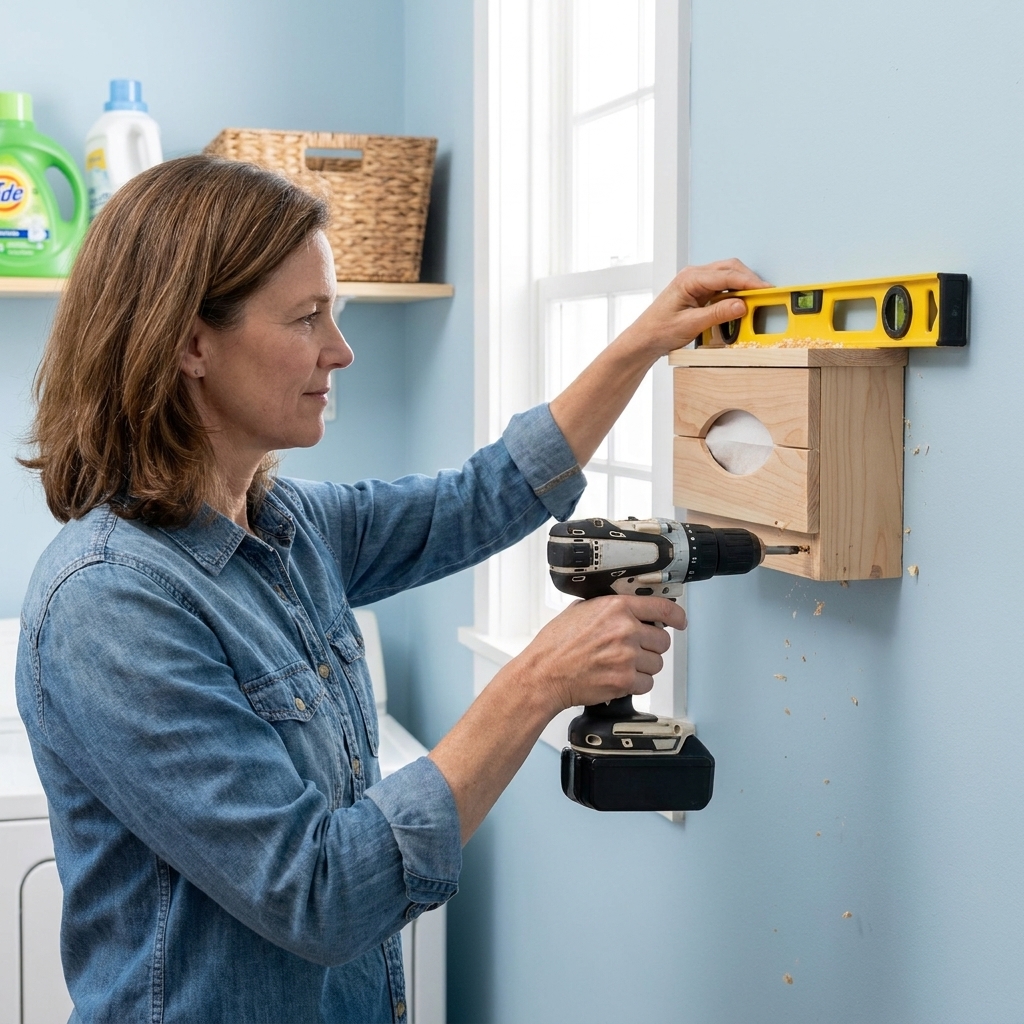
- Best: screw through the back into wall studs.
- If no stud: use heavy-duty wall anchors rated for more than the fully loaded weight.
- Predrill mounting holes: it keeps the back panel from splitting and makes placement easier.
- Use washers: a small washer under each screw head helps keep the screw from pulling through thin back panels.
- Mounting height: high enough for safety, low enough that you can comfortably open the lid and refill.
- Vibration note: If your wall is right behind the machines, add felt dots where the dispenser meets the wall, and avoid mounting directly above a spot that rattles during spin cycles.
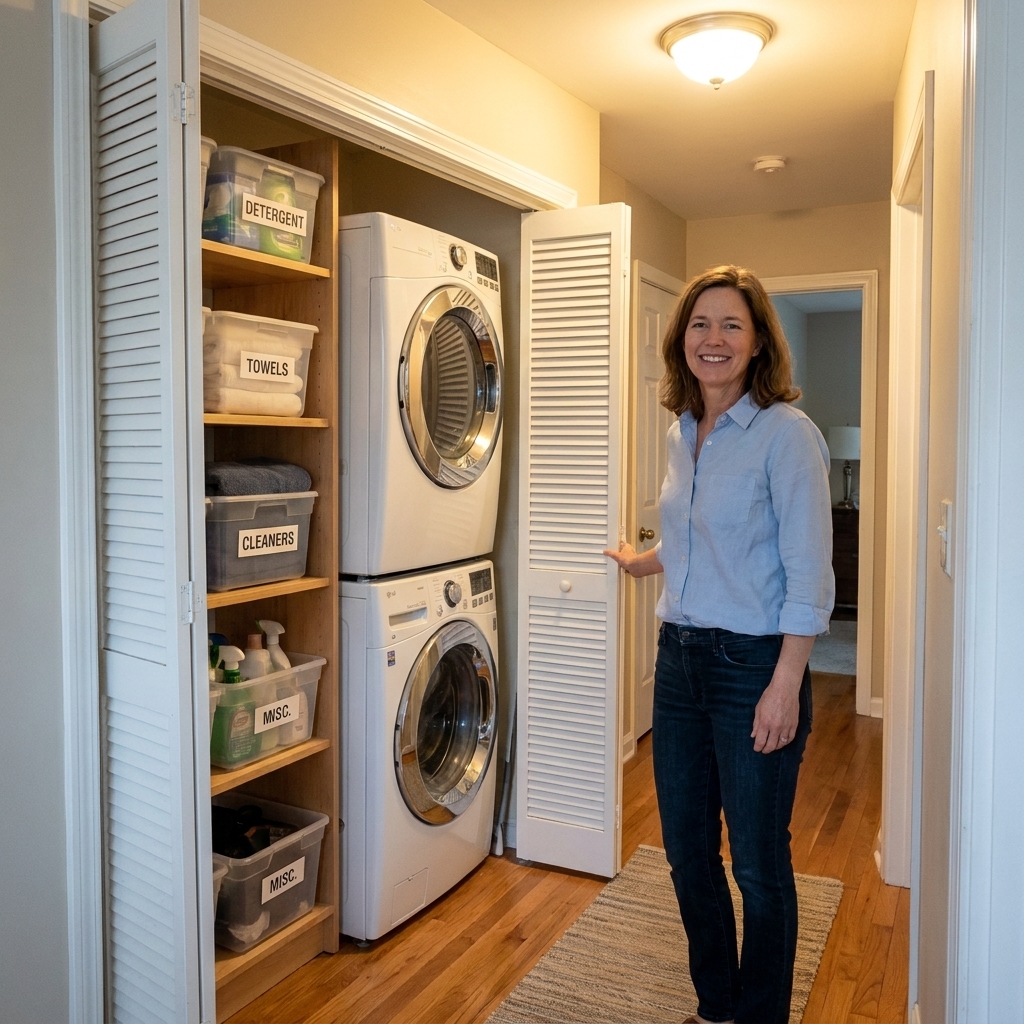
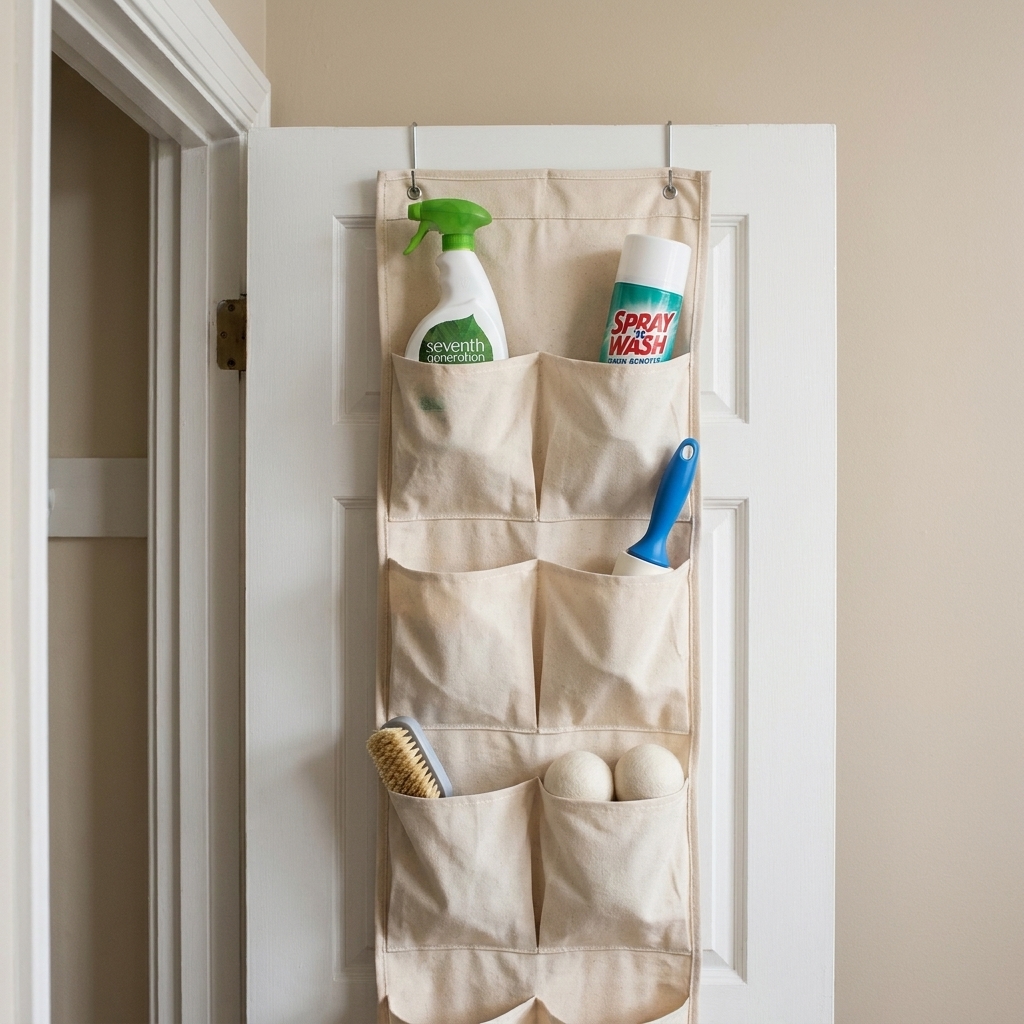
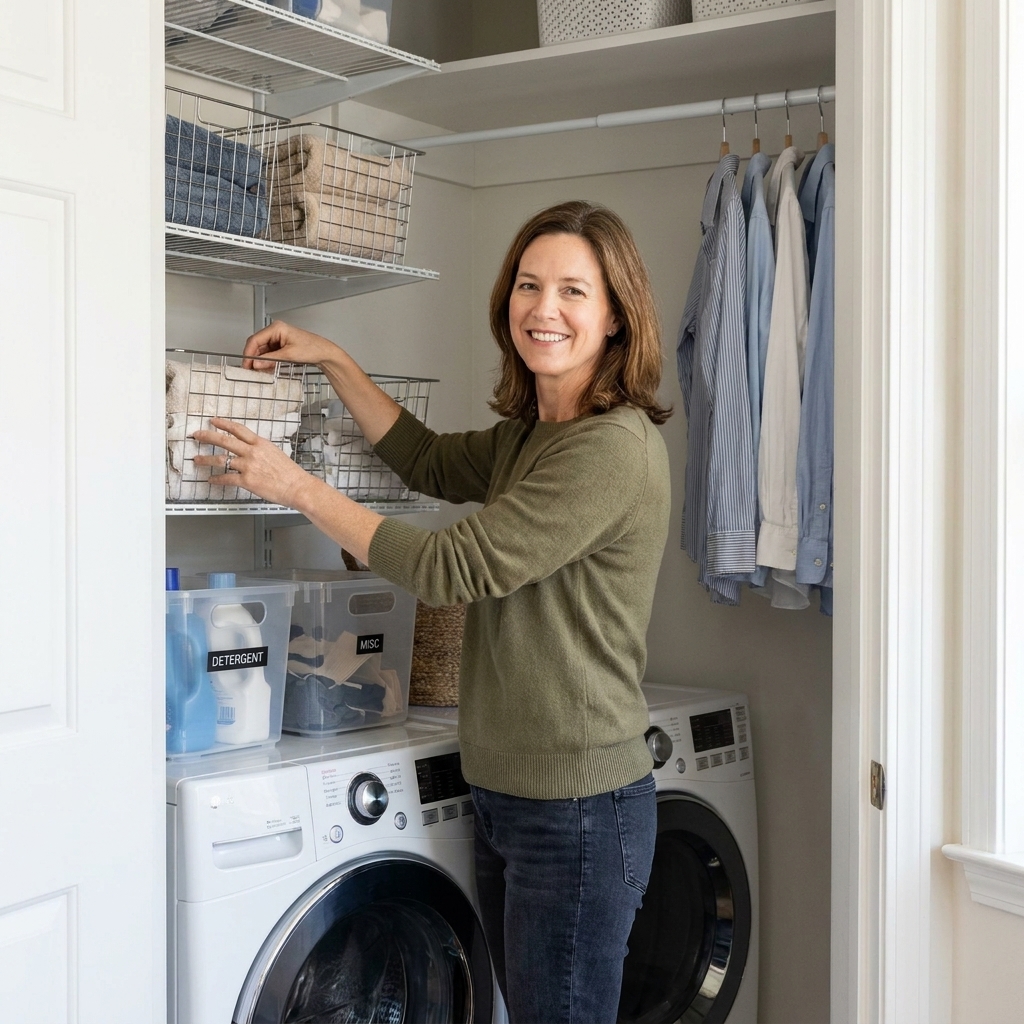
If your laundry area is a tight closet, you may also like my tips for maximizing storage in a tiny bi-fold laundry closet and back-of-door laundry closet storage ideas. Wall real estate is precious in those spaces.
Finishing ideas
- Paint to match cabinetry: makes it look custom, especially if you use the same sheen.
- Clear coat on natural wood: warm and clean, great with peel-and-stick upgrades.
- Trim out the edges: a simple 1x2 face frame can make a basic box look furniture-level.
- Quiet the clunk: a small felt dot where items land near the opening helps, especially with dryer balls.
If you are already doing little upgrades, my favorite “looks expensive, costs very little” projects live in DIY Projects & Builds. They stack up fast in the best way.
Care and cleaning
- Wipe the acrylic: a damp microfiber cloth keeps it clear. Skip anything scratchy that will haze it up.
- Deal with residue: if a pod leaks (it happens), empty the dispenser and wipe the inside with warm water, then let it dry completely before refilling.
- Keep it sliding: if pods start sticking over time, lightly sand the sloped floor and add another thin coat of sealer.
- Acrylic gets scratched: if it looks cloudy after a year of hard use, it is easy to replace since it is screwed on.
Common problems
Pods are jamming
- Widen the interior channel by 1/4 to 1/2 in.
- Reduce the slope slightly. Pods can tumble and wedge if the angle is too steep.
- Smooth and seal the sloped floor so it is slick.
- Check the acrylic screws. If the front bows inward, it can pinch the pods.
- If your pods are sticky by nature, consider adding a slick liner on the sloped floor.
Two items dispense at once
- Make the opening narrower.
- Add an interior lip behind the opening.
- For dryer balls, consider a half-moon opening rather than a wide rectangle.
It feels flimsy
- Use a back panel, even a thin one.
- Add glue to every joint, not just nails or screws.
- Mount into studs or upgrade your anchors.
Easy variations
Two-chamber combo
Build one tall box and split it down the middle with a vertical divider: pods on one side, dryer balls on the other. It saves wall space and looks super intentional.
No-acrylic version
Skip the clear front and leave a large vertical cutout in the face. It is faster to build, but you lose the sealed look and pods are more exposed. If you go this route, mount it higher and keep the lid secure.
Rental-friendly mount
If you cannot drill into studs, mount the dispenser to a painted board that is anchored with high-strength wall anchors, then attach the dispenser to that board. It spreads the load and gives you a cleaner patch later.
For more renter-friendly laundry tweaks, I keep a running list in 15 dollar store organization hacks for a budget laundry makeover.
FAQ
How many pods will it hold?
A 22 in tall dispenser with a 4 1/2 in by 4 1/2 in interior channel often holds roughly 20 to 35 pods, depending on brand and shape. Dryer balls usually stack about 5 to 8 in a similar height channel, depending on ball size and how “squishy” they are.
Can I use this for powdered detergent or scent beads?
I would not. Fine products leak and clump in humidity. For powders and beads, sealed containers are better. I talk through my favorite options in decanting and organizing laundry supplies.
Do I need a table saw?
No, not automatically. A miter saw plus a jigsaw can handle the basic build if you design around standard board widths. If you want to customize the outside width or add trim pieces, you may need a way to rip boards (table saw, or a circular saw with a guide).
What is the best wood for this?
Common pine 1x boards work great. If you want a smoother finish with less knot drama, poplar paints beautifully. For a super crisp look, you can also build the box from cabinet-grade plywood and edge-band it.
The payoff
This is one of those small builds that changes the whole vibe of a laundry space. You are not just storing supplies, you are creating a simple system that runs on autopilot. And in a busy house, autopilot is basically my love language.
If you build one, you will immediately start looking around thinking, “What else can I make gravity do for me?” That is when you know you have officially joined the laundry room DIY club.