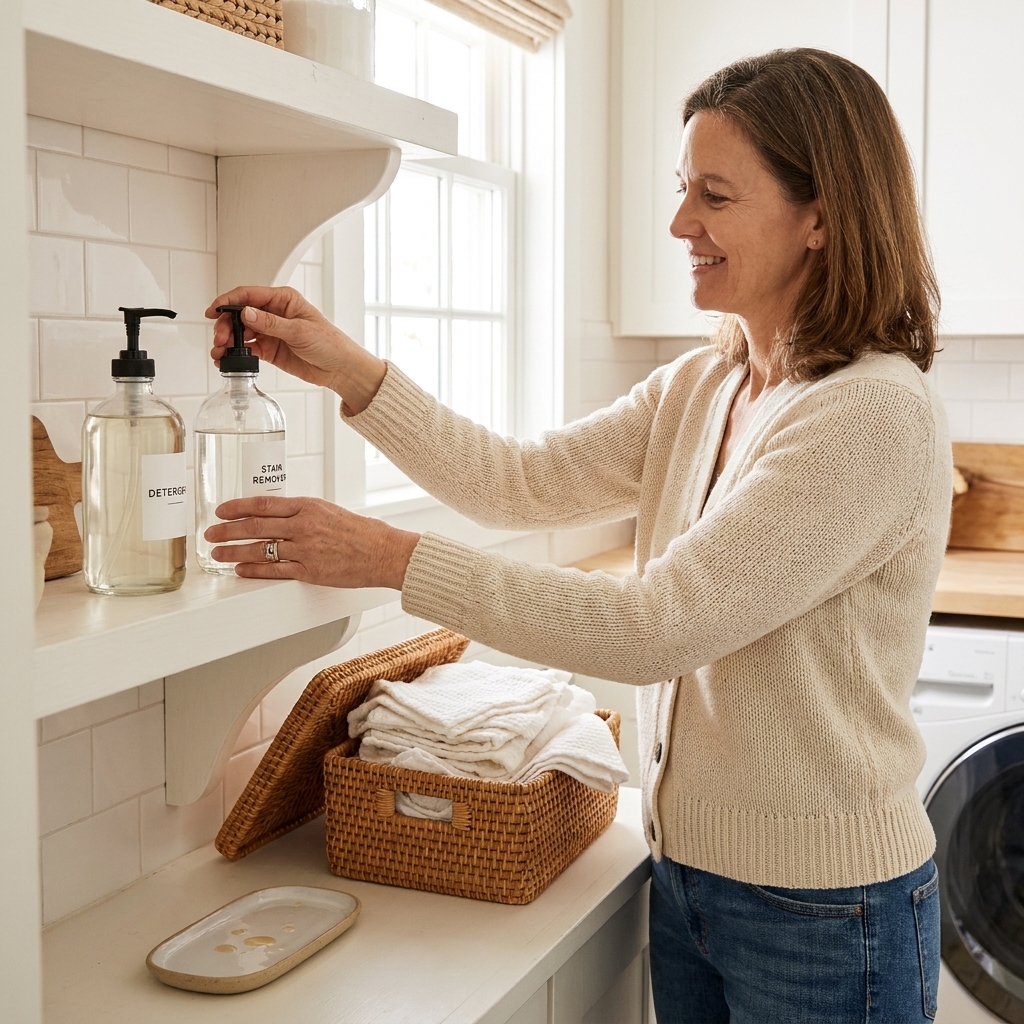
My laundry room has never been the biggest, but my laundry piles have always been ambitious. After kid number three, I finally admitted what was happening: we did not need more baskets. We needed a sorting system that lived right where the clothes landed.
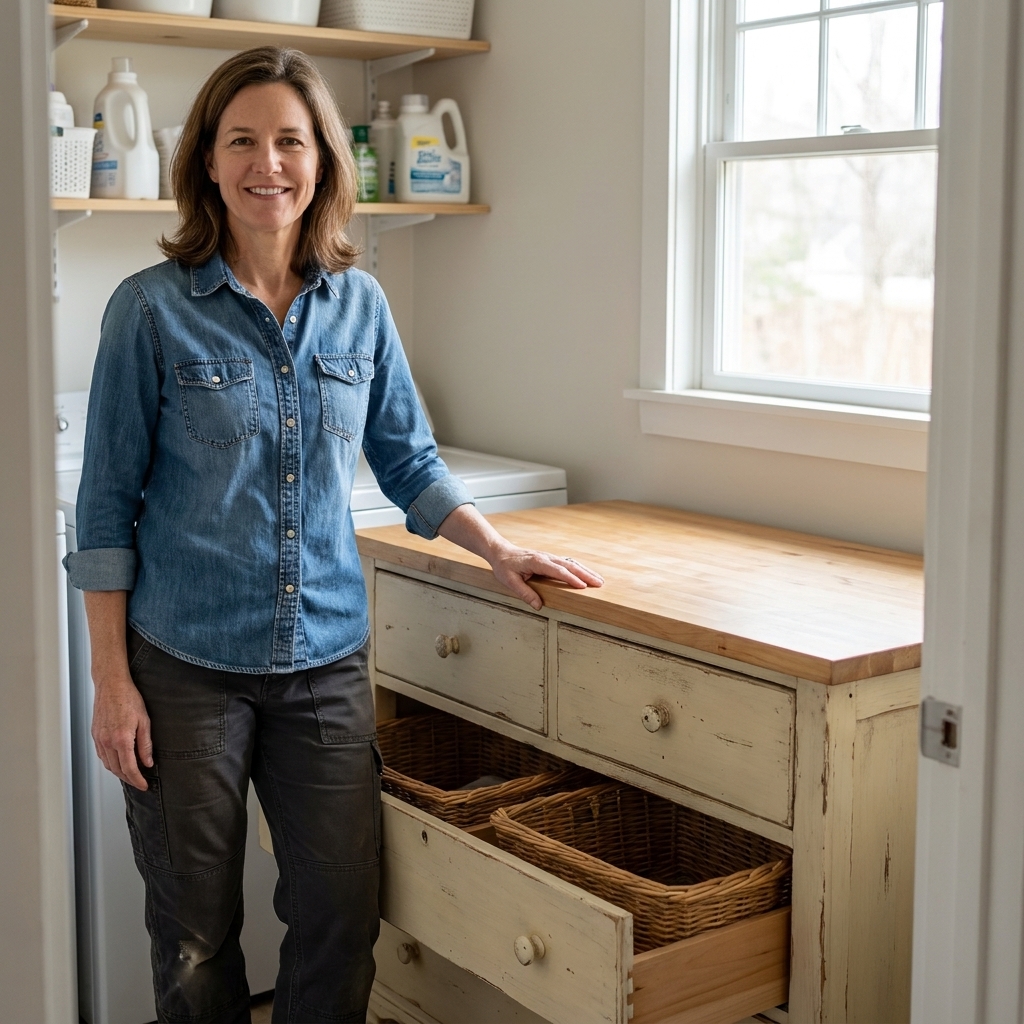
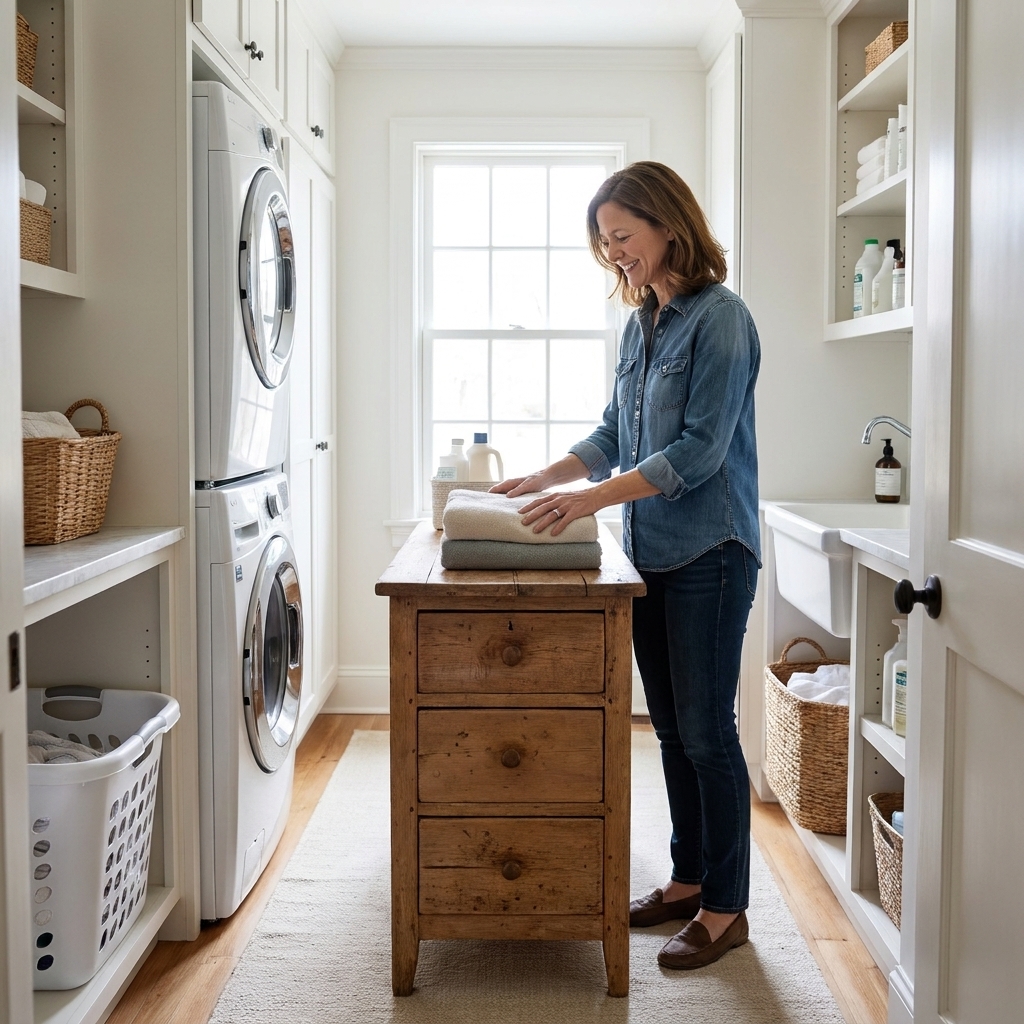
The best solution I have found is also one of the cheapest: an old dresser turned into a freestanding laundry sorting island. You get deep “hamper drawers” that hide the chaos, a top that works as a folding spot, and storage for stain spray and detergent pods without building cabinetry.
Why a dresser works so well
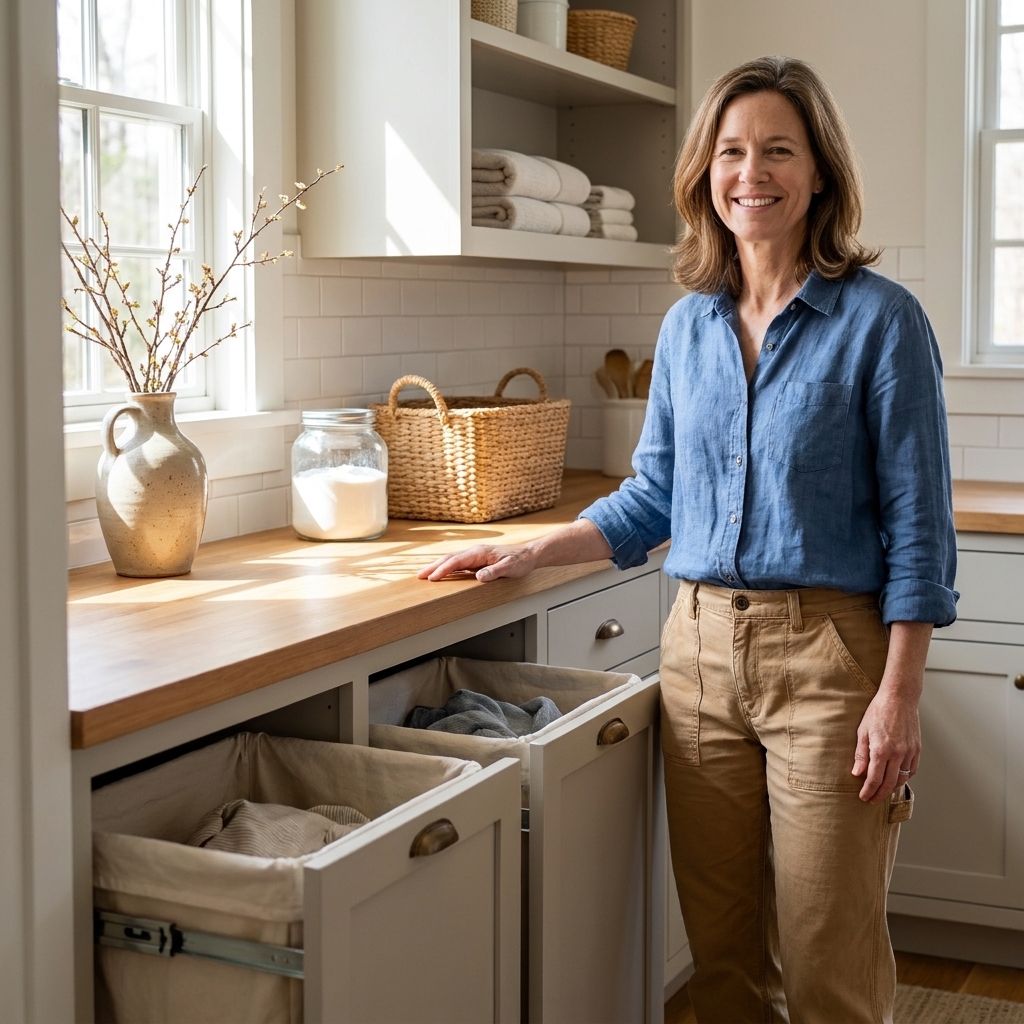
Dressers are basically ready-made laundry cabinets. They are sturdy, designed to hold weight, and the drawer openings are often sized in a way that works well for bins and bags. With a few tweaks, each drawer becomes a pull-out hamper you can sort into without seeing a rainbow of plastic baskets on the floor.
- Hidden sorting: drawers conceal laundry so the room looks calmer instantly.
- Family friendly: one drawer per person or per category is simple to maintain.
- Budget win: a $20 to $80 thrift-store dresser can replace an island that might cost a few hundred dollars new, depending on your area and finishes.
- Moves with you: great for renters or anyone who does not want built-ins.
If you love the idea of a built-in version (especially for big families), you will also like my approach to a built-in laundry sorting hamper system for families. This dresser method is the freestanding cousin.
Pick the right dresser
What to look for
- Solid wood frame or at least a solid wood front. It does not have to be fancy, just sturdy.
- Wide drawers (roughly 24 to 36 inches wide is often a good range) so a hamper bin fits.
- Deep drawers for towels, jeans, and bulky sweatshirts.
- Flat top that can handle folding, or space to add a wood top.
Skip these heartbreakers
- Musty smell that will not quit: if it smells like a basement after airing out, do not bring it home. Fabric will pick that up.
- Severe particleboard swelling: light chips are fine, but spongy edges near the base mean it has lived through moisture.
- Loose frame joints: wobbly is fixable sometimes, but if the whole carcass racks when you lift one side, keep shopping.
Quick measurement checklist
- Walkway: aim for around 30 inches of clear path where you can, and more is better. Adjust for door swings, tight corners, and any accessibility needs in your home.
- Dresser depth: make sure it does not crowd appliance doors or your route to the sink. In very narrow rooms, a shallower dresser (often around 16 to 20 inches deep) can be the difference between “cute idea” and “daily obstacle course.”
- Drawer interior size: measure interior width, depth, and height (not the drawer front) before you buy bins.
- Top overhang: if you add a cap top, keep overhang modest so you do not catch pockets and belt loops as you walk by.
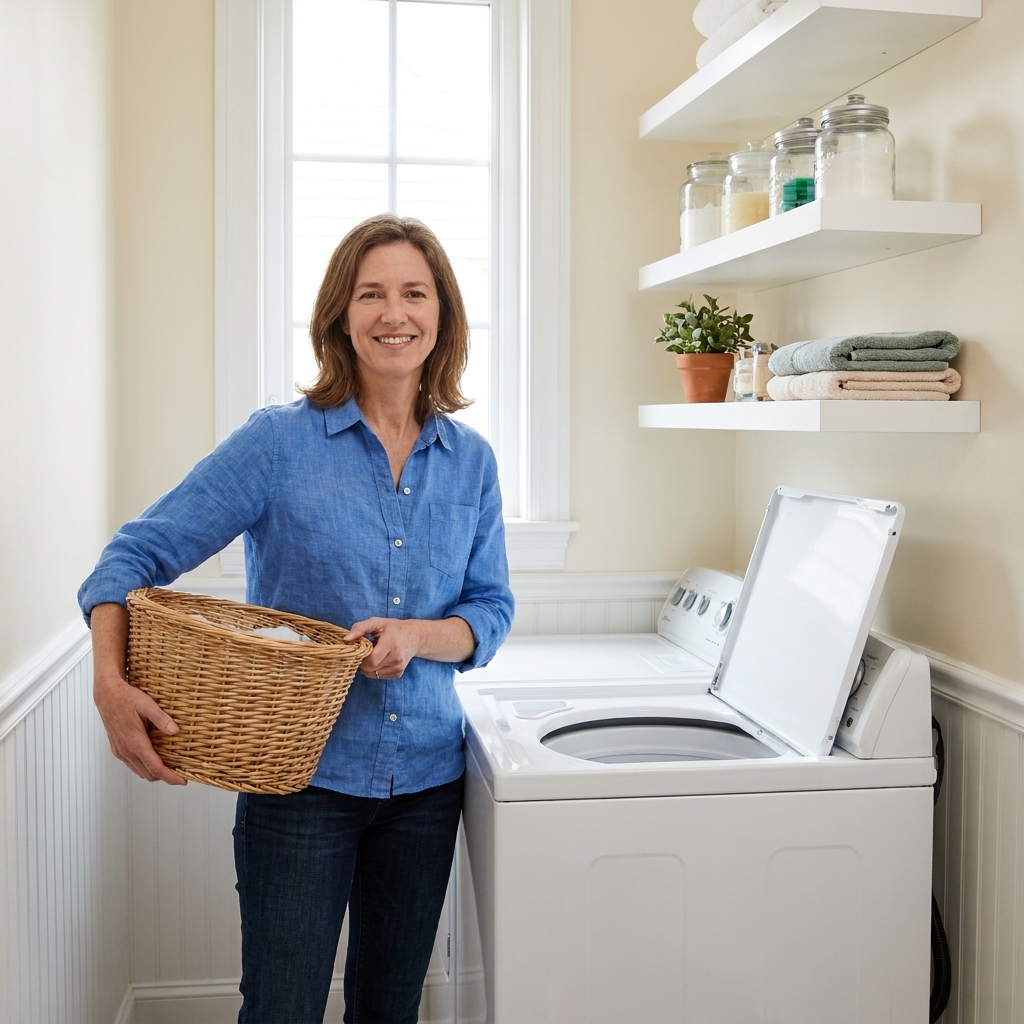
If you have a top-load washer: double-check lid swing and detergent access. You do not want to be doing the “washer lid shuffle” every time you start a load. If you need ideas that play nicely with top-loaders, see shelving for top-load washers in small laundry spaces.
Tools and materials
You can absolutely do this with basic tools. Use what you have and borrow the rest if needed.
Tools
- Drill and driver bit
- Measuring tape
- Screwdriver
- Orbital sander or sanding block
- Level
- Stud finder (optional): only needed if you plan to anchor the dresser to a wall stud for tip-over safety
- Optional: brad nailer or hammer and finish nails
Materials
- Thrifted dresser
- Paint or stain and a clear topcoat (water-based polyurethane is my go-to for laundry rooms)
- Degreaser cleaner
- Sandpaper (120 and 220 grit)
- Drawer slide upgrades (optional but nice)
- Bins, bags, or pop-up hampers that fit inside drawers
- 1/4 inch plywood or hardboard for drawer bottoms if yours are flimsy
- Small L-brackets or mending plates for reinforcement (if needed)
- Casters (optional) or furniture levelers
- Tip-over anchoring strap (recommended if you have toddlers who climb)
If your laundry area is tight and every inch matters, browse Small Spaces & Closets for other compact-friendly ideas.
Step-by-step build
1) Clean it like it lived in a candle shop
Dressers come with mystery residue. Before you sand anything, wipe down the entire piece with a degreaser cleaner, especially drawer fronts and the top. Let it dry fully.
2) Fix the bones first
Open and close every drawer. Tighten any loose hardware. If the dresser wobbles, add wood glue and screws at the inside corners or use mending plates. On older, dry wood, pre-drill your screw holes to help prevent splitting. This is not glamorous, but it is what makes the island feel “built-in” when you use it.
3) Decide your sorting plan
Here are three real-life sorting setups that work:
- By person: one drawer per kid, one for parents, one for towels.
- By wash type: lights, darks, towels, delicate, cleaning rags.
- By workflow: to wash, to fold, to put away, donations.
I personally like by person for school-week sanity, and by wash type during sports season when everything is sweaty and needs its own universe.
One more mildew-saving rule I live by: anything damp or truly gross (hello, post-practice socks) goes into an open hamper or straight into the washer, not into a closed drawer.
4) Remove drawer obstructions (carefully)
Some dresser drawers have internal dividers or a brace under the drawer bottom that steals space. If it keeps a hamper from sitting flat, you can sometimes remove it.
Two cautions: test-fit your bin before you start ripping anything out, and keep the drawer box square. If you remove a piece and the drawer starts to twist, reinforce the corners with glue and small screws or corner blocks.
Also: do not remove structural supports that keep the dresser frame square. If you are unsure, leave it and size the bin around it.
5) Reinforce the drawer bottom
Laundry is heavy, especially towels and jeans. Many thrifted dressers have thin drawer bottoms stapled into grooves. If the bottom flexes when you press it, reinforce it now.
- Cut 1/4 inch plywood to fit the drawer bottom and lay it inside the drawer like a liner.
- For extra strength, run a bead of wood glue and tack it in with short brads or short screws.
Capacity note: adding a panel can slightly reduce drawer height. Before you commit, test-fit your bin or hamper bag after the panel goes in so you do not end up with a drawer that closes on the laundry.
Fastener tip: use fasteners short enough that you do not accidentally pop through the drawer exterior. I always test one in a scrap first because thrifted wood thickness is a surprise every time.
6) Add a bin stop
If you are using a removable basket inside each drawer, add a simple stop strip.
- Screw a thin wood strip (like a paint stir stick or scrap lattice) across the back inside wall of the drawer.
- This keeps the basket from drifting backward when kids slam drawers shut.
7) Choose your hamper insert
You have a few good options here, depending on budget and how you want to carry loads to the washer.
- Plastic bins: easiest to wipe down, great for detergent drips.
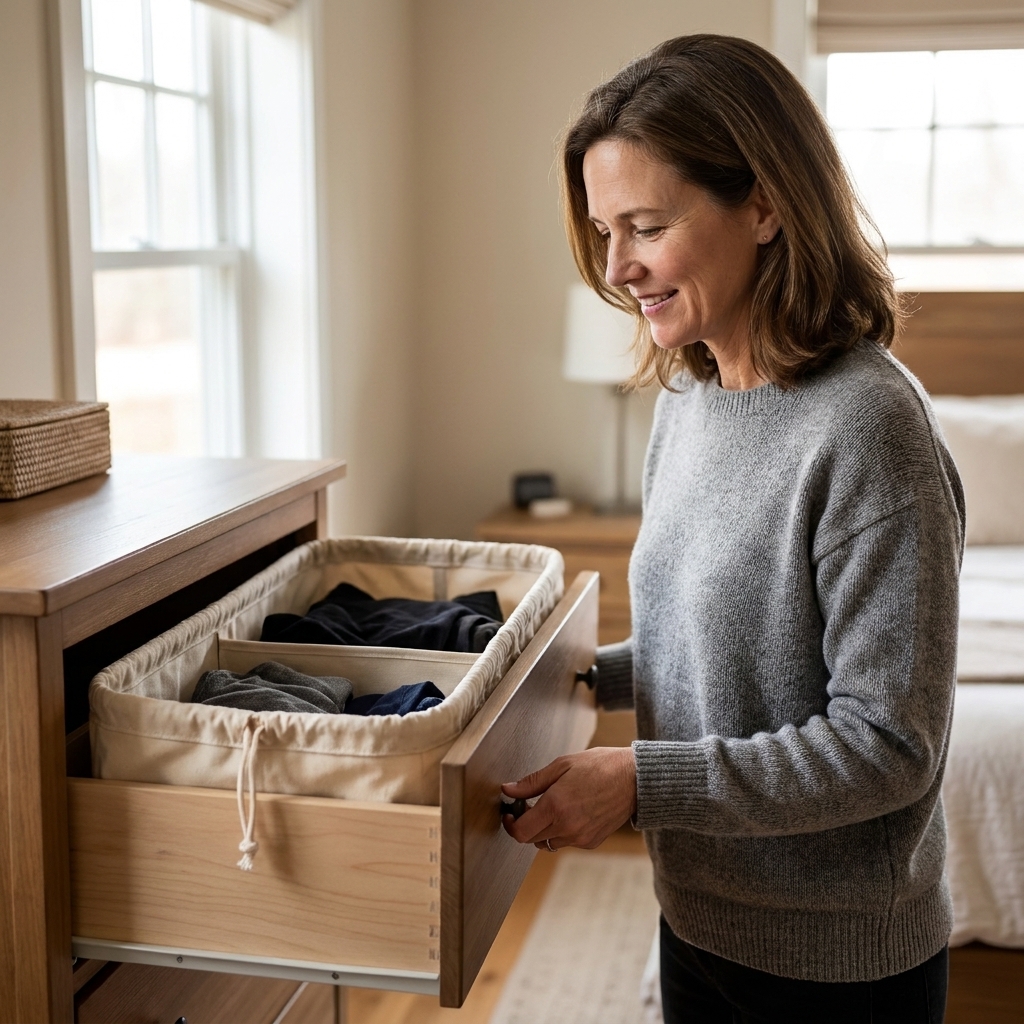
- Fabric pop-up hampers: lightweight and flexible, great if drawers are slightly odd-sized.
- Reusable laundry bags: my favorite for big families because you can lift the whole bag out and carry it.
Make it look intentional
Upgrade the top for folding
If the dresser top is scratched or not wide enough to feel usable, you can add a simple cap top.
- Cut a piece of 3/4 inch plywood to overhang the dresser by about 1/2 inch on the front and sides.
- Sand edges smooth.
- Attach from underneath using screws through the existing top into the new piece. Choose screw lengths that will not poke through the top surface.
- Seal it well. Laundry rooms are humid, and sealed wood cleans up easier.
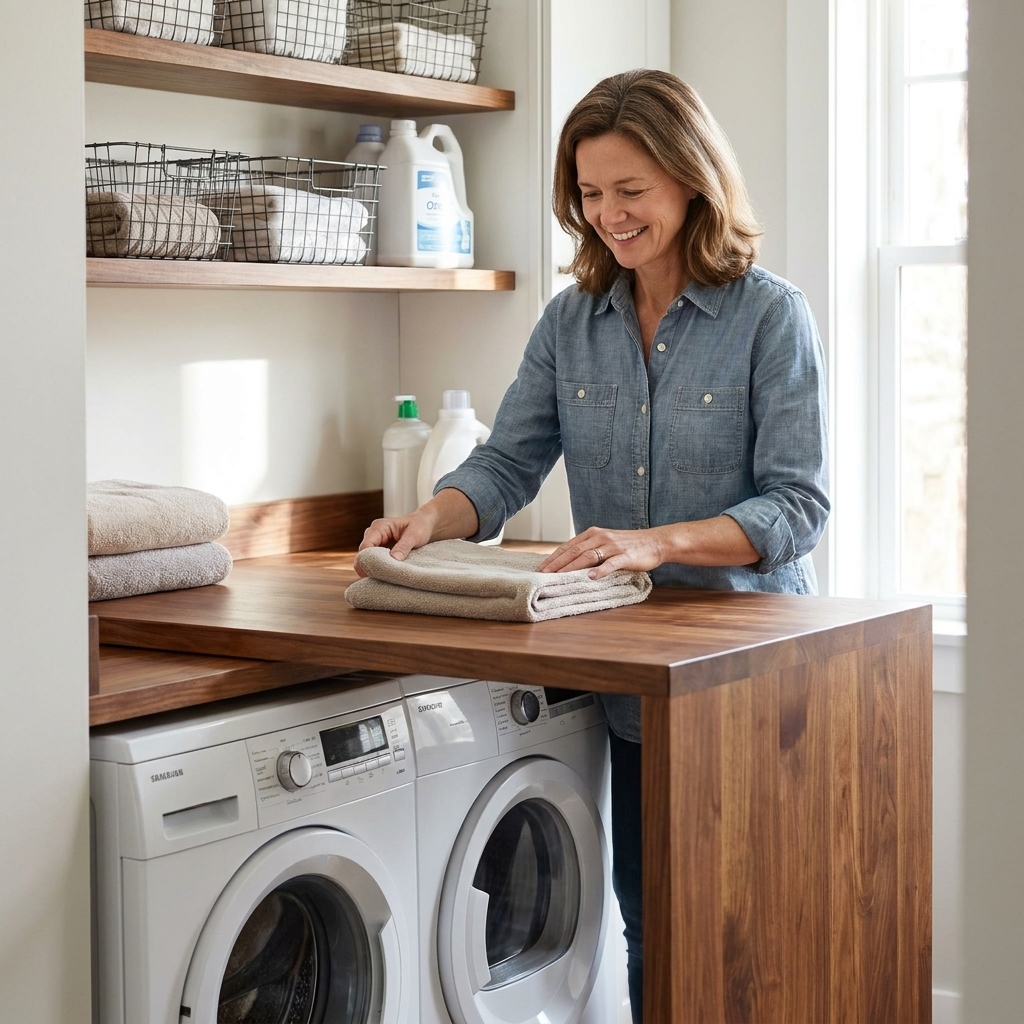
If you already have front-load machines and want a more continuous folding surface, see how I build a countertop-style station in DIY waterfall countertop folding station over front loaders.
Paint or stain for a durable finish
My routine is simple and forgiving:
- Lightly sand (120 grit) to scuff the surface.
- Wipe off dust.
- Prime if the piece is glossy or if you are covering a dark stain.
- Paint two coats, sanding lightly between coats if it feels rough.
- Topcoat the top surface and drawer fronts for durability.
If your laundry space is dim, a light paint color makes a surprising difference. I also recommend reading lighting upgrades for dark laundry closets because better lighting makes every “makeover” feel twice as finished.
Swap the hardware
New pulls instantly modernize an old dresser. Choose something easy to grip with one hand, because the other hand is usually holding a sock someone left inside-out.
Details that make it work
Ventilation and mildew prevention
If you toss damp towels into a closed drawer, you will regret it. My rule is simple: drawers are for dry laundry. If something is wet, it goes in an open hamper or on a drying rack until it is dry enough to live behind a drawer front.
If you still want more airflow, here are two options:
- Drill ventilation holes in the back panel of the dresser, staying away from corners and any areas that look like they add rigidity.
- Add airflow to the drawer base by drilling a grid of holes in your plywood reinforcement panel.
Extra caution: on some dressers, the back panel helps keep the whole box rigid. Thin hardboard backs can also crack if you get too close to edges, seams, staples, or fasteners. Keep holes small, spread them out, and avoid drilling near joints.
Do not skip this: seal any raw wood edges you create (even inside holes) with a little paint or topcoat. It helps with humidity and keeps the holes from getting fuzzy over time.
For anything involving laundry airflow, it is worth keeping dryer vent safety in mind. I talk about clearance and airflow concerns in airflow and dryer vent clearance in ultra-compact laundry closets.
Make one drawer a stain station
Reserve a top drawer for stain spray, a small scrub brush, mesh bags, and a lint roller. If you are tired of bottles everywhere, my organizing method for products is in decanting and organizing laundry supplies.
Keep the floor easy to sweep
You have two routes:
- Furniture levelers: keeps it stable and tight to the floor.
- Locking casters: makes it movable for cleaning, but choose sturdy locking ones so it does not drift while you fold.
Caster note: casters add height, which can make a tall piece feel tippier. Go with wider, sturdier casters when possible, and look for locks that stop both roll and swivel so the island stays put.
Quick safety notes
- Tip-over protection: if kids are in the house, anchor the dresser to a wall stud with an anchoring strap, especially if drawers will be opened and climbed. If you cannot hit a stud where the dresser sits, use a mounting method that is rated for your wall type and the furniture load.
- Pinch points: heavy drawers and little fingers are not friends. Soft-close slides help, but so does a family rule: one drawer open at a time.
- Do not overload: drawers and slides have limits. If a drawer feels like it is sagging, split that category into two drawers or switch to lighter loads.
Best placements
Great spots
- Between washer and dryer if you have clearance
- Against a blank wall as a sorting and folding station
- Inside a large mudroom as a drop zone for sports uniforms
Not ideal
- Directly in front of a utility sink you use constantly
- In a path where doors swing into it
- In a laundry closet that barely fits the appliances
If you are working in a closet-style setup, you may prefer wall-hung storage and back-of-door solutions instead. These ideas help a lot: back-of-door laundry closet storage ideas and maximizing storage in a tiny bi-fold laundry closet.
Budget checklist
Prices vary by area, but here is a realistic range.
- Thrifted dresser: $20 to $80
- Paint, primer, topcoat: $25 to $60 (less if you already have supplies)
- Hardware: $10 to $40
- Bins or laundry bags: $15 to $60 total depending on what you use
- Optional drawer slide upgrade: $20 to $60
If you want more shoestring ideas, I rounded up some of my favorite quick wins in 15 dollar-store organization hacks for a budget laundry makeover.
Troubleshooting
Drawers stick after painting
- Lightly sand the drawer sides where they rub.
- Rub a little candle wax or bar soap on the contact points.
- If the dresser has old metal slides, clean them and add a dry lubricant.
The dresser is too low for folding
- Add a thicker wood top.
- Install sturdy furniture risers or taller levelers.
- If you are handy, build a simple base frame to sit the dresser on and secure it from underneath.
The drawer opening is oddly sized
Go with flexible hamper bags instead of rigid bins. A bag will forgive a tapered drawer box and still lift out easily.
I am worried about moisture and smells
- Seal raw wood surfaces with a clear topcoat.
- Add ventilation holes (without weakening key panels).
- Keep a small open box of baking soda in a drawer that collects borderline-damp items and replace it as needed, usually every week or two.
Simple drawer assignments
If you want a no-thinking-required setup, this is the one I recommend most for families:
- Top left: stain spray, mesh bags, lost socks
- Top right: clean rags, dryer balls, lint roller
- Middle drawers: one per kid (or split by lights and darks)
- Bottom drawer: towels and sheets
It is not perfect. Nothing in a laundry room is. But it keeps the floor clear, the piles contained, and the sorting step almost automatic.
Finishing touch
Once the dresser is in place, add one small detail that repeats somewhere else in your laundry room: matching wood tone, a similar paint color, or the same hardware finish as your cabinets. Those tiny repeats are what make “thrifted” look like “custom.”
If your cabinets are dated and you want everything to match, I walk through a cabinet refresh in painting builder-grade laundry cabinets.