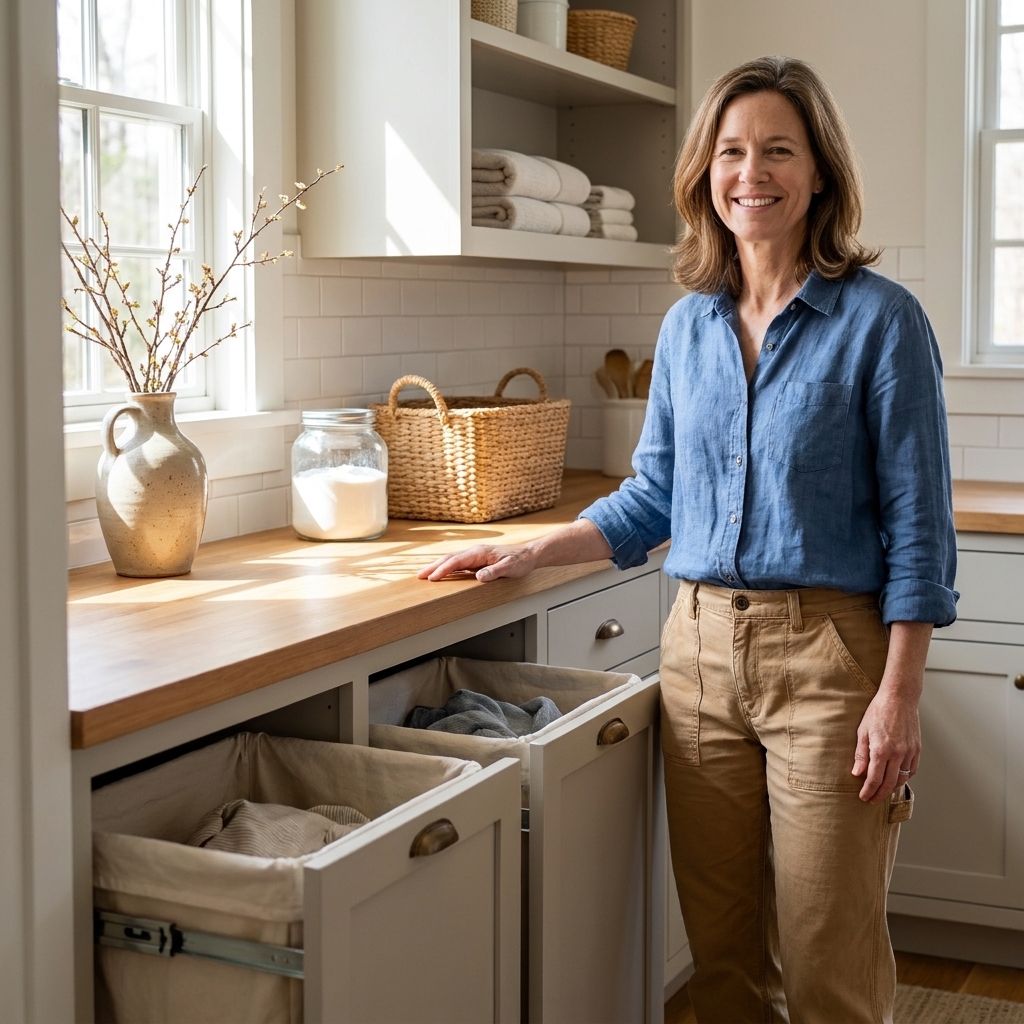
In my house, laundry only stays “sorted” for about twelve seconds unless the system makes the right thing the easy thing. Once I built a counter with hampers underneath, the floor stopped eating socks and my kids finally had a place to drop clothes that was not the hallway. A built-in sorting hamper system is one of those small-space upgrades that feels fancy, but it is really just smart carpentry and a little planning.
This guide walks you through designing a multi-bin sorting station beneath a countertop so you can separate lights, darks, and delicates (or whatever categories your family actually uses) out of sight and ready to wash.
Start with the goal
Before you buy bins or build anything, decide what “sorted” means in your home. The best categories are the ones you will use on a tired Tuesday night.
Family-friendly sorting categories
- 2-bin setup: Lights and darks (fastest to maintain)
- 3-bin setup: Lights, darks, and towels (my personal favorite for busy families)
- 4-bin setup: Lights, darks, delicates, and towels or “sports”
- Kid-friendly option: One bin per person, plus a small delicates bin near the washer
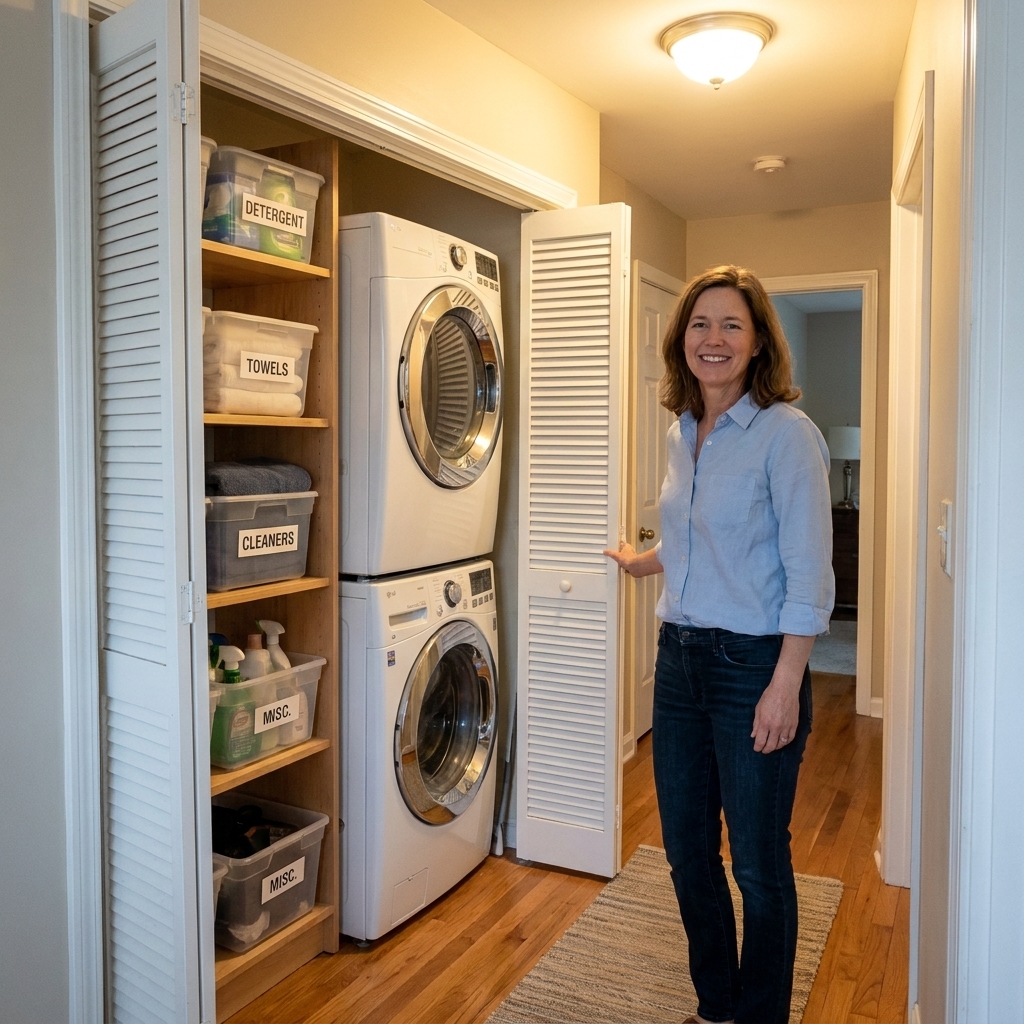
If you have a small laundry closet or you are squeezing this into a tight run of cabinets, I recommend limiting it to 2 or 3 bins. More bins sounds organized but can become clutter in disguise. If you are working with a closet layout, the space-planning tips in Maximizing Storage in a Tiny Bi-Fold Laundry Closet will help you spot where a sorter can realistically fit.
Measure like a realist
The quickest way to end up frustrated is building a beautiful sorter that blocks the washer door or forces you to crab-walk sideways through the room. Grab a tape measure and note a few things: your cabinet footprint, your clearances, and anything you cannot cover up.
Key measurements to take
- Available width: Wall-to-wall space where the hamper system will live.
- Usable depth: How deep your base cabinets can be without interfering with traffic flow or appliance doors.
- Counter height: Often around 36 inches, but match your existing cabinets, appliance setup, and your comfort for folding.
- Door swing and drawer clearance: Measure with washer and dryer doors fully open.
- Walkway clearance: Make sure you can stand, bend, and pass through without bumping corners.
- Ventilation and plumbing obstacles: Note vents, cleanouts, and shutoff valves you need to keep accessible.
- Service access: Do not build in a way that blocks panels or prevents pulling appliances out later.
My rule of thumb: if your hamper pull-outs will be across from appliances, leave enough clearance that two things can happen at once, like a washer door open while someone walks past. If you are unsure, mark the cabinet outline on the floor with painter’s tape and open every door like you normally would. It is a five minute test that can save you a weekend redo.
Choose a build style
All three options can work beautifully. The right one depends on how much space you have, how handy you are, and how hard your family is on hardware.
Option 1: Pull-out hamper drawers
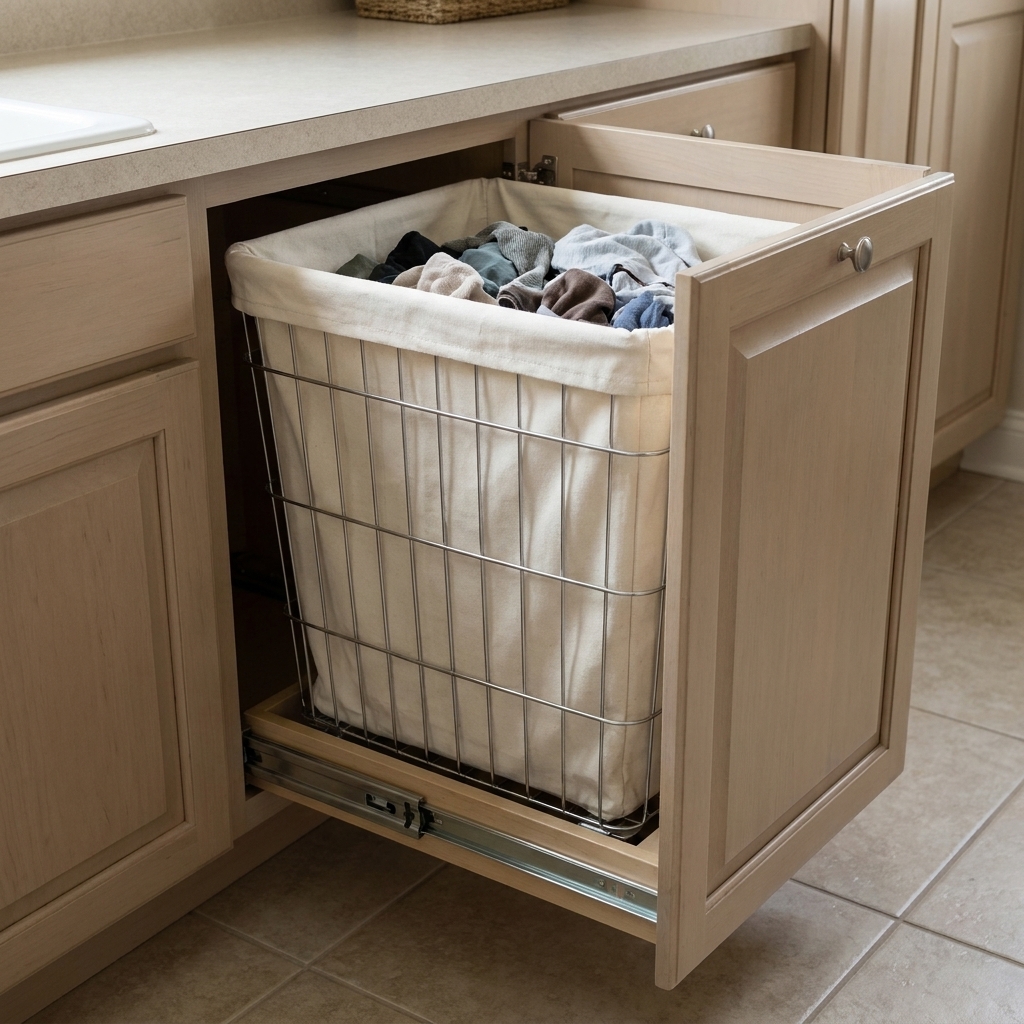
These are the classic under-counter solution: each bin sits on a sliding platform or inside a drawer-like frame.
- Best for: Families who will use it daily and want laundry hidden.
- Pros: Easy to access, tidy look, can add drawer fronts to match cabinets.
- Cons: Requires good slides, the right side clearance, and careful measuring.
Option 2: Tilt-out hampers
Tilt-out fronts usually stick out less than a full pull-out drawer when open, which can help in narrow rooms. They still need some forward arc room to tilt and enough top access for dropping clothes in and lifting the bag or bin out.
- Best for: Skinny laundry rooms and hall closets.
- Pros: Smaller open footprint than full-extension drawers, fewer long slide parts.
- Cons: Bin removal can be awkward if overfilled, and bulky items can catch on the opening.
Option 3: Open cubbies with lift-out bins
This is the easiest to build and easiest to repair. Think: three side-by-side “parking spots” for tall bins under a counter.
- Best for: Budget builds, renters using freestanding cabinets, or anyone who wants low-fuss.
- Pros: Minimal hardware, great airflow, flexible bin sizes.
- Cons: You see the bins unless you add doors.
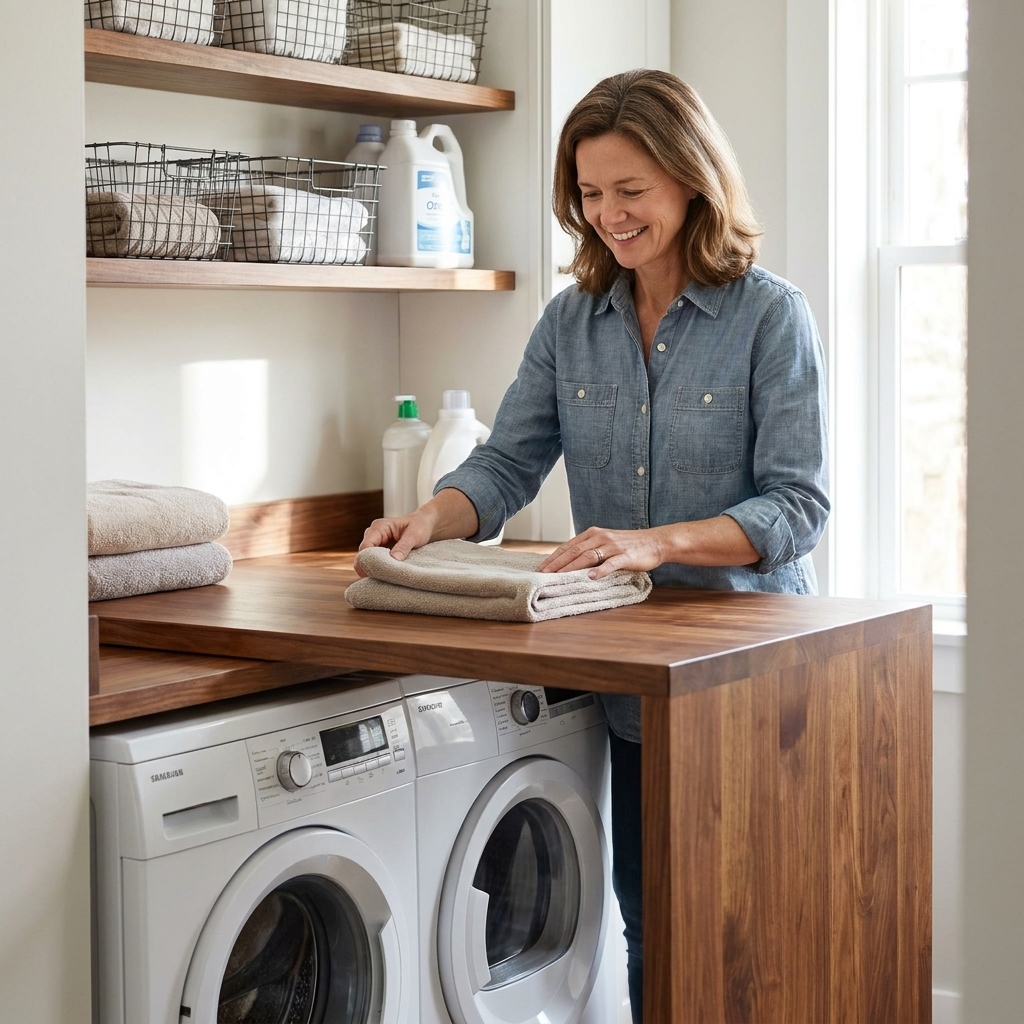
If you are already planning an over-the-washer counter, you can coordinate your hamper space with that build style. My countertop approach is outlined here: DIY Waterfall Countertop Folding Station Over Front Loaders.
Pick bins that fit real life
The bins matter more than people think. If they are too small, laundry piles next to them. If they are too deep, nobody wants to dig. If they are flimsy, they crack the first time a teenager shoves a hoodie in sideways.
What to look for in hamper bins
- Rigid sides: Especially for pull-out systems so the bin stays square.
- Handles you can grab: Real handles or cutouts make lift-out easy.
- Washable liner (optional): Nice for delicates or sports gear. Plan to wash it occasionally.
- Airflow: Perforated sides or an open-top design can help reduce trapped-laundry smell.
Plan capacity on purpose
In a family, bigger is not always better. A huge bin gets heavy fast and encourages “I will wash it later” thinking. I like bins that hold roughly one average load each so you are never guessing.
If you want a concrete target, many families do well with tall rectangular bins in the 15 to 20 gallon range per category, but the right size is the one that fits your cabinet opening and your carrying comfort. If your household creates mountains of towels, you can make the towel bin wider than the others. A sorter does not have to be perfectly symmetrical to look built-in. It just has to be intentional.
Plan the cabinet layout
Here is the basic anatomy of an under-counter sorting station:
- Countertop above: Folding surface, plus a landing spot for baskets
- Base cabinet carcass: Side panels and a back panel (or open back for airflow)
- Bin openings: One per category
- Hardware: Slides, hinges, or none depending on style
Layouts that look built-in
- Three equal bays: Clean and simple for lights, darks, towels.
- Two wide, one narrow: Great if delicates are a smaller stream.
- Four slim bins: Works best when each bin is a removable bag inside a rigid frame.
- End-cap sorter: One or two bins at the end of a cabinet run, leaving the rest for storage.
Add an awkward-stuff zone
Some things do not belong in any bin, like muddy shoes, dog towels, or the random “I found this in the couch” shirt. If you have space, add a small open cubby above the hampers or a shallow shelf for lost-and-found items. It keeps your sorter from becoming the catch-all.
DIY build: 3-bin pull-outs
This is the build I recommend most often because it feels truly built-in and it is easy to use. You can adapt it to 2 bins or 4 bins by changing the number of bays.
Materials and tools
- Plywood or cabinet-grade panels for the base (thickness depends on your design)
- Wood screws and wood glue
- Drawer slides rated for the weight you expect (laundry gets heavy)
- Three hamper bins sized to your openings
- Optional: drawer fronts and pulls to match existing cabinetry
- Drill/driver, level, tape measure, saw, sander
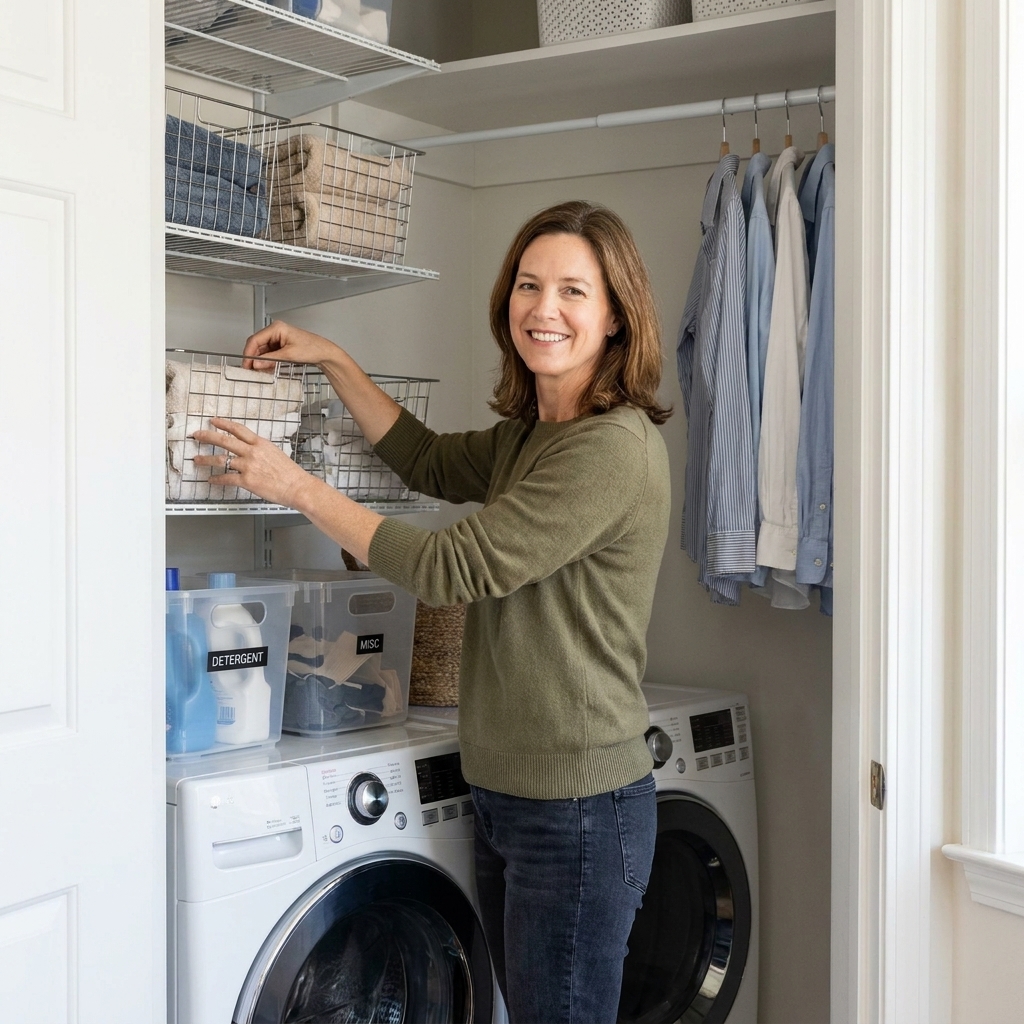
If you are trying to decide between shelf styles for the rest of your laundry room storage, I break down the pros and cons here: Floating Shelves vs Wire Racks for Laundry Storage.
Step 1: Build the cabinet box
Create a sturdy box that fits under your counter with vertical dividers to form three bays. Make sure it is square. Hampers do not glide well in a cabinet that is racked even slightly.
Secure your cabinet to studs and or the floor, not to the appliances. Also keep shutoff valves and any required service access reachable. Future-you will be grateful.
Step 2: Choose slides with intention
For hamper pull-outs, full-extension side-mount slides are popular because they are forgiving and widely available. Pay attention to two details before you buy:
- Side clearance: Many side-mount slides require about 1/2 inch of clearance per side, which means your opening must be wider than your platform or frame. Always check the slide spec for the exact number.
- Mounting style: Face-frame cabinets often need rear mounting brackets or spacer blocks so slides sit straight. Frameless boxes are usually simpler because you mount directly to the sides.
Weight rating matters too. A bin full of wet towels is a different beast than a bin of T-shirts.
Step 3: Plan slide placement
Decide whether each bin will sit:
- On a sliding platform: Simplest to build, easiest to adjust.
- Inside a drawer frame: More “cabinetry” look, more carpentry.
Mark level slide lines in each bay. Take your time here. A wobbly pull-out is usually a measuring issue, not a hardware issue.
Step 4: Build the platforms
Cut three platforms sized to your bins, leaving a little breathing room so bins lift out without scraping. Watch for bin lips and handles that flare outward when the bin is full. That little flare is a common reason a “perfectly measured” build suddenly sticks.
Attach the slides to the platforms, then to the cabinet sides or dividers. Test the movement before you add anything else.
Step 5: Add a stop and a grab point
You do not want the whole bin to launch forward when a kid yanks it. Many slides have built-in stops, but I still like a simple block at the back of the bay or a front rail that helps keep the bin aligned.
Add a handle, pull, or a finger cutout so the pull-out is easy to open with one hand.
Step 6: Finish for real life
- Sand edges so nothing snags delicate fabrics.
- Seal or paint the interior. Laundry rooms are humid, even if they look dry.
- Leave some airflow. A fully sealed box can trap odors.
Airflow and moisture
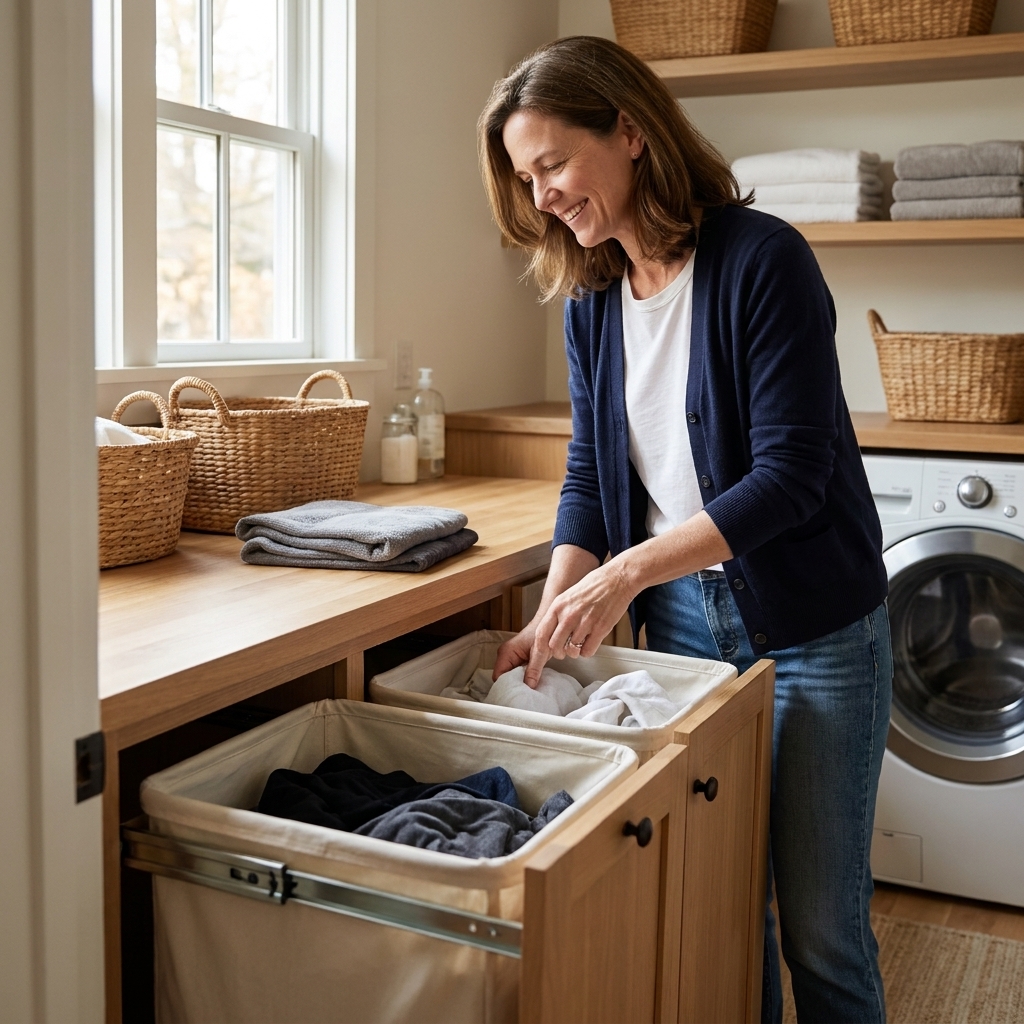
Built-ins look clean, but enclosed laundry can get musty faster than a freestanding basket. A few design choices help.
Easy upgrades that matter
- Ventilation gaps: Leave a small gap at the back of the cabinet or use a less enclosed back panel.
- Perforated bins: They can help with airflow compared to solid tubs.
- Wipeable surfaces: Paint or seal wood so it is easy to clean.
- Wash liners and bins: If you use liners, toss them in the wash occasionally and wipe bins down as needed.
- Wet item rule: Teach everyone: wet towels and sweaty sports clothes do not go in the hamper. They hang first.
If musty smells are a constant battle, it can also be a washer issue. Running cleaning cycles per your washer manufacturer instructions helps a lot.
Make it look built-in
You can absolutely make a sorter feel custom without custom-cabinet pricing. These are my go-to finishing tricks.
Budget-friendly upgrades
- Match the countertop: Using the same finish across the whole counter run makes everything look intentional.
- Add a simple face frame: A few strips of wood around the openings hide plywood edges.
- Use consistent hardware: If you add pulls, match them to nearby cabinets.
- Keep the toe kick consistent: The toe kick is what makes “a box” read like “cabinetry.”
For more low-cost organizing wins that pair beautifully with a new sorting station, see 15 Dollar Store Organization Hacks for a Budget Laundry Makeover.
Make the family use it
The prettiest hamper system in the world fails if it is confusing or annoying to use. Here is what has worked in my very normal, very chaotic household.
Make it obvious
- Put the sorter where clothes naturally land: Near the door, near bedrooms, or right inside the laundry room entrance.
- Keep categories simple: Most families do not need six bins.
- Use consistent bin colors: Even without labels, kids learn fast.
Make it easy to empty
- Lift-out bins: If you have stairs, choose bins with real handles.
- One-load size: When a bin is full, it is a load. No sorting step required.
- Clear access to the washer: You should be able to pull a bin and turn to the washer without doing a little obstacle course.
Quick fixes
My pull-outs rub or stick
- Check the cabinet box for square.
- Confirm both slides are level and mounted at the same height.
- Make sure you built in the slide clearance your hardware requires.
- Make sure the bin is not wider than the opening once it is full and bulging.
The sorter smells musty
- Switch to ventilated bins.
- Leave the hamper fronts cracked open overnight once or twice a week.
- Enforce the wet item rule, even if it feels annoying at first.
- Wash liners and wipe bins down more often than you think you need to.
My kids toss everything into one bin anyway
- Simplify to two bins for a few weeks.
- Move the sorter closer to where they change clothes.
- Reserve one bin for “anything goes,” then you sort at wash time. Progress counts.
Before you build
- My sorter categories match how we actually wash clothes.
- I measured appliance doors, walkway clearance, and service access.
- Each bin is easy to pull out and easy to carry.
- The cabinet design allows airflow.
- I chose slides that fit my cabinet style and clearance needs.
- The system is sturdy enough for real family use.
- I have a plan for the odd items that do not belong in a bin.
Once you have those boxes checked, you are not just building storage. You are building a calmer routine. And in a family laundry room, that is the whole point.