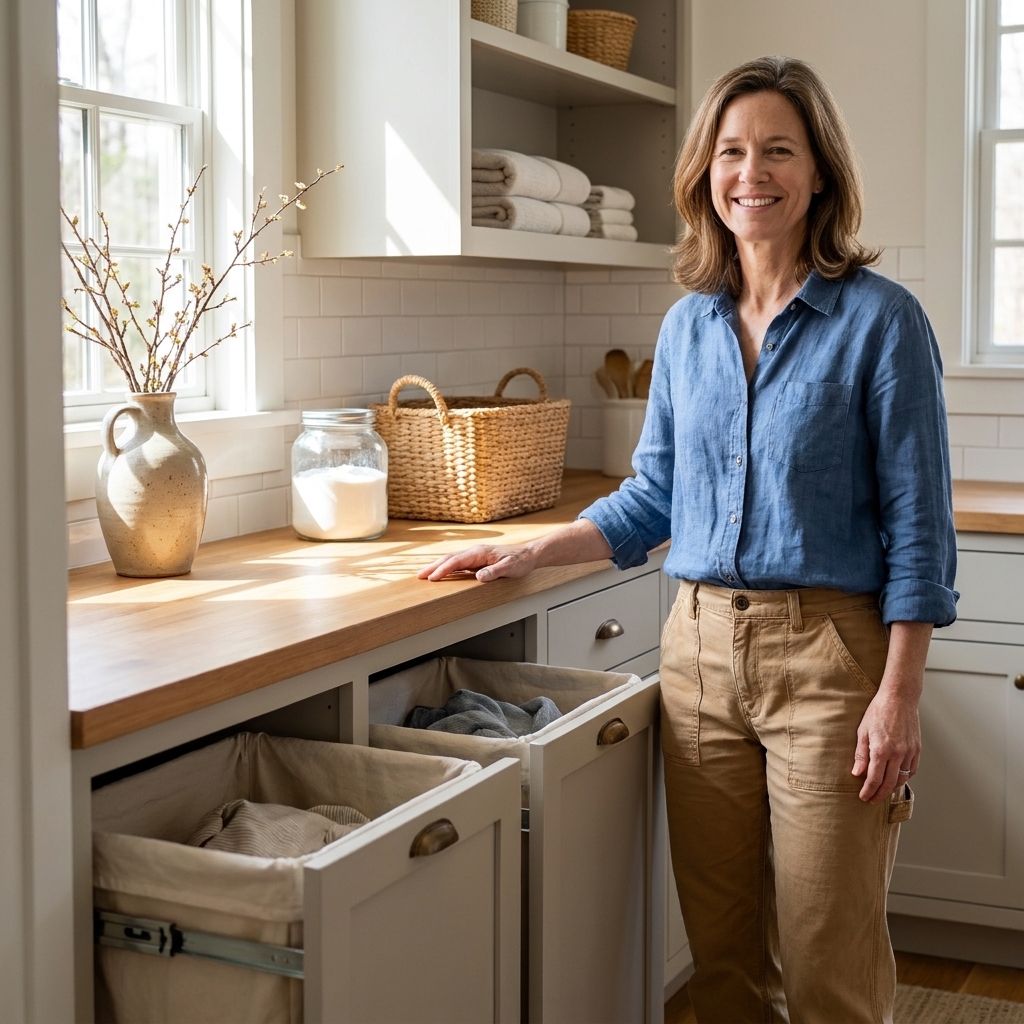
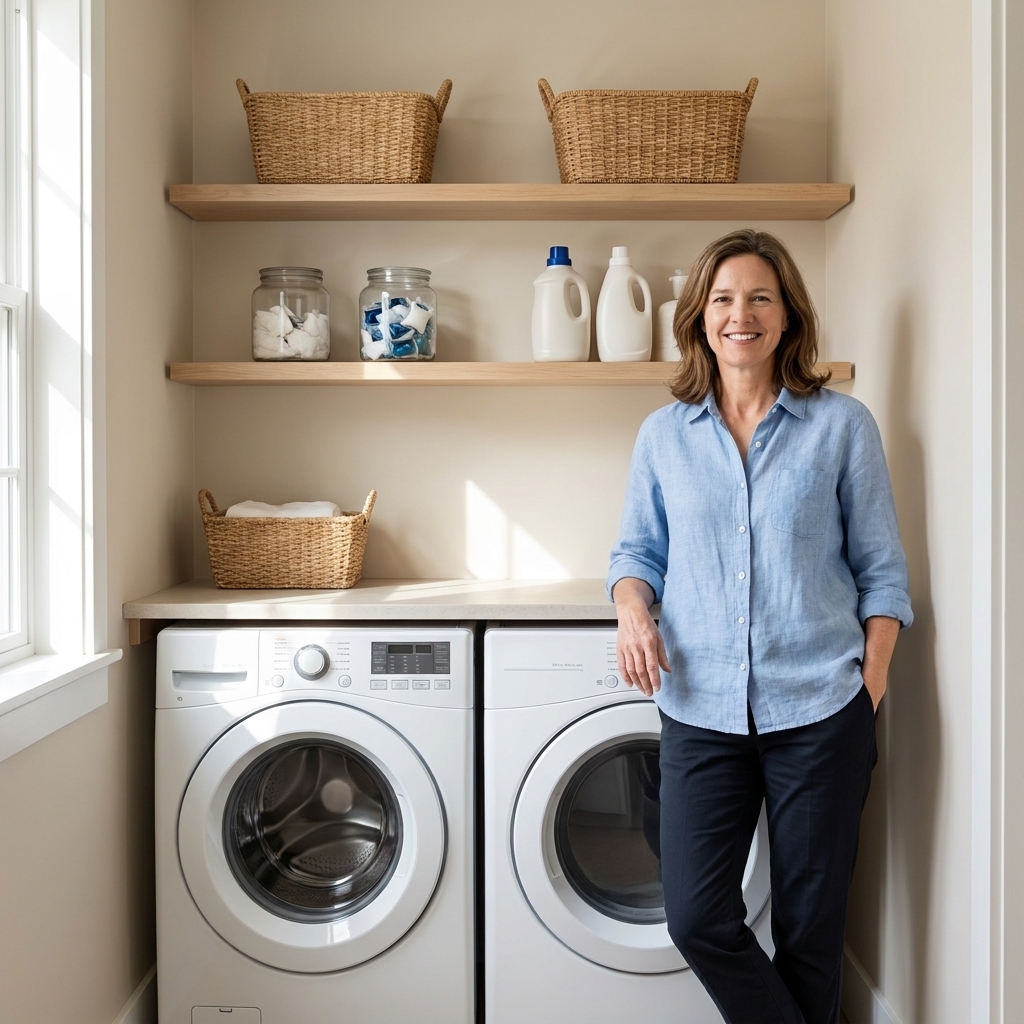
The day I added a wood countertop over my front-load washer and dryer was the day my laundry stopped migrating all over the house. No more balancing baskets on the machines. No more folding on the couch. Just one clean, bright surface that can handle real life.
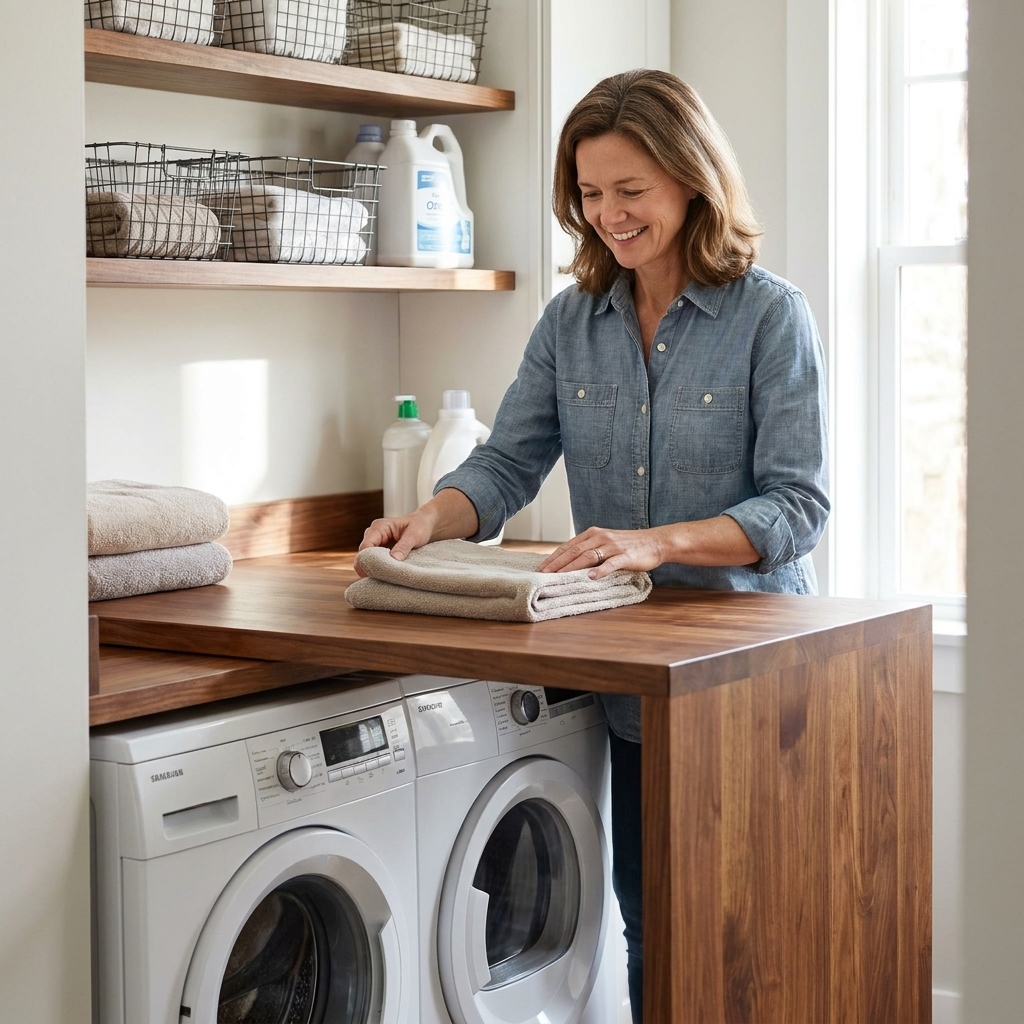
This tutorial walks you through a simple, sturdy “waterfall” style countertop, meaning the top spans both machines and the wood drops down on each side for a built-in, finished look. It is one of those projects that looks custom and expensive, but it is absolutely doable with basic tools and a careful measuring tape.
Before you build: safety and fit
Washers and dryers need clearance for vibration and service access, and dryers also need proper airflow and venting. Before you commit to wood, check your specific model’s installation manual for minimum clearances and any top-load restrictions.
- Aim for wiggle room: I like at least 1/2 inch clearance on the left and right of each machine, and more if your space allows. Some manufacturers specify more, especially at the back. When in doubt, follow the manual.
- Confirm top clearance: Many front-loaders have rear control consoles, detergent drawers, or lids that need space above. Make sure the countertop height and depth will not interfere.
- Do not fasten into the machines: The counter should be supported by the wall and/or side supports, not screwed to the washer or dryer.
- Plan service access: You should still be able to reach shutoff valves, the dryer vent connection, and the plugs without dismantling your whole project.
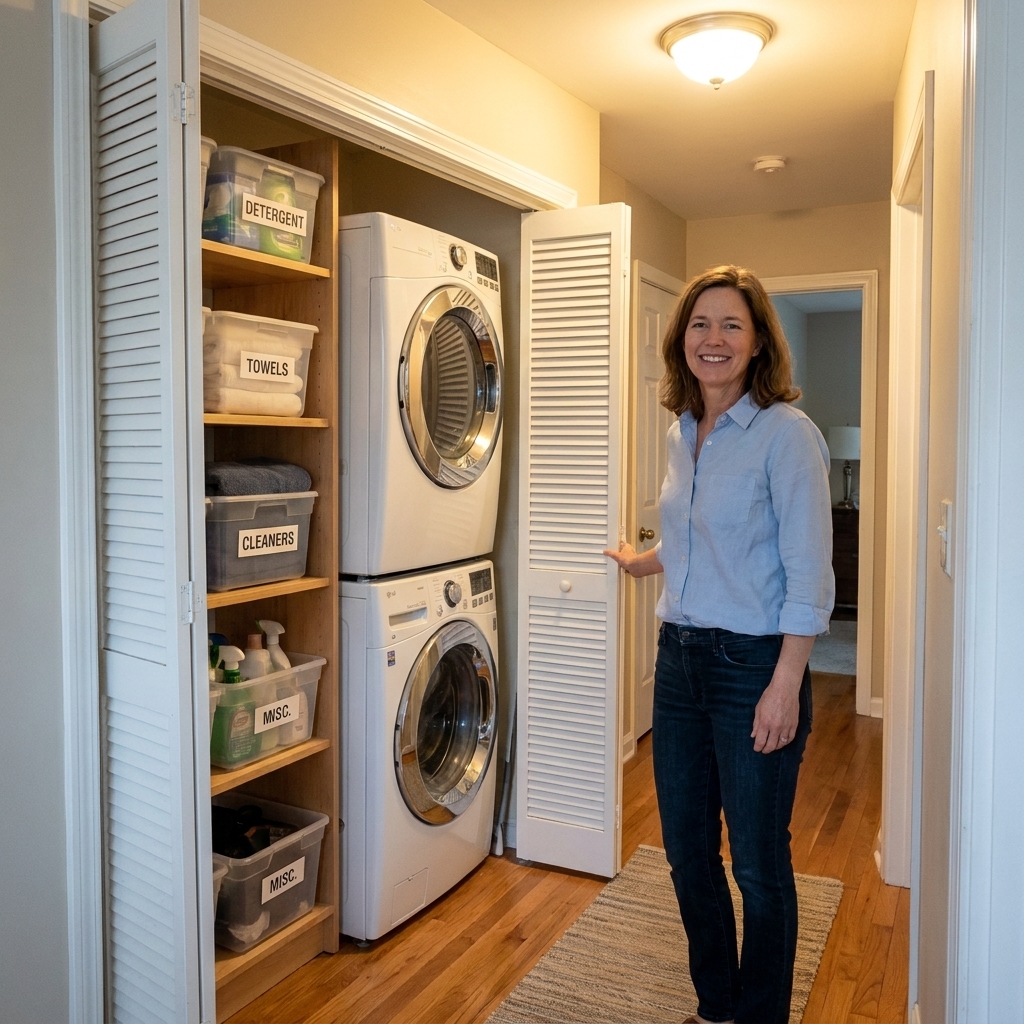
If you are working in a tight laundry closet, my best advice is to pull both machines out, build with the space fully visible, then slide them back in once everything is cured and secure.
Tools and materials
Materials
- 3/4 inch plywood or a solid wood panel for the top (cabinet-grade plywood is my favorite for a smooth finish)
- 1x2 or 1x3 boards for wall cleats and supports (straight pieces matter more than fancy wood)
- Wood screws (commonly #8 or #9). Choose lengths that reach into studs by about 1 1/4 inches after accounting for drywall and cleat thickness. For assembling plywood to cleats, 1 1/4 inch screws are common, but adjust for your material thickness.
- Wood glue (optional for edge banding and some joints)
- Edge banding (iron-on) or 1x2 trim to finish the plywood edges
- Sandpaper (120, 180, 220 grit)
- Stain and a durable topcoat (water-based polyurethane is a great laundry-friendly choice)
- Shims (for leveling)
- Construction adhesive (optional). If you use solid wood or butcher block, skip glue-to-wall moves that restrict wood movement.
Tools
- Tape measure and pencil
- Level
- Stud finder
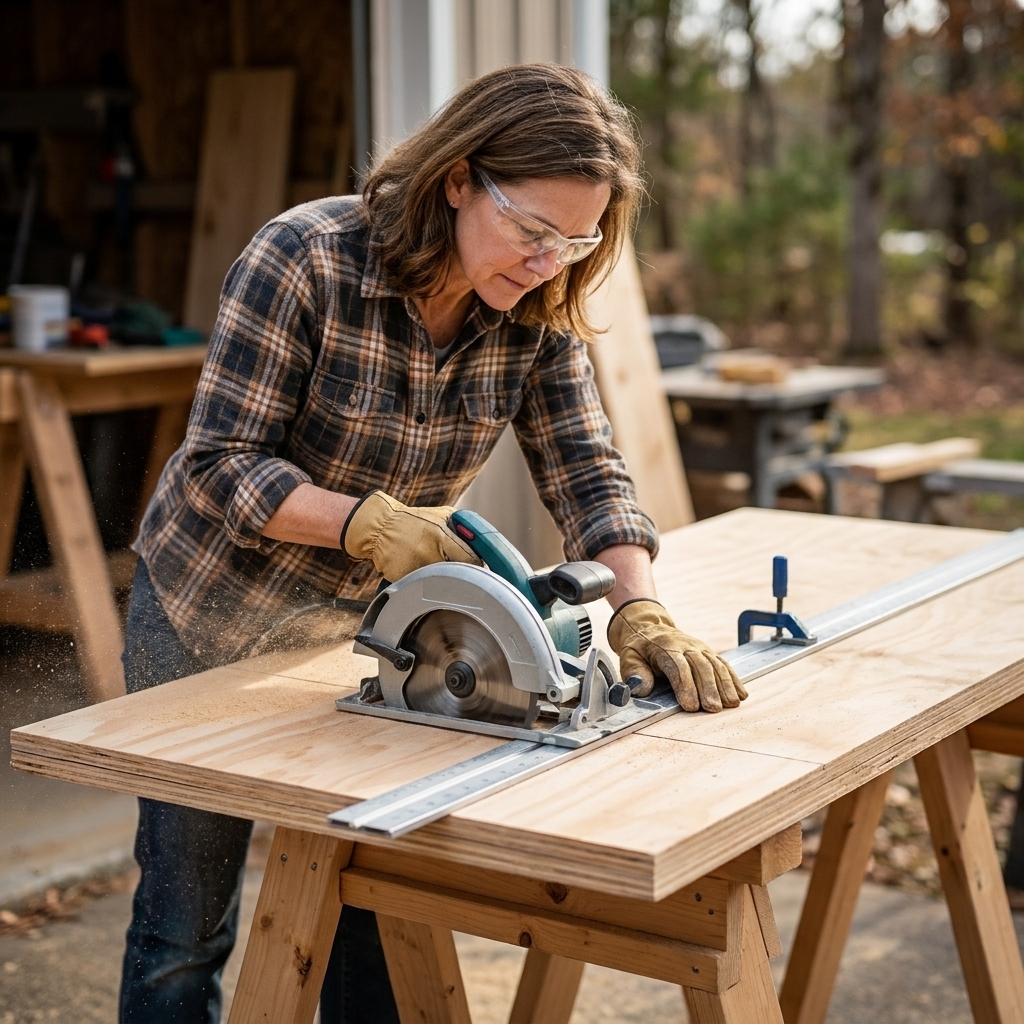
- Circular saw with a straightedge guide, or a table saw
- Drill and driver bits
- Clamps (helpful for edge banding and waterfall sides)
- Sander or sanding block
If you do not have a saw you love, many home improvement stores will cut plywood to size. I still recommend doing final fitting cuts at home if your walls are even slightly out of square, which they usually are.
Step 1: Measure carefully
I measure this project in three stages, because laundry closets are notorious for surprises.
A. Measure the space and machines
- Overall width: Measure wall to wall (or cabinet to cabinet) at the height where your cleats and countertop will actually sit. If you have baseboards, door casing, or trim that sticks out, account for that. You may need to notch around it, remove a small section, or stop the waterfall sides above it.
- Machine width: Measure washer plus dryer together at the widest points (sometimes the doors, hinges, or knobs add a smidge).
- Depth: Measure from the wall to the front edge you want. I usually align the counter with the front face of the machines or let it overhang by 1/2 inch to 1 inch for a clean shadow line, as long as it does not interfere with controls or drawers.
B. Decide your thickness and look
A 3/4 inch top is standard and sturdy. For a thicker “butcher block” look on a plywood budget, you can add a 1x2 apron to the front edge.
C. Measure the waterfall sides
Each waterfall panel drops down on the left and right. The height is personal, but here is the sweet spot:
- Waterfall height: From the top surface down to just below the machine tops, usually 3 to 6 inches. I like it to cover any gaps and make the whole area feel built-in.
Clara tip: Measure in at least three places (left, center, right). Use the smallest measurement for your cut sizes, then you can scribe or shim for a perfect fit.
Step 2: Pick your support
Your countertop needs support that does not depend on the machines. There are three common ways to do that:
- Wall cleats on three sides: Best when you have side walls. Cleats act like a shelf ledge.
- Wall cleat at the back + side legs: Great if one side is open or you want a more furniture look.
- Brackets: Works, but can eat space and look busy in a small laundry nook.
In most laundry closets, I use cleats: one along the back wall and one on each side wall. Then the countertop sits on top like a very sturdy lid.
Step 3: Cut your pieces
For a simple waterfall build, you will cut:
- Top piece: Width equals your final span; depth equals your desired depth.
- Left waterfall side: Height equals your chosen drop; depth equals the top depth (or slightly less if you want a reveal).
- Right waterfall side: Same as left.
If you are doing edge banding, plan your cuts so the prettiest factory edge lands at the front where you will see it most.
Step 4: Dry fit first
Before you sand, stain, or seal, set the pieces in place to confirm:
- The top clears the machines and does not rub
- The waterfall sides sit plumb and do not hit hoses or cords
- The depth does not block rear control consoles, front detergent drawers, or doors
- You can still slide machines out if needed
If anything feels tight, trim now. Wood finishing is forgiving. Tight clearances are not.
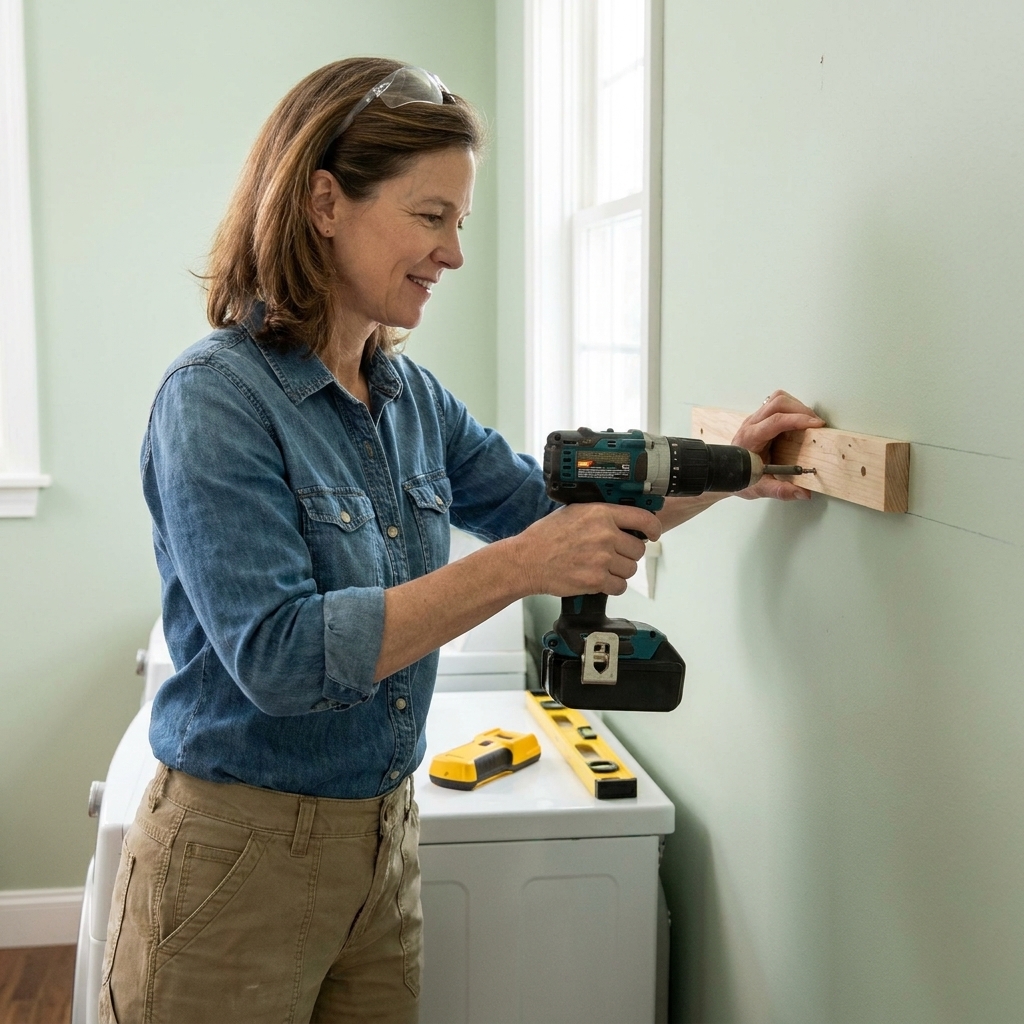
Step 5: Install wall cleats
This is the part that makes it sturdy. The top edge of your cleats should land at the exact height where the underside of the finished countertop will sit.
A. Mark the cleat height
Decide where the bottom of your countertop will sit. Then mark a level line on the back wall and side walls.
B. Find studs and mount cleats
Use a stud finder and mark studs. Cut your cleat boards to length and screw them into studs along your lines.
- Use a level as you go.
- If you miss a stud, do not rely on drywall anchors alone for a heavy countertop. Shift the cleat or add blocking if you can.
Quick reality check: Laundry rooms get humid, and machines vibrate. Overbuild the support. You will never regret it.
Step 6: Assemble the waterfall
You can build the waterfall look in two main ways, depending on how seamless you want it to appear.
Option 1: Butt joint
- Set the top on the cleats.
- Hold each waterfall panel flush to the underside of the top, aligning the front edges.
- Pre-drill to avoid splitting and keep screws back from the edge so you do not blow out the plywood veneer.
- Screw up through the waterfall panel into the top from underneath. Spacing every 6 to 8 inches is a good starting point.
- Add a thin bead of wood glue along the joint if you want extra stiffness.
This leaves a visible seam at the corner, but it still looks clean once sanded and finished, especially with stain.
Option 2: Mitered waterfall
If you can cut a clean 45 degree miter on both the top edges and waterfall panel edges, the grain can wrap the corner and looks custom.
- Cut 45 degree miters on the two side edges of the top.
- Cut matching miters on the top edges of the waterfall panels.
- Glue and clamp. Reinforce from underneath with pocket holes, corner blocks, or mending plates.
Clara tip: If you are using plywood, a miter will expose plies unless you edge-band or trim it. Also, a spline or biscuit can help keep a miter aligned while you clamp, but it is not required for a solid build.
Miter joints are gorgeous, but they are less forgiving. If your laundry space is tight and your walls are wavy, a butt joint can honestly look better because it fits better.
Step 7: Finish the edges
If you are using plywood, do not skip this. Raw plywood edges scream “I built this yesterday” even when the rest looks high-end.
Option A: Iron-on edge banding
- Apply edge banding to the front edge of the top first, then trim and sand it flush.
- If you are doing a mitered waterfall, edge-band the miter edges before assembly if you can. It is easier to keep it neat while everything is flat.
- Lightly sand the banding so it blends into the surface, but do not sand through the veneer.
Option B: 1x2 trim
- For a thicker look, attach a 1x2 to the front edge as an apron. You can miter the corners for a clean waterfall effect.
- Use wood glue and brad nails, or glue and clamps until dry. Then fill holes and sand smooth.
Once edges feel smooth to the touch, you are ready to finish.
Step 8: Sand, stain, and seal
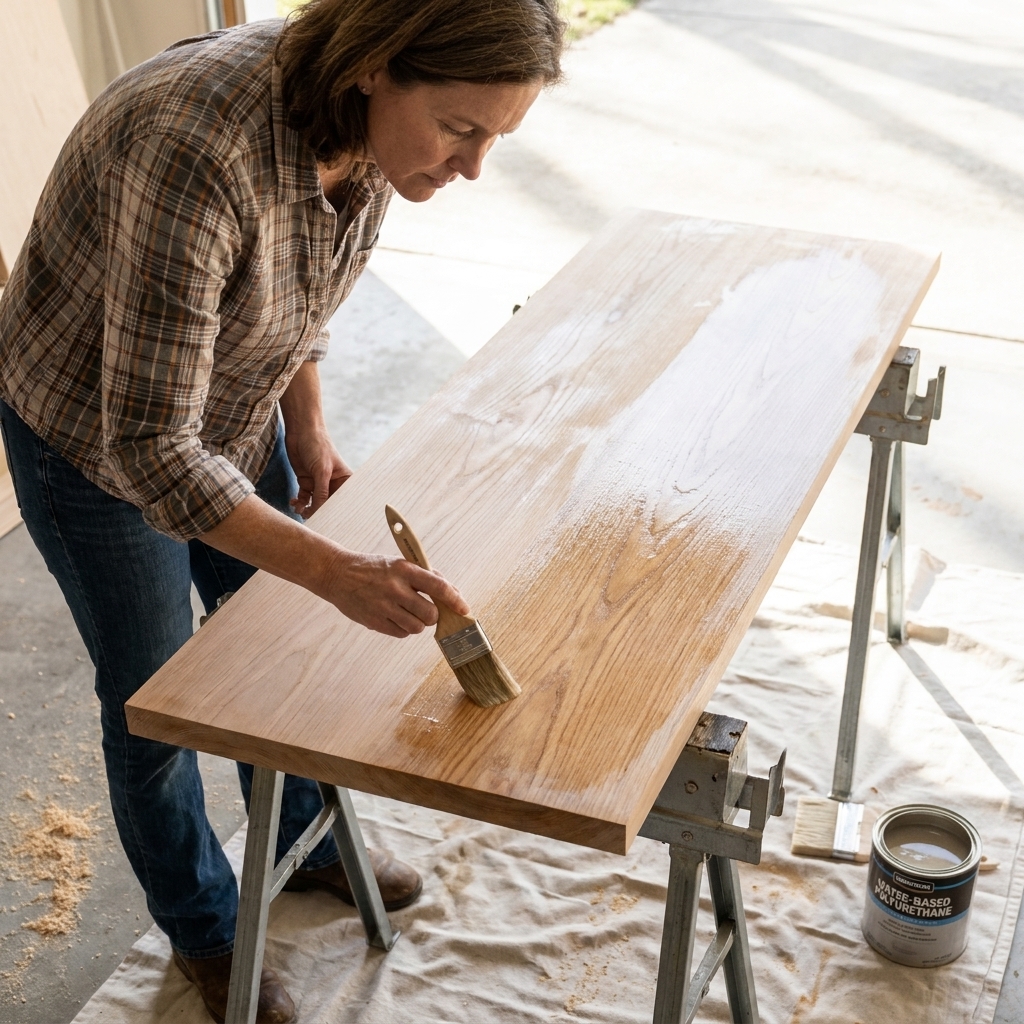
Between detergent drips, damp towels, and the occasional mystery water, your finish needs to be tougher than your average decorative shelf.
My no-drama finishing routine
- Sand: 120 grit, then 180, then a quick pass with 220 on surfaces you touch.
- Clean dust: Vacuum and wipe with a damp cloth or tack cloth.
- Stain (optional): Apply and wipe off evenly. Let it dry fully.
- Seal: 2 to 3 coats of water-based polyurethane, sanding lightly with 220 between coats.
Clara tip: Seal the underside too. Not because it has to be pretty, but because sealing both sides helps reduce warping in humidity swings.
Step 9: Final install and leveling
Once your finish is dry enough to handle, place the top on the cleats and check level front to back and side to side. Then follow your topcoat label for full cure time before heavy use. Many finishes feel dry quickly but take longer to reach full hardness.
- Shim where needed: Slip shims on top of cleats until the surface is level.
- Secure the top: Screw up through the cleats into the top from underneath (my preference for a clean top). If you are using solid wood or butcher block, avoid rigid glue joints to the cleats. Wood moves with the seasons, so use fasteners that allow a little movement, or at least do not glue the top down.
- Attach waterfall sides: If they are not already attached, fasten them now from underneath or inside edges where screws will be hidden.
Finally, slide your washer and dryer back into place carefully. Keep an eye on hoses and cords so nothing gets pinched behind the waterfall panels.
Add-ons I love
- Non-slip matting: A thin drawer liner on the countertop keeps baskets from skating during spin cycles.
- Edge lip for runaway socks: A small 1/4 inch trim at the back can stop items from falling into the gap.
- Charging spot: If your laundry room is command central, leave a small corner clear for your phone and a timer.
- Over-counter shelves: If you are ready for the next step, pair this with wall shelving for detergent and bins. You can browse more projects in DIY Projects & Builds and organizing ideas in Organization & Storage.
Troubleshooting
The countertop rattles
First, confirm the machines are level and the feet are adjusted. If you still have a lot of shaking, anti-vibration pads under the machines can help. Then make sure your countertop is firmly secured to wall cleats and not touching the machines. If it is touching, trim back the tight spots.
My walls are out of square
This is extremely normal. You can scribe the back edge to the wall, add a small trim piece at the back, or use a paintable caulk where wood meets wall for a clean line.
Can I use butcher block instead of plywood?
Yes, and it is beautiful. It is also heavier and more expensive, so be extra sure your cleats hit studs. Seal it well, especially around seams. And remember, solid wood moves, so avoid gluing it down like it is tile.
Do I need to worry about dryer heat?
Your dryer exhaust should be properly vented and connected with the correct materials, and your countertop should not block vents or airflow. If the top of your dryer feels excessively hot or the laundry area seems unusually warm, pause and check for common vent issues like lint buildup, crushed ducting, long duct runs, or a stuck exterior damper before enclosing the area further.
One last encouragement
This project is not just about making the laundry room prettier. It is about creating a spot where you can actually finish a load without wandering off mid-fold and finding it again tomorrow as a wrinkled basket of regret.
Build it sturdy, keep a little clearance for vibration, and seal it like you mean it. Your future self will thank you every single week.
If you are tackling the whole space, you will find more realistic, family-proof upgrades in Budget Makeovers and small laundry closet solutions in Small Spaces & Closets.