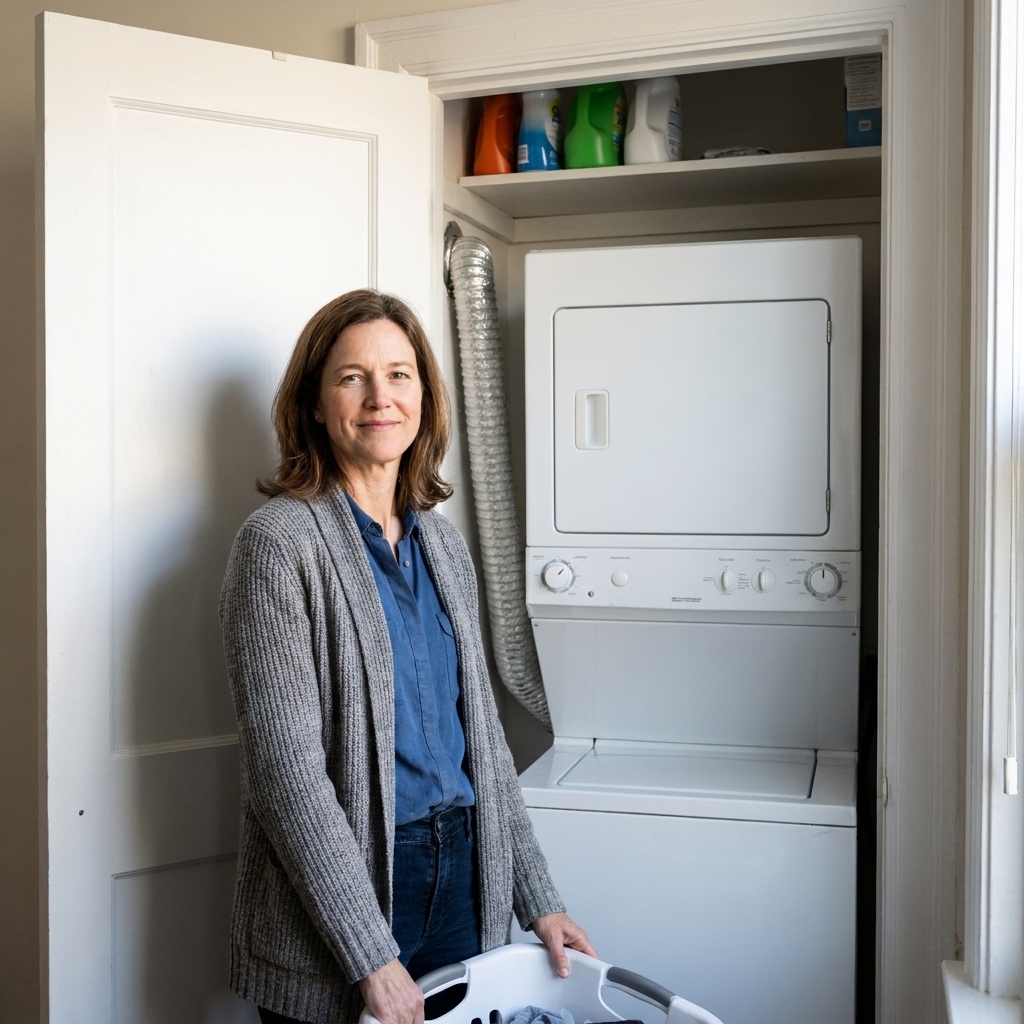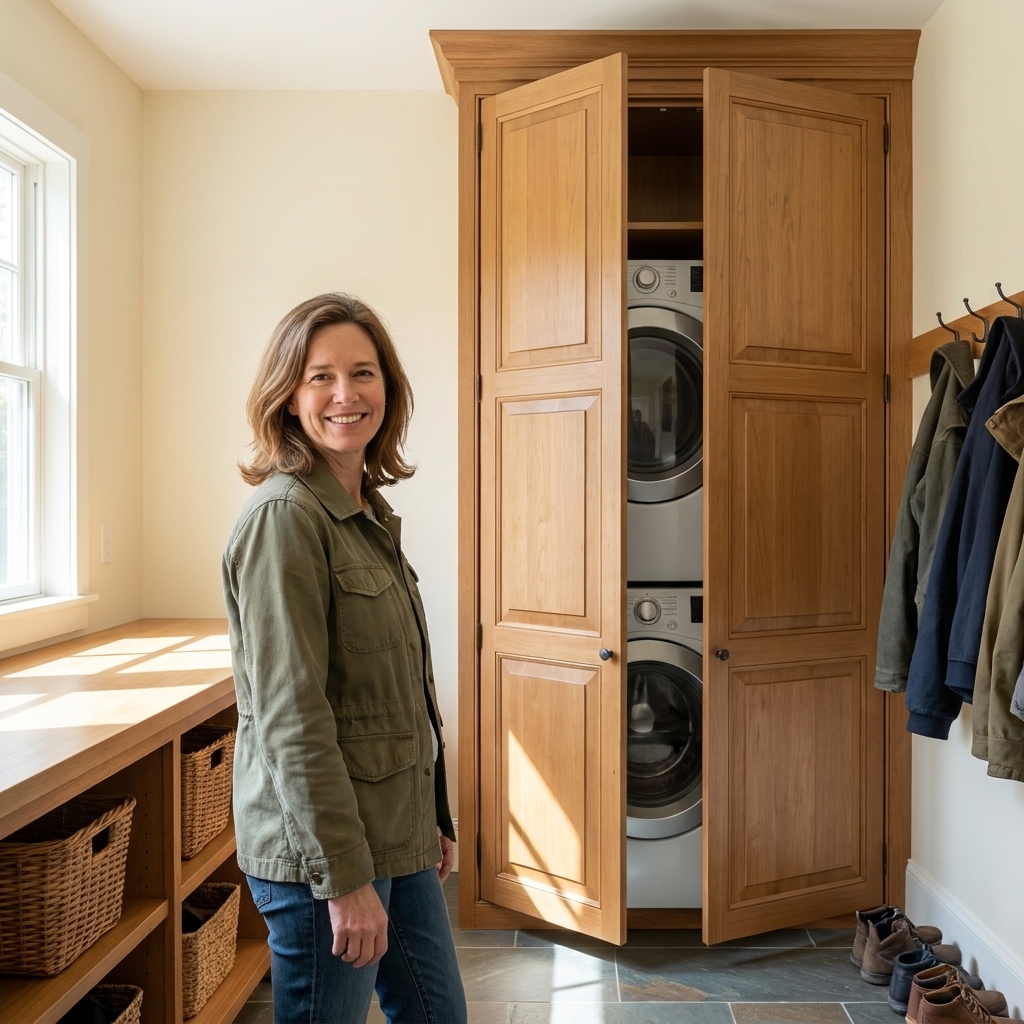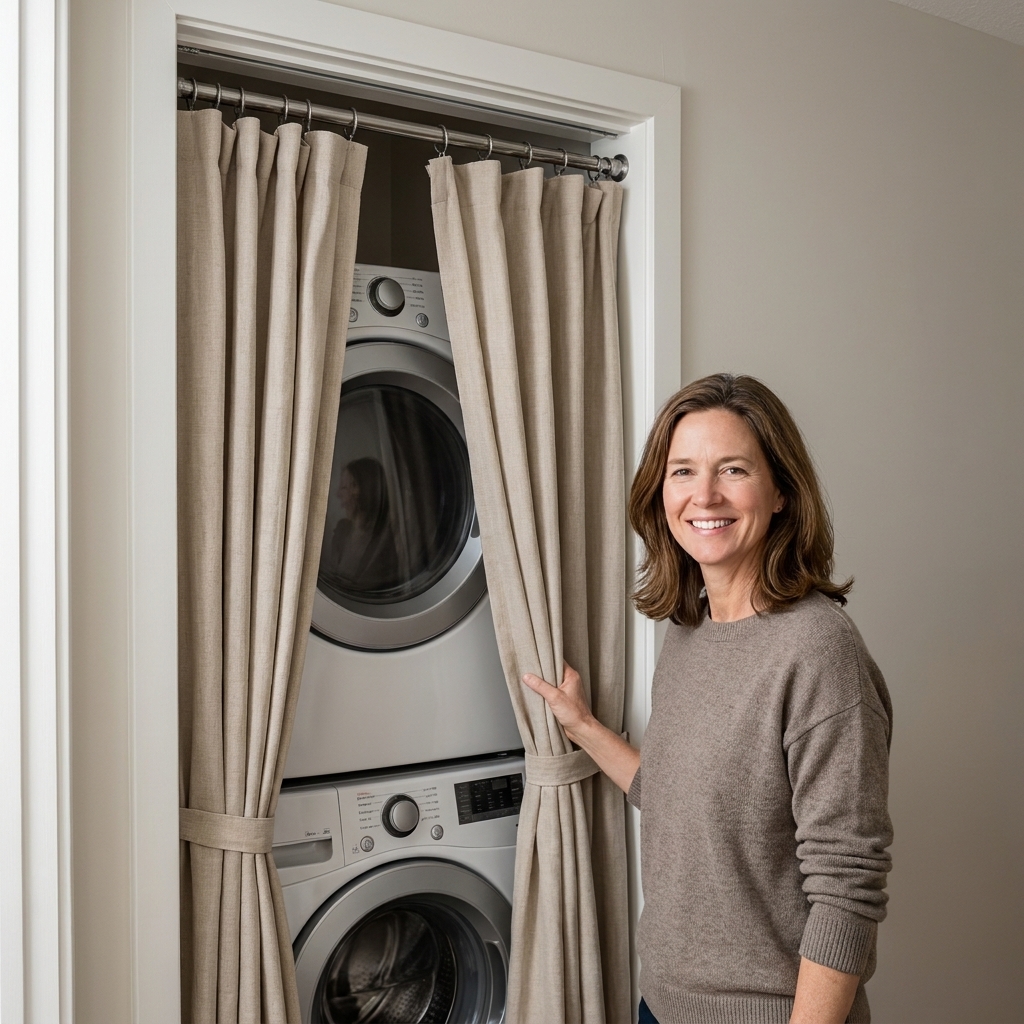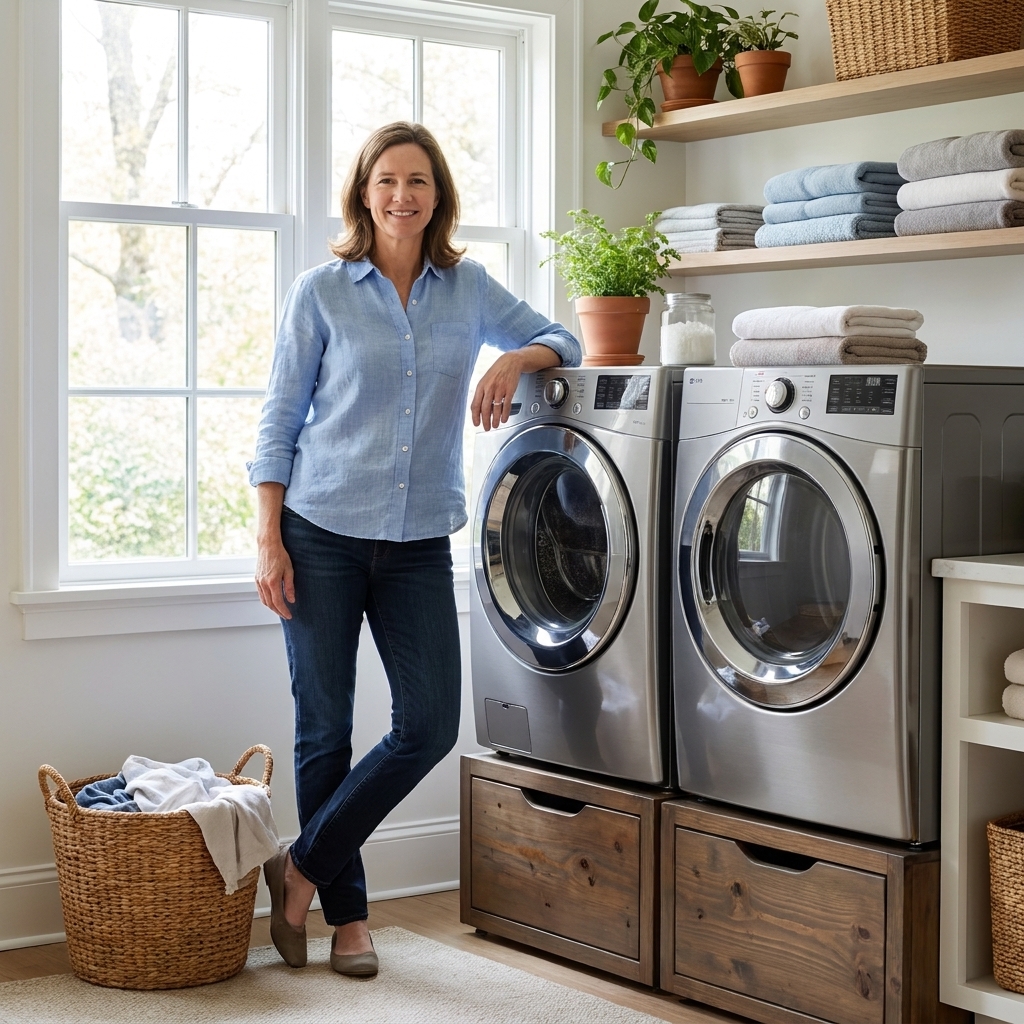
My laundry closet sits right off our hallway, which means every spin cycle used to feel like a tiny parade marching through my house. With three kids, I run loads at odd hours, and the rattling was not charming. The good news is you can often reduce washer and dryer noise a lot without tearing out walls or doing anything fancy. You just have to tackle it in the right order: stop vibration first, then seal obvious gaps, then add soft sound-absorbing surfaces.
Below are my favorite DIY soundproofing projects for laundry closets and small laundry rooms. Many are renter-friendly when you need them to be, and they make a real difference when the noise is coming from vibration and leaky door gaps.
Before you start
Five minutes of checking can save you a whole afternoon of “why is it still so loud?”
- Empty the washer and dryer. Test noise with an empty drum first, then with a normal load.
- Remove anything sitting on top. Bottles, baskets, and storage bins love to buzz and rattle.
- Check for “new install” issues. If a front-load washer was recently delivered or moved, confirm shipping bolts were removed (your manual shows where they are). Leaving them in can make a washer shake and sound alarmingly loud.
- Do not strain hoses or vents. When you pull a machine forward to work behind it, keep an eye on the water lines, drain hose, and dryer vent so nothing kinks, disconnects, or gets crushed.
Know your noise type
Washer and dryer noise usually comes from two sources, and they need different fixes.
- Vibration and rattling (structure-borne noise): the machine shakes, the floor and walls act like a speaker, and you hear thumping or banging.
- Airborne sound: motor hum, whooshing, buzzer beeps, and general machine noise escaping through a hollow door or big gaps.
If you do only one thing, start with vibration. A perfectly sealed door will not help much if the washer is tap-dancing against the floor.
Project 1: Anti-vibration pads
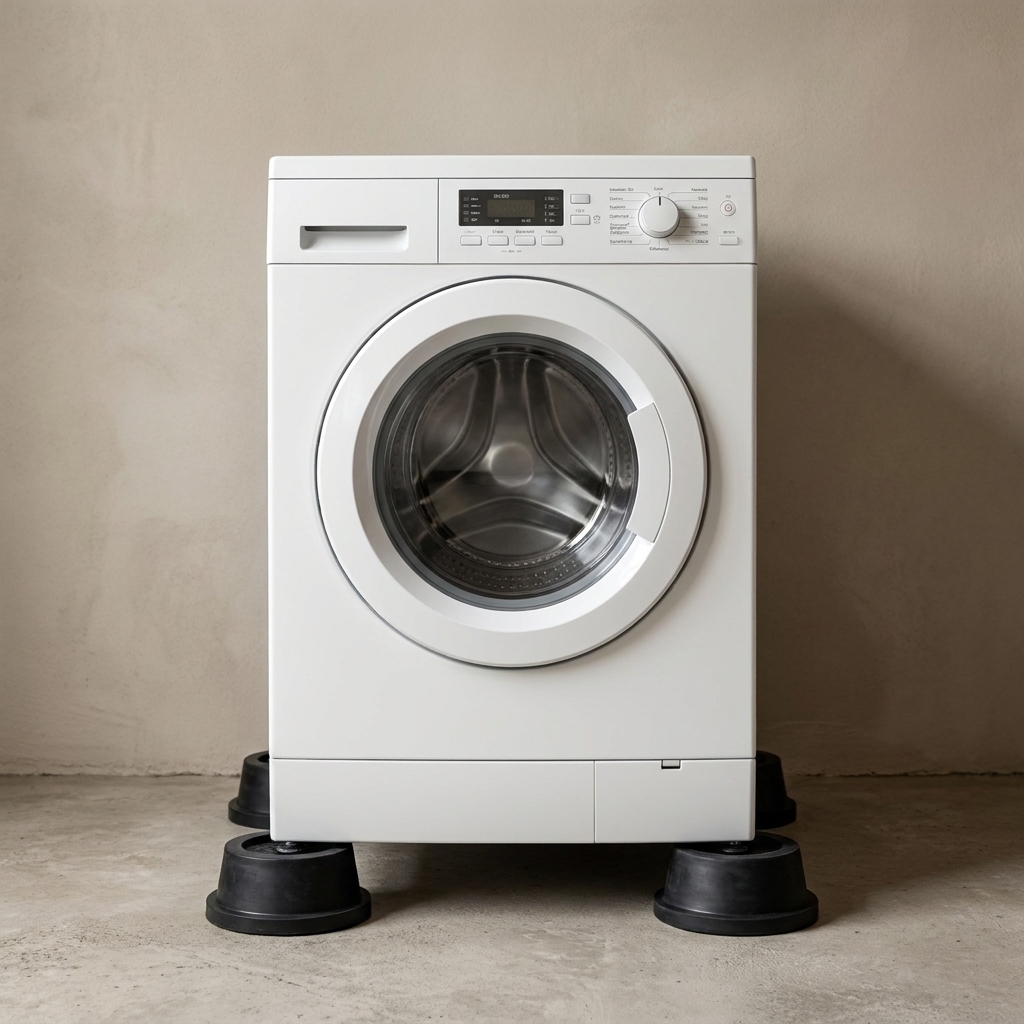
Anti-vibration pads are one of the fastest, easiest things to try. How much they help depends on your floor type, your washer condition, and the pad quality, but they often cut down how much shaking transfers into the floor.
What to buy
- Heavy-duty rubber or rubber-cork anti-vibration pads sized for washers and dryers
- A level
- Work gloves and a flashlight
How to install them (my no-pinched-fingers method)
- Unplug the machines. Safety first, especially in tight closets where you are leaning on cords.
- Pull the machine forward a few inches. If you have a stacked setup, do not force it alone. Get help.
- Lift one corner at a time. Slide a pad under that foot, then move to the next corner.
- Center each foot on each pad. If a foot sits half on and half off, the pad cannot do its job.
- Run a short rinse and spin test. Listen for improvement before you shove everything back.
Tip: If the washer still bangs on spin, it is often because one foot is not making solid contact. Pads help, but leveling is what makes it calm.
Project 2: Level the washer
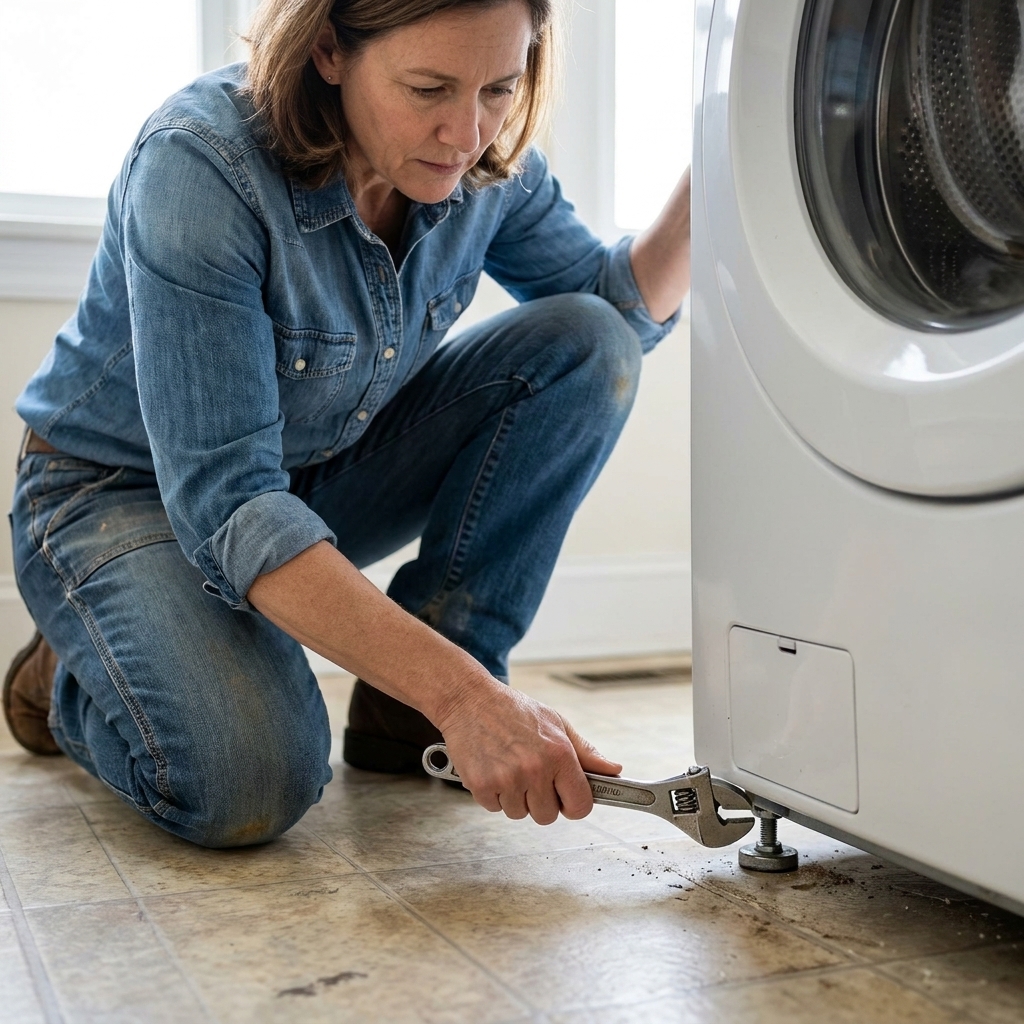
This one is not glamorous, but it is powerful. An unlevel washer vibrates more, gets louder, and can even smack the sides of a closet during a heavy spin.
Step-by-step leveling
- Check the floor first. If the floor slopes, you can still level the washer, but you might need a little more adjustment range.
- Place a level on top of the washer. Check side-to-side and front-to-back.
- Adjust the feet. Most feet twist by hand, then lock with a nut that you tighten up against the washer base.
- Do the “rock test.” Push lightly on opposite corners. If it rocks, keep adjusting until it feels planted.
- Re-test with a spin cycle. A balanced machine sounds calmer, not just quieter.
Tip: If it still sounds like a drum solo, look at the load. One heavy bath mat or lopsided towel load can throw everything off. I do smaller towel loads now, and it is quieter and kinder to the machine.
Project 3: Add a buffer zone
In a laundry closet, clearance is everything. Even slight vibration can make a hose, cord, or machine corner tap a side wall or door jamb, and that tapping is surprisingly loud.
- Leave breathing room: pull the washer and dryer forward so they are not pressed tight to the back wall.
- Secure hoses and cords: use removable hooks or zip ties to keep them from slapping the wall.
- Pad contact points: if a dryer duct or pipe lightly touches drywall, add a small piece of foam pipe insulation or adhesive felt where it meets.
If your closet is ultra-compact, it is worth reading up on safe spacing and venting before you start rearranging. I keep airflow and dryer vent clearance in mind any time I scoot machines around.
Project 4: Seal the door gaps
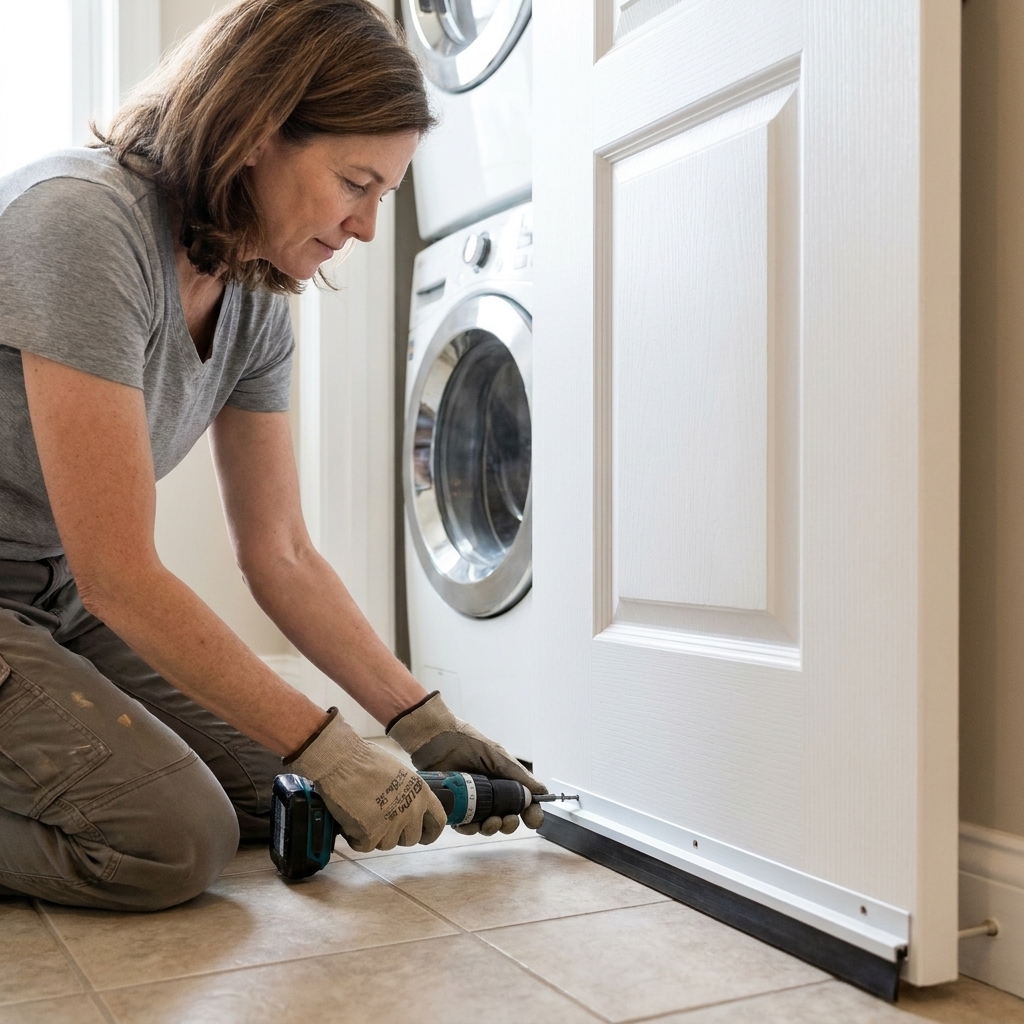
If your laundry space is behind a hollow-core door or bi-fold doors, sound leaks through gaps like water. Weatherstripping and a door sweep are inexpensive and feel like magic because they target the biggest sound escape routes.
Supplies
- Foam or rubber weatherstripping tape for the door jamb
- A door sweep (adhesive or screw-on, depending on your door)
- Scissors or a utility knife
- Rubbing alcohol and a rag
Installation steps
- Clean first. Wipe the jamb and the door bottom with rubbing alcohol so the adhesive sticks.
- Apply weatherstripping around the jamb. Focus on the top and sides. Close the door to check it still latches.
- Add the door sweep. Position it so it just kisses the floor without dragging hard.
- Do a “flashlight test.” Turn off the lights in the laundry area, stand in the hall, and look for light leaks around the door. Gaps that leak light also tend to leak sound.
Tip: Even if you seal every gap perfectly, some sound can still come straight through a hollow door panel. Gaps are just the easiest place to start.
If you have bi-fold doors: you can still reduce gaps with thin foam weatherstripping where the panels meet the frame, and a sweep along the bottom track area if it does not interfere with movement. For more closet-specific door ideas, see maximizing storage in a tiny bi-fold laundry closet.
Project 5: Add sound absorption
Quick definition, because this trips people up: acoustic panels absorb echo and soften the sound that bounces around a hard little box. They help with airborne noise like motor hum. They do not fully “soundproof” a closet by themselves.
In a laundry area, I keep any soft material on the door interior or on upper wall sections where it is less likely to get dusty or snagged. And yes, fabric can collect lint over time, so plan to vacuum it occasionally.
Panel options that work in laundry spaces
- Wrapped fiberglass or mineral wool acoustic panels mounted on the back of the door or upper walls
- Thick felt panels for an easier, itch-free install
- DIY fabric-wrapped panels on a simple wood frame (great if you have scrap wood)
Where to place them
- Back of the door: big impact and easy to remove later.
- Side walls at shoulder height and up: avoid areas that collect lint or get bumped by baskets.
- Above the machines: useful in stacked setups where the closet gets echo-y.
Install methods
- Removable picture-hanging strips: renter-friendly and great for door mounting. Stay within the strip weight rating.
- Over-the-door hooks or a lightweight panel on a hanger bar: another renter-friendly option if your door will not tolerate adhesive.
- Screws into studs: best for heavier panels and long-term installs, but more owner-friendly than renter-friendly.
Important: Do not cover dryer vents, intake areas, access panels, or anything that needs routine service. Keep panels away from the dryer exhaust path and any manufacturer-specified clearances. If your laundry closet already runs warm, prioritize airflow fixes before adding soft materials. This airflow guide is my safety check.
Optional: Add mass to the door
If you sealed the gaps and it is still too noisy, adding mass to a hollow-core door can help. The catch is weight. Materials like mass-loaded vinyl can be heavy enough to stress hinges, cause sagging, or make the latch fussy, especially with adhesive-only installs.
My simpler approach is to try a removable quilted moving blanket or a dense, padded door panel hung on over-the-door hooks, then take it down for deep cleans. Keep anything you hang well clear of vents, do not block return airflow, and make sure the door can still close safely.
Project 6: Fix rattle points
These are the small things that take a closet from “better” to “why did I not do this sooner?”
- Sticky-backed felt dots where shelving brackets or wire shelves vibrate against the wall.
- Non-slip shelf liner under detergent bottles so they do not buzz against wire racks.
- Rubber bumpers on the inside of a closet door if it chatters when the machines run.
- Tighten loose hardware on doors, hinges, handles, and shelf standards. A slightly loose hinge can amplify sound.
If you have wire shelving that rattles or acts like a sound amplifier, you might like my approach to camouflaging wire laundry shelves without replacing them. Even minor stabilizing makes everything feel quieter.
What not to do
- Do not rely on thin foam “soundproofing” sheets alone. They can help with echo, but they will not stop a washer that is banging from vibration.
- Do not block vents or reduce clearance to squeeze in more padding. A quiet laundry room is not worth overheating a dryer.
- Do not assume “newer” means “quiet.” Even a great machine can get loud if it is unlevel or crowded by walls.
My 60-minute plan
- Run a spin cycle and listen for the main issue: thump, rattle, or hum.
- Install anti-vibration pads.
- Level the washer and check that nothing touches the walls.
- Add weatherstripping and a door sweep.
- Only then, add acoustic panels to the inside of the door or upper walls.
Most families will feel a noticeable difference after steps 2 through 4. The panels are the finishing touch when you want it even calmer.
FAQ
Will rubber pads help on tile or concrete?
Usually, yes, with the biggest difference on lighter, harder floors like tile where vibration tends to telegraph. On concrete slabs, the improvement can be more subtle because the slab is already heavy and stable, but pads can still reduce vibration transfer and help prevent tiny shifts over time.
What if the noise is coming from inside the machine?
If you hear grinding, squealing, or metal-on-metal sounds, pause the DIY soundproofing and consider maintenance. Soundproofing hides noise, but it does not fix failing bearings, worn belts, or a loose drum. If it is a front-loader that was just installed or moved, double check that the shipping bolts were removed. If you suspect a mechanical issue, check your manual or schedule service.
Any quick dryer-specific checks?
Yes. Before you start sticking panels on walls, do a few quick basics:
- Check pockets for coins and hairpins (classic dryer racket).
- Clean the lint filter every load, and make sure it seats properly.
- Confirm the dryer is level so it does not vibrate against the floor or wall.
- Listen for rhythmic thumping that could point to a worn roller or belt, which is a repair issue, not a soundproofing issue.
- Watch airflow and vent routing. A restricted vent can change the sound and create heat problems. Keep clearances in mind as you work.
Can I quiet a hollow-core door without replacing it?
You can get close. Weatherstripping and a sweep handle the gaps, and adding some absorption on the inside of the door can soften what is left. If you go the “add mass” route, keep the weight in mind so you do not create a door sag or hinge problem.
Once it is quieter
I have learned the hard way that a laundry space only stays peaceful if it is also organized. When bottles stop buzzing, baskets have a home, and you are not fighting clutter, the whole closet feels calmer.
- Decanting and organizing laundry supplies
- Back-of-door laundry closet storage ideas
- DIY drop-leaf folding table for a tiny laundry room
Quieting your washer and dryer is one of those upgrades that makes your whole home feel less chaotic. It is not flashy, but it is the kind of DIY that pays you back every single laundry day.