I will never forget the day I realized my laundry room did not have a “storage problem”… it had a “bend-over-and-live-on-the-floor” problem. Between detergent jugs, stray socks, and the mountain of kid laundry that never stops, I was constantly crouching, reaching, and stuffing supplies into any open gap.
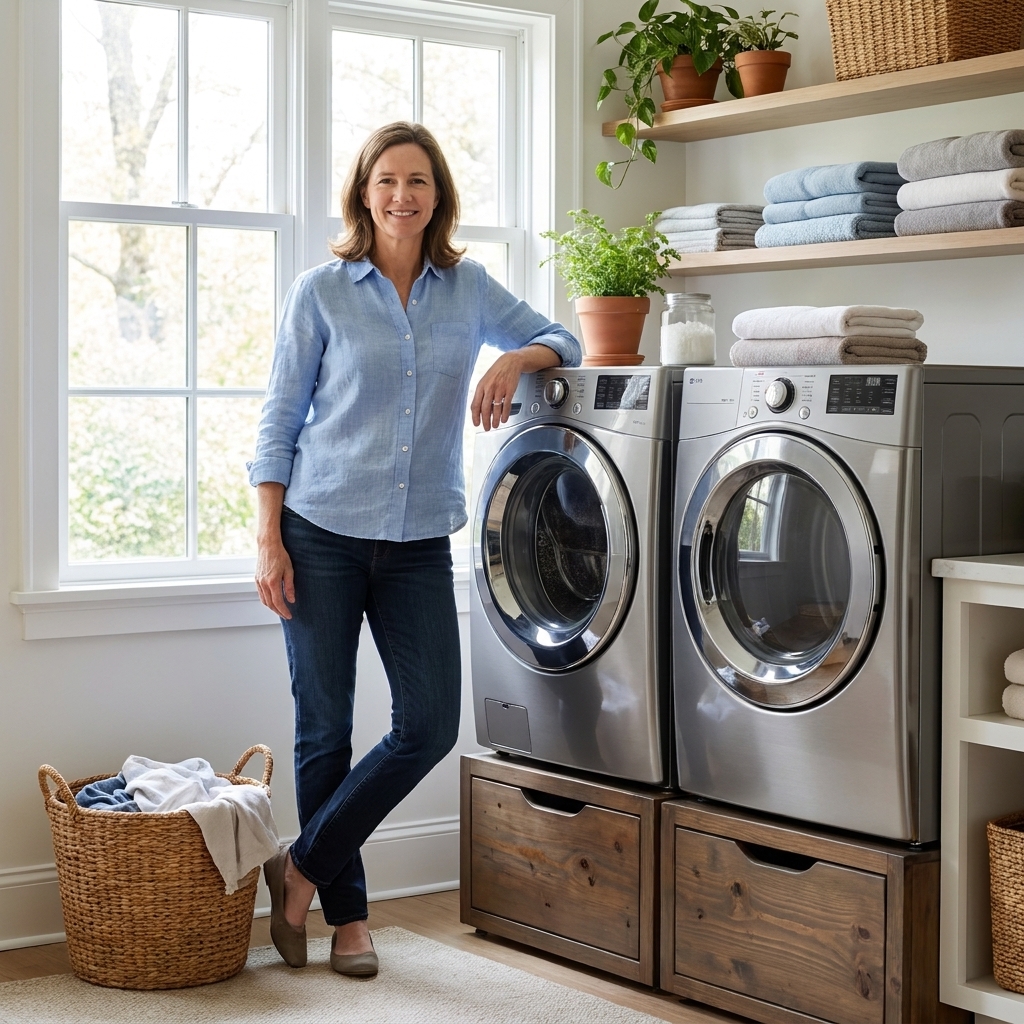
DIY washer and dryer pedestals fix two things at once: they lift your machines to a friendlier height and they create the kind of deep, hidden storage that actually holds the bulky stuff. This tutorial walks you through building sturdy, weight-bearing wooden pedestals with heavy-duty drawers underneath.
Before you build
These pedestals will hold a lot of weight and a washer adds movement to the equation. Many front-load washers weigh roughly 180 to 250+ pounds empty (some are heavier), and they get heavier in use due to water and wet laundry. Please take these checks seriously.
- Confirm your machine type. This build is best for front-load washers and dryers. Top-load washers need lid clearance and can be awkward when raised too high.
- Measure door swing and clearances. Make sure raising the machines will not block a door, hit upper cabinets, or make hookups impossible.
- Check manufacturer guidance and warranty. Some brands discourage anything under machines unless it is manufacturer-approved. Anchoring or modifying the setup can also affect warranty. Proceed at your own risk and do not block service panels.
- Plan for vibration control. Washers move. Your pedestal must resist racking (side-to-side sway), and you will want a non-slip, vibration-damping layer on top.
- If your laundry is upstairs. Floor stiffness and joist span affect vibration. When in doubt, consult a pro.
- Plan for hoses, cords, and vents. Leave enough clearance so the pedestal depth does not push machines forward and kink washer hoses or crush a dryer vent.
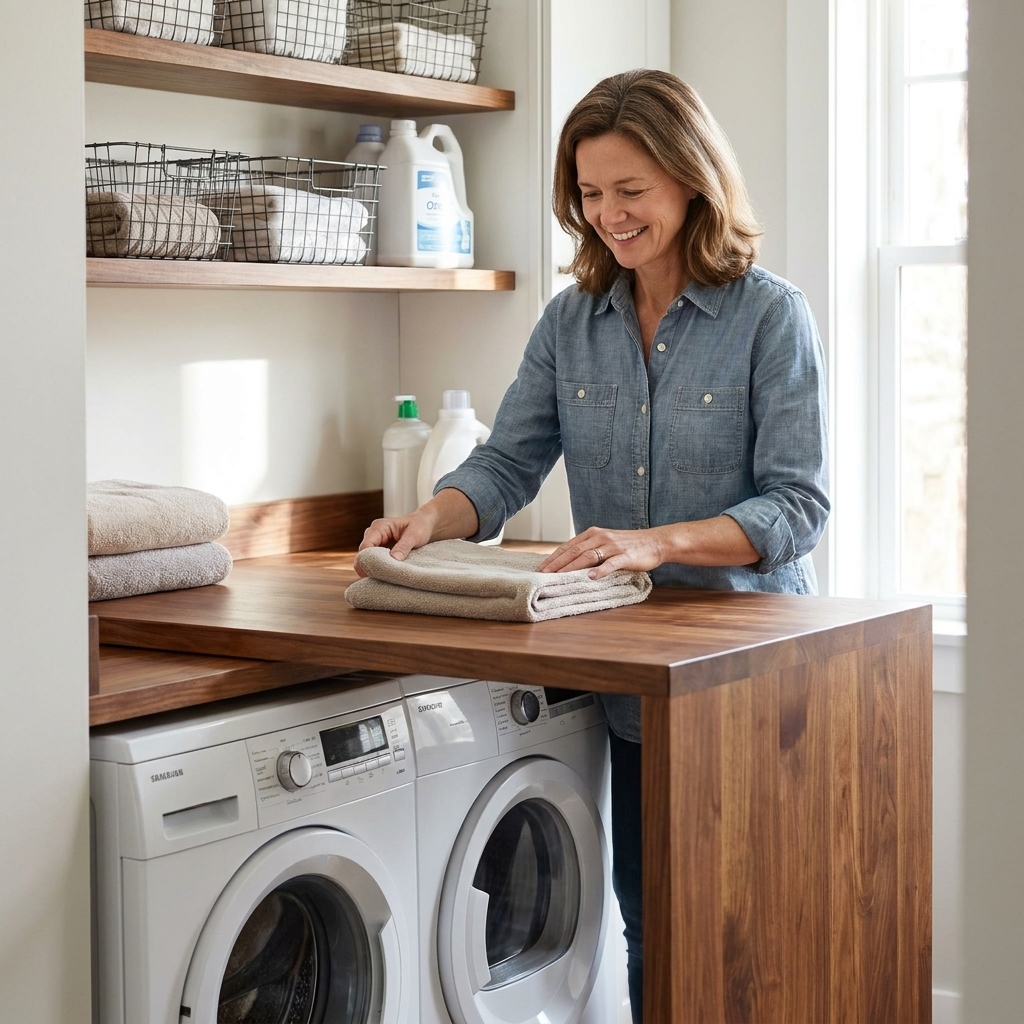
If you are building out an entire folding zone, you might also like my approach for creating a continuous counter surface in DIY Waterfall Countertop Folding Station Over Front Loaders.
Pedestal sizing
Target height
Most people like a pedestal height between 10 and 15 inches. I am 5'6" and love the 12-inch range because it saves my back without making the machine door feel too high for kids to help.
Width and depth
- Width: match the machine width, usually 27 inches, but measure yours.
- Depth: match the machine depth or go up to 1 inch shallower so the pedestal does not stick out and catch toes, and so you do not pinch hoses behind the machine.
- Service access: many front-loaders have a small lower-front filter or drain access door. Make sure your drawer face and handle do not block that area on your specific model.
Two pedestals vs one platform
I strongly prefer two separate pedestals. They are easier to level, easier to move, and you can pull one machine without disturbing the other. If you need a single platform for a seamless countertop look, build a center divider and additional bracing.
Materials and hardware
This is a build where I recommend buying the good hardware. Deep drawers full of detergent are heavy, and you want them to glide smoothly.
Lumber and sheet goods
- 2x4 lumber for the internal frame (straight as possible). Note: a “2x4” is actually about 1.5 by 3.5 inches.
- 3/4-inch plywood for the top and bottom deck
- 1/2-inch plywood for drawer boxes (3/4-inch is also fine, just heavier)
- 1/4-inch plywood for drawer bottoms (or 1/2-inch for very heavy loads)
- 1x2 or 1x3 (optional) for drawer faces or trim
Hardware
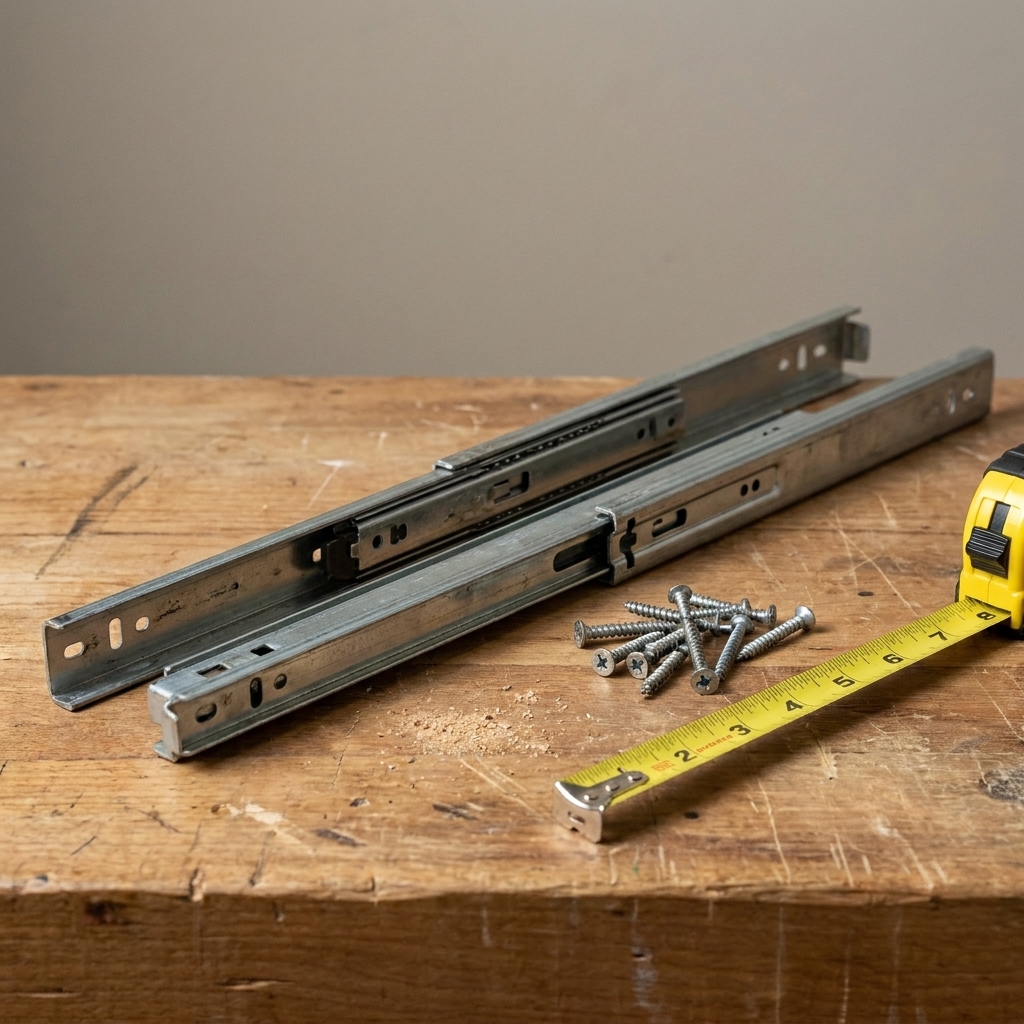
- Heavy-duty full-extension drawer slides, 100-pound rating minimum (I prefer 150-pound if you can find them). Note: slide ratings are typically per pair under ideal conditions, so do not assume you can overload one deep drawer with heavy liquids.
- 2 1/2-inch structural wood screws or construction screws for framing
- 1 1/4-inch wood screws for plywood attachment and drawer assembly
- Wood glue
- Corner braces (optional, but helpful if you are newer to building)
- Non-slip rubber mat or a vibration-damping layer for the top
- Shims for leveling
- Optional rubber feet (or composite shims) if you are on concrete and want to reduce moisture wicking
Tools
- Miter saw or circular saw
- Drill/driver and bits
- Kreg jig for pocket holes (optional but nice)
- Level
- Measuring tape and square
- Clamps (very helpful for drawer building)
- Sander
Build overview
A pedestal that lasts through years of spin cycles has three key features:
- A 2x4 frame that carries the vertical load straight to the floor.
- A fully supported plywood top so the machine weight is not resting on a thin edge.
- Anti-rack bracing (plywood skins and a divider) so the pedestal does not wobble when the washer vibrates.
Think of it like a tiny, overbuilt deck.
Step-by-step
These steps describe one pedestal. Repeat for the second machine.
1) Decide your final dimensions
Write down three numbers:
- Finished width: machine width (example: 27 inches)
- Finished depth: machine depth (example: 30 inches)
- Finished height: your comfort height (example: 12 inches)
Tip: If you want the drawer face to sit flush and pretty, plan toe clearance now. Even a 1-inch recess at the bottom front can save your toes.
2) Build the base frame
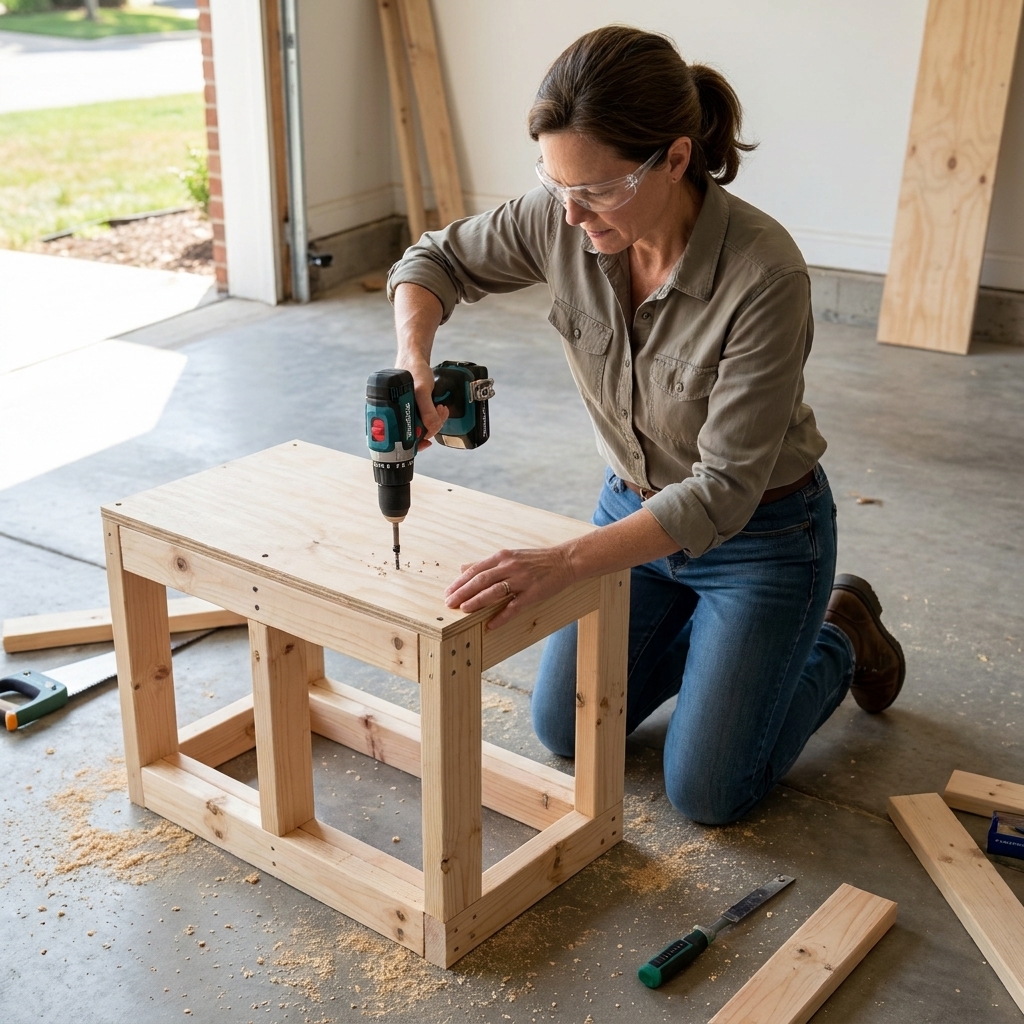
Build a 2x4 rectangle for the base. Decide first: are you building to an outside-to-outside size that matches your finished width and depth, or an inside opening size?
- If you want the base frame to match your finished outside dimensions, measure and assemble it so the outside edges end up at your target width and depth. When you cut pieces, remember 2x4s are 1.5 inches thick, so your cut lengths depend on whether you butt-joint the short sides into the long sides (or the opposite).
- Dry-fit the rectangle and measure corner-to-corner (diagonals) to confirm it is square before you drive all the screws.
Add cross braces: Install at least two internal 2x4 braces. This prevents sag and gives you something solid to attach drawer supports to.
3) Build the top frame
Make a second matching 2x4 rectangle for the top. This creates a rigid box when connected by vertical supports.
4) Add vertical supports
Cut vertical 2x4 supports to your desired pedestal height minus the thickness of the top plywood and bottom deck (if you are adding one).
- Example: 12-inch finished height minus 3/4-inch top minus 3/4-inch bottom equals 10 1/2-inch legs.
Install a support at each corner and at least one support centered on the front and back rails. More supports equal more stiffness, especially for a washer.
5) Add a divider or slide walls
If you are doing one wide drawer, a center divider is optional. If you are doing two narrower drawers, you will need a center divider. Either way, I like adding a vertical 3/4-inch plywood divider inside the frame because it fights racking and gives you a sturdy surface for slide mounting.
6) Attach the plywood top
Cut 3/4-inch plywood to your finished width and depth. Glue and screw it down to the 2x4 top frame.
Washer tip: Add a thin non-slip layer after finishing to reduce sliding and vibration transfer. Anti-vibration pads under each washer foot can also work well. Avoid anything too soft or squishy that lets the washer wobble.
7) Add the bottom deck
A 3/4-inch plywood bottom ties everything together and keeps stored items off the floor. Attach it to the base frame. If you want maximum toe comfort, you can set the bottom back a bit from the front edge.
Moisture note: If you are on concrete, seal the bottom edges well and consider small rubber feet or a thin air gap so the wood is not constantly wicking moisture.
8) Stiffen the box with plywood skins
If your laundry space hides the sides, adding 1/2-inch plywood to the sides and back makes the pedestal dramatically more rigid. Even one back panel can make a big difference.
9) Install slide supports
Drawer slides need something straight and solid. Add horizontal 2x4 or plywood strips inside the opening at the height where your drawer will sit. Use a level and measure from the top so both sides match perfectly.
10) Build the drawer box
Measure your drawer opening and follow your slide manufacturer clearance requirements (commonly 1/2-inch per side for many slides). Build a simple box:
- Sides: 1/2-inch plywood
- Front and back: 1/2-inch plywood
- Bottom: easiest option is 1/4-inch plywood glued and screwed under the box. A bottom set into a groove is a nice upgrade if you have the tools, but it is not required.
My busy-mom rule: Make the drawer a little sturdier than you think you need. Detergent, stain spray, and bulk packs of dryer sheets add up fast.
11) Mount the slides and test fit
Install the cabinet side of the slides in the pedestal first, then attach the drawer side to the drawer box. Slide it in, test for smooth movement, and adjust before you add the drawer face.
12) Add a drawer face and pull
You can use:
- A simple flat 3/4-inch plywood face (clean and modern)
- A trimmed face with 1x2 framing for a shaker look
Center it, clamp it in place, then screw from inside the drawer box. Add a sturdy handle. When your hands are full of laundry, you will appreciate an easy grip.
Serviceability reminder: Double-check that the drawer face and handle do not block any washer filter door or lower-front access panel on your model.
13) Finish and protect
Laundry rooms are humid. Prime and paint, or use a durable cabinet-grade enamel. If you stain, topcoat with a water-resistant polyurethane. Pay extra attention to sealing the bottom edges and corners. Let everything cure before you slide heavy machines on top.
Leveling and placement
Level the pedestal first
Set the pedestal in place and level it side-to-side and front-to-back. Use shims under the base if needed. This matters more than you think for washer vibration.
Move machines safely
- Unplug and shut off water (washer).
- Use an appliance dolly if you have one, and recruit help.
- Protect your floor with a thick drop cloth or hardboard path.
Leave hookup clearance
Before you call it done, push the machine back slowly and confirm hoses, cords, and vents are not kinked or crushed. A pedestal that is too deep can force the machine forward and create problems behind it.
Prevent sliding
Once the machine is on top, add a non-slip layer under the feet or a full rubber layer under the entire machine footprint. If your washer has adjustable feet, level the washer itself on top of the pedestal, too.
Do you need to anchor it?
Sometimes the machine weight plus a non-slip top is enough, but every setup is different and some manufacturers have strict rules about approved pedestals. If you have a very active washer or slick flooring, you can consider discreet wall brackets into studs only if they do not interfere with hookups, service access, or manufacturer guidance, and only if you are comfortable with the warranty implications.
Design options
Two drawers instead of one
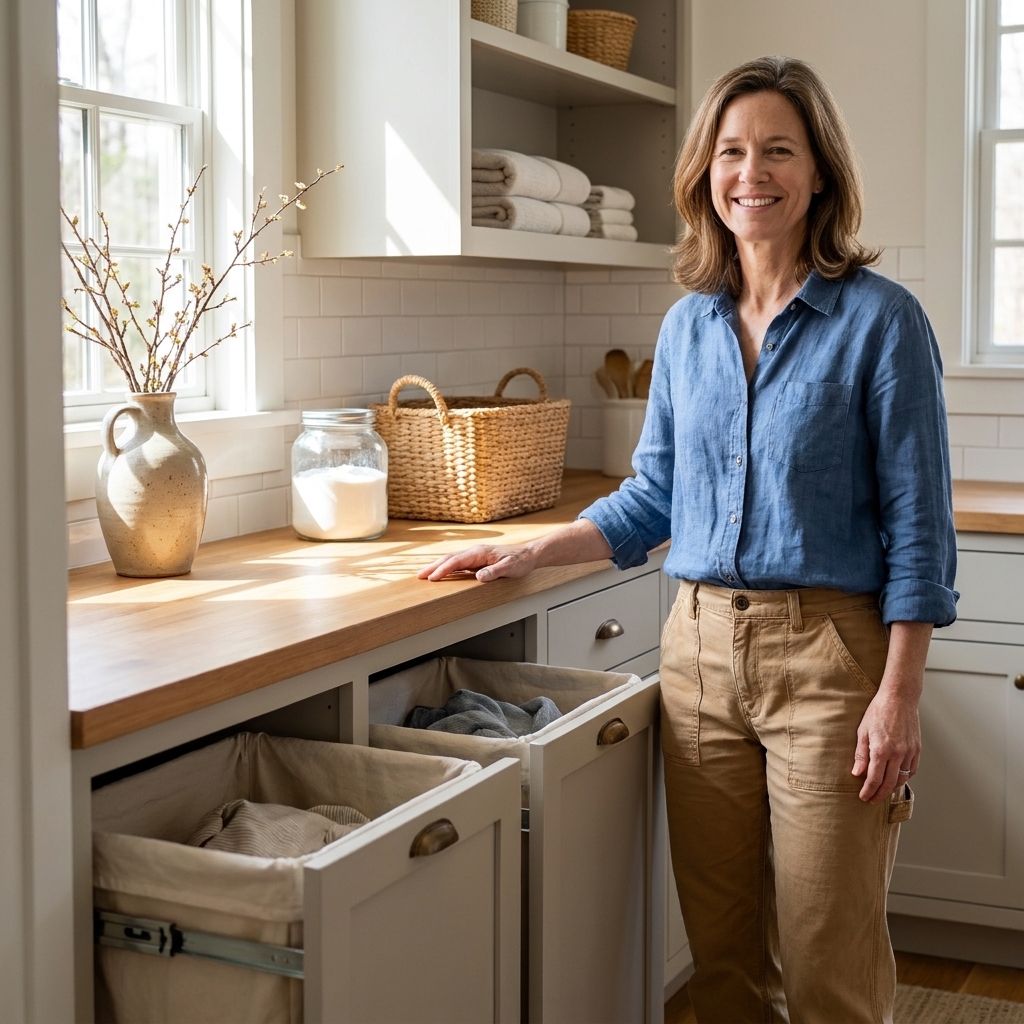
If you prefer lighter drawers, split the space into two. One can be kid laundry supplies, the other can be adult supplies. If you are building a family sorting station, my favorite maintainable system is in Built-In Laundry Sorting Hamper System for Families.
Add a toe kick
A recessed toe kick makes the pedestal feel built-in and saves your toes. It also hides shims if your floor is uneven.
Make the drawer basket-ready
Build the drawer deep enough to drop in two slim baskets. That way you can pull the drawer out, sort right inside it, and slide it closed without visual clutter.
Finish that matches your vibe
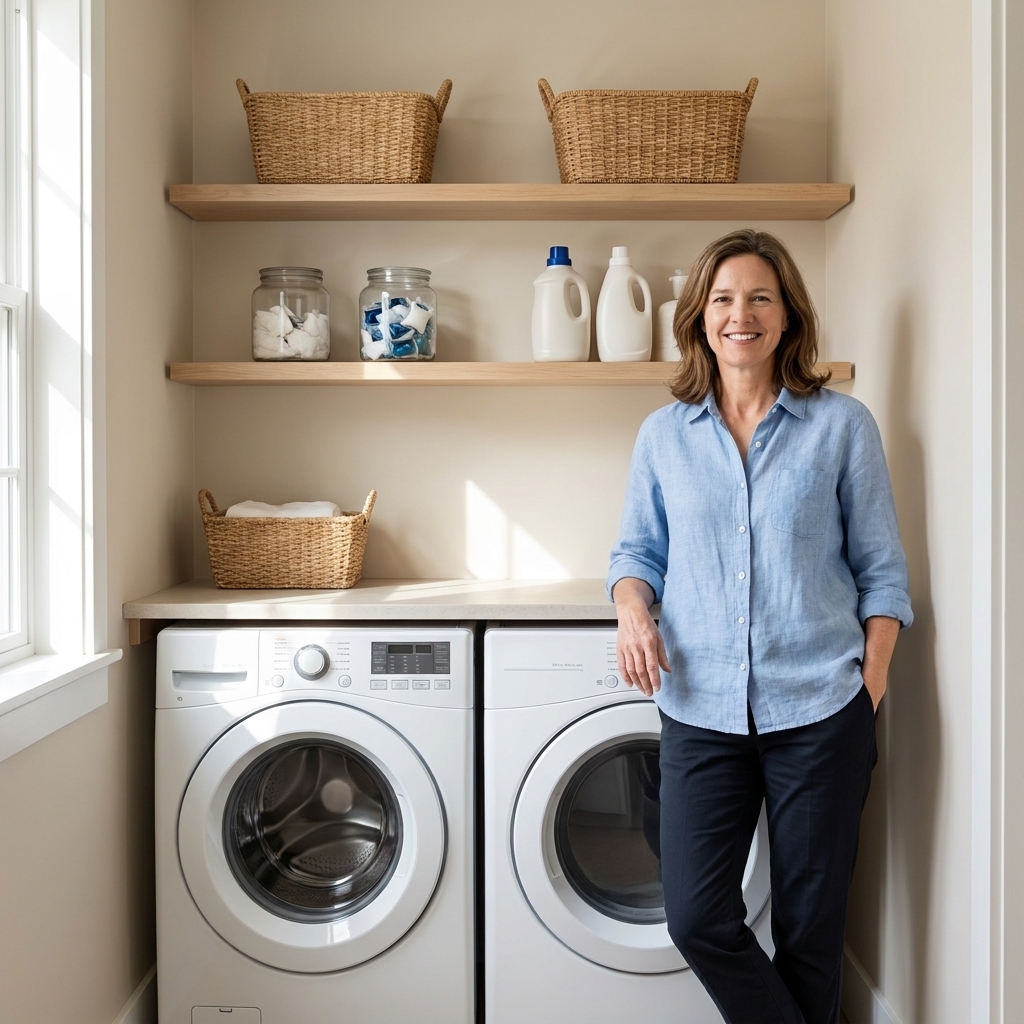
If your laundry room leans airy and minimal, you might like pairing pedestals with floating shelves. I broke down the pros and cons in Floating Shelves vs Wire Racks for Laundry Storage.
Common mistakes
- Building with only plywood boxes and no frame. Plywood is strong, but washers vibrate. A 2x4 frame makes it much more rigid.
- Skipping the level step. An unlevel pedestal can amplify movement.
- Using light-duty slides. Deep drawers with cleaning supplies need heavy-duty full-extension slides, and slide ratings are not magic. Distribute weight and do not overload one drawer with all liquids.
- Making the drawer too tall. Leave room above the drawer for slide hardware, and avoid rubbing when the frame flexes slightly.
- No non-slip layer on top. Add rubber. It is cheap insurance.
- Forgetting service access. Do not block washer filter doors, drain access, or lower-front panels with a drawer face or handle placement.
FAQ
How much weight can a DIY pedestal hold?
It depends on materials and build quality, but a properly framed 2x4 pedestal with a fully supported 3/4-inch plywood top can handle very heavy static loads. The bigger challenge is dynamic movement from a washer spinning. Overbuild for stiffness, add bracing, level carefully, and use a non-slip layer.
Can I put pedestals under a stacked washer and dryer?
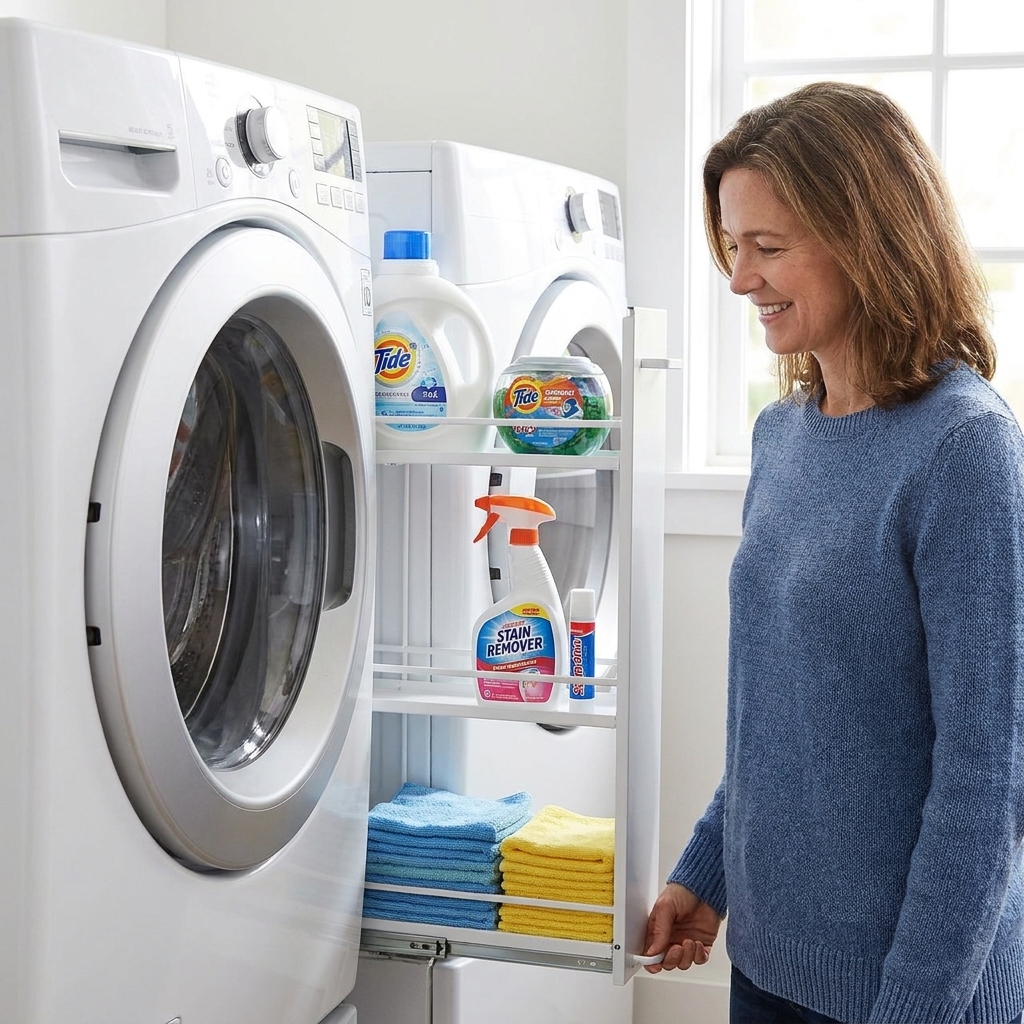
I do not recommend it for most DIY situations. Stacked units raise the center of gravity and movement forces. If you need more storage in a tight spot, you may get better results from wall solutions like How to Install a Space-Saving Fold-Down Wall Drying Rack or small-gap storage like Genius Storage for the Gap Between Washer and Dryer.
Should I build one long pedestal for both machines?
You can, but it is harder to level and harder to service one machine at a time. If you go that route, add a center wall divider and extra bracing so it cannot rack.
What is the best height if you want deep drawers?
Deep drawers are tempting, but do not build so tall that loading becomes annoying. For most people, a 12 to 15-inch pedestal is a sweet spot that still allows satisfying drawer depth.
My mom-of-three closing thoughts
When you are drowning in laundry, you do not need another tiny bin. You need your space to work harder. Pedestals are one of those rare DIYs that make the room feel calmer every single day because they remove the floor clutter and save your back at the same time.
If you build yours, take your time with the leveling and the bracing. A washer that spins smoothly on a rock-solid base feels like a tiny luxury, even if the drawer is full of mismatched socks.