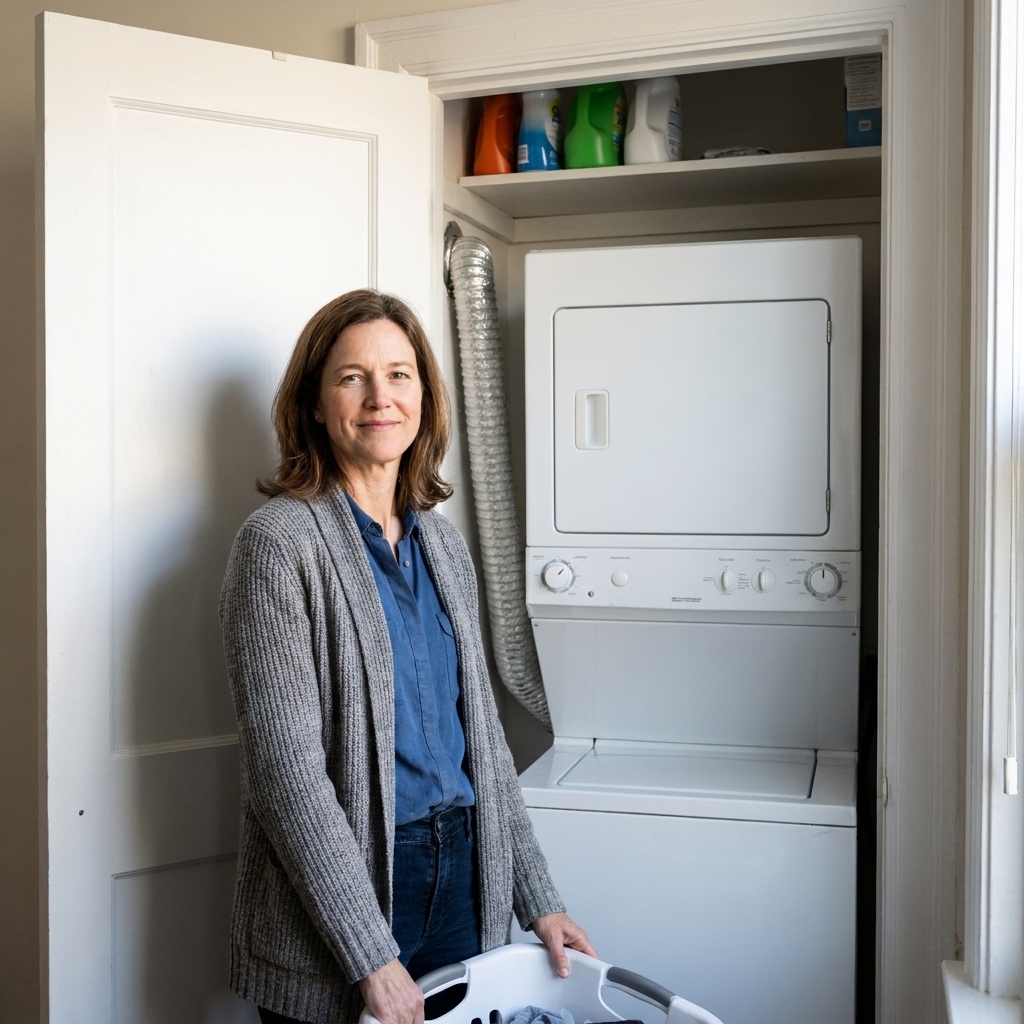
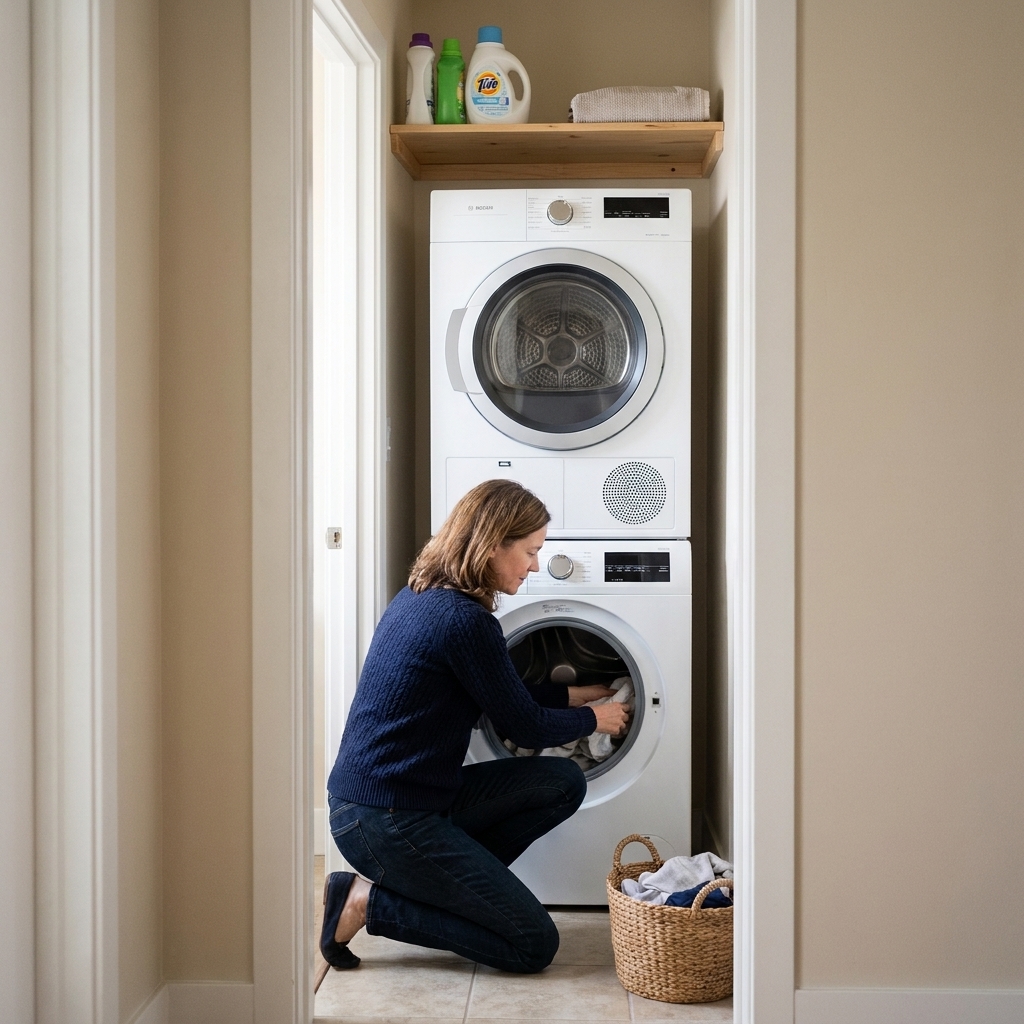
The fastest way I ever made my hallway laundry closet feel bigger was not a new shelf or a fancy basket. It was getting rid of the clunky doors.
Bi-folds that catch on baskets, sliders that never slide smoothly, doors that swing into your hip while you’re trying to pull out a damp hoodie. If that sounds like your setup, curtains can be a surprisingly polished, family-friendly swap. You get full access to your machines, you reclaim a few precious inches of hallway space, and you can soften that utilitarian look without spending renovation money.
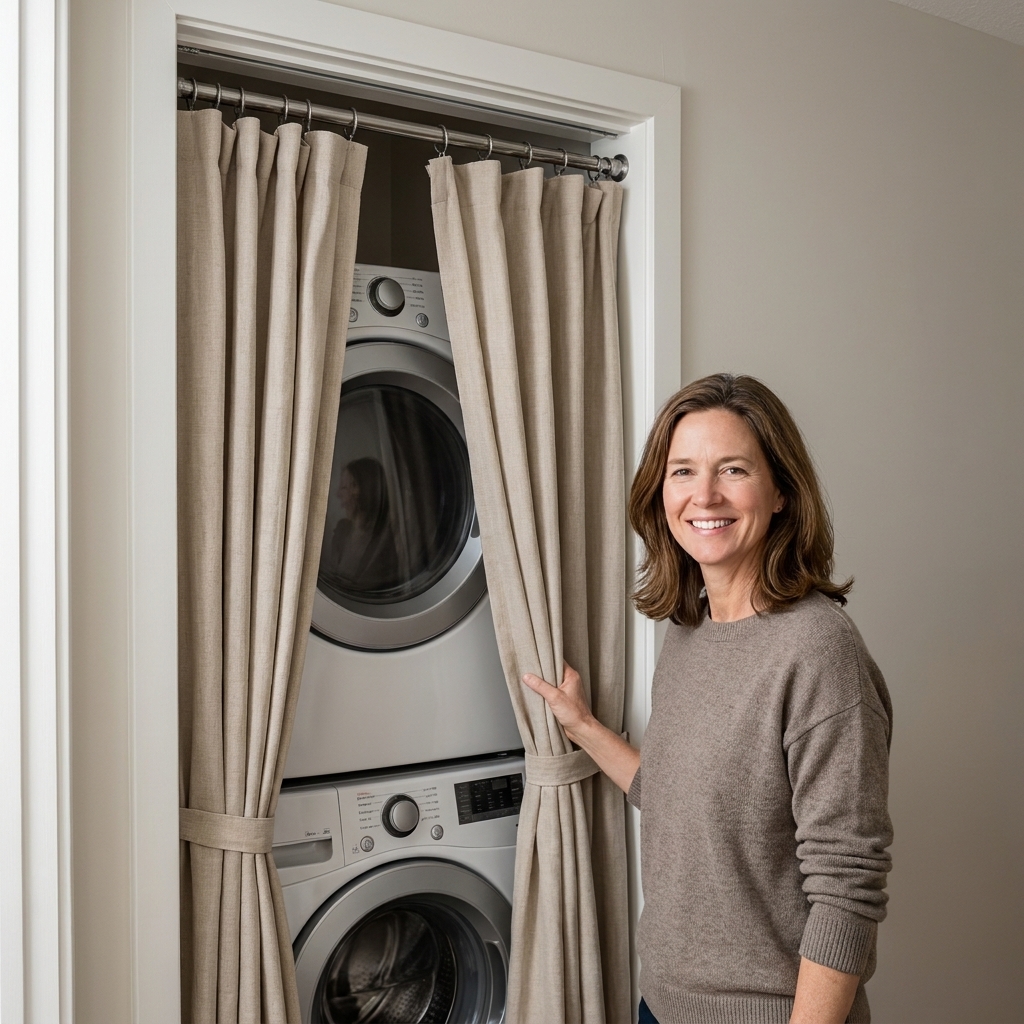
Why curtains beat doors
- Better appliance access: You can pull the washer out, reach shutoff valves, or clean the lint area without fighting door tracks and hinges.
- More hallway clearance: No swinging door edge and no bi-fold panels jutting into the walkway when open.
- Can be safer in some homes: Fewer pinched fingers from folding panels and fewer sharp corners at toddler-eye level. The tradeoff is that a rod and long panels introduce their own risks, so use a secure rod and keep hems off the floor.
- Typically less rattle: Many closet doors shake or buzz when the washer hits a spin cycle. Fabric might sway or flutter, but it usually will not buzz like loose tracks.
- Instant style upgrade: Curtains add warmth and color, especially in rental beige hallways.
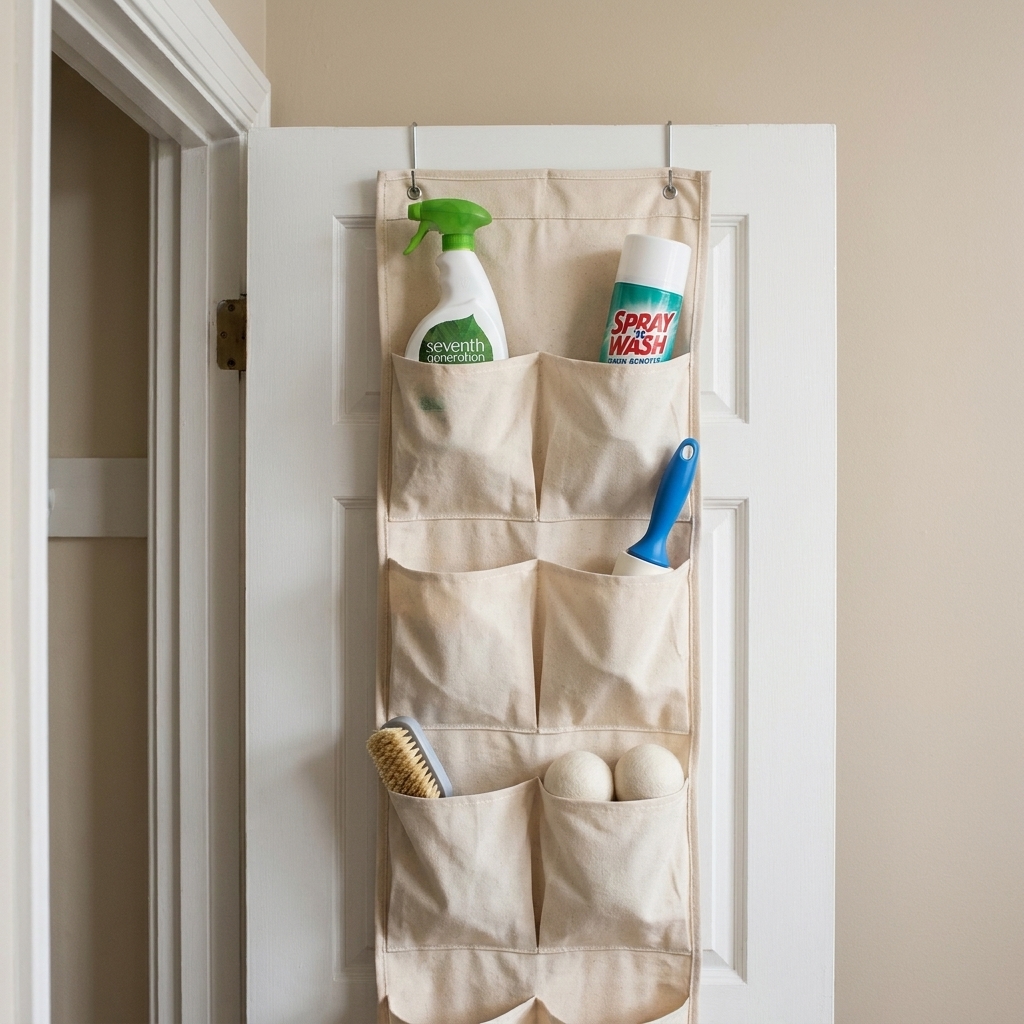
If your closet is already tight, this pairs beautifully with other space-savers like back-of-door storage ideas (you can mount them on the wall beside the opening instead) or a little re-think of the layout like stacked vs side-by-side if you are ever replacing appliances.
Quick checks first
1) Airflow and dryer safety
Curtains are fabric, and dryers move heat and air. You want the opening to breathe, not billow into the vent area.
- Maintain your appliance manufacturer’s required clearances around the dryer.
- Do not block the dryer’s intake or exhaust path, and keep fabric away from any hot surfaces.
- Confirm the vent is not kinked or crushed, and clean lint regularly (lint plus heat is not a combo you want).
- If your opening is extra tight, plan to hold the curtains fully back during drying.
If your setup is ultra-compact, do not skip this deep dive: Airflow and dryer vent clearance in ultra-compact laundry closets.
2) Shutoffs, panels, sprinklers
If your laundry closet shares space with a water shutoff, electrical panel, or a sprinkler head, your curtain needs to open fully and quickly. This is one reason I prefer a curtain that splits in the middle.
3) Renter-friendly or permanent
If you rent, a tension rod is your best friend. If you own and want the most durable option, a wall-mounted rod is worth the tiny bit of drilling.
What to buy
The rod
- Heavy-duty tension rod: Best for rentals and fast installs. Look for a model rated for more weight than you think you need, especially if kids might tug the curtain.
- Mounted curtain rod: Best for wide openings, heavy curtains, or daily hard use. This is the set it and forget it choice.
- Ceiling track: A sleek option if you want a clean line and easy glide, but it is more of a project.
I skip flimsy spring tension rods for laundry closets. They sag, they fall, and they make you hate the whole idea.
Curtains
- Durable and washable: Laundry closets collect lint, dust, and the occasional detergent drip. Machine-washable is non-negotiable in my house.
- Medium to heavyweight fabric: Light sheers can get pulled inward when the dryer runs or when someone brushes past. A thicker fabric or a lined panel hangs straighter.
- Two panels: Easier access and quicker vent checks than a single wide panel.
- Ring clips or grommets: Both slide easily. Ring clips also let you adjust the length without hemming.
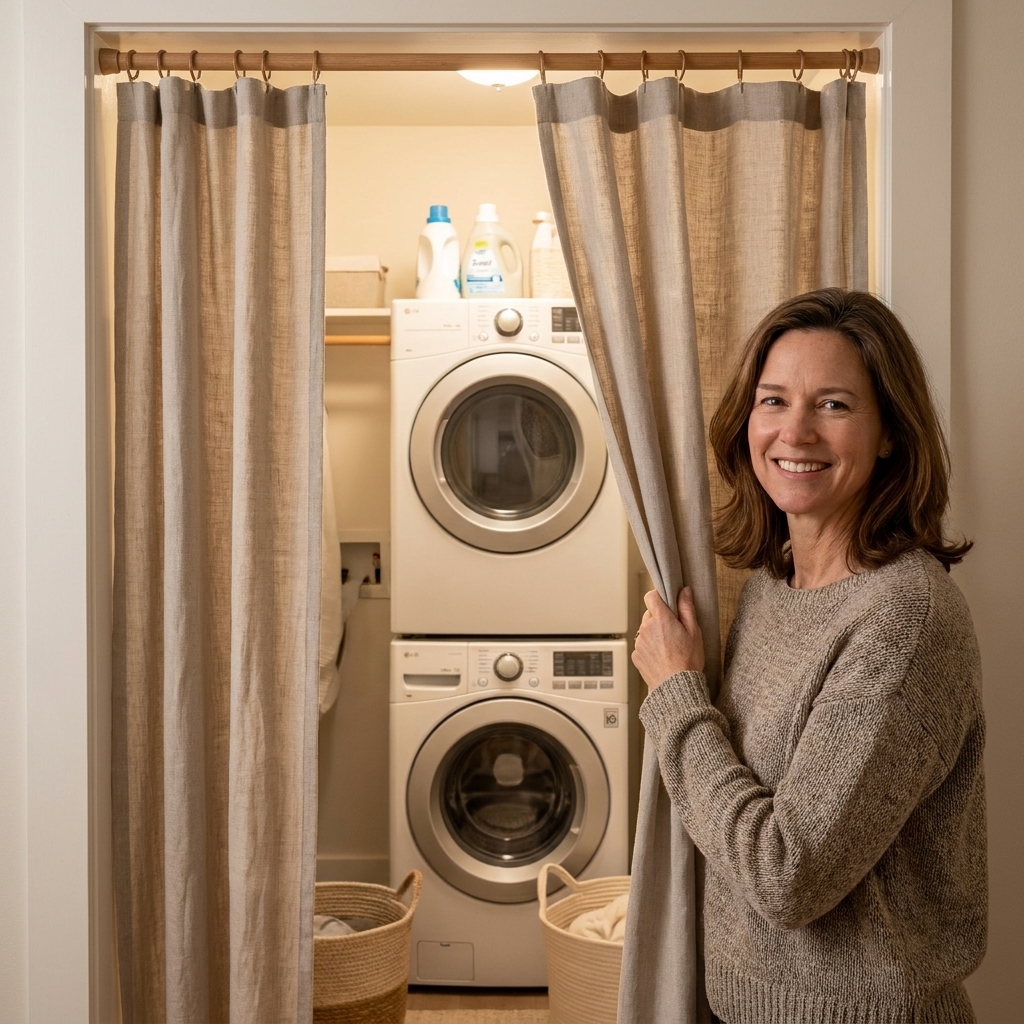
How to swap doors for curtains
Step 1: Remove doors and hardware
For bi-fold doors, you will usually remove the top and bottom pivots. Support the door, lift slightly, then tilt it out. For sliders, lift the door up into the top track, then angle the bottom out. Hardware styles vary, so take a photo before you remove anything so you can put it back later if you need to.
- Bag up every screw and bracket.
- Label the bag and store it on a high closet shelf or in your utility drawer.
This is my mom-of-three tip: future-you will be thrilled you kept the hardware together when you go to sell, rehang, or swap to a different solution.
Step 2: Patch and tidy
You do not have to repaint the whole hallway. A little spackle on track holes and a quick touch-up makes the curtain look intentional, not like a shortcut.
Step 3: Measure rod placement
Place the rod high enough that the curtain clears baskets and detergent bottles, and wide enough that the panels can stack mostly out of the way when open.
- Height: If you can, hang the rod about 2 to 4 inches above the opening for a cleaner look and straighter hang.
- Width: If you are mounting a rod, extend it about 3 to 6 inches past each side of the opening so the fabric can sit to the sides when open.
Step 4: Install the rod
- Tension rod: Twist to extend, compress into place, then tighten until it feels secure. Give it a firm tug test. If it slips even a little, re-seat it or upgrade the rod.
- Mounted rod: Use a level, hit studs if you can, and use appropriate anchors if you cannot.
Step 5: Hang curtains and set the default
Decide how your family will actually use it. In my home, curtains live mostly open. We only close them when guests are over or when the laundry pile is being particularly loud about existing.
If you want them open by default, add simple tiebacks, magnetic holdbacks, or a discreet hook on each side wall.
Make it look finished
Choose length on purpose
- Skimming the baseboard: My favorite practical choice for laundry areas. It looks tailored and stays out of the lint zone.
- Just above the floor: Looks custom, but make sure it will not drag into dust bunnies.
- Shorter cafe length: Works if you have lower cabinets or if the machines sit deep and you only need the top covered, but it reads more casual.
Prevent gaps and drifting
- Stop the center gap: Use two panels with a little overlap in the middle so the closet is covered even if someone yanks one side.
- Keep panels from wandering: Heavier fabric helps. You can also add simple tiebacks or holdbacks so curtains stay parked to the sides during use.
- Make it kid-friendly: Skip extra-long hems, keep tiebacks out of little hands, and make sure your rod choice is truly secure.
Color tricks for small hallways
- Match wall color: Makes the opening visually disappear.
- Go one shade darker: Hides scuffs and feels cozy.
- Add a subtle pattern: Great for distracting from mismatched machines or exposed plumbing.
Upgrade the lighting
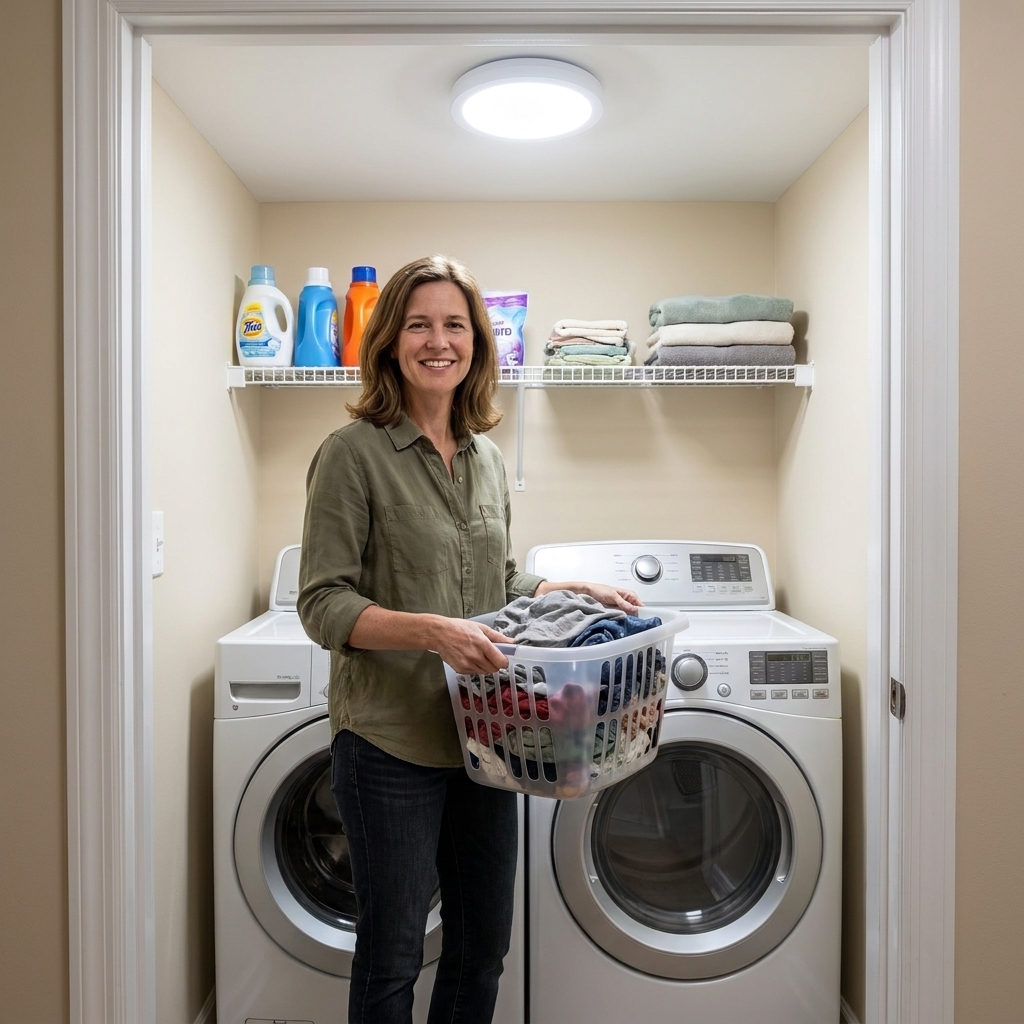
Once doors are gone, you notice shadows more. If your closet is dark, a quick lighting improvement makes the whole curtain swap feel more mini makeover than quick fix. This guide is packed with renter-friendly ideas: Lighting upgrades for dark laundry closets.
Add-ons that help
Add a slim folding surface
If removing doors gives you the motivation to truly use the closet well, a folding station is the next step. I am a big fan of a sturdy counter over front-loaders: DIY waterfall countertop folding station over front-loaders.
Control the clutter inside
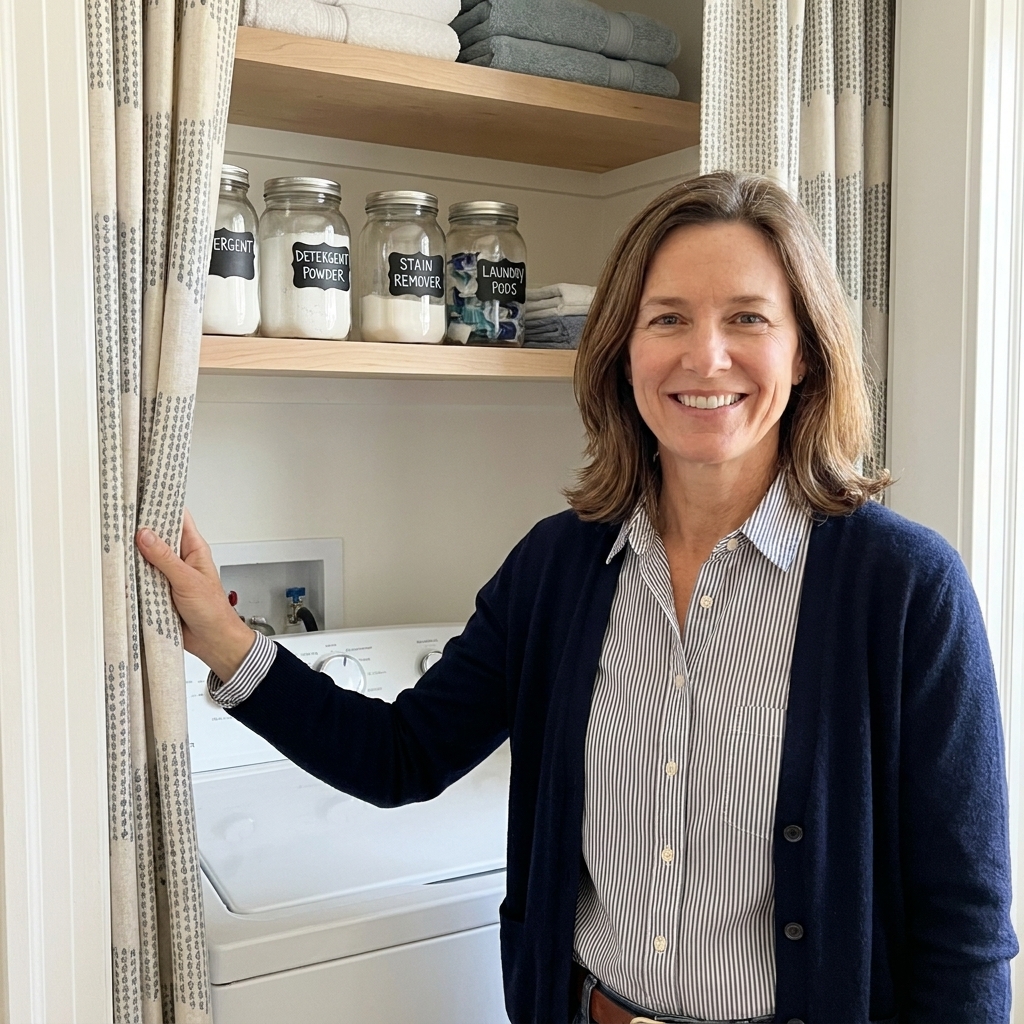
Curtains hide the machines, but they also hide chaos. If you want that calm look when the panels are open, spend one afternoon decanting and grouping supplies:
Common questions
Will a tension rod hold up long-term?
A truly heavy-duty tension rod can last for years if the opening is solid and the rod is sized correctly. If your walls are uneven, the opening is extra wide, or your kids like to play hide and seek: laundry edition, a mounted rod is the safer bet.
Do curtains trap moisture or smells?
Not if your laundry area is ventilated properly and you are not sealing damp air inside all day. Run your exhaust fan if you have one, wipe up spills, and leave curtains open after you move a steamy load from washer to dryer.
What about noise?
Curtains can slightly soften noise, especially with thicker fabric, but they will not soundproof a spin cycle. If your doors currently rattle, though, curtains are usually quieter.
Is this safe with a dryer?
It can be, as long as you maintain proper venting and manufacturer-required clearances, and keep fabric from pressing against hot surfaces or airflow paths. If your dryer area is extremely tight, hold curtains open during drying or use a mounted rod that lets panels stack farther to the sides. This article will help you sanity-check the setup: Airflow and dryer vent clearance in ultra-compact laundry closets.
How often do you wash the curtains?
In a linty laundry zone, I like a quick wash every month or two, or anytime they start looking dusty near the hem. If they are not getting touched much, quarterly is fine. A quick vacuum along the bottom edge helps in between washes.
Can I do this without making holes?
Yes. That is why tension rods are so popular for hallway laundry closets. They are quick, removable, and surprisingly strong when you choose the right one.
My favorite part
It is the moment you do laundry the next day and realize you are not doing that sideways shuffle anymore. No dodging door corners. No tugging at stuck tracks. Just open fabric, full access, and suddenly your tiny laundry closet feels like it is cooperating with your life instead of fighting it.
If you are craving more small-space laundry wins, you will love maximizing storage in a tiny bi-fold laundry closet and the budget ideas in 15 dollar-store organization hacks for a budget laundry makeover.