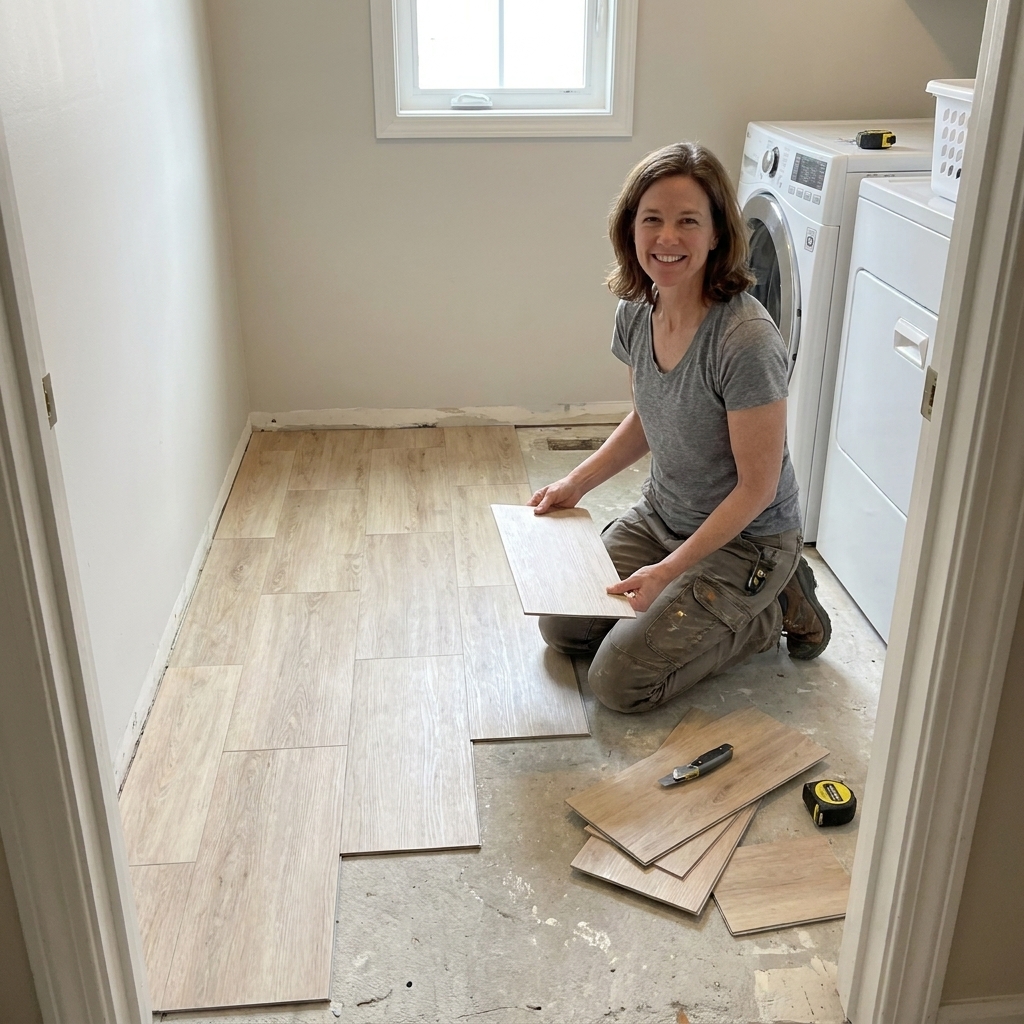
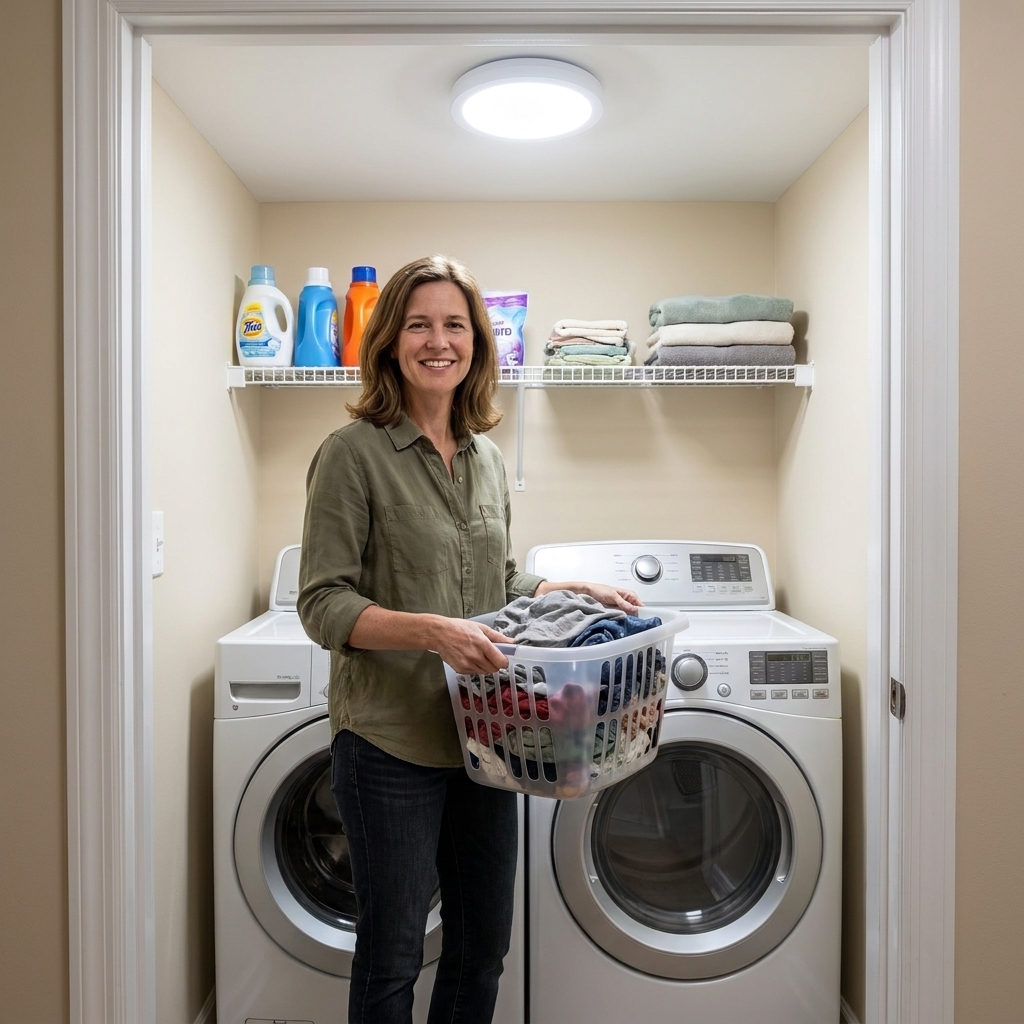
My laundry counter used to be that sad, stained laminate strip that made the whole space feel permanently grimy, even when everything was clean. With three kids, a mountain of detergent bottles, and the occasional forgotten marker incident, I was not looking to baby a countertop. I just wanted it to look good, wipe clean easily, and not cost a fortune.
Enter heavy-duty faux-stone contact paper. When it is measured carefully, applied slowly, and sealed in the right places, it can turn a tired laundry countertop into something that looks shockingly close to a real upgrade. This is the exact method I use when I want a high-end look without committing to a full countertop replacement.
Is contact paper worth it?
For a laundry space, I am a big yes on this project, with a few realistic expectations.
- Best for: folding counters, over-the-washer counters, utility-room worktops, and any laminate surface that is stained but still structurally solid.
- Not ideal for: countertops that sit wet all day, areas with lots of standing water, or damaged laminate that is swollen and crumbling.
- How long it lasts: with good prep and edge sealing, it can look great for years in a hardworking laundry room, especially in drier zones. If your counter gets constant splashes, harsh cleaners, or lots of heat, expect a shorter life.
Quick heat note: If your counter sits right next to a dryer, keep the vinyl away from any hot surfaces and airflow that runs warm. I would not wrap contact paper onto anything that gets hot to the touch.
If your laundry counter is part of a bigger budget refresh, this pairs beautifully with a few other upgrades like painting builder-grade laundry cabinets or lighting upgrades for dark laundry closets.
What to buy
Materials
- Heavy-duty contact paper in a faux-stone or faux-marble pattern (choose a thicker vinyl, not the super thin drawer-liner type).
- Degreasing cleaner or hot water with dish soap.
- Isopropyl alcohol (optional, but great for a final wipe-down).
- Edge sealer (choose one): clear silicone caulk (kitchen and bath), or a clear water-based polyurethane for specific setups where you have tested compatibility first.
Tools
- Measuring tape
- Scissors (for rough cuts)
- Sharp utility knife with extra blades
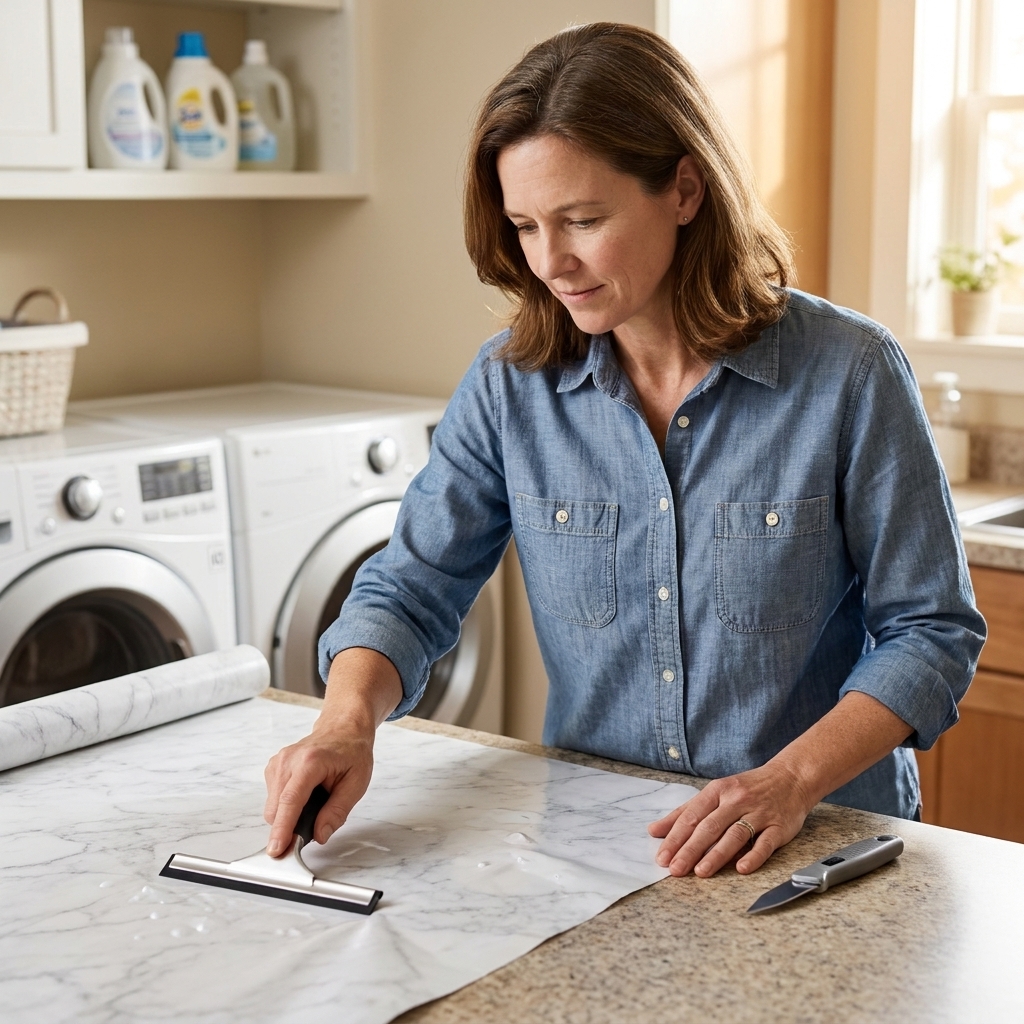
- Squeegee or old gift card wrapped in a soft cloth
- Straightedge or metal ruler
- Cutting mat or scrap cardboard to protect floors
- Hair dryer or heat gun on low (for corners and edges)
Safety note: Use low heat and keep it moving so you do not scorch or warp the vinyl. And always cut away from your hands when trimming.
Skip: anything marketed as “permanent” spray adhesive. You do not need it, it turns repositioning into a nightmare, and it can telegraph lumps through faux-stone patterns.
Measure carefully
This is the part that decides whether your counter looks custom or looks like a rushed craft project.
Step 1: Measure the top
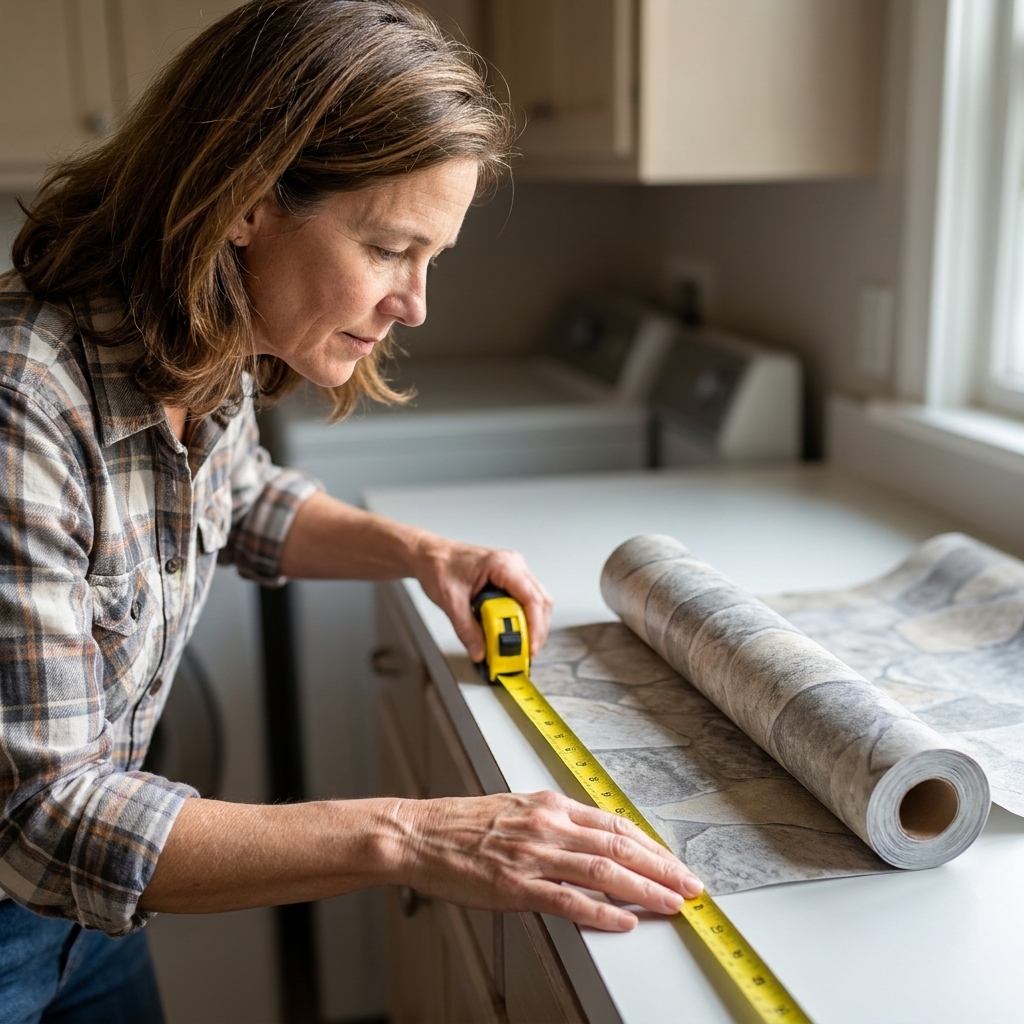
- Measure the length and depth of the countertop.
- Add 1 to 2 inches of overhang on all exposed sides. You will trim it perfectly after it is down.
Step 2: Plan seams
If your counter is longer than the roll is wide, you will need a seam. In a laundry room, I try to hide seams where your eye naturally ignores them:
- Along the back edge against a wall
- Under a shelf shadow line
- Near the far end of the counter where you store bins
Pattern tip: with marble or stone prints, buy a little extra so you can line up the veining. A mismatched seam is the first thing the eye catches.
Step 3: Wrap the front edge or not
If your laminate edge is chipped or stained, wrapping is worth the effort. If the edge is hidden by a lip or trim, you may choose a clean top-only application and seal the perimeter.
Prep so it sticks
Contact paper loves clean, dry, smooth surfaces. Laundry rooms are sneaky because detergent residue can leave an invisible film that messes with adhesion.
- Clear the counter completely and remove anything attached (little command hooks, adhesive bumpers, and so on).
- Wash with a degreaser or hot water with dish soap, then rinse.
- Dry fully and give it 10 minutes to air out.
- Final wipe with a little isopropyl alcohol on a cloth to remove any leftover residue (especially near where detergent bottles sit).
- Lightly sand only if needed: if the laminate has a super glossy, slippery finish, a very light scuff with fine sandpaper can help. Wipe dust thoroughly after.
If your laminate has chips or deep gouges, fill them first and let the filler cure completely. Contact paper will not hide craters. It highlights them.
Apply without bubbles
This is the method that keeps me sane: slow backing removal, constant smoothing, and trimming last.
Step 1: Cut oversized
Cut the contact paper to your measured size plus your extra overhang. Keep it rolled loosely until you are ready so it does not crease.
Step 2: Start straight
Peel back only 2 to 4 inches of the backing paper along one short edge. Fold the backing under so you can hold it while you place the sheet.
Step 3: Tack and smooth
- Line up the sheet so it overhangs evenly.
- Stick down just that first exposed strip.
- Use a squeegee or wrapped card to smooth from the center outward.
- Slowly pull the backing away with one hand while smoothing with the other.
Bubble rescue: If you trap air, lift the sheet back up to that spot and re-smooth. For stubborn tiny bubbles, a pinprick can help, but lifting and re-laying looks cleaner when possible.
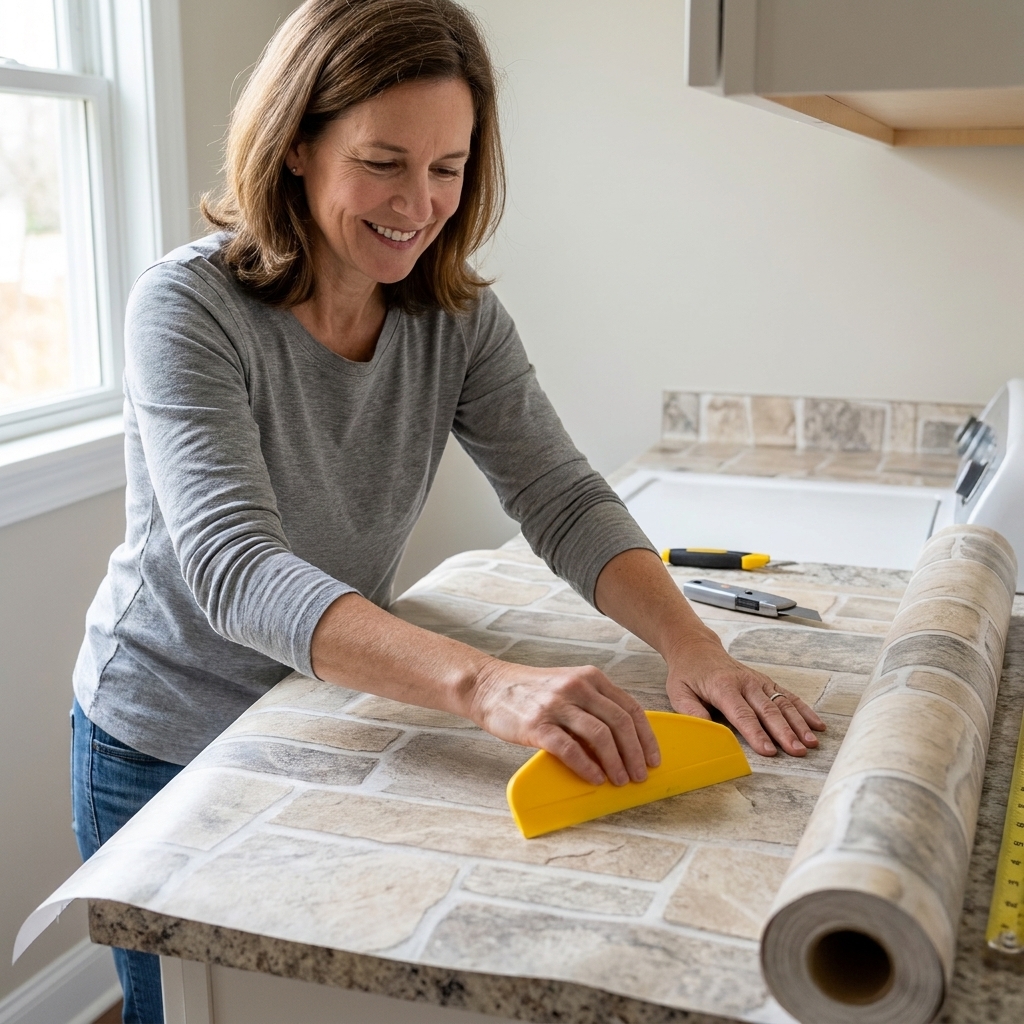
Wrap edges and corners
Edges are where contact paper projects usually look homemade. A little patience here pays off big.
Front edge wrap
- Smooth the top surface first.
- Use a hair dryer on low to warm the vinyl along the front edge.
- Pull the vinyl gently over the edge and press it firmly underneath.
- Trim underneath, leaving about 1/4 inch to wrap under if there is room.
Corners
For outside corners, I prefer a neat “hospital corner” style finish, meaning you fold the excess into a tidy flap before trimming so the top corner stays crisp.
- Warm the vinyl slightly.
- Press it over the edge.
- Make a single small relief cut where the vinyl needs to overlap (less cutting is better).
- Wrap one side, then the other, keeping the top corner sharp.
Rule: Always change to a fresh blade before trimming corners. A dull blade snags and tears, especially on thicker heavy-duty films.
Trim for a clean edge
Once everything is fully smoothed and wrapped, trim.
- Run your straightedge along the edge you want.
- Use light pressure and multiple passes rather than trying to slice through in one go.
- Angle your blade slightly away from the countertop for a cleaner top line.
When the trim line is right, press all edges firmly again, especially around the sink area if you have one. This is where lifting starts first.
Seal for real life
Sealing is what takes this from “pretty for a week” to “still looks good after countless loads.” The goal is to keep moisture and grime from creeping under the edges.
Where to seal
- Along the backsplash seam (where countertop meets wall)
- Around a sink cutout if your laundry counter includes a sink
- Along the front and side edges that get regular wiping
Option A: Clear silicone (best near water)
If your counter sits next to a laundry sink or you regularly wipe it down with a wet cloth, silicone is your friend, but it is also a commitment.
- Make sure the surface is fully clean and dry. Silicone will not bond well over dusty or soapy residue.
- Apply a very thin bead along the seam.
- Smooth with a damp finger or caulk tool.
- Let it cure fully before heavy use (follow your product’s cure time).
One more thing: Silicone can make later replacement harder. When you peel the vinyl up later, the silicone can grab and tear it at the edge. I still use it in wet zones because it is reliable, but I do it knowing I am choosing durability now over easy removal later.
Option B: Water-based polyurethane (test first)
If you want extra scuff resistance on the top surface of a folding counter, a clear water-based poly can work over some vinyl films, but it is not universally compatible. Many peel-and-stick manufacturers do not recommend topcoats, and some combinations can bead up, stay tacky, or peel.
- Test on a small leftover piece of contact paper and let it cure fully.
- If it dries hard and clear and does not scratch off, apply very thin coats with a foam brush.
- Keep coats light to avoid pooling along seams.
My honest take: In most laundry rooms, sealing edges and wet zones matters more than coating the entire top. The fewer layers you add, the fewer chances you have for peeling later.
Fix common problems
Lifting at the edge
- Warm the area with a hair dryer on low.
- Press down firmly with a cloth-wrapped card.
- Seal the edge with a thin line of clear silicone if it keeps happening.
Wrinkles near a corner
- Gently lift back to before the wrinkle.
- Warm slightly, then re-wrap with tension.
- If it is too stretched, patching is possible, but it is usually cleaner to redo that section if you can.
Stuck crooked
If you catch it early, lift slowly at a low angle and re-lay. Thicker heavy-duty papers tolerate repositioning better than thin ones. If your laminate is super grippy, warming the vinyl first can help it release without tearing.
Visible seam
For stone patterns, a tiny overlap seam often looks better than a butt seam because the pattern stays more continuous. If you overlap, keep it consistent and place it where water and scrubbing are minimal.
Keep it looking good
- Wipe with a soft cloth and mild soap.
- Avoid abrasive powders and scrub pads. They can dull the print.
- Avoid acetone and solvent cleaners. They can soften or damage vinyl.
- Use a tray under bleach, stain remover, and peroxide products. Those bottles love to drip at the worst times.
If you are on a full budget makeover kick, I also love combining this countertop refresh with decanting and organizing laundry supplies so the counter stays calmer and easier to wipe down.
FAQ
Will contact paper stick to laminate?
Yes, as long as the laminate is clean, dry, and not flaking. Degreasing and a careful application make the biggest difference.
Can I use this on an over-the-washer folding counter?
Absolutely. It is one of my favorite places to use it because the counter is mostly dry, and the visual payoff is huge. If you are building a counter from scratch, you might also like DIY waterfall countertop folding station over front loaders.
How do I handle a laundry sink cutout?
Apply the sheet over the opening, then cut an X from corner to corner and trim gradually, leaving enough to wrap down into the cutout. Seal that edge with clear silicone. Water will find any gap you leave. If your sink rim area stays wet often or you get frequent standing water, expect the vinyl to wear faster even with sealing.
What if my laminate is swollen from water damage?
If it is swollen, soft, or crumbling, contact paper is a temporary cosmetic fix at best. You will get better results repairing or replacing the substrate first.
A small upgrade that changes everything
When my counter stopped looking stained and tired, the entire laundry nook felt cleaner and more intentional. It is one of those surprisingly powerful little upgrades, especially in a small space where your eye lands on the countertop constantly.
If you are building a laundry room glow-up on a tight budget, this project is right up there with paint and better lighting for maximum impact with minimal spending. For more ideas, browse the rest of my favorite Budget Makeovers on The Fold Nook.