There are a few things in a laundry room that can quietly drain your motivation, and for me, an old, yellowed sheet of linoleum is right at the top. I lived with one for years, telling myself it was “fine” because it was clean. But every time I walked in, it made the whole space feel dingy, even after I painted and organized.
If you are working with a small laundry room or a laundry closet, peel-and-stick vinyl tiles can be the sweet spot between “I cannot stare at this floor one more day” and “I am not hiring this out.” The key is prep. The tiles are only as good as the surface underneath.
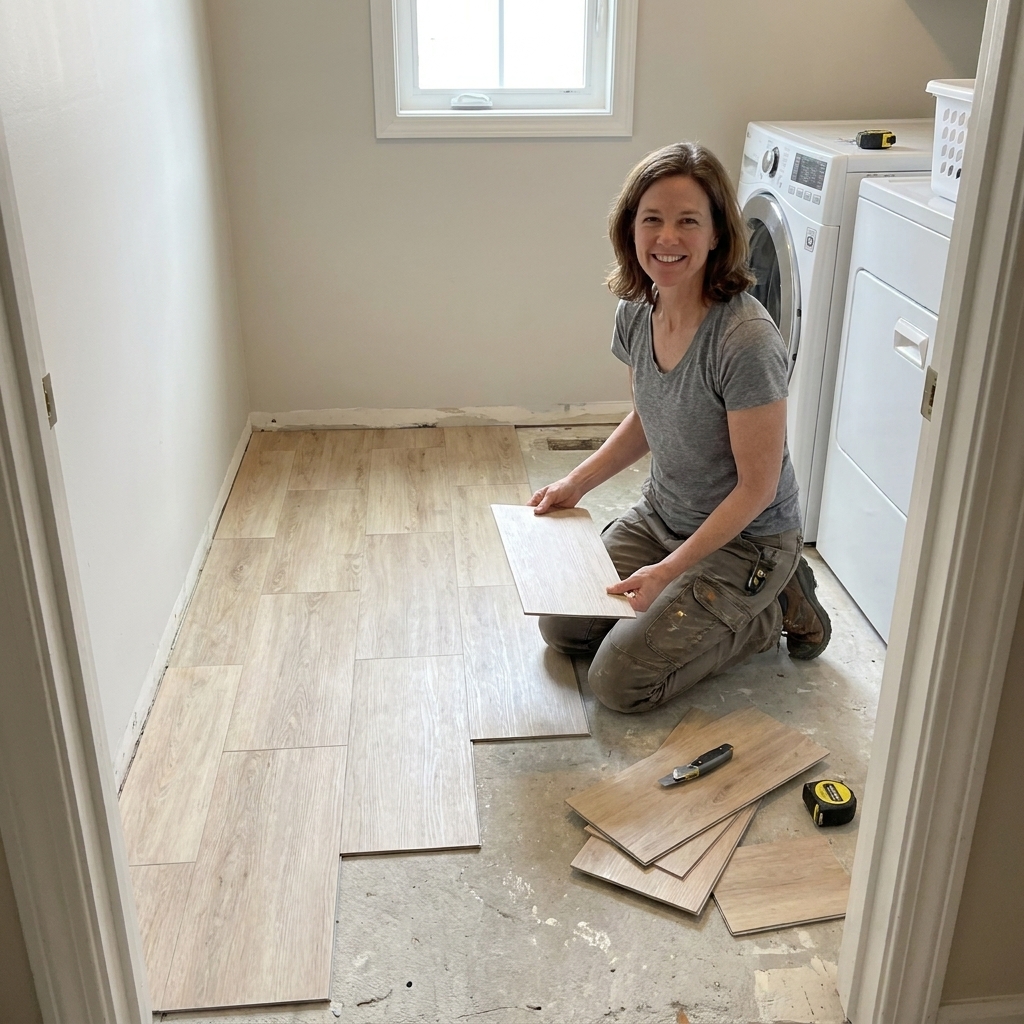
Before you start
A few quick reality checks before you open the first box. This is the stuff that saves you from doing the job twice.
- If your home is older, be careful with old floors. Some older sheet vinyl, linoleum, and adhesives can contain asbestos. Do not sand, grind, or rip up questionable flooring just to “see what is under there.” If you suspect age or you are not sure what you have, pause and get it tested or follow local guidance before you disturb it.
- Chronically damp rooms are a bad match. Peel-and-stick is not a great choice if you have recurring leaks, frequent overflows, or a floor that stays humid and clammy. Fix moisture issues first.
- Follow the box instructions. Manufacturer specs on subfloor type, acclimation time, and temperature and humidity ranges matter. Adhesive is picky.
- Think about thickness. Peel-and-stick adds height. Check door swing and thresholds so you do not end up with a door that scrapes.
When peel-and-stick makes sense
Peel-and-stick tiles work best when your laundry room is:
- Dry and stable, with no active leaks from the washer, sink, or supply lines
- Mostly flat, meaning no deep embossing, curling edges, or spongy spots in the existing floor
- Low to moderate traffic, which is true for many dedicated laundry rooms (less true if yours is a pass-through to a garage or mudroom)
- Not a floor you plan to flood-mop, since standing water is always the enemy
If your linoleum is peeling, soft, or cracked through, you can still use peel-and-stick, but you will need more prep to create a smooth base. If the floor has cushion, bounce, or movement, peel-and-stick usually fails faster.
Materials and tools I actually use
- Peel-and-stick vinyl tiles (buy 10 to 15 percent extra for cuts and mistakes)
- A cleaner that is compatible with vinyl and leaves no residue (avoid oily or soap-heavy cleaners that can interfere with adhesion)
- Warm water, microfiber rags, sponge, and mop
- Putty knife or scraper
- Floor patch or feather finish rated for vinyl flooring (for divots, seams, or damaged spots)
- Sandpaper (80 to 120 grit) or sanding block
- Vacuum
- Tape measure, pencil, chalk line (optional but helpful)
- Utility knife with fresh blades, metal straightedge
- Hand roller or rolling pin (a small floor roller is even better)
- Painter’s tape (for temporary layout)
Nice-to-have: quarter round or shoe molding if your baseboards do not reach the new tile edge cleanly, plus caulk for a neat finish.
One more thing I do now: I bring the tiles into the room and let them sit flat for about 24 hours so they can acclimate to the space. Cold tile and cold adhesive is how corners lift later.
Step 1: Move things out in halves
You do not have to disconnect everything if you plan it in halves.
- Washer and dryer: Slide them out so you can tile under their footprint (the area they sit on). In tight rooms, I tile one side at a time, then shift the machines onto the finished section and do the other side. If you move them fully, protect hoses and vents and do not kink anything.
- Shelving carts and hampers: Pull them out so you can clean and lay out properly.
If you need help building storage after the floor is done, this is a good moment to bookmark these dollar store organization hacks for finishing touches.
Step 2: Clean like adhesion depends on it
Laundry rooms collect an invisible film of detergent, fabric softener overspray, and dust. Tile adhesive hates that.
My no-shortcuts cleaning routine
- Sweep and vacuum, including corners and along the wall edge.
- Clean the floor with a vinyl-safe product that cuts residue. Scrub especially around the washer, dryer, and any spot where you pour detergent.
- Rinse with clean water. This matters, because cleaner residue can also mess with adhesion.
- Let it dry completely. I give it a few hours minimum, overnight if the room is humid.
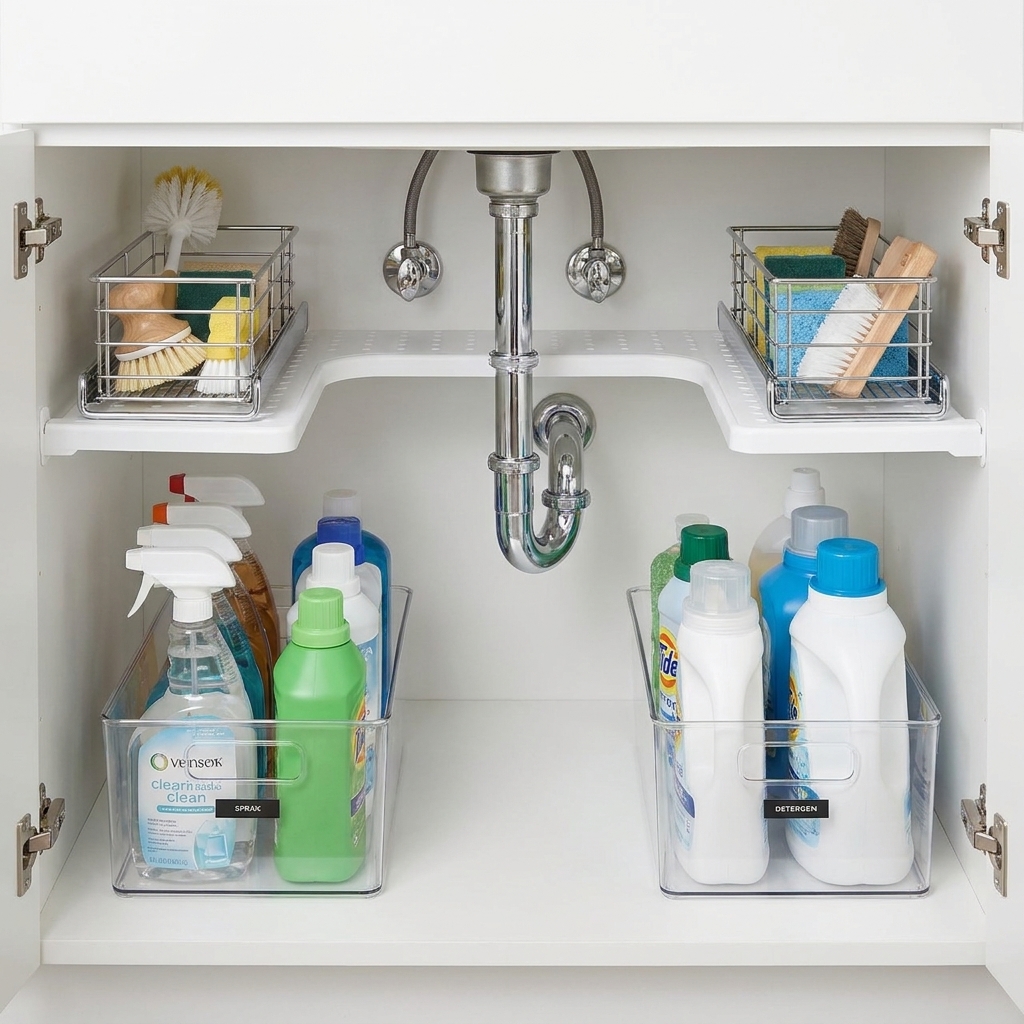
If you have a utility sink, now is also the time to pull things out and wipe down that whole area. Future you will be grateful. I have a full guide to the chaos zone here: organizing under your laundry utility sink.
Step 3: Smooth the floor first
Peel-and-stick tiles telegraph bumps. Tiny crumbs, old paint drips, or a raised seam can show through after a few weeks.
What to fix before you start
- Curling linoleum edges: Re-adhere them if possible, or cut away loose sections and patch flush.
- Deep scratches and divots: Fill with a floor patch or feather finish rated for vinyl, then feather the edges.
- Raised seams or texture: Lightly sand high spots, then vacuum.
Let patch products fully cure, then sand them smooth if needed. Do not rush this. Soft patch under a tile is a recipe for a dip later.
My rule: If you can feel it with your fingertips, you will see it later.
Step 4: Plan a straight layout
This is the step that makes a budget floor look intentional.
Quick layout method for small rooms
- Pick your visual “starting edge.” In most laundry rooms, that is the doorway, because it is what you see first.
- Make a straight reference line. Measure off the doorway wall and snap a chalk line so your first row is square and straight.
- Dry-lay a row (no peeling yet) to see where cuts land at the walls.
- Shift your starting line so you get balanced cuts on both sides, instead of a 1-inch sliver along one wall.
If your room is narrow, it often looks best to run the tiles lengthwise with the longest wall, but it is not a hard rule. In a laundry closet, I focus more on avoiding awkward edge cuts at the doorway.
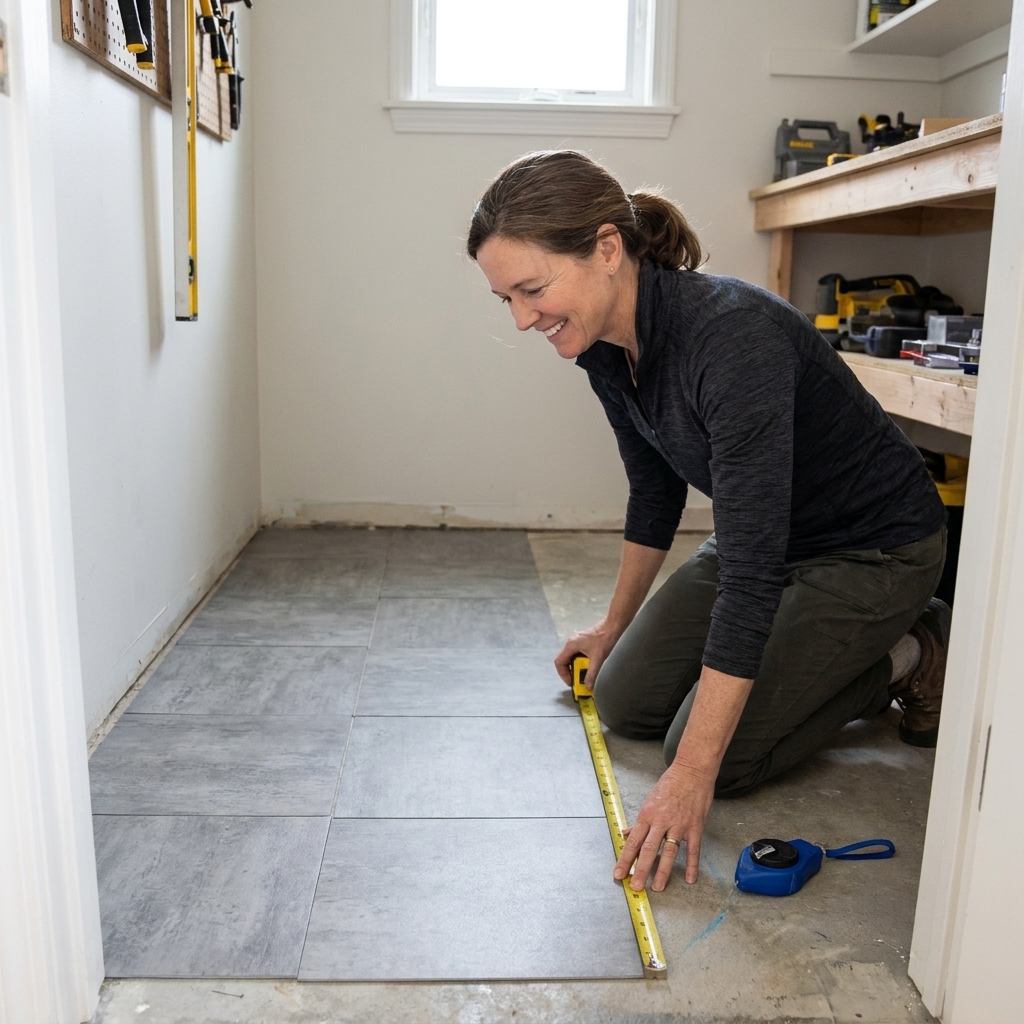
Step 5: Install tiles slowly
Once you start sticking tiles down, commit to doing it carefully and slowly. Rushing is how corners lift later.
My step-by-step install
- Start from your reference line and work outward.
- Peel the backing halfway, align the tile, then peel the rest as you press it down. This reduces “oops” moments.
- Press from the center out to push out air and get full contact.
- Follow the offset pattern on the carton if your product calls for it. Some styles want a specific stagger, and it is worth doing it their way.
- Roll every tile as you go, especially edges and corners.
Pro mom tip: Change your utility knife blade often. Dull blades cause jagged cuts, and jagged cuts are how gaps start.
Cutting around obstacles
Laundry rooms love odd obstacles. Here is how to keep it neat.
Door jambs
If you can remove the door trim, do it. If not, you can still get a clean cut by carefully scribing the tile to the jamb shape and trimming with a sharp blade.
Floor vents
Remove the vent cover and measure the opening. I like to mark and cut a clean rectangle with a straightedge. If you need a starter opening, you can cut a small X first, then trim back to your lines so you do not leave stressed little points at the corners. Then reinstall the cover.
Water supply lines and pipes
Make a paper template first. In a small space, templates save expensive tile and your sanity.
Step 6: Finish edges cleanly
The difference between “temporary” and “wow, that looks finished” is usually the perimeter.
- Baseboards: If there is a small gap, shoe molding or quarter round hides it beautifully.
- Doorway transition: If the tile meets another flooring type, use an appropriate transition strip from the flooring aisle. It protects edges from catching and lifting.
- Caulk carefully: Do not caulk the whole perimeter unless your tile manufacturer specifically recommends it. In a laundry room, a small bead only in higher splash-risk areas, like behind a utility sink, can be fine if the manufacturer allows it.
Step 7: Put appliances back safely
Peel-and-stick floors can dent if you drag heavy machines across them.
- Slide a piece of plywood or a thick moving blanket under the washer and dryer as you move them.
- Lift slightly to reposition, rather than twisting in place on the new tile.
- Double-check hoses, valves, and the dryer vent when everything is back.
If your laundry area is super tight, also keep airflow in mind so you are not squeezing the dryer into a dangerous situation. I walk through clearances here: airflow and dryer vent clearance in ultra-compact laundry closets.
Aftercare
- Wait 24 hours before wet-mopping, longer if your room is humid or your tile brand recommends it.
- Wipe spills fast, especially detergent and bleach.
- Use a soft mop and a gentle, vinyl-safe cleaner. Avoid harsh solvents that can dull the finish or soften adhesive.
- Add a small washable rug in front of the machines if you tend to splash water when transferring clothes.
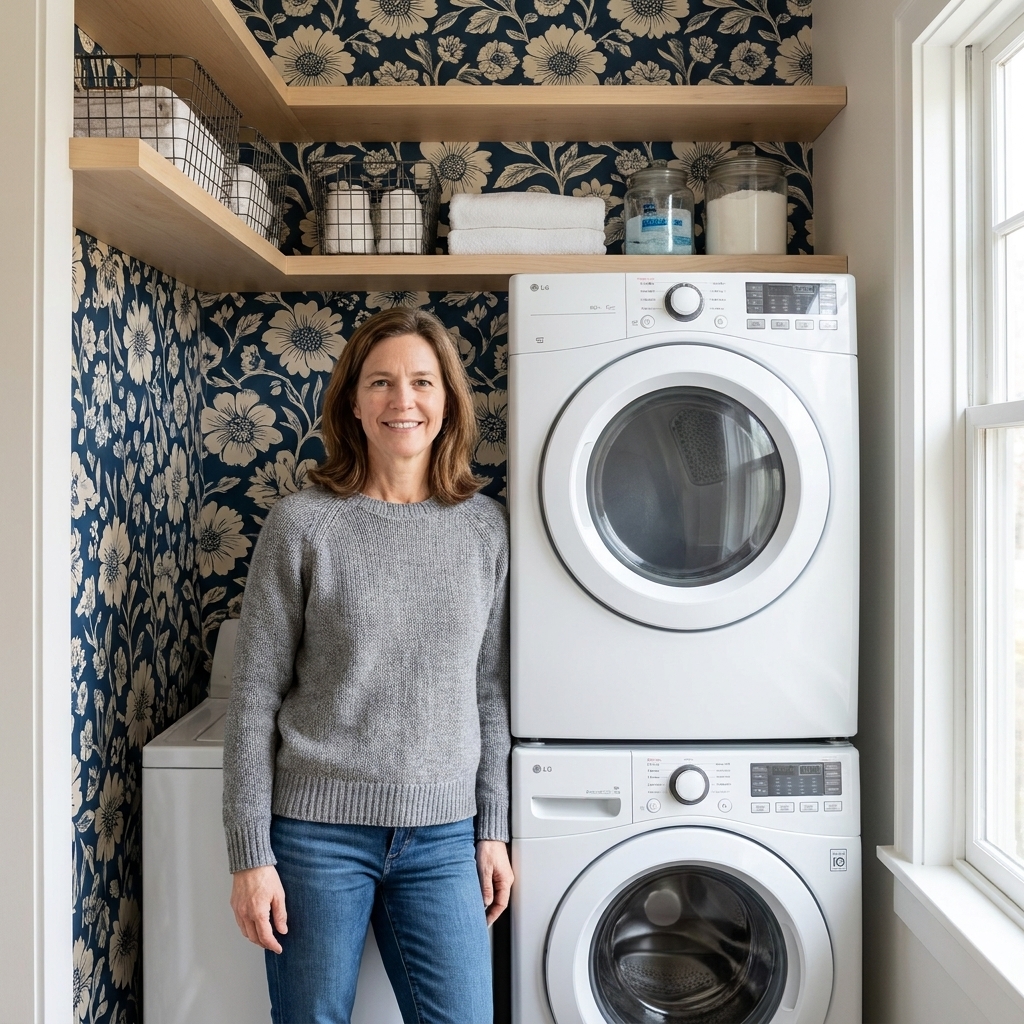
And if your laundry nook still feels a little blah after the floors, paint or wallpaper can do a lot with very little effort. I compared the two here: peel-and-stick wallpaper vs paint for a tiny laundry nook.
Troubleshooting
Corners are lifting
- Usually caused by dust, residue, cold install conditions, or not rolling the tile firmly enough.
- Press down again with a roller. If it keeps happening, re-clean that area thoroughly and confirm you are within the manufacturer temperature range.
Tiles are not sticking near the washer
- Check for moisture. A slow leak or sweaty hose can break down adhesion over time.
- Make sure you rinsed cleaner completely. Laundry rooms are sneaky about residue buildup.
You can see the old pattern underneath
- This is telegraphing from texture or seams.
- Next time, skim coat with a floor patch rated for vinyl to smooth the floor. For now, rugs and runners can help visually.
My honest take
For a laundry room makeover on a budget, absolutely. Peel-and-stick tile is not trying to be forever-flooring for your whole house. But in a hardworking little utility space, it can be a huge visual win, especially if the room is small enough that you can prep carefully and install in an afternoon.
And once the floor is no longer the “ugly part,” it is a lot easier to stay motivated on the rest, whether that means better shelving, a smarter folding zone, or simply getting your detergent bottles under control with a little decanting and a basket.