That awkward crack between the washer and dryer is basically a black hole in most homes. In my house, it used to eat socks, dryer sheets, and the occasional toy my kids swore they “didn’t put there.” The good news is that skinny space can become one of the hardest-working storage zones in your laundry setup, if you choose the right solution and make it safe.
Measure first
Before you click “add to cart,” grab a tape measure and take three quick measurements. This saves so much frustration.
- Gap width: Measure the distance between the machines at the narrowest point. Check top, middle, and near the floor because machines are not always perfectly aligned. Also account for baseboards or trim that can steal space near the back.
- Gap depth: Measure from the front edge (where you want the cart to sit) back to the wall. Note anything that sticks out like plugs, venting, or valves.
- Clearance for movement: If your washer vibrates or “walks” a little, you need extra breathing room so the cart does not rub, and nothing pinches cords or hoses.
My rule of thumb: Choose a cart at least 1/2 inch slimmer than your narrowest measurement. In tight closets, I aim for 3/4 inch slimmer.
One more thing: Measure with the machines in their real, final position (not pulled out for cleaning day). A half-inch shift changes everything.
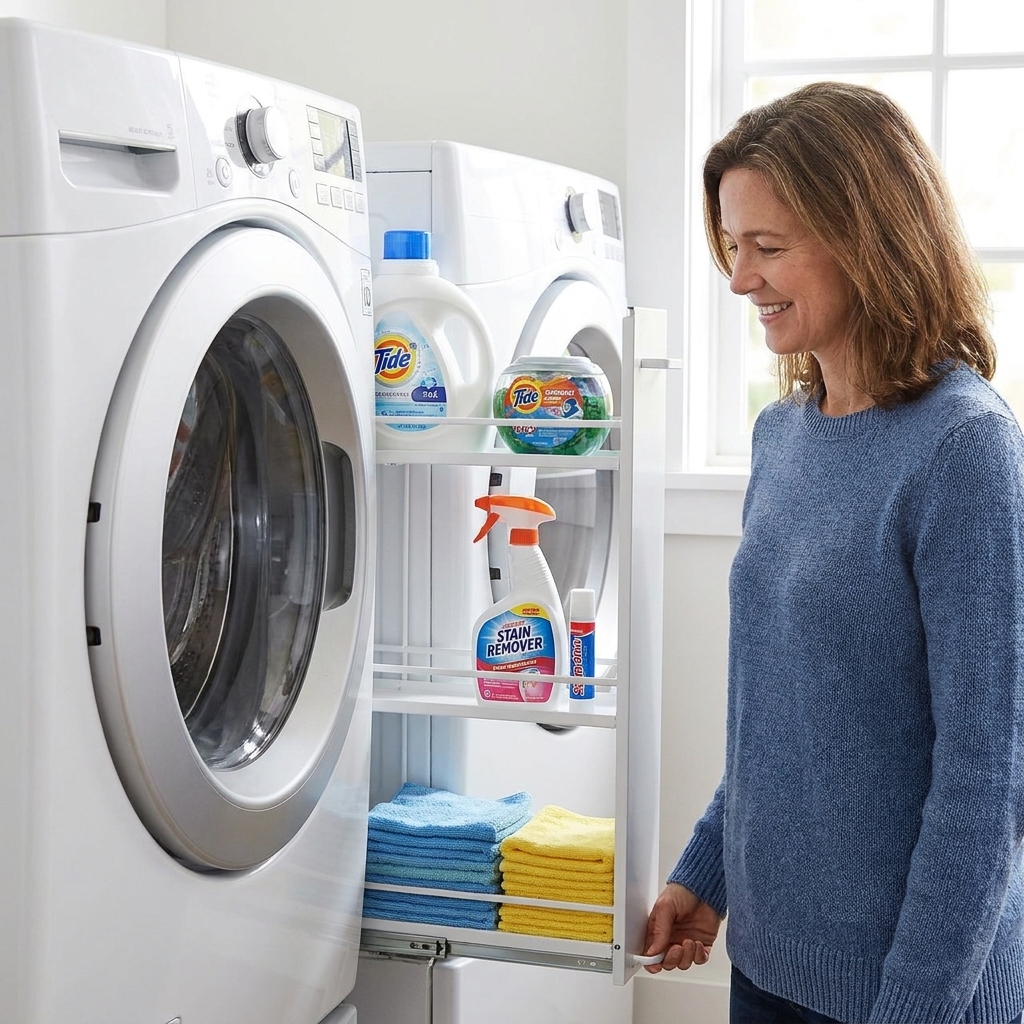
Slim rolling cart
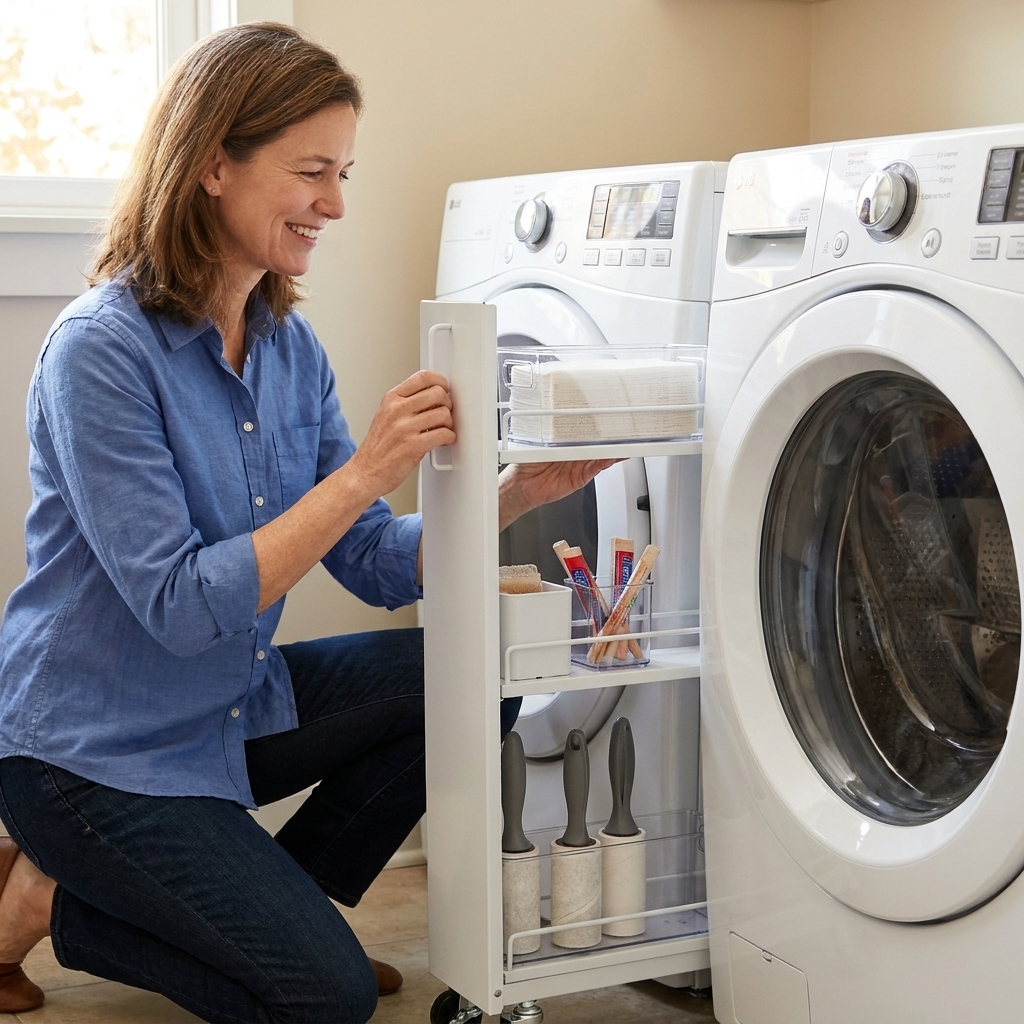
If you want instant storage with zero building, a skinny rolling cart is the classic fix. The best ones roll smoothly, have tall sides to keep bottles from tipping, and have a handle that lets you pull it straight out without pinching fingers.
What to store in a gap cart
- Detergent pods or powder in a lidded container
- Stain spray and a small scrub brush
- Dryer sheets in a divided bin
- Laundry sanitizer or oxygen bleach
- Microfiber cloths and a small duster
Cart features I look for (as a mom who does laundry on autopilot)
- Solid bottom shelf: Better for drips and prevents small items from falling through.
- Locking wheels: Helpful for keeping the cart from rolling, but they will not stop side-to-side rubbing if the washer “walks.” You still need clearance and a leveled machine.
- Ventilated sides: Nice for airflow if you store anything with scent.
- Easy-clean material: Plastic or coated metal wipes down quickly.
Small safety note: Avoid storing bleach or strong chemicals down low if toddlers can reach. If you need to keep them here, use a latching container or move those products to an upper cabinet.
Keep-it-upright upgrades
If you have ever pulled a gap cart out and found a bottle wedged sideways, you know the struggle. Two small tweaks make these carts work better long-term.
- Add a non-slip liner: Shelf liner keeps bottles upright and reduces rattling.
- Create zones: Use small bins or cups so everything has a “parking spot.” This is exactly the same idea I use when I’m decanting and organizing laundry supplies.
DIY filler shelf
If your gap is too narrow for a cart, or you just want something more built-in, a skinny filler shelf is a great DIY. Think of it like a tall, narrow bookcase that lives between the machines.
Best for
- Laundry closets where a cart cannot roll well
- Narrow gaps that still leave safe clearance for cords and hoses
- Homes where you want a more custom, finished look
Real-life note: A 2 to 3 inch gap can be useful only if nothing back there gets kinked or pressed, and you can still pull your insert out when you need to vacuum lint or access hookups.
How I build a basic filler shelf
This is the simplest version that still feels sturdy.
- Materials: 1/2 inch plywood (or 1x boards), wood glue, brad nails or screws, paintable caulk, and paint
- Build: Make a tall, narrow box (two sides, a top, a bottom) and add 3 to 5 small shelves spaced for your most-used items
- Finish: Caulk seams, sand, paint, then add felt pads or rubber feet on the bottom so it slides gently into place
Anti-tip tip: If your filler shelf is tall, keep heavier items low. You can also add grippy feet or a small back brace so it stays put, but do not fasten anything to the appliances. I like solutions that can be removed if the machines ever need service.
Mom tip: Make the top shelf a “drop zone” for pocket finds. It keeps random change and hair ties from landing on the dryer and migrating right back into the gap.
DIY pull-out shelf
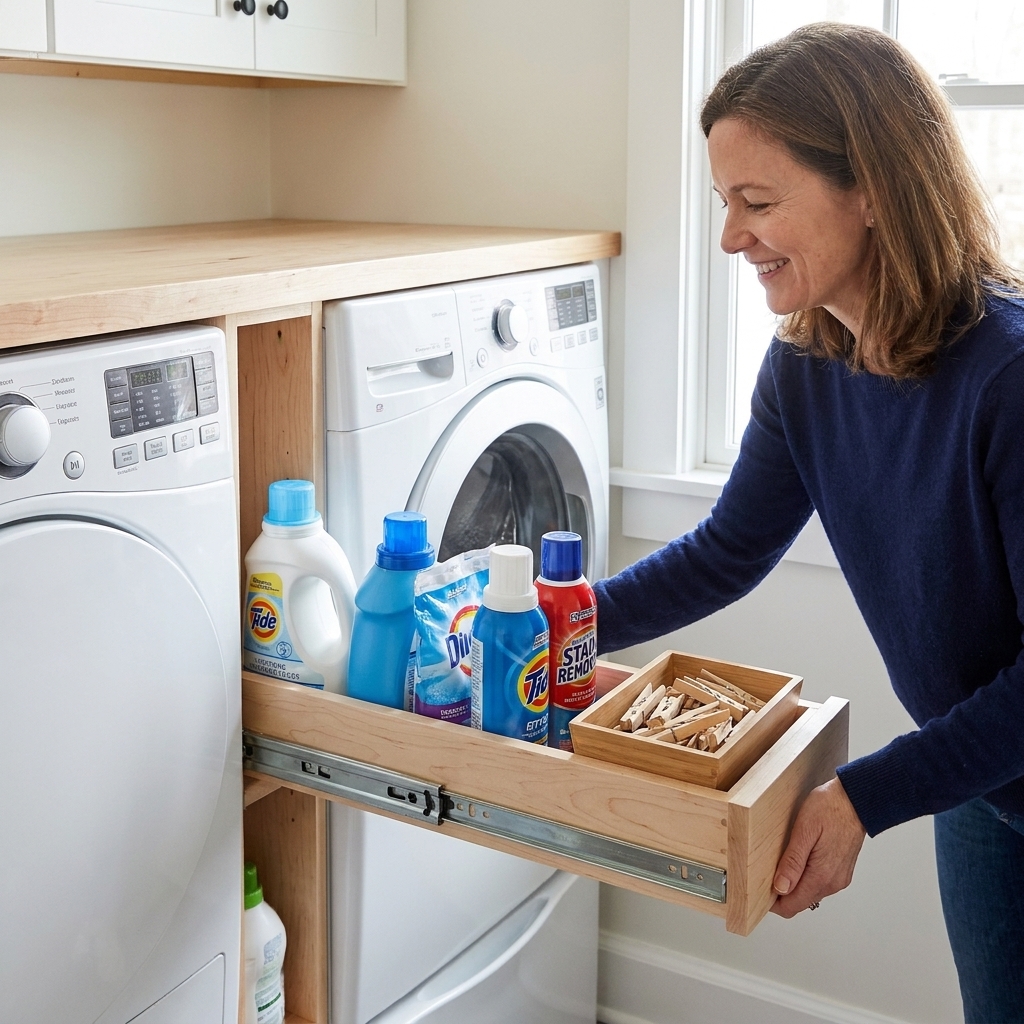
If you love the idea of a rolling cart but want something that feels more custom, build a skinny pull-out shelf on heavy-duty drawer slides. It glides like a dream and looks intentional.
What you need
- Full-extension drawer slides (measure your depth first)
- 1/2 inch plywood for the pull-out tray
- A face frame or spacer strips to mount slides securely
- A simple handle or cut-out pull
Quick build overview
- Step 1: Create a narrow “cabinet” frame that fits the gap (leave clearance so it does not rub machines or press on cords and hoses).
- Step 2: Install slides inside the frame.
- Step 3: Build a tray with short sides to keep bottles from tipping.
- Step 4: Add a front panel so it looks like a built-in when closed.
Service-friendly reminder: Keep the whole unit removable. Someday, you may need to pull the machines out for a repair or to replace a hose, and you will be glad nothing is permanently trapped in the middle.
If you enjoy this kind of build, you would also like my other small-space laundry projects in DIY Projects & Builds.
Make it a no-drop zone
Sometimes the best storage solution is actually closing the gap so nothing disappears into it. This is especially helpful if you have pets, kids, or a washer that vibrates enough to nudge things around.
Simple ways to fill the space
- Foam pipe insulation: Cut to length and tuck in along the sides as a soft barrier.
- A painted filler strip: A thin board screwed to a small cleat can bridge the gap near the front edge.
- Magnetic gap covers: These can work, but test in an inconspicuous spot first. Avoid anything that could scratch the finish, trap moisture, or make it harder to pull machines out for service.
My favorite compromise: Use a slim cart but add a soft bumper or foam strip behind it so socks cannot fall into the abyss.
Keep it safe
I have to say this part because the gap is also where important things live, like hoses, cords, and lint. Whatever you put there should not make your setup harder to maintain.
- Do not pinch anything: Avoid pressing against the dryer vent hose, drain hose, or power cord. Nothing should be kinked, crushed, or rubbing during spin cycles.
- Do not block ventilation: Keep the dryer exhaust duct path clear and give the back of the machines space to breathe.
- Plan for cleaning: You should still be able to pull the cart or shelf out to vacuum dust and lint.
- Watch liquids: If you store detergent, add a tray or liner to catch drips.
- Mind heat and flammables: If your dryer side gets warm, store aerosols and other heat-sensitive or flammable items somewhere else.
If this is a laundry closet
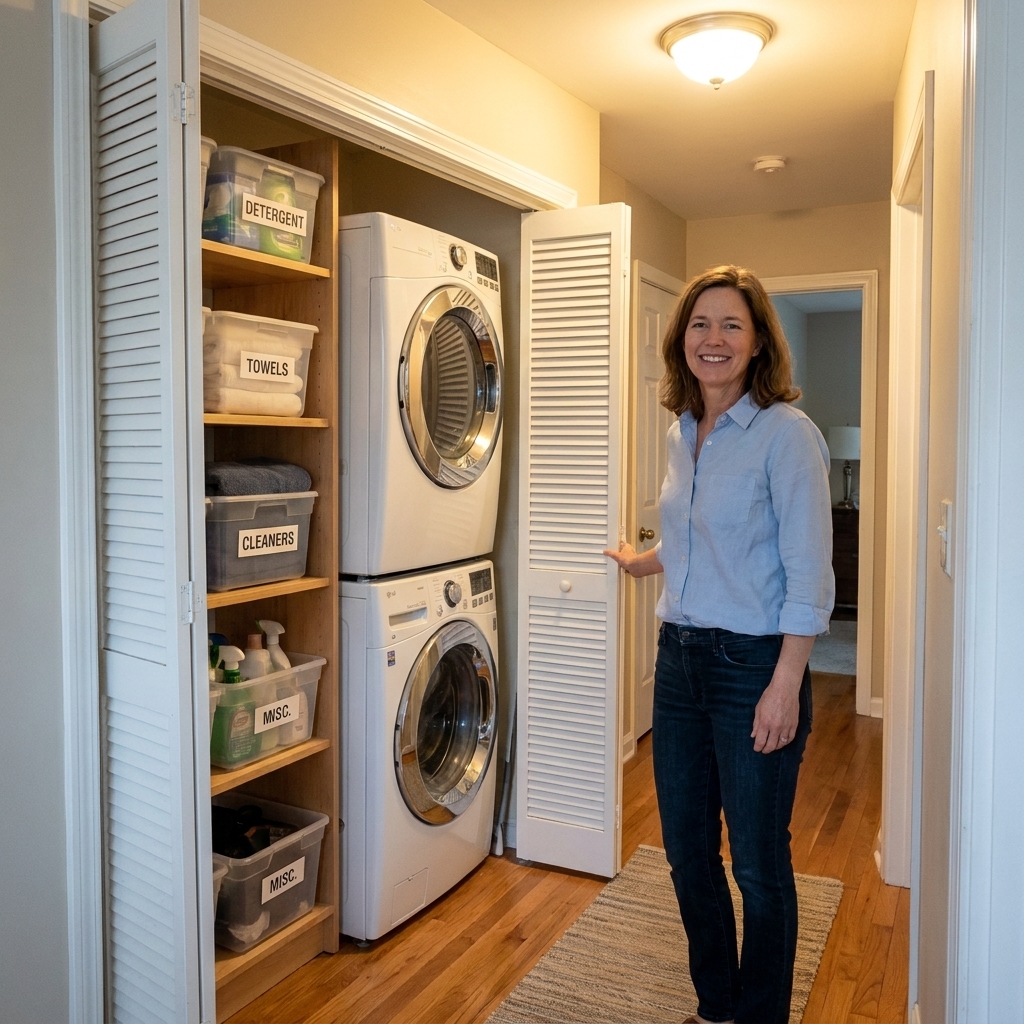
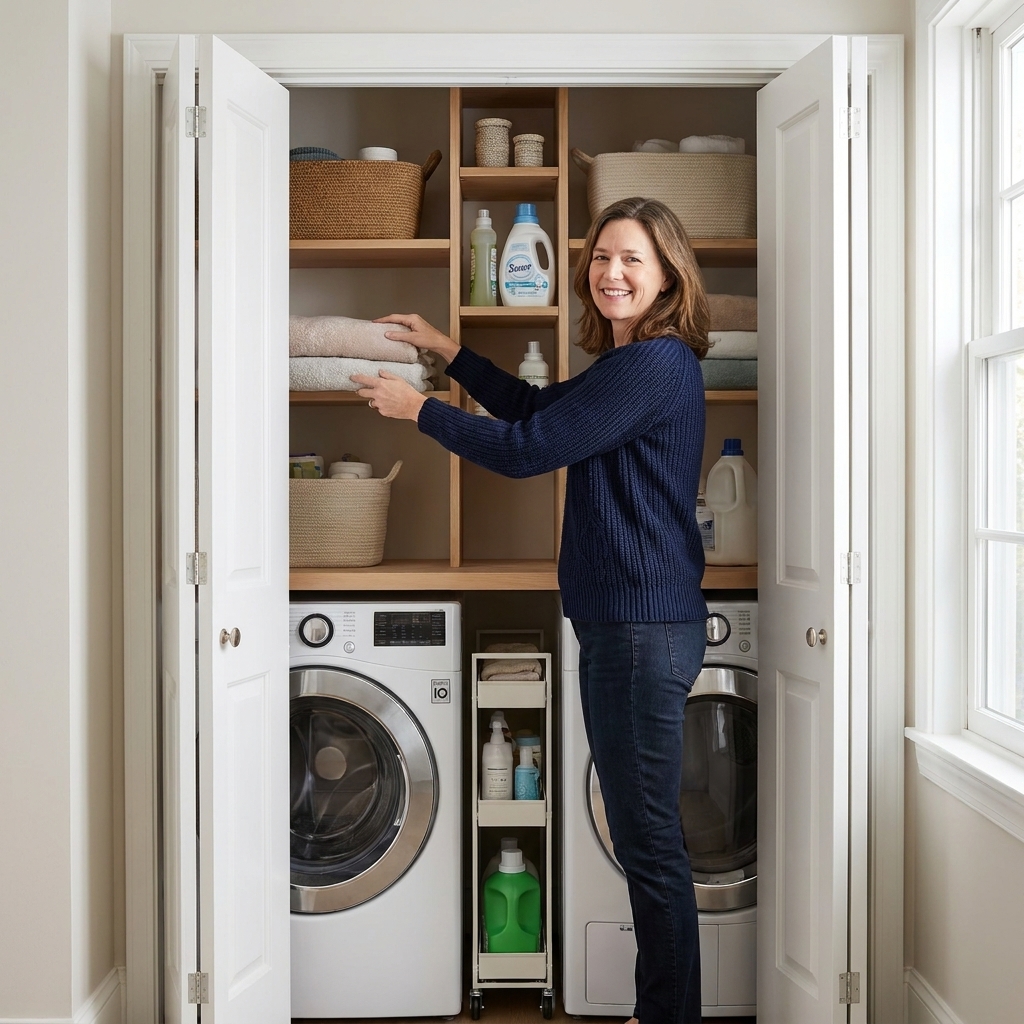
If your machines are tucked into a bi-fold closet, the gap may be the only place you can store anything at all. In that case, I usually pair a skinny solution between the machines with vertical storage above.
Two helpful reads if you are working in a closet-sized space:
- Maximizing Storage in a Tiny Bi-Fold Laundry Closet
- Floating Shelves vs Wire Racks for Laundry Storage
What I would do by gap size
- 1 to 2 inches: Close the gap with a soft barrier or filler strip. It is more frustration than storage, and you still need to keep cords and hoses un-pinched.
- 3 to 5 inches: Slim rolling cart or a narrow DIY filler shelf with tiny shelves for pods, wipes, and lint tools. Keep a little clearance so nothing rubs.
- 6 inches or more: Go bigger with a sturdier cart, or build a pull-out shelf system that feels built-in (but still removable for service).
And if your laundry room makeover is snowballing (in a good way), you will probably love these budget-friendly ideas too: 15 Dollar Store Organization Hacks for a Budget Laundry Makeover.
Quick FAQ
Can I put a cart between stacked machines?
If you have a single stacked unit, you usually do not have a side gap. But if you have two tall units side by side, yes, a slim cart can work. Just be extra mindful of vibration and make sure it cannot wedge against cords, hoses, or the vent path.
What if my washer walks during spin?
First, level the washer. Then keep more clearance than you think you need. Locking casters can help a cart stay in place, but they will not stop a walking washer from bumping into it.
What is the one thing you always store in the gap?
A lint-cleaning kit. I keep a long flexible dryer vent brush and a little handheld vacuum attachment nearby so I actually use them.