There is a very specific kind of laundry-room heartbreak that happens when you pull a favorite sweater out of the wash and realize you have nowhere to lay it flat. Not on the counter (covered in detergent bottles), not on the dryer (too warm), not on the dining table (my kids would “decorate” it with snacks in under 90 seconds).
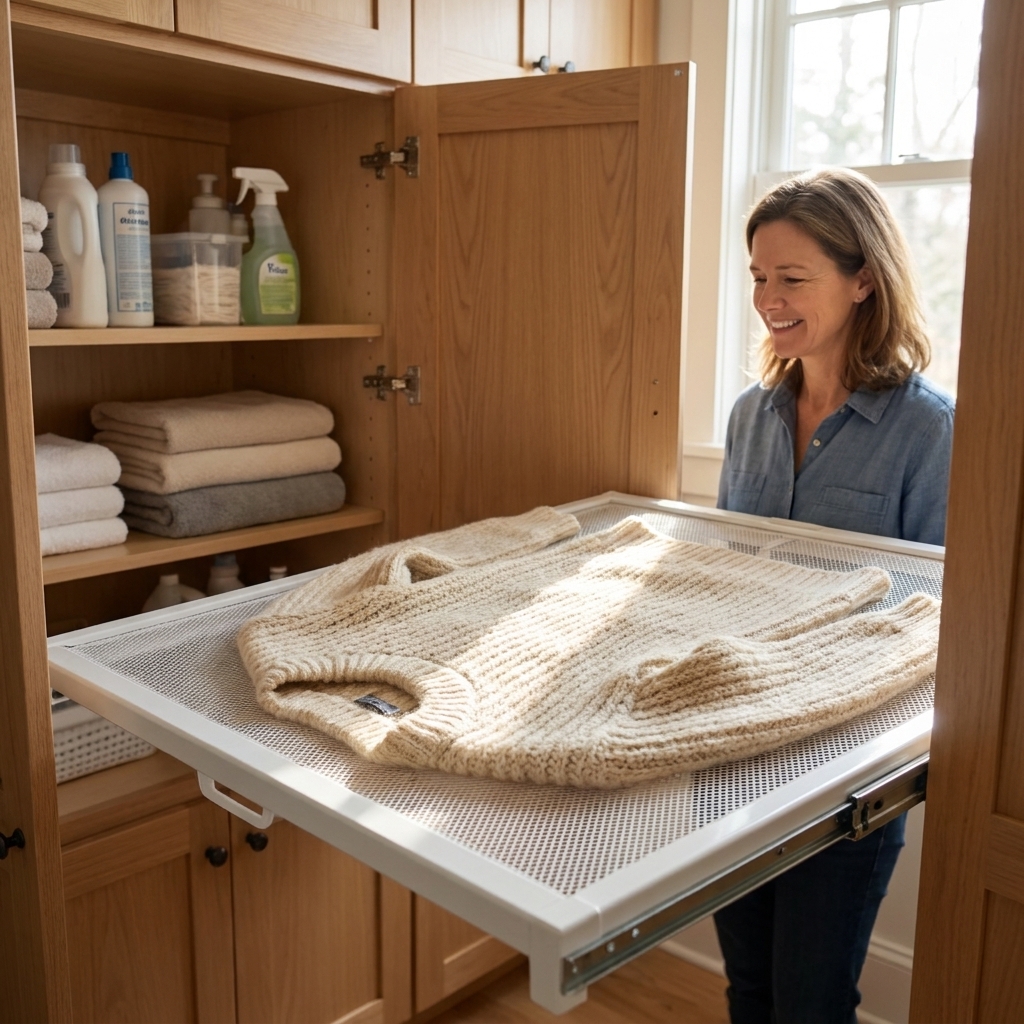
After I ruined one too many knits, I started treating my base cabinets like the untapped real estate they are. This retrofit turns an ordinary cabinet opening, the kind that usually holds awkward stacks of stuff, into a set of smooth-gliding, pull-out mesh racks made for flat-drying delicate sweaters and sporty fabrics. No new cabinetry required.
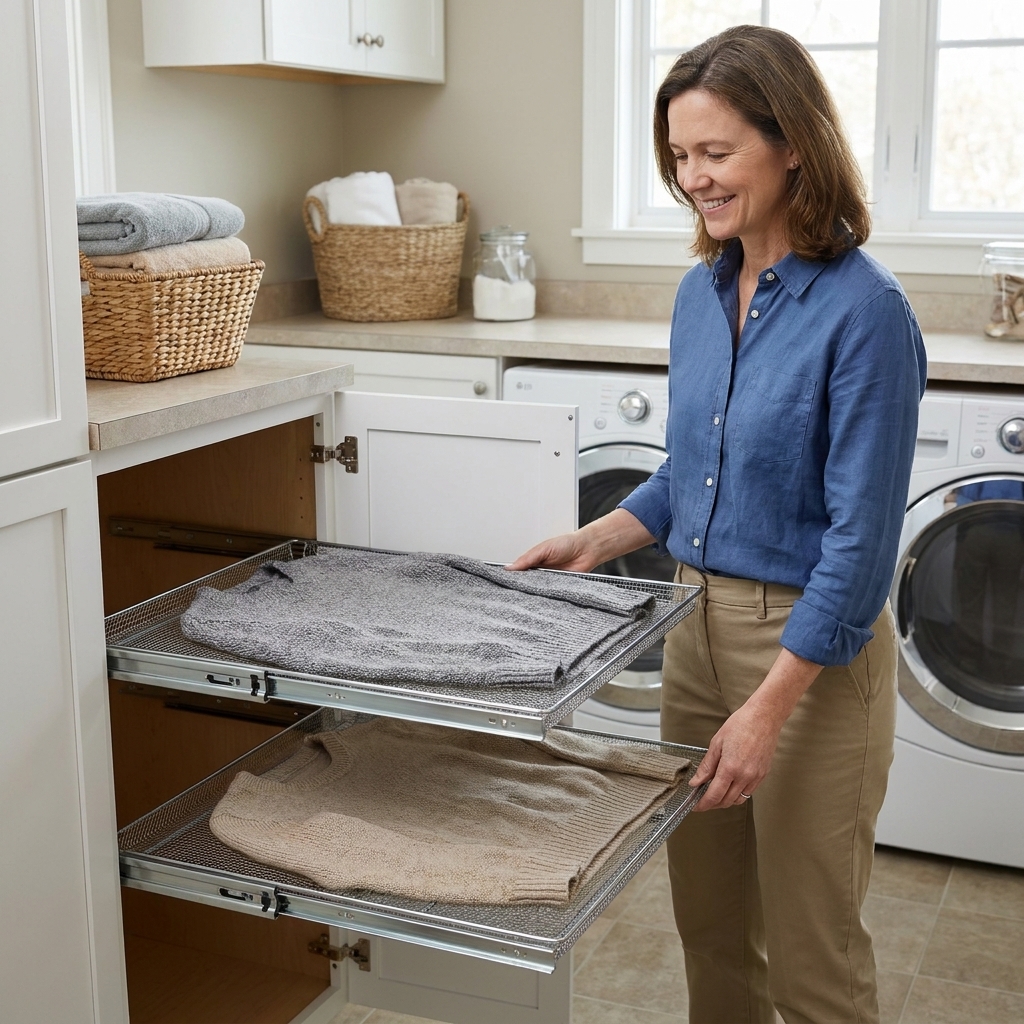
Why mesh racks beat towels
Flat-drying is not just a “nice-to-do”. It is often the difference between a sweater that keeps its shape and one that slowly turns into a cropped, lumpy mystery item.
- Airflow from both sides: Mesh lets moisture escape instead of trapping it against a solid shelf.
- No stretching: Your garment can dry flat with the weight evenly supported.
- Cleaner and calmer: You are not sacrificing the folding surface or draping clothes over chairs.
- Hidden when guests come over: Slide the racks in and close the door.
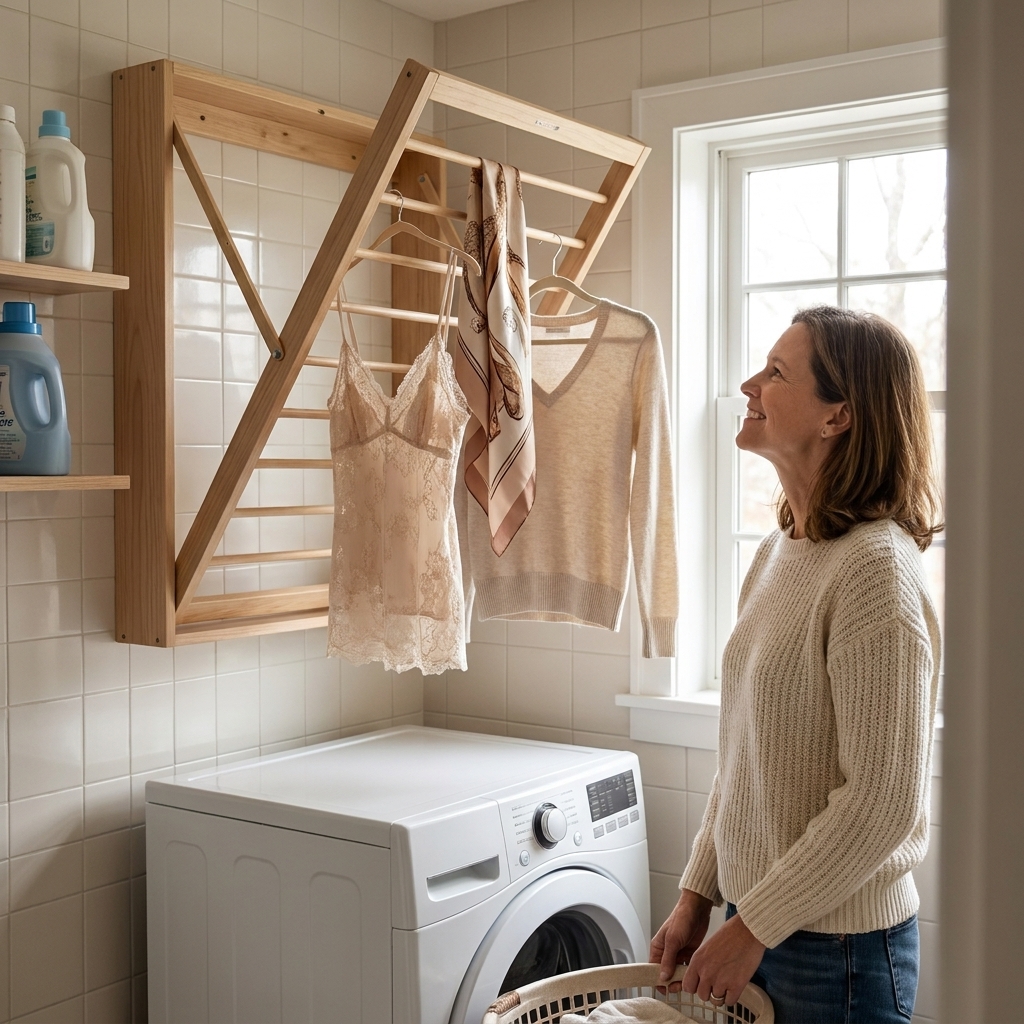
If you already use a wall rack for hang-dry items, keep it. These pull-outs are for the pieces that look best dried flat. If you need a wall solution too, I love the approach in How to Install a Space-Saving Fold-Down Wall Drying Rack.
Check your cabinet first
Before you buy anything, open the cabinet and do a quick reality check. Base cabinets vary wildly, especially in laundry rooms.
Best cabinet candidates
- A base cabinet with doors (or a drawer stack you are willing to remove)
- At least 18 inches wide inside is ideal, but smaller can still work with a single rack
- No plumbing, or plumbing that stays fully behind the back wall of the cabinet
Measure these three things
- Inside width: from side wall to side wall, at the narrowest spot (sometimes face frames pinch the opening).
- Inside depth: from the inside of the face frame to the back wall.
- Clear height: from cabinet floor to underside of any top drawer rail or stretcher.
My rule: plan your rack frame at least 1 inch narrower than the inside width, and 1 inch shallower than the inside depth. That wiggle room makes installation feel like a victory instead of a wrestling match.
Quick example: if your inside width is 18 inches, I would start by aiming for a tray frame around 17 inches wide, then adjust based on the slide clearance your hardware requires.
Materials and tools
You can make this project fancy, but you do not have to. The goal is a sturdy, breathable tray that slides smoothly.
Materials
- Drawer slides: 1 pair per rack. Side-mount, full-extension slides are easiest for DIY installs. Choose a length close to your cabinet depth. Important: do not assume slide clearance. Many side-mount slides are 1/2 inch per side, but it varies, so confirm your slide specs before you cut any wood.
- Wood for tray frames: 1x2 or 1x3 strips work well (straight pieces matter more than perfect species).
- Mesh: A stiff, open mesh that will not sag when damp. Hardware cloth (vinyl coated is nicest for laundry spaces) or a rigid plastic craft mesh can work. Avoid anything that feels sharp or flimsy.
- Fasteners: wood screws for frames, short screws for slides, staples or screws with washers to secure mesh.
- Optional: edge trim or sandpaper for smoothing, and a wipe-on sealer (water-based polyurethane) for easy cleaning.
Tools
- Tape measure and pencil
- Drill or driver
- Level
- Miter saw or handsaw
- Staple gun (helpful) and tin snips (if using hardware cloth)
- Square or straightedge
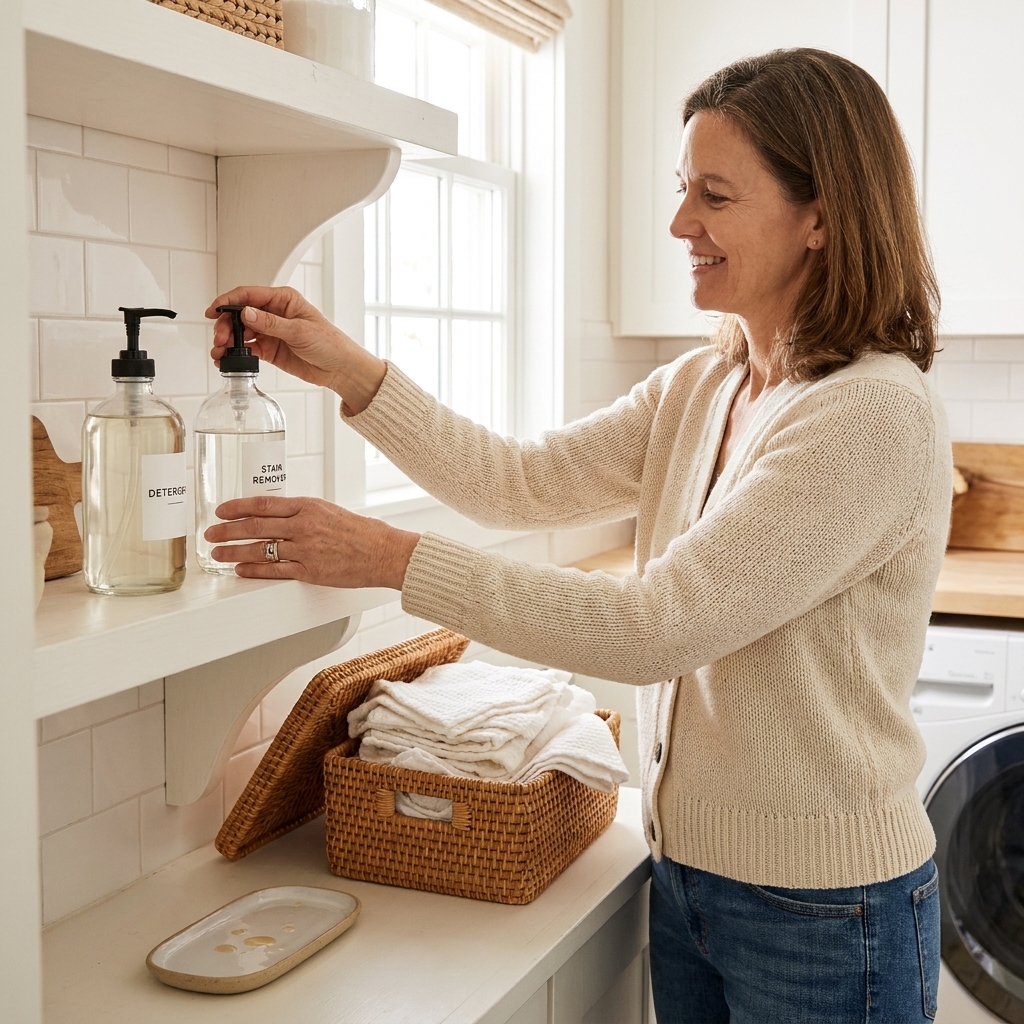
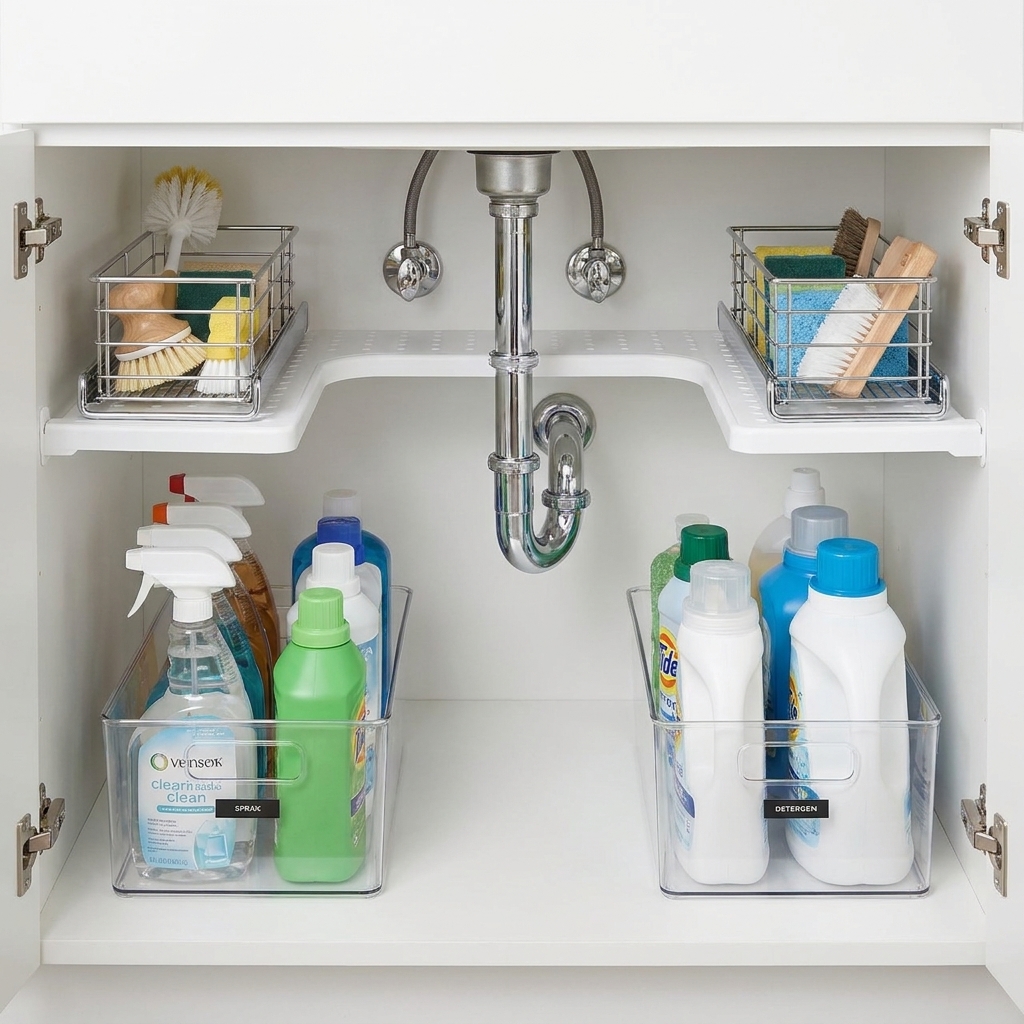
If your cabinet currently stores a jumble of bottles and extras, it is worth resetting the whole zone while you are at it. I walk through a simple, realistic approach in Decanting and Organizing Laundry Supplies.
Step 1: Remove old drawers
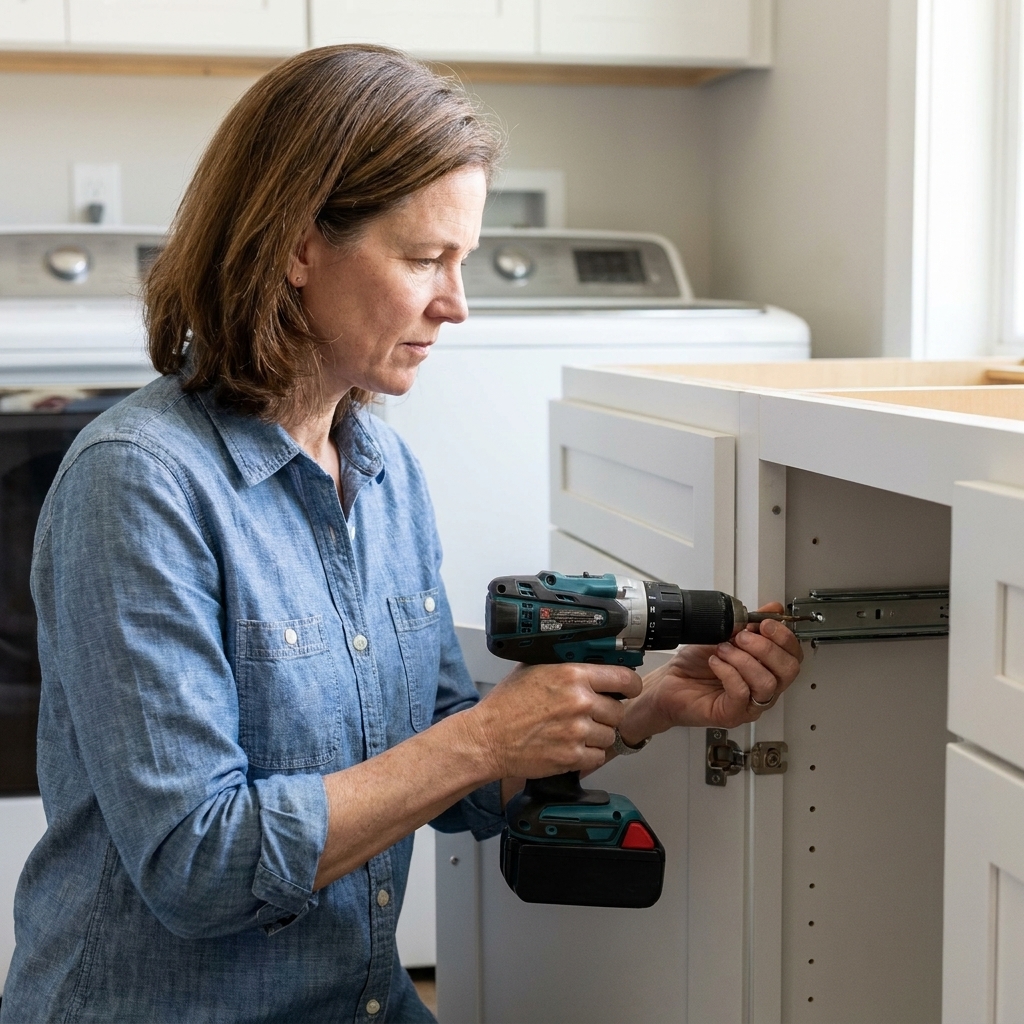
If you are starting with a drawer stack, you will remove the drawers and their slides.
- Pull drawers out and set them aside.
- Unscrew the old slides from the cabinet sides.
- Look for any center stile, drawer divider, or vertical support pieces. Some can be removed, others are structural. If you are not sure, remove only what is obviously tied to drawer function.
- Patch any rough areas with wood filler if needed, then sand.
Tip from my own cabinet retrofits: keep the drawer fronts if you love the look. You can sometimes re-mount them to a fixed panel later, or reuse them on a different project.
Step 2: Plan rack count
I like two racks in a standard base cabinet because you can rotate items. One rack can be drying while the other is loading.
Spacing that works
- Between racks: aim for 4 to 6 inches of vertical clearance.
- Above the top rack: leave at least 3 inches so you can place and smooth garments easily.
- Below the bottom rack: leave 2 to 3 inches so the rack does not scrape the cabinet floor.
If you are drying thick sweaters often, give yourself more clearance and install fewer racks. Airflow matters more than cramming in capacity.
One more reality check: wet clothes weigh more than you think. Check your slide weight rating and build accordingly. Even though you are not stacking cast iron pans in here, a soaked sweatshirt can be surprisingly heavy.
Step 3: Build tray frames
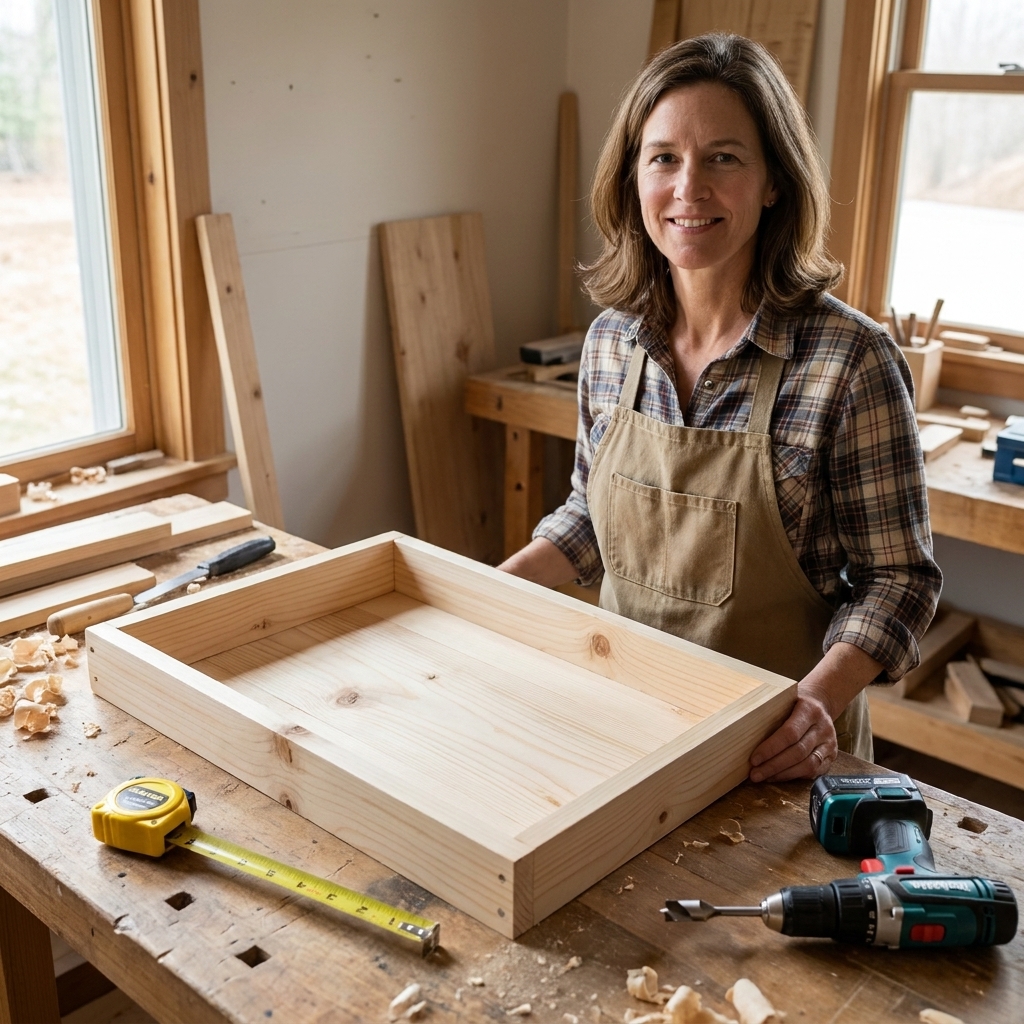
Each drying rack is basically a skinny drawer without a bottom. The mesh is the “bottom”.
Simple tray dimensions
- Tray outside width: inside cabinet width minus slide allowance. Many side-mount slides need about 1/2 inch per side, but confirm with your slide specs before you cut. When in doubt, mock it up with scrap wood.
- Tray depth: start about 1/2 to 1 inch shorter than the slide length so it does not bump the cabinet back (exact fit depends on slide style and where your cabinet back sits).
- Tray height: 1x2s are plenty. You want shallow sides so you can lift items out without stretching them.
Assemble the frame
- Cut two long sides and two short sides.
- Dry-fit on a flat surface to check for square.
- Screw together, pre-drilling to prevent splitting. (Pocket holes are great but not required.)
- Sand all edges, especially the top rim where knuckles and sweaters will rub.
Mom-of-three reality check: if you build slightly imperfect rectangles but they slide smoothly and feel sturdy, you nailed it.
Step 4: Attach the mesh
The goal is a tight, supportive mesh surface with no sharp points.
If you are using hardware cloth
- Cut mesh to size so it overlaps the frame by about 1 inch on all sides.
- Fold raw edges under so no cut ends are exposed. Take your time here. Sharp ends can snag knits and skin.
- Stretch the mesh across the bottom of the frame and staple it every 1 to 2 inches.
- For extra security, add a few short screws with washers along the edges.
Extra snag protection (worth it): hardware cloth can still hide tiny burrs even when you fold the edges. If you want this to feel truly sweater-safe, run a thin bead of clear silicone along the folded edge and let it cure, or add a simple vinyl edge trim where fingers and fabric might rub.
If you are using rigid plastic craft mesh
- Cut it to fit inside the frame like an inset panel.
- Secure with screws and washers or narrow wood strips as cleats.
Quick test: run an old T-shirt across the surface. If it catches, keep sanding, folding, or covering edges until it glides smoothly.
Step 5: Install cabinet slides
This is the step that makes people nervous, but it is totally doable if you slow down and keep things level.
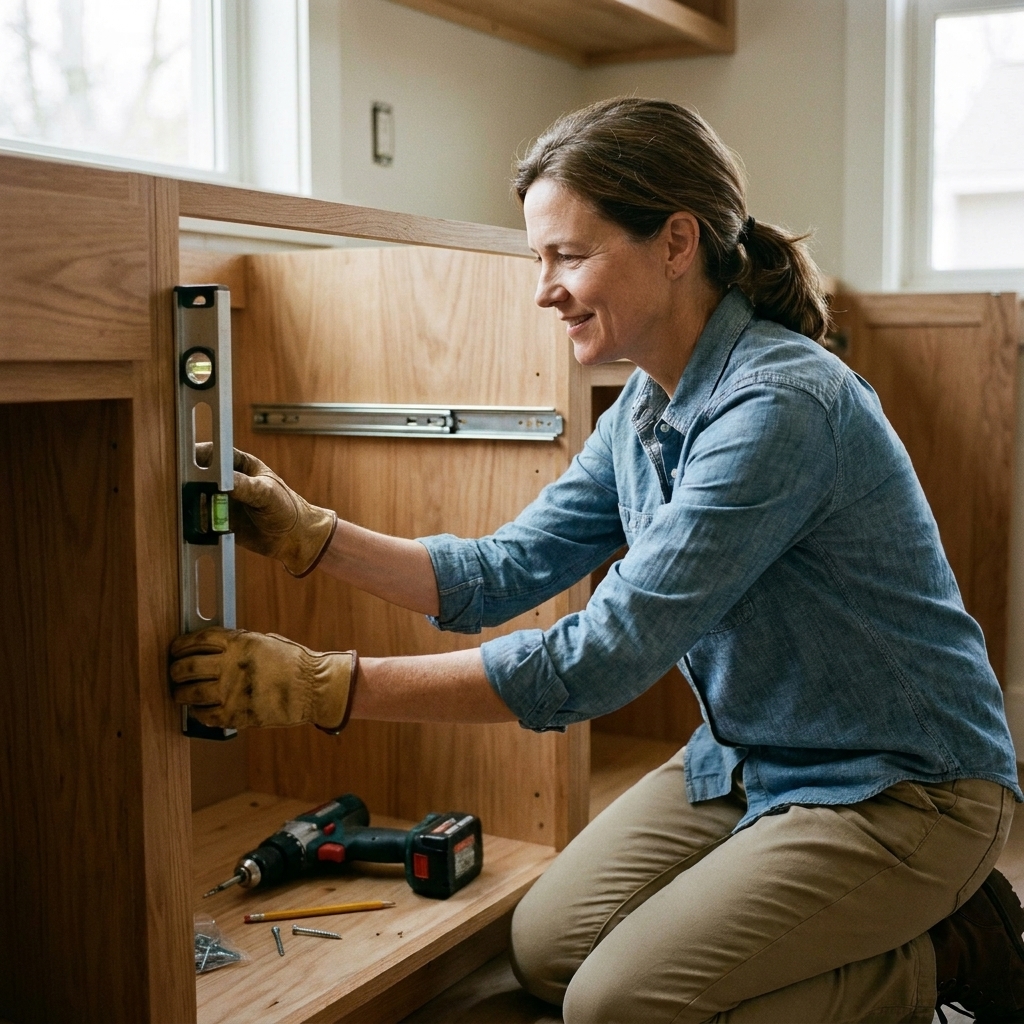
Mark your rack heights
- Choose the height for your bottom rack first.
- Use a level to mark a line on both interior cabinet sides at the same height.
- Repeat for the top rack.
Mount the cabinet side of the slides
- Hold the slide against your level line.
- Pre-drill and attach with the screws that came with the slides.
- Install the matching slide on the other side at the exact same height.
Face-frame cabinets note: if your cabinet has a face frame, you may need a spacer strip so the slides sit flush and parallel. A simple strip of wood screwed to the cabinet side works beautifully.
Frameless (Euro-style) cabinet note: these are usually simpler because the slides can mount directly to the cabinet side without a spacer.
Step 6: Attach trays and test
- Pull the slide members out.
- Screw the slide members to the outside of your tray frame, keeping them straight and level.
- Set the tray into the cabinet and click it into the installed slide hardware.
- Slide in and out a few times, slowly. Listen and feel for rubbing.
If it binds, do not force it. Most issues come from one slide sitting slightly higher than the other or from the tray being a hair too wide.
A finishing touch I love
Add a small knob or leather pull to the tray front. It makes the racks feel intentional, and it keeps damp hands from grabbing the mesh edge.
How to use them safely
These racks work because of airflow, so use them like a drying zone, not long-term storage.
- Spin well: run delicates through the washer’s spin cycle (or gently press water out) so they are damp, not dripping.
- Shape first: smooth seams, pat sweaters into shape, and align waistbands before you walk away.
- Leave the cabinet door cracked: at least for the first few hours, especially in humid climates.
- Rotate thick items: flip once midway through drying if you can.
- Keep products separate: do not store detergents directly above wet items where drips can happen.
Drying times vary a lot based on humidity, fabric, and how thick the item is. I do not close the cabinet up for the night unless everything is fully dry to the touch.
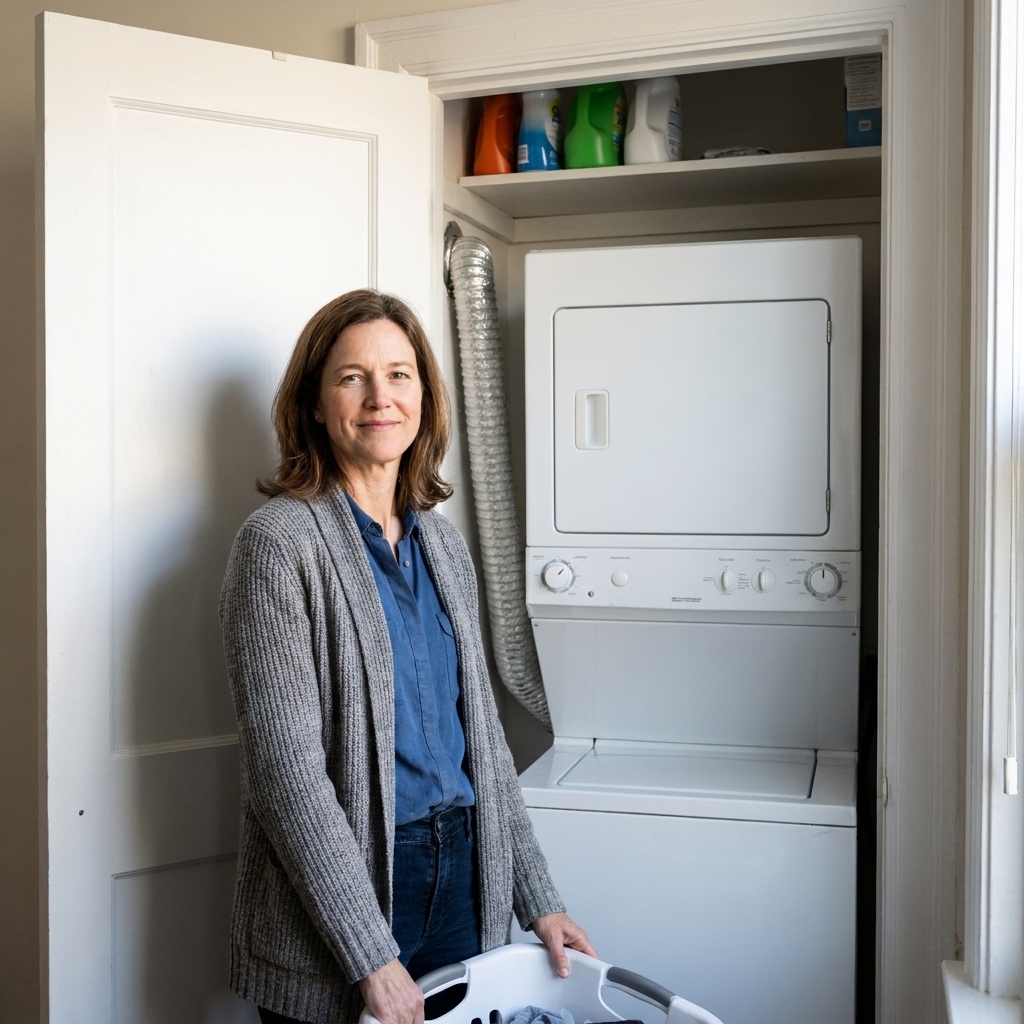
If your laundry closet already struggles with air movement, it is worth reading Airflow and Dryer Vent Clearance in Ultra-Compact Laundry Closets and making sure your space is breathing as well as it can.
Design options
Option A: One wide rack
If you have a single wide base cabinet, one large rack is wonderful for bulky knits. Keep it simple and give it lots of overhead clearance.
Option B: Two medium racks
This is my sweet spot for families. Leggings, sports bras, and school uniform pieces can lay flat without creeping into everyone’s living space.
Option C: Rack plus drip tray
If you worry about dampness, you can add a removable plastic tray on the cabinet floor. It catches accidental drips and pulls out for cleaning.
Troubleshooting
The rack scrapes or feels stiff
- Re-check that both slides are mounted at the same height.
- Confirm the tray is not too wide. Even 1/8 inch can cause rubbing.
- Make sure screws are not sticking out and catching the slide track.
The mesh sags in the middle
- Tighten attachment points and add more staples or screws with washers.
- Add a center support strip under the mesh if your rack is wide.
- Switch to a stiffer mesh if needed.
Clothes dry slowly
- Crack the cabinet door and avoid overloading the rack.
- Give each item space. Overlapping fabrics kills airflow.
- Consider adding a small fan outside the cabinet during heavy laundry days (not inside the cabinet where it could pull lint).
Odor develops
- Do not leave damp items overnight in a closed cabinet.
- Wipe the cabinet interior with a mild cleaner and let it dry fully.
- Seal raw wood tray frames so they do not absorb moisture over time.
What I love most
It is the kind of project that feels small but changes your whole laundry rhythm. You stop improvising. You stop piling. You give the items that need gentle care an actual home.
And maybe this is just me, but pulling out a neat drying rack from a cabinet makes me feel like the laundry room is finally working with me, not against me.
If you are in the middle of a bigger laundry makeover, you can browse more builds in DIY Projects & Builds.
Quick maintenance note: if you seal the wood with a water-based finish, let it cure fully before you dry clothes on it. Every so often, I wipe the racks down and let them air out completely to keep everything smelling fresh.
FAQ
Can I do this in a rental?
Maybe. Drawer slide installation requires screw holes in the cabinet interior. If your landlord is flexible or the cabinet is already worn, it can be reasonable. If not, stick to a removable drying setup like a fold-down rack or countertop drying screen.
Will mesh damage delicate knits?
They should not, as long as the mesh is smooth and any cut edges are folded and fully covered. Always do the T-shirt snag test before drying anything precious, and consider an edge trim if you are using hardware cloth.
How many racks can I stack?
Most base cabinets are happiest with one to three racks. More than that and you lose airflow and usability. I would rather have two racks that work beautifully than four racks that dry slowly.
Do I need full-extension slides?
They are strongly recommended. Being able to pull the rack fully out means you can place garments without rubbing them against cabinet sides, and it encourages you to actually use the system.