If you have ever stood in your laundry nook holding a basket of clean clothes thinking, “Where exactly am I supposed to put any of this for five minutes,” welcome. This is the exact problem that turned me into a shameless tension-rod hoarder.
Tension rods are one of my favorite budget no-drill tools because they create instant structure in spaces that were never designed to work hard. No holes. No anchors. And if you change your mind next weekend, you can undo it in 30 seconds.
One quick reality check though: “no-drill” does not always mean “zero marks.” A rod can still scuff paint or dent soft drywall if you crank it too tight or overload it. A little testing (and keeping loads light) goes a long way.
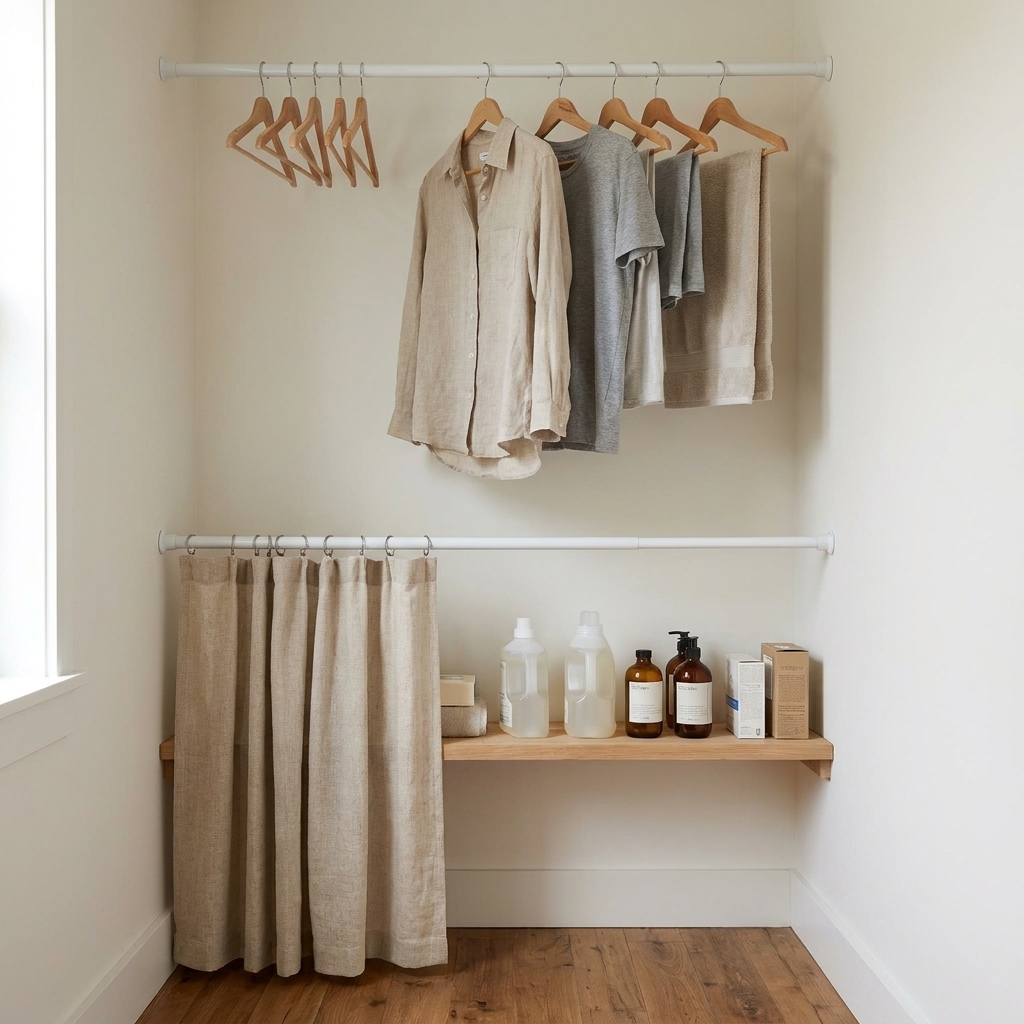
Before you start: pick the right rod
Not all tension rods are created equal. The cheapest ones can still be amazing, but you want to match the rod style to the job.
- Go thicker for weight. A wider diameter rod usually holds more without bowing.
- Rubber ends matter. Soft, grippy ends reduce slipping and help protect paint.
- Measure at the tightest point. If your walls are not perfectly parallel, measure where the rod will sit.
- Test before loading. After you set it, tug down and sideways with both hands.
- Match the surface. Rods grip best on clean, solid, slightly matte surfaces. Super glossy paint, uneven texture, and wavy tile can be slipperier.
- Let fresh paint cure. Newly painted walls can stick to rubber ends, then peel when you remove the rod. If your paint is recent, give it time to fully cure before you tension anything against it.
If you are working inside a laundry closet, it also helps to think about airflow and clearances so you are not trapping heat or blocking venting. Never place rods where they could interfere with dryer doors, controls, exhaust ducting, or louvered return air. I walk through the safety side of that here: airflow and dryer vent clearance in ultra-compact laundry closets.
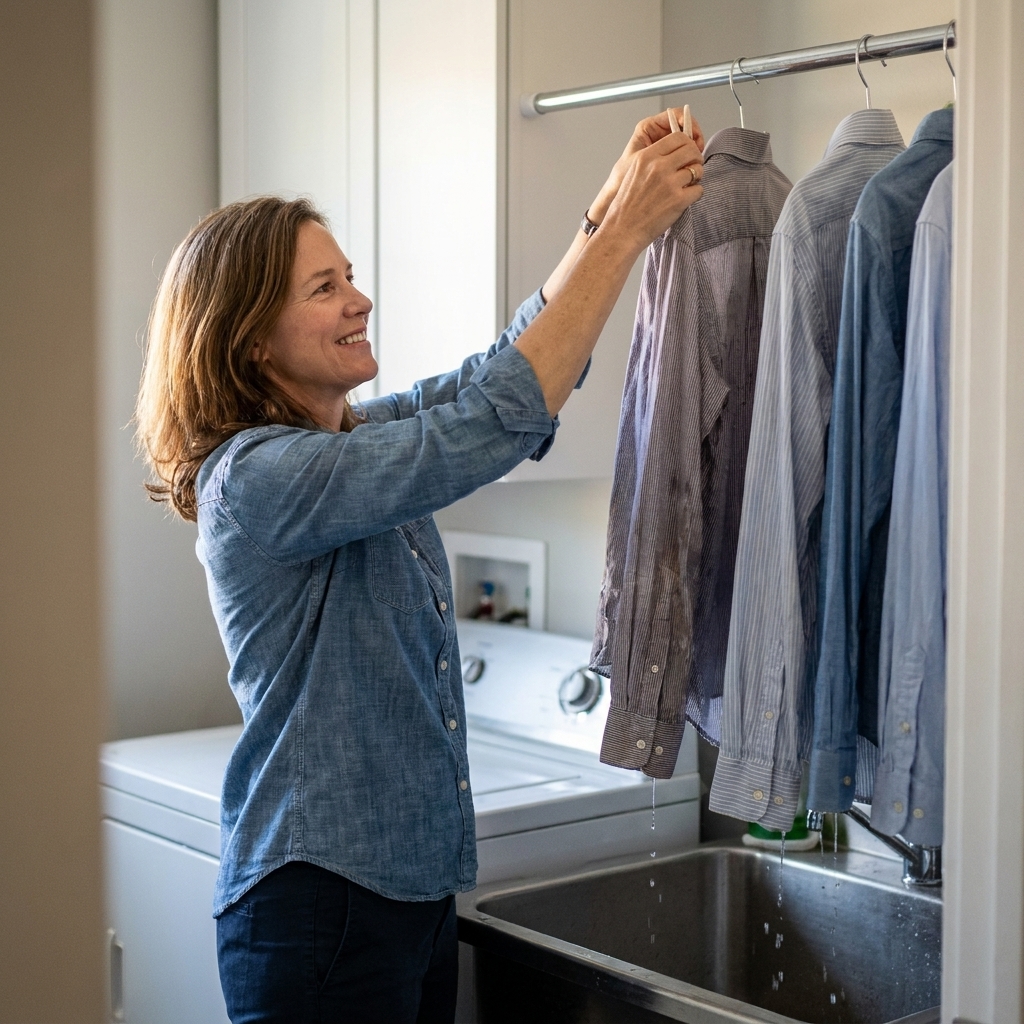
1) Drip-dry bar over the sink
If you have a utility sink or even a simple counter run, a tension rod across the alcove becomes a drip-dry zone for hand-wash items, stain-treated shirts, and anything you do not want tumbling.
How I set it up
- Install the rod above the highest splash line you actually see during use. In most laundry sinks, that is about 6 to 12 inches above the sink rim.
- Add hangers, S-hooks, or clothespins for socks and kids’ stuff.
- Keep a small towel underneath for the first hour if items are really dripping.
2) Short curtain to hide shelf clutter
Open shelves are great until you have four half-used detergent bottles, a lint roller, and the mystery sock pile. A short curtain on a tension rod hides the chaos in ten minutes.
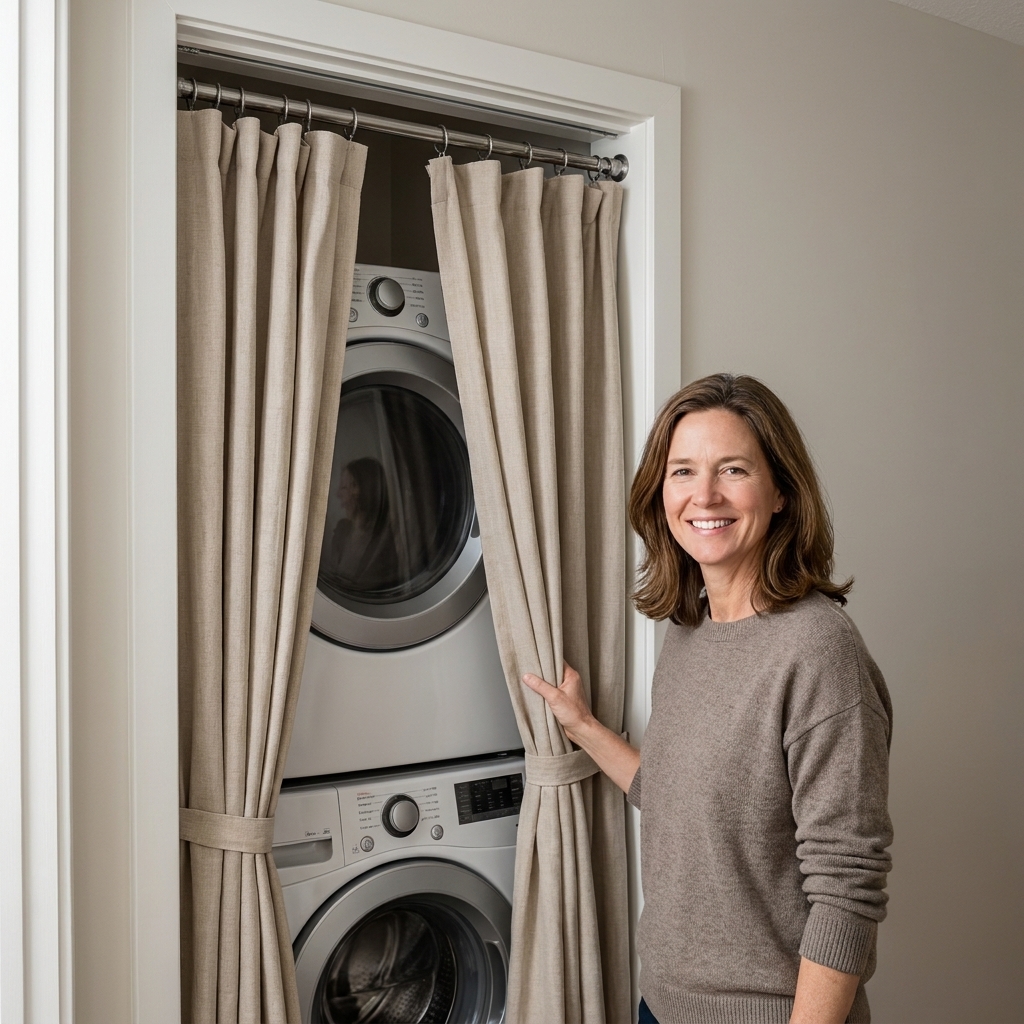
This is the same logic as swapping closet doors for curtains, just scaled down. If you are considering a bigger door-to-curtain switch, see: swap laundry closet doors for curtains.
Clara tip
Hem tape is your friend. I would rather use hem tape and have a finished-looking curtain today than add “sew it later” to my forever list.
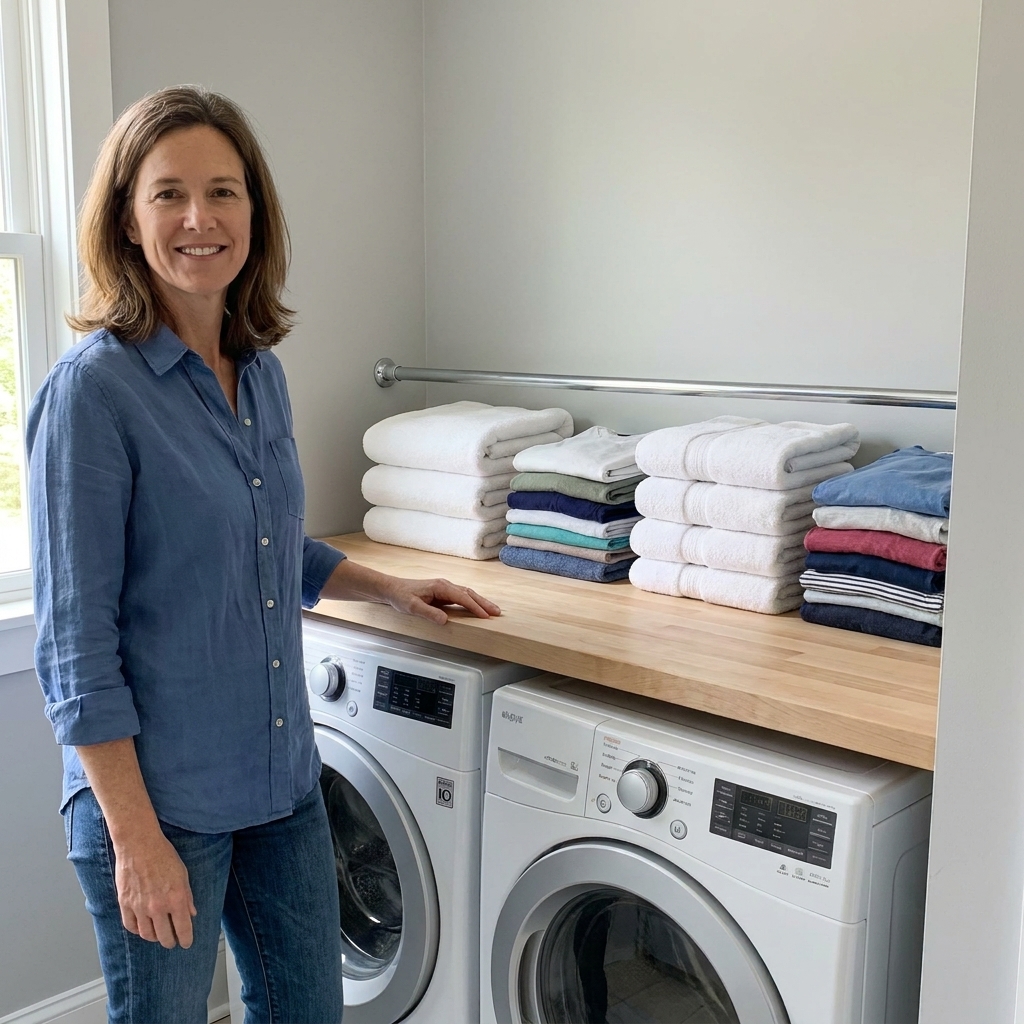
3) Backstop for a folding surface
If you fold on top of the washer or a narrow counter, stacks can drift, especially when you are bumping around with baskets. Add a tension rod across the back edge, about 1 to 2 inches above the surface. It acts like a guardrail that keeps clean stacks from falling behind machines.
- Place it far enough back that you can still wipe the surface.
- Use it to hang a small spray bottle or microfiber cloth with hooks.
4) Hang bottles without a caddy
This is the simplest “why did I not do this sooner” trick. Put a tension rod inside a cabinet, on a shelf niche, or between two side walls above your washer. Then hang spray bottles to get them off the shelf and easy to grab.
Do it the safer way
- Best method: Hang by the neck using an S-hook, a looped zip tie, or a small strap. This avoids stressing the trigger.
- If you hang by the trigger: Keep it to lightweight bottles only, and check them occasionally for cracking or slipping.
Where it works best
- Inside a utility cabinet
- Under a sink cabinet (above plumbing, if there is room)
- Between wire shelving uprights
If under-sink storage is your pain point, I have a full walkthrough here: organizing under your laundry utility sink.
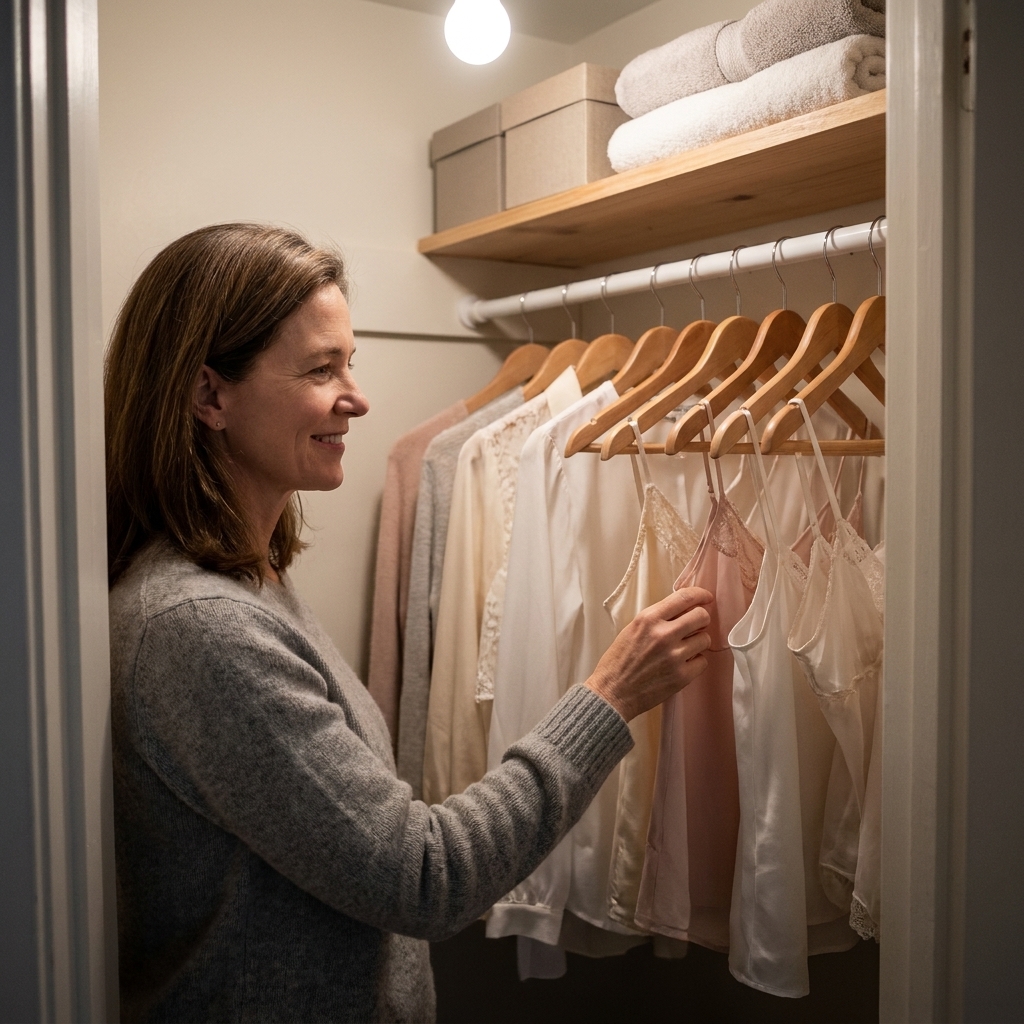
5) Second hanging level under a shelf
If you have one high shelf in a laundry closet, the space underneath is often wasted air. A tension rod placed under that shelf gives you a lower hanging zone for shirts that air dry, delicates, or “wear again” items.
Make it feel intentional
- Use matching hangers.
- Keep it to one category, like delicates only.
- Leave breathing room so items actually dry.
6) Basket parking rail
Baskets multiplying in the walkway is basically a law of physics in a family laundry zone. Place a tension rod low across a nook to create a basket parking spot, like a soft barrier that keeps bins from drifting forward.
- Works well in the gap between a side wall and the washer.
- Add felt pads to the rod ends if you are worried about scuffs.
- Keep paths clear. If a rod would cross a walkway, it is a trip hazard. Use this only in a true “dead space” where no one steps.
If your biggest issue is the awkward washer-dryer gap, this article has more tricks: genius storage for the gap between washer and dryer.
7) Temporary sorting lane
When my kids were smaller, the biggest bottleneck was sorting. A tension rod can help you create quick zones without building anything permanent.
Two easy options
- Hanging bags: Clip lightweight bags to hangers and hang them on the rod. Mentally assign zones, or add simple tags so everyone knows which is which.
- Clipped categories: Clip mesh laundry bags directly to the rod for socks, delicates, or swimwear.
If you are ready for a more permanent system that still feels family-proof, check out: built-in laundry sorting hamper system for families.
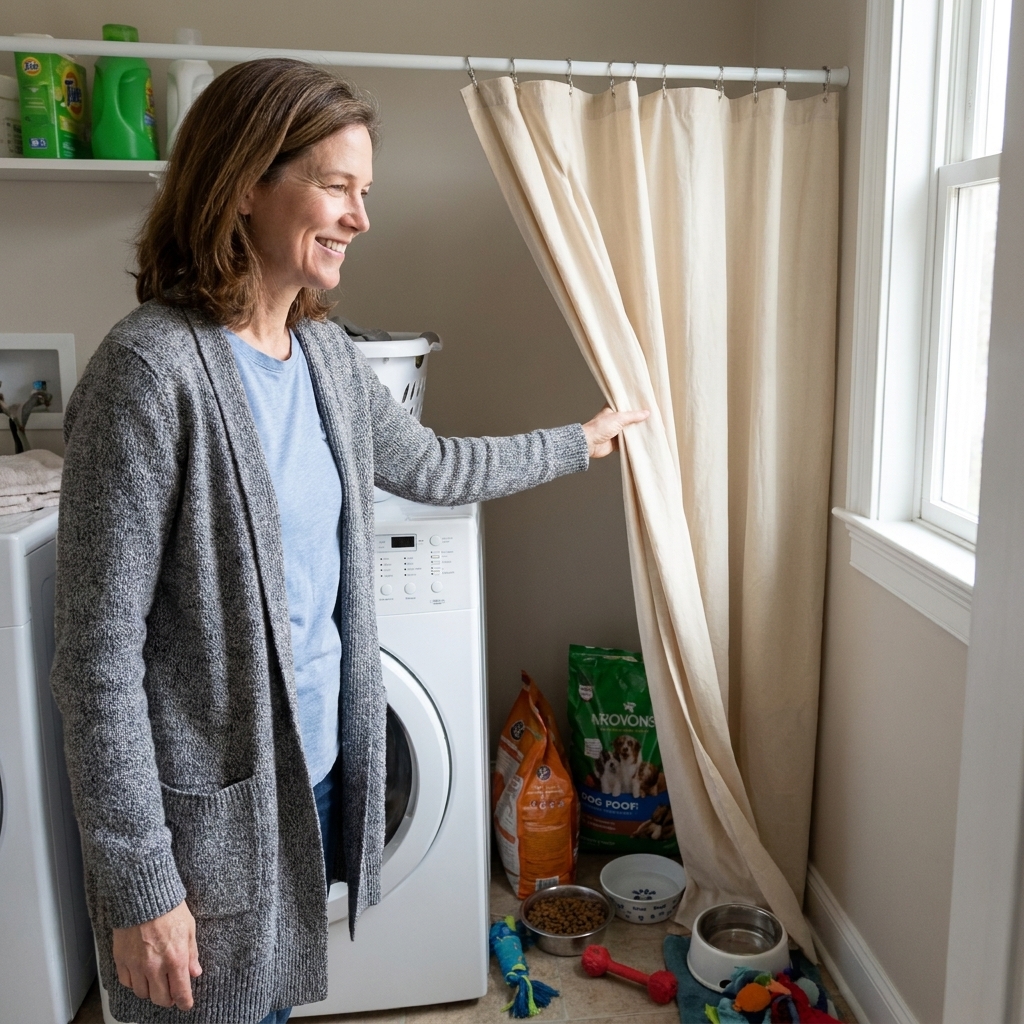
8) Curtain for pet supplies
Real life moment: sometimes the laundry room is also the pet zone. A tension rod plus a simple curtain can screen off a litter box, food bin, or pet towels without building a full enclosure.
Keep it practical
- Use a washable curtain you can toss in with towels.
- Leave an airflow gap at the bottom.
- Choose a rod with strong grips so it does not shift when you pull the curtain.
9) Light back-of-door drying rod
If your laundry closet has a door that closes, the back of it is valuable. You can sometimes place a short tension rod inside the door frame area, spanning from jamb to jamb, and use it for one or two hangers.
- Only if the jamb is solid and fairly parallel. Ornate trim and uneven casings can make rods slip.
- Keep loads very light. Think bras, a kids’ uniform top, or a spot-treated shirt.
- Test with movement. Open and close the door a few times before trusting it. Door vibration is what makes a “fine yesterday” rod fall today.
For more door-based storage ideas, see: back-of-door laundry closet storage ideas.
10) Curtain to calm open shelves
If your laundry shelves are always visible from the hallway or kitchen, a tension rod curtain is the fastest makeover you can do. It is not just about hiding mess. It is about making the whole home feel calmer because you are not staring at labels and plastic every time you walk by.
My favorite approach
- Declutter first, even for ten minutes.
- Group supplies in bins so the curtain is hiding organized categories, not random piles.
- Then add the curtain as the finishing move.
If you want to level up what is behind the curtain, this is a good companion read: decanting and organizing laundry supplies.
Quick safety checklist
- Clean the contact points. Dusty walls and glossy paint can make rods slide.
- Do not overload. If you can see the rod bow, remove weight.
- Avoid heat and moving parts. Keep rods away from dryer exhaust paths, hot surfaces, and anywhere they could hit a door, lid, or control panel.
- Use liners if needed. A small piece of rubber shelf liner between the rod end and the wall can boost grip.
- Watch humidity. In damp laundry corners, rods can slowly creep. A weekly quick check saves surprises.
Why I love tension rods
They are forgiving. You can try an idea on Saturday morning, live with it for a week, and adjust it in 30 seconds. In a busy family laundry space, that kind of flexibility is worth its weight in unmatched socks.
If you are in full budget makeover mode, you might also like: 15 dollar store organization hacks for a budget laundry makeover.