The first time I tried to “make over” my laundry space, I had big dreams and a very tiny budget. Picture a dark hallway closet, one flickering bulb, and three kids generating laundry like it was their job. I learned quickly that you do not need a full renovation to get a laundry room that feels calm. You need a plan, a hard stop at $100, and the kind of upgrades that pull their weight every single day.
This is my complete, itemized action plan for stretching $100 across the three things that change a laundry room the fastest: clean, paint, and contain the chaos.
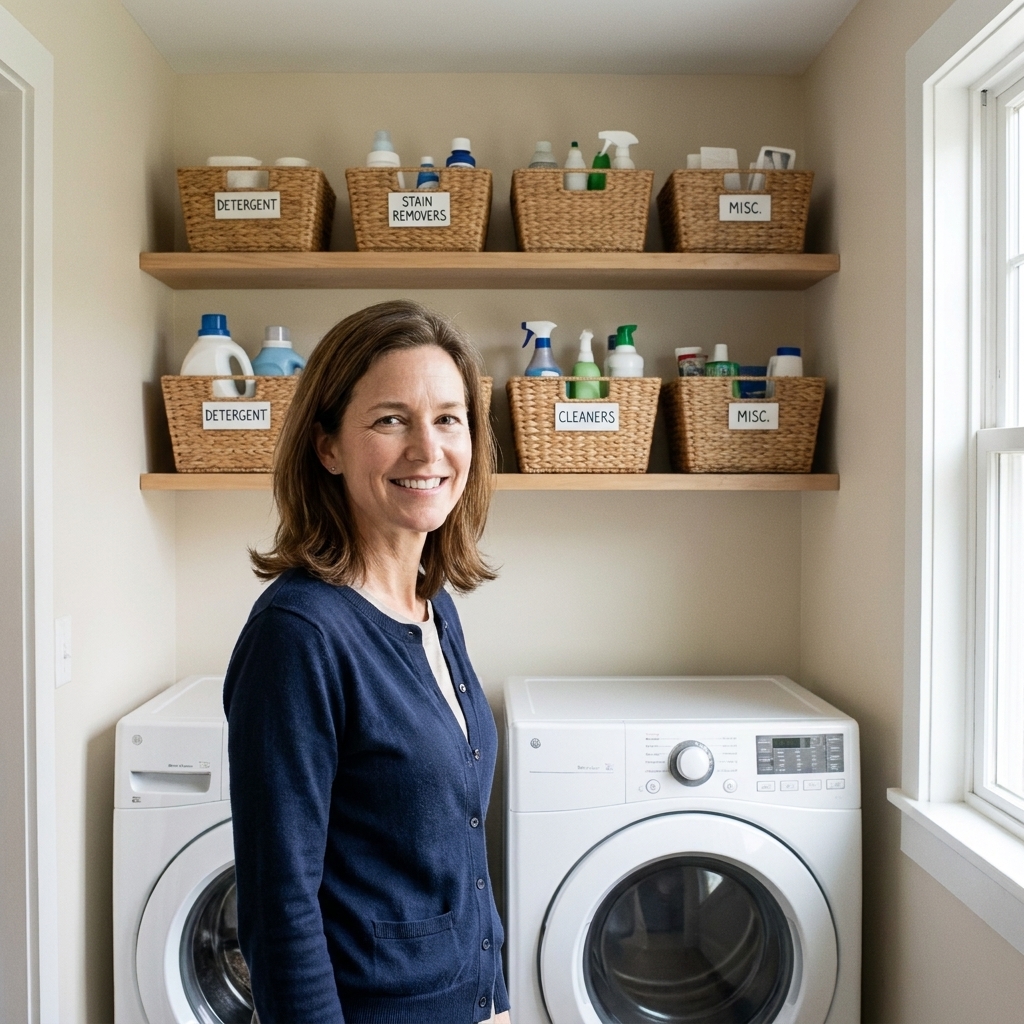
Before you spend: the 20-minute reset
This is the part everyone wants to skip. This is also the part that makes your $100 makeover look like you spent $500.
Set a timer and do it in this order
- Clear every surface. Tops of machines, shelves, window sills, floor.
- Trash and recycling first. Empty bottles, shipping boxes, random hangers, mystery lids.
- Relocate the “homeless” items. If it is not laundry-related, it leaves the room now.
- Wipe the gross zones. Door handles, detergent drips, linty corners, baseboards, the washer gasket, and behind the machines if you can reach.
- Do one load. Not because you are behind, but because it clears the hamper and gives you momentum.
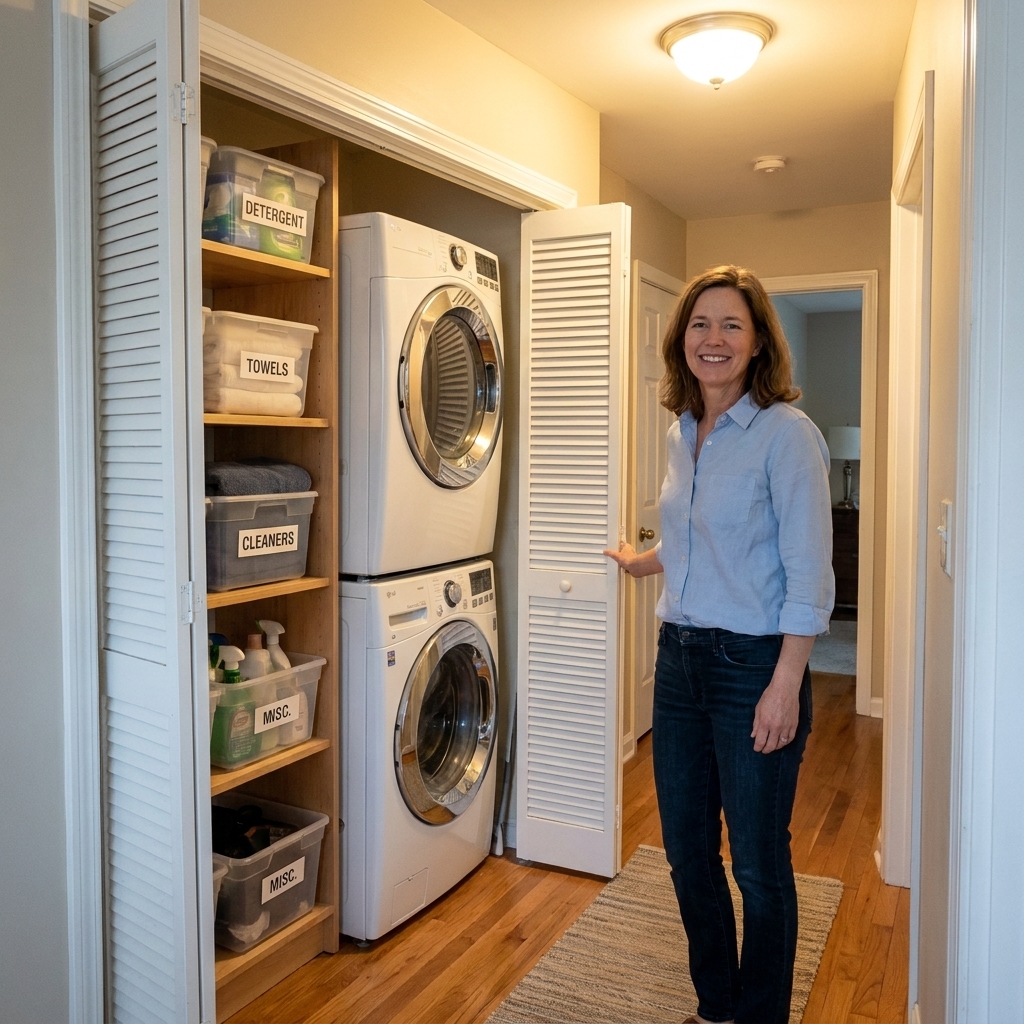
If your space is a closet, this pairs beautifully with small-space strategies in Maximizing Storage in a Tiny Bi-Fold Laundry Closet.
Measure first (save money later)
Quick but important: before you buy bins, hooks, or a caddy, measure your shelf width and depth (and the clearance above your machines, if you store anything there). This one step prevents the classic “why does nothing fit” spiral and the return pile in your trunk.
The $100 budget: itemized list
I am going to be straight with you. Prices vary wildly by region and by what you already own. So I built this as a flexible plan with a firm total. If you already have one or two of these items at home, roll that money into better storage.
Target total: $100
| Category | What you buy | Budget | Why it matters |
|---|---|---|---|
| Paint refresh | One gallon of paint (light neutral), plus a basic roller cover | $35 to $50 | Paint is the biggest visual change per dollar. Shopping sales or value lines helps keep this realistic. |
| Cleaning and prep | Degreaser or all-purpose cleaner, melamine sponge (Magic Eraser-style), microfiber cloths | $10 | Paint sticks better on clean walls, especially where detergent residue builds up. |
| Organization core | Two baskets or bins for everyday supplies (shelf or machine-top) | $16 to $24 | Open storage looks tidy when it is contained. |
| Small-item control | One small caddy or handled bin for stain tools and measuring scoops | $8 | Prevents the “pile of little stuff” problem. |
| Hooks | Adhesive hooks or a small hook strip | $8 | Gets bags, hang-dry items, and the lint brush off surfaces. |
| Hangers (optional) | A small pack of matching hangers for air-dry items | $5 | Makes the space feel intentional and keeps drippy items contained. |
| Labels (optional but powerful) | One roll of painter’s tape used as temporary labels, plus a marker | $3 | Instant order without buying a label maker. |
| Light upgrade (choose one) | Bright LED bulb (daylight tone) | $10 | Lighting makes paint and organization actually look good. |
| Contingency | Extra cushion | $0 to $10 | Because something always costs more than you think. |
Total: Aim for $100 (shift the ranges based on your local prices and what you already own).
If you are shopping ultra-budget, grab ideas from 15 Dollar Store Organization Hacks for a Budget Laundry Makeover and substitute where it makes sense.
The action plan (in order)
This is the sequence I follow when I need fast results and a room that stays functional while I work.
Step 1: Clean for paint and peace (30 to 60 minutes)
- Degrease first. Laundry rooms get a sneaky film from detergents and dryer sheets. Paint and sticky hooks both hate that.
- Lint sweep. Hit baseboards, behind the dryer, and any vent cover you can access.
- Wipe shelves and doors. Especially around knobs and edges.
If you have a compact closet setup, keep airflow in mind. I have a full safety and clearance rundown in Airflow and Dryer Vent Clearance in Ultra-Compact Laundry Closets.
Step 2: Minimum paint prep (10 to 25 minutes)
This is the “do not regret it later” part. You do not need perfection, but you do need a little prep if you want paint to behave.
- Scuff glossy spots. If your walls, trim, or shelves are shiny or slick, do a quick light scuff sand so new paint can grip.
- Dust after sanding. Wipe down again so you are not painting over powder.
- Prime only when it is needed. Think stains, water marks, very dark colors, or anything that keeps bleeding through. Otherwise, skip it and keep your budget intact.
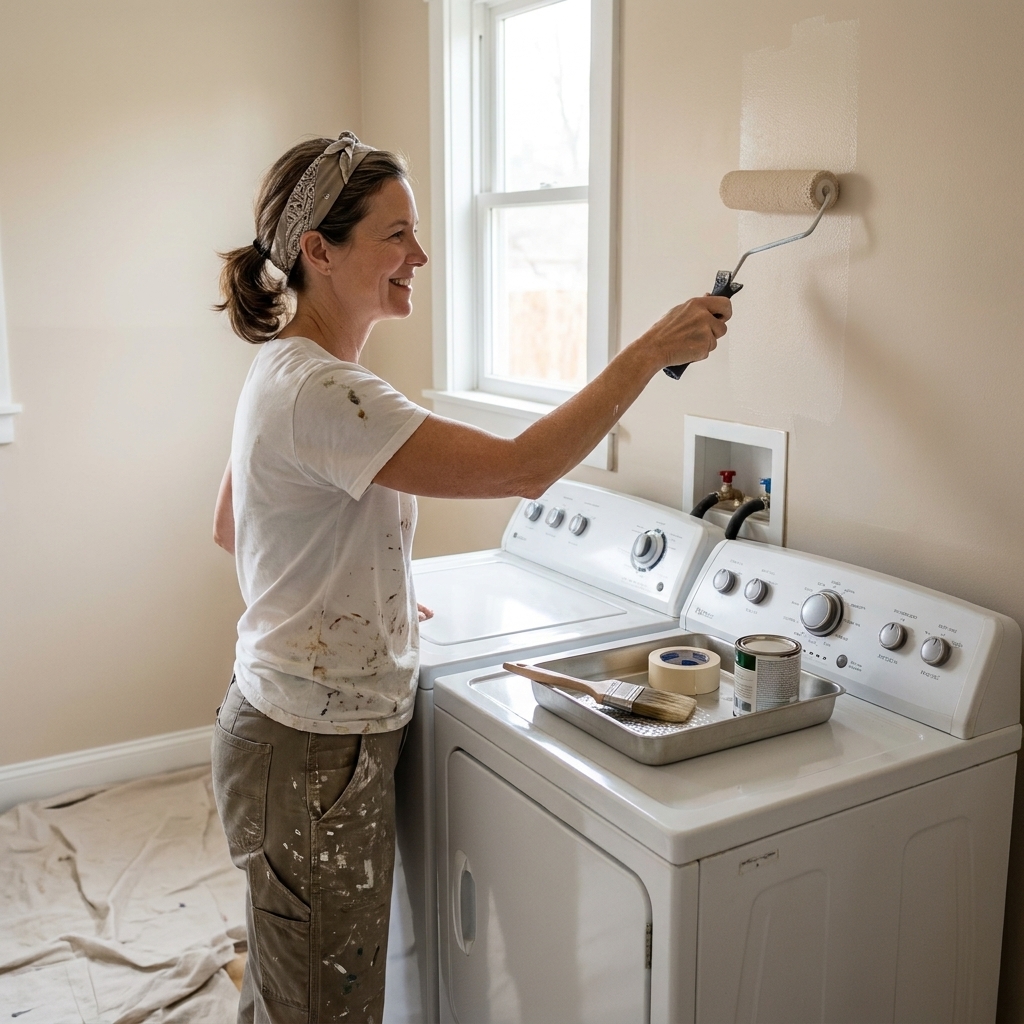
Step 3: Paint the highest-impact surfaces (2 to 4 hours)
With $100, you are not repainting the entire house. In a laundry room, paint the surfaces your eyes hit first.
- Best ROI: back wall behind machines, side walls in a closet, and any dingy shelf supports.
- Skip if needed: trim perfection. A clean edge is great, but a bright wall is what changes the mood.
My mom-of-three shortcut: Pull the machines out only as far as you can safely manage and paint what you can reach.
Safety note: Unplug appliances before you shift them, and if you have a gas dryer, do not tug it forward if you are not confident about the connection. Do not kink the vent hose, and ask for help if the machines are heavy or the space is tight.
Step 4: Fix the drop zone (20 minutes)
Most laundry spaces fail because there is nowhere to put the in-between stuff: socks that lost their mate, stain spray, loose change, kids’ pocket treasures.
- Place one handled caddy on a shelf or the top of the machine for stain tools and measuring scoops.
- Add one “inbox” basket for items that need to leave the room (missing-button shirts, things to mend, stray toys).
This one move stops the flat surfaces from turning into a permanent junk shelf.
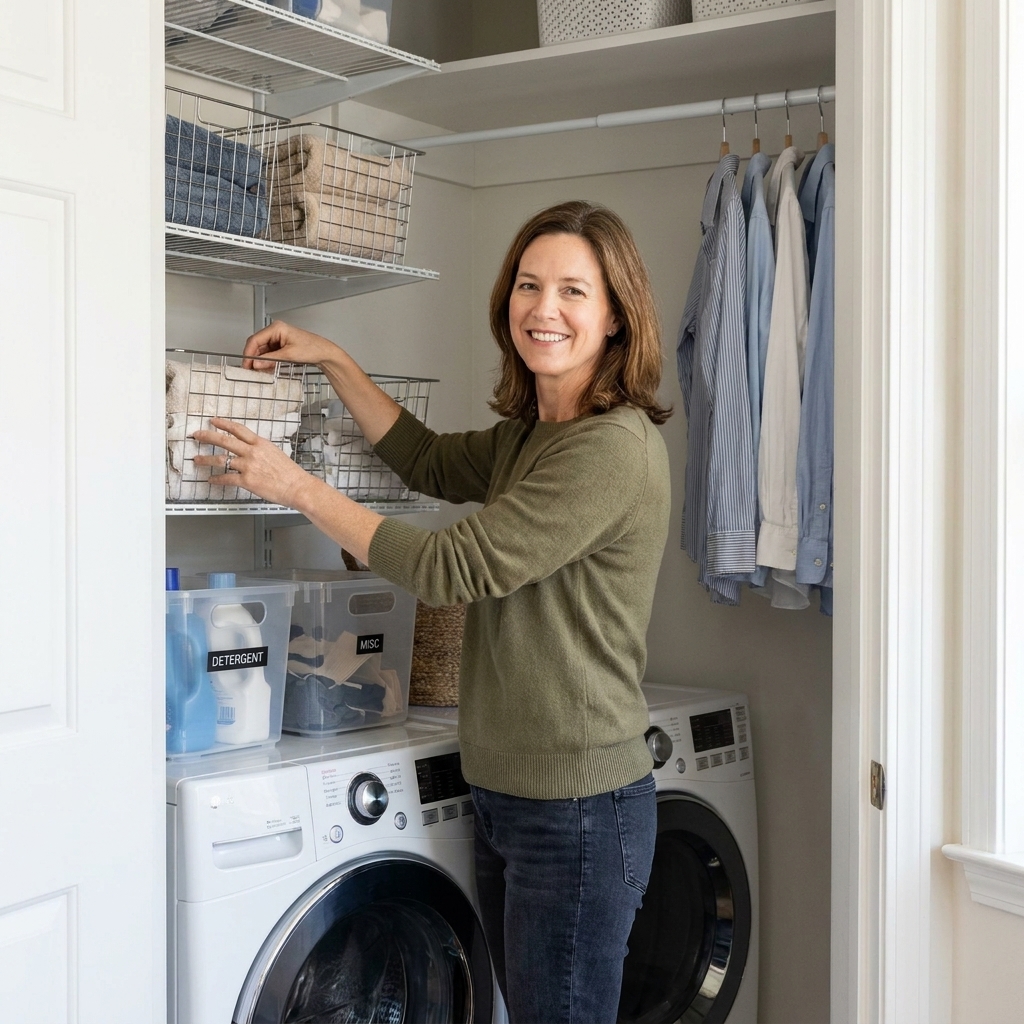
Step 5: Contain supplies so it looks calm (30 minutes)
Open shelves look cute online because everything is grouped. You can get that same effect with two matching bins.
- Bin 1: daily laundry (detergent, boosters, stain spray).
- Bin 2: backups and accessories (wipes, microfiber cloths, extra sponges, dryer balls, clothespins).
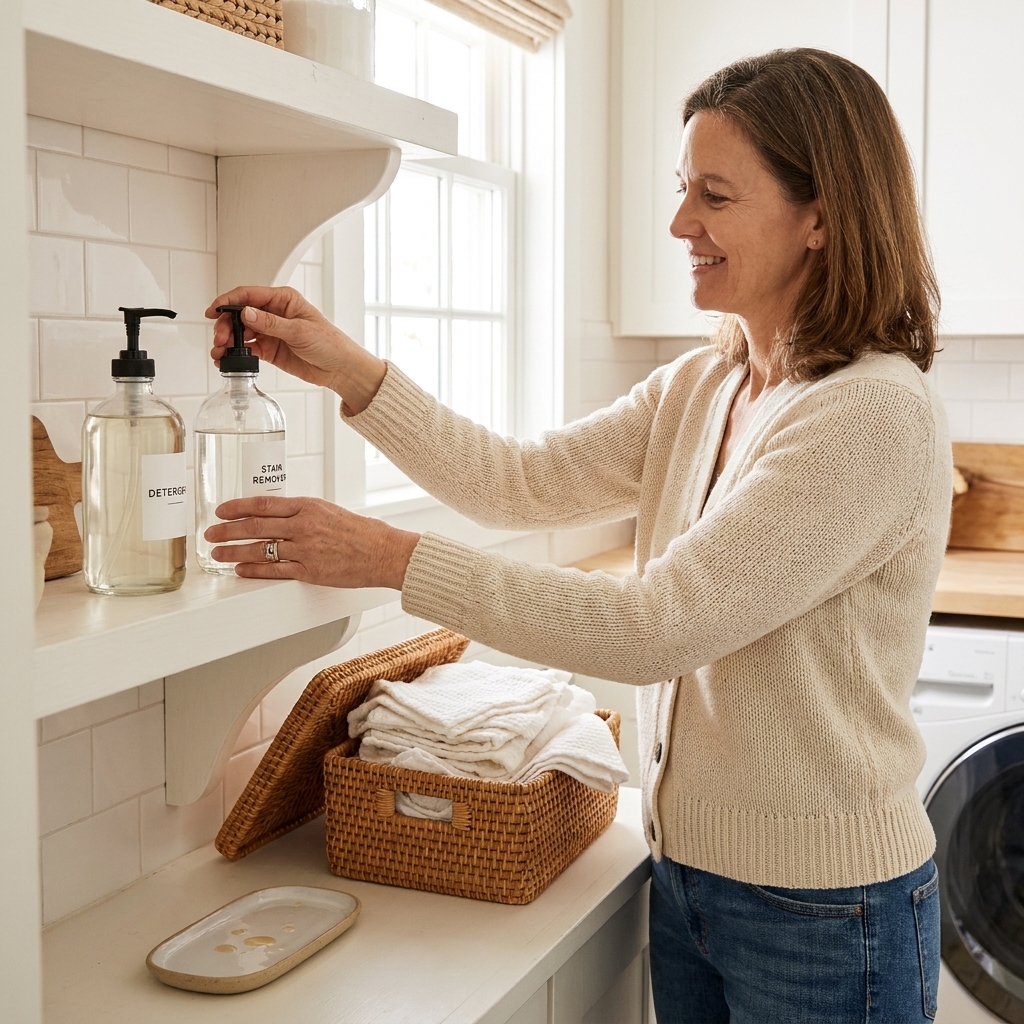
If you want the “pretty but practical” version of this, see Decanting and Organizing Laundry Supplies. Even if you do not decant, the grouping method is gold.
Step 6: Add hooks where hands reach (10 minutes)
Hooks are a tiny purchase with huge payoff. Just be picky about placement and limits.
- Hang a mesh bag for delicates.
- Hang a lint brush.
- Hang a clothespin bag or small drying rack.
- Hang the “wear again” hoodie that never makes it to a hanger.
Two quick realities: Check the weight rating, and stick hooks to clean, smooth surfaces. Some adhesives fail on dusty texture or high humidity, and some can pull paint when removed.
If your laundry is tucked behind doors, you will love Back-of-Door Laundry Closet Storage Ideas for extra hook and pocket storage options.
Step 7: Swap one bulb (5 minutes)
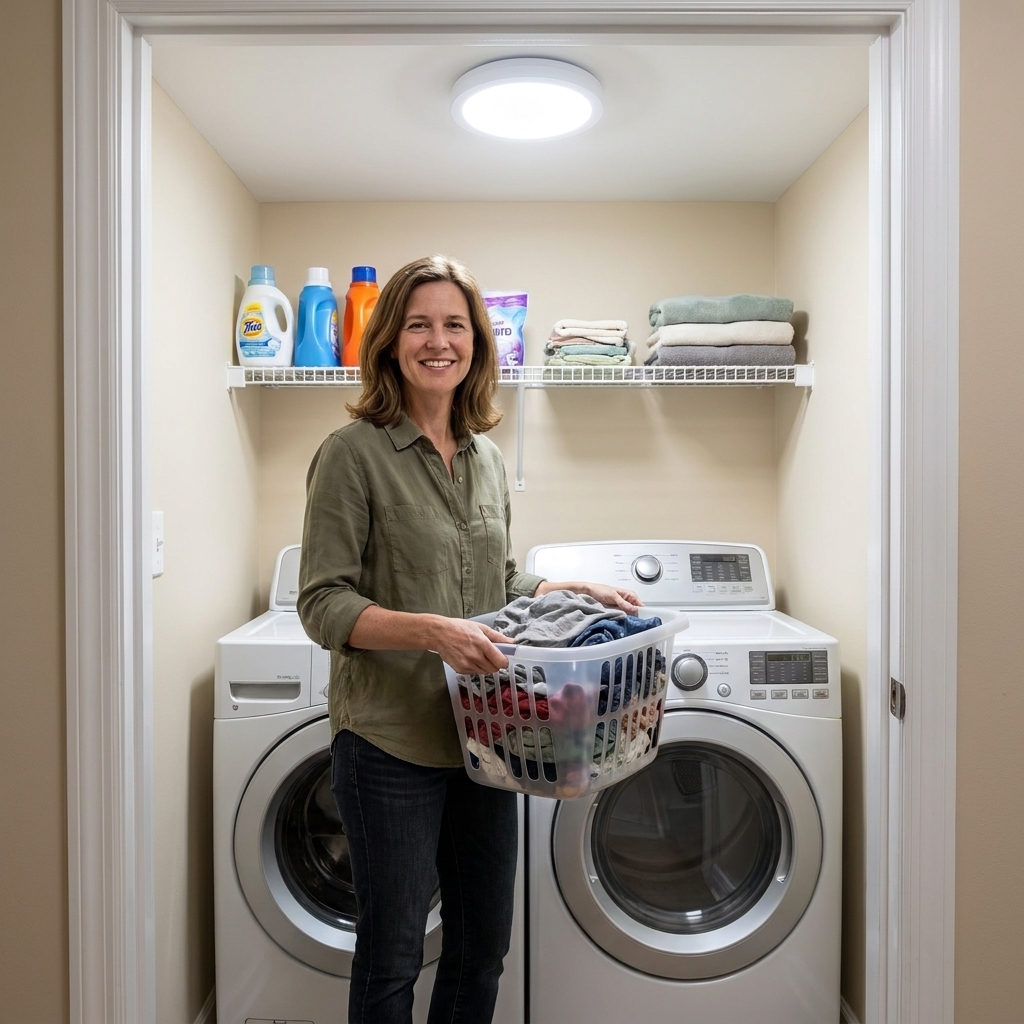
A bright daylight LED bulb makes clean walls look cleaner and helps you actually see stains before they bake in the dryer. For dark closets, I also share practical options in Lighting Upgrades for Dark Laundry Closets.
Two sample $100 plans
Not every laundry room needs the same thing. Here are two ways I would allocate the same $100 depending on the pain point.
Plan A: Dingy refresh
- Paint + roller: $40 to $55
- Cleaning prep: $10
- Two bins: $18 to $24
- Handled caddy: $8
- LED bulb: $10
- Adhesive hooks: $8
- Total: about $94 to $115 (if paint runs high, skip hangers or reduce bin spend)
Plan B: Clean but chaotic
- Cleaning prep: $12
- Three bins (two large, one medium): $28 to $35
- Two small organizers or narrow bins for pods and tools: $14
- Hook strip: $10
- Paint for one wall or touch-ups: $20 to $30
- LED bulb: $10
- Total: about $94 to $111 (shift amounts based on local pricing)
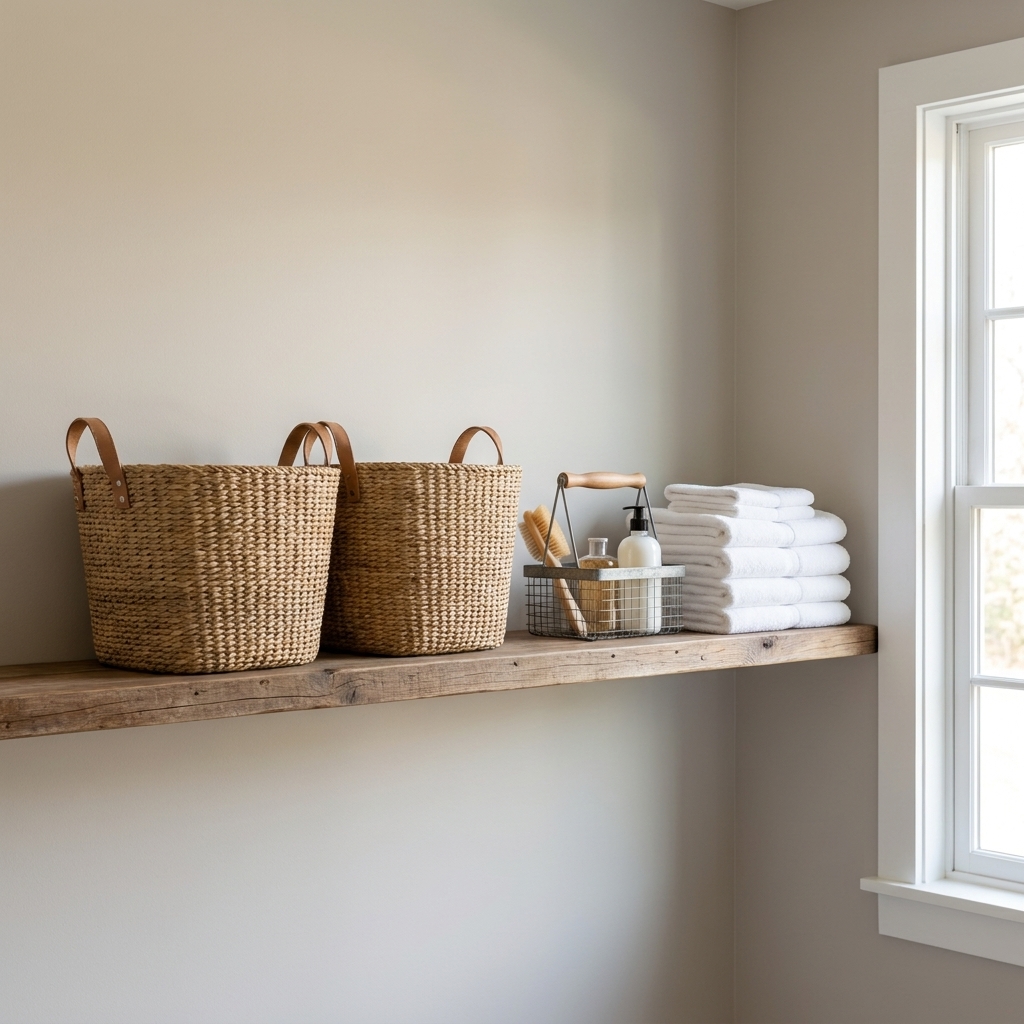
Make it look expensive (cheap tricks)
- Use matching hangers for anything you air-dry. Even five matching hangers make the space feel intentional.
- Hide the visual noise. Turn busy labels to the back inside your bins.
- Keep one surface empty. One clear spot, even if it is just half the machine top, makes the whole room feel bigger.
- Use painter’s tape labels. It is not forever, but it stops family members from “helping” things into random places.
If your laundry area is basically a nook, you might also like the real-life tradeoffs in Peel-and-Stick Wallpaper vs Paint for a Tiny Laundry Nook.
Weekend timeline
Friday night (30 minutes)
- Clear surfaces and do the 20-minute reset.
- Wipe walls and shelves so they can dry overnight.
Saturday (2 to 6 hours, flexible)
- Paint first (with windows open if you can).
- While paint dries, wash bins and sort supplies into “daily” and “backup.”
- Install hooks after paint is fully dry to the touch.
Sunday (30 to 60 minutes)
- Put everything back in its new home.
- Label quickly with tape.
- Do one load start to finish to test the flow.
My under-$100 rules
- Do not buy containers until you purge. You will always buy too many if you shop first.
- Measure before you buy. Shelf depth is the silent budget killer.
- Buy fewer, better bins. Two bins that fit your shelf beat six random ones that fight each other.
- Prioritize function over trends. A gorgeous glass jar does nothing if it is annoying to use with wet hands.
- Stop at the pain point. If the room is messy because there is no place for stain supplies, fix that before you buy decor.
FAQ
Can I really paint a laundry room for $100?
Yes, if you keep it to the highest-impact walls and you do the prep yourself. Paint is the biggest single cost, and in some areas a gallon will be closer to $50 than $35. Keep the plan simple, shop sales if you can, and skip extras that do not change daily function.
What if I cannot paint (rental or rules)?
Put that paint money into storage and lighting. Hooks, bins, and a bright bulb can still completely change the feel of the space. You can also consider curtains as a reversible “soft wall” moment if your laundry is exposed. I walk through the pros and cons in Swap Laundry Closet Doors for Curtains.
Where should I spend the most money?
Paint or storage, depending on what makes your room feel bad right now. If it looks gloomy, paint first. If it is always cluttered, buy fewer, sturdier bins and a caddy.
What is the fastest upgrade with the biggest payoff?
A bright bulb plus contained storage. If you can do one thing today, put daily supplies into one bin and small tools into one caddy. Your counters (and brain) will feel the difference immediately.
One last mom tip
If your laundry room only stays tidy for three days, that is not failure. That is feedback. The fix is almost always one of these: you need a bin where the clutter lands, you need hooks where hands reach, or you need to store daily supplies at eye level. Make one tiny tweak at a time, and your $100 makeover will start acting like a system, not just a pretty moment.
For more budget-friendly upgrades like this, browse the full Budget Makeovers collection.