I have a tiny confession: I keep leftover paint like it is a pantry staple. A half-can of warm white, a cup of navy trim paint, that one cheerful green I swore I would use again. And honestly, in a laundry nook, leftover paint is one of the fastest ways to make the space feel intentional without spending a dime.
If your laundry area is more “hallway closet” than “Pinterest room,” these are my favorite free projects that add color in small, high-impact ways. You do not need to repaint the whole room. You just need a few strategic pops where your eyes land.
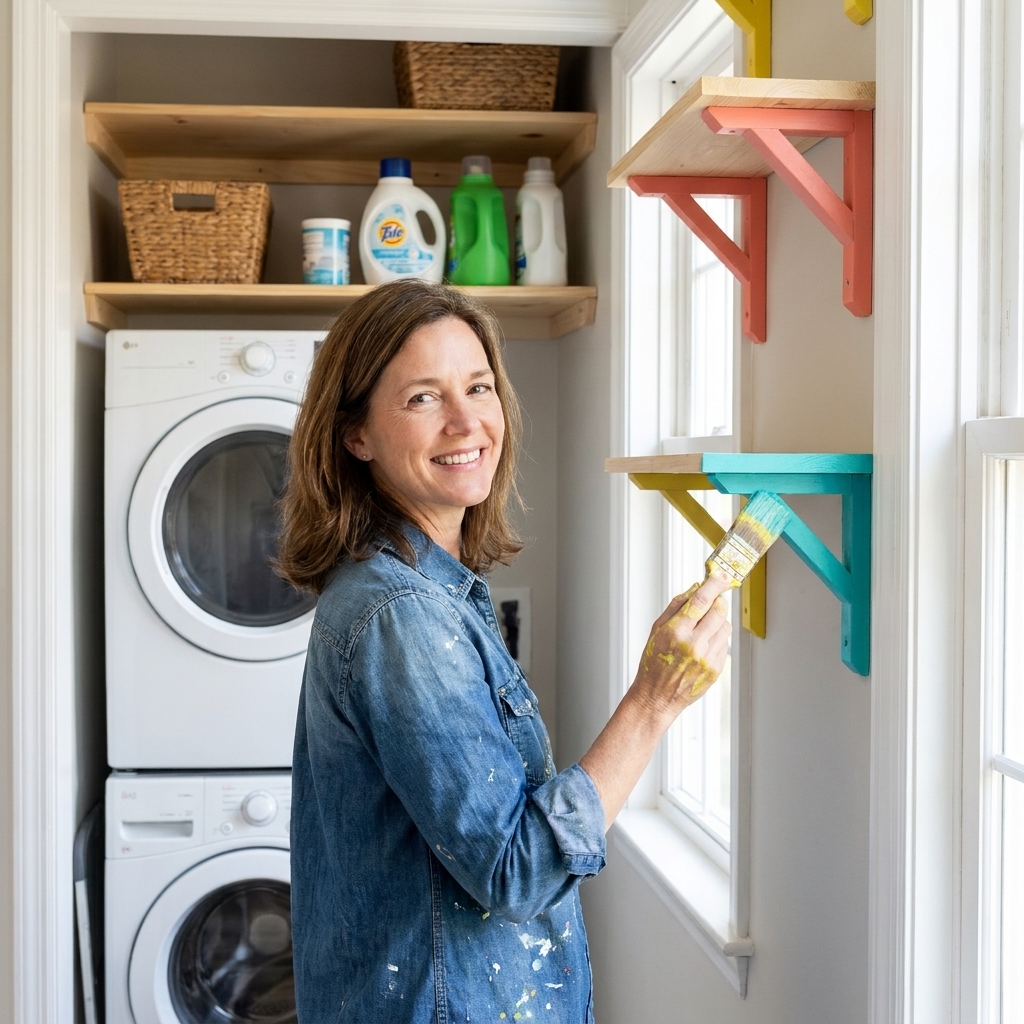
Before you start: leftover paint check
Leftover paint can be perfect, but only if it is still usable. Here is my quick checklist before I let a brush anywhere near my laundry nook.
- Stir and sniff. Paint should smell like paint. A sour or rotten smell can be a sign it has gone bad. If it will not stir smooth, or you see fuzzy mold, toss it.
- Look for separation and skin. A little liquid on top is normal and usually stirs back in. A thick rubbery skin throughout, clumps that stay clumpy, or mystery chunks are a no.
- Confirm the finish. Trim paint is usually satin or semi-gloss and holds up beautifully in laundry zones. Flat wall paint can work for low-touch spots, but if you have eggshell or satin on hand, it tends to handle scuffs and humidity better.
- Do a test swipe. Paint a little on cardboard and let it dry. The dry color is what matters, not what it looks like wet.
- Clean matters more than you think. Laundry nooks collect dust and detergent film. Wipe first with warm water and a drop of dish soap, then rinse and let dry.
How much paint do you really need? A cup of paint goes surprisingly far. It is usually plenty for shelf brackets, a color block, trim accents, and a small touch-up zone. Doors and floors take more, but even then you can often do just the inside face or a “rug” sized rectangle and stay within leftover territory.
If you are already planning a bigger refresh, I walk through cabinet painting basics (and the prep that keeps paint from peeling) in Painting Builder-Grade Laundry Cabinets. The same prep rules apply to doors, shelves, and trim.
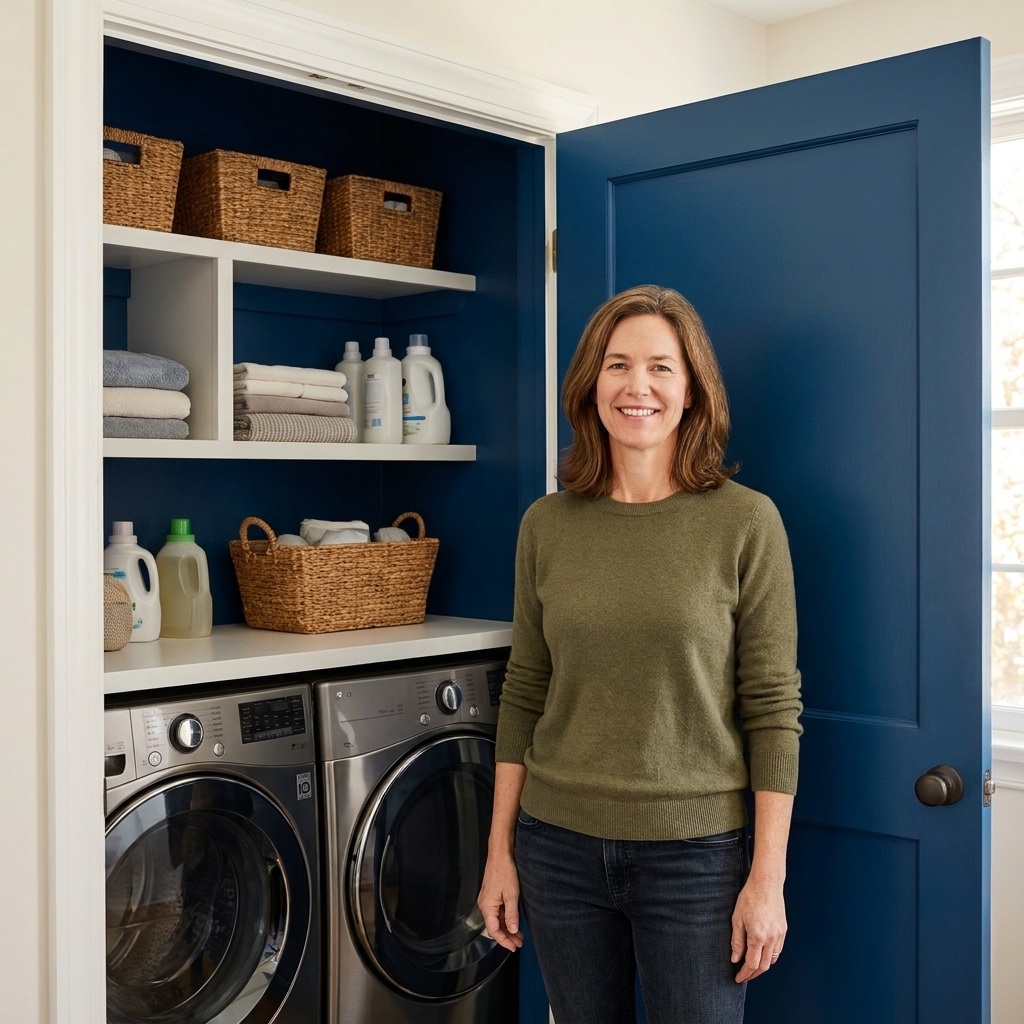
1) Paint the laundry door
If you do just one project, do this one. A painted door reads like a design choice, even if the rest of your laundry nook is practical and plain.
Time + tools: 60 to 90 minutes plus dry time, small foam roller, angled brush, painter’s tape.
Where it works best
- Hollow-core doors
- Bi-fold doors
- Utility room swing doors
- A door that always sits open and you see from the hallway
How I do it (fast but durable)
- Degloss. Lightly scuff with fine sandpaper or use a deglosser. Doors get touched constantly, so this step is worth it. If your door is slick laminate, glossy factory paint, or previously oil-painted, take the scuffing step seriously and consider a bonding primer if you already own one.
- Spot prime if needed. If your door is glossy, stained, or you are covering knots, prime the high-traffic sections (around the knob and edges). Primer is not “mandatory for every door,” but it is often the difference between paint that sticks and paint that chips.
- Paint the edges first. Then use a small foam roller for the flats and a brush for panels.
- Two thin coats. Thin coats beat one thick coat every time.
Free color-pop idea: If you only have a small amount of bold paint, paint just the inside face of the door or the door trim. You still get that “oh, cute!” moment when the nook is open.
2) Stencil a mini “rug” on the floor
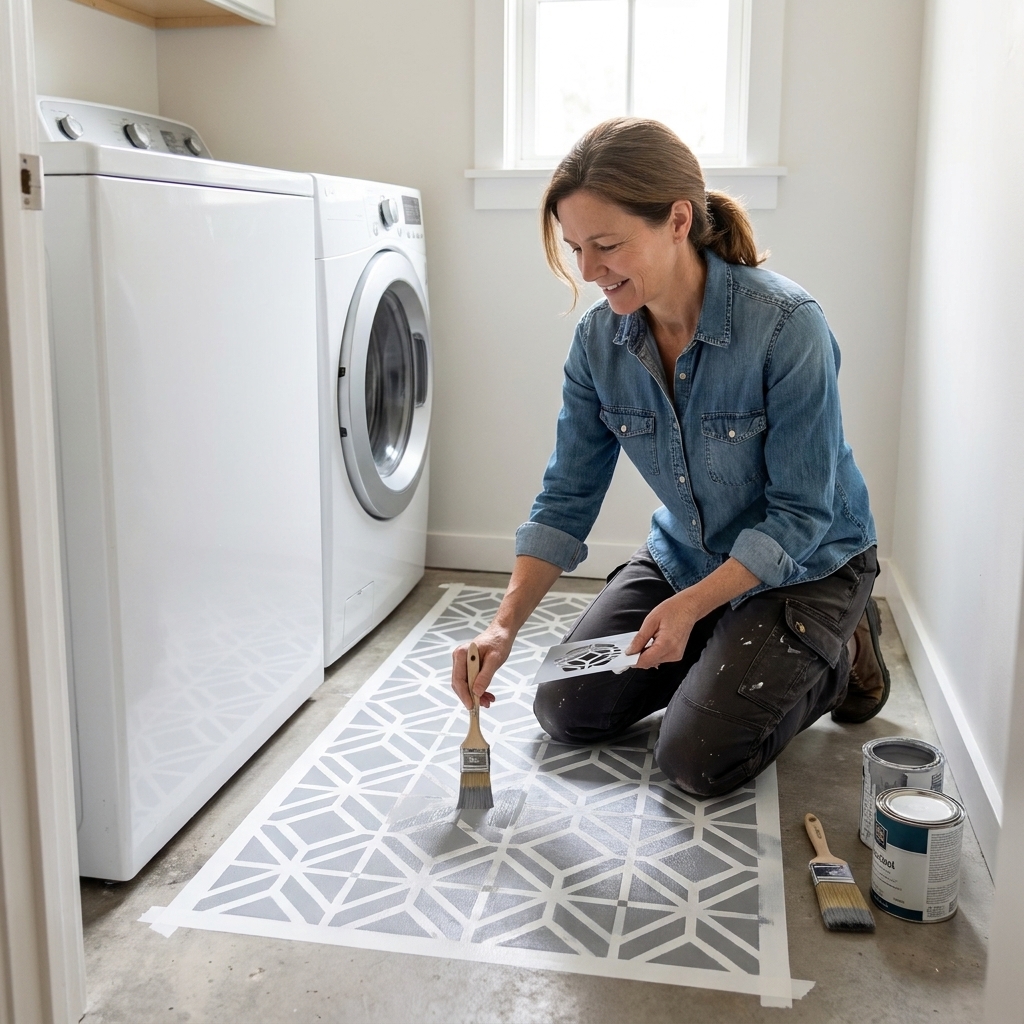
Real talk: laundry floors take a beating. A stenciled floor can give you a cozy rug look right where you stand to sort and fold, and you can do it with leftover paint you already own. You just need to be picky about the surface.
Time + tools: 1 to 2 hours plus dry time, painter’s tape, stencil, small foam roller or stencil brush.
When this is most likely to last
- Best surfaces: Concrete, previously painted floors, or wood subfloor that is already sealed and stable.
- Proceed with caution: Vinyl, laminate, and slick tile. Wall paint can peel on these without the right prep. If this is your floor, do a small test patch in a hidden spot first. A bonding primer and a tougher floor-rated topcoat help a lot if you already have them on hand.
My low-stress method
- Clean the floor extremely well. Any lint or detergent residue will mess with adhesion.
- Lightly scuff if the surface allows. A gentle scuff gives paint something to grab. Skip this if you would damage the floor finish.
- Use painter’s tape to frame a rectangle. This becomes your “rug.”
- Base coat (optional). If your floor is busy, paint a solid base color first. Let it dry fully.
- Stencil with a nearly-dry brush or foam roller. Less paint prevents bleed and reduces raised edges.
- Seal if you have something compatible. A couple thin coats of a water-based clear coat can add durability on many hard surfaces, but not every clear finish plays nicely over every paint or every floor. Follow the product directions and test a small area first, especially on vinyl or laminate.
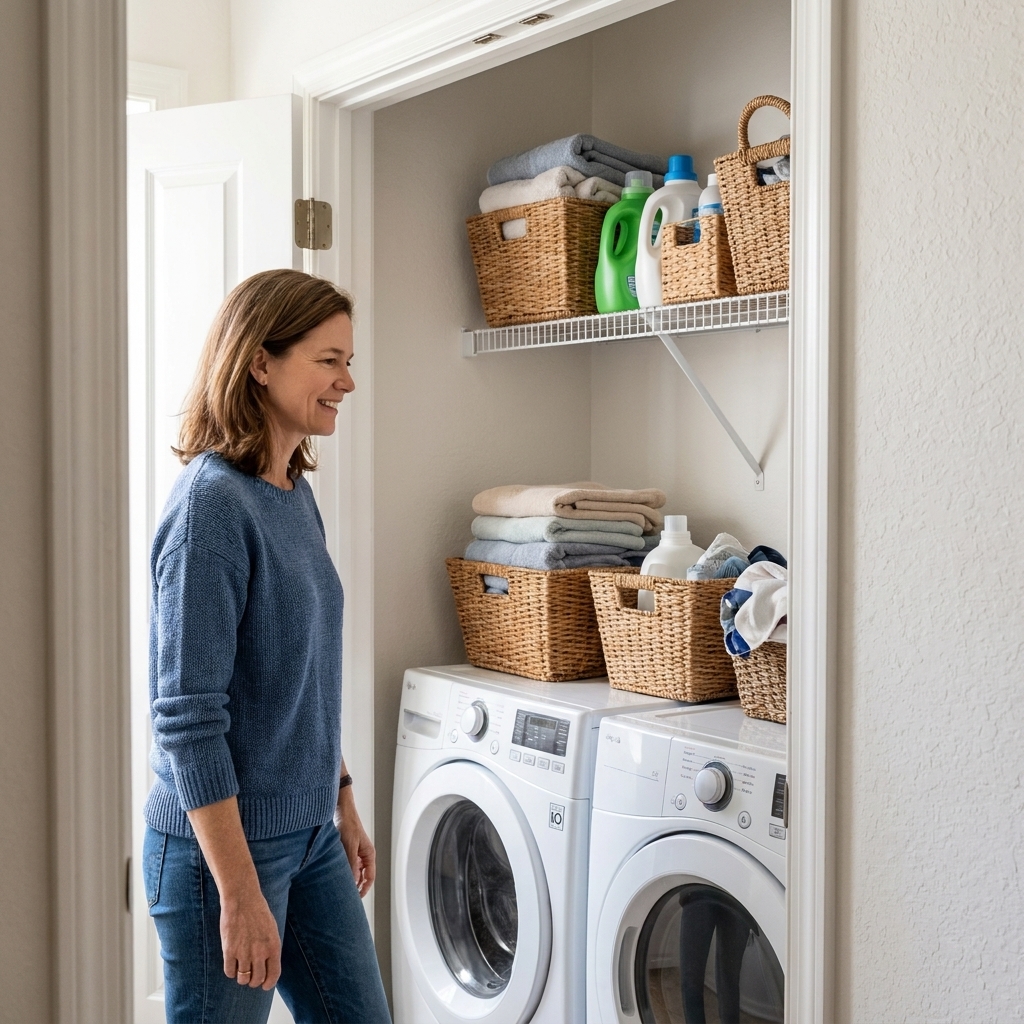
Tip from my own hallway closet laundry: Choose a stencil scale that matches your space. Tiny nooks do better with smaller patterns. Big patterns can feel crowded fast.
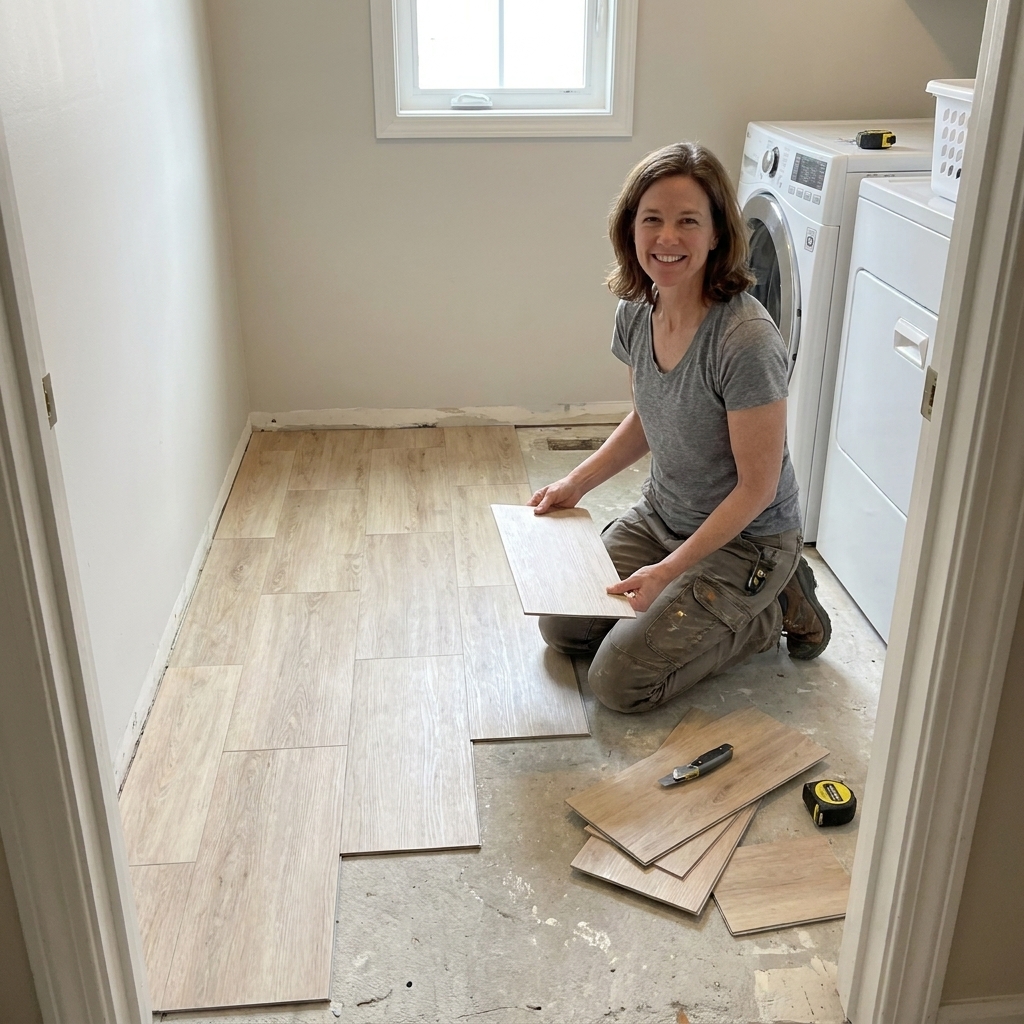
If your floor itself needs a budget makeover, you might also like Peel-and-Stick Vinyl Tile for Laundry Room Floors.
3) Paint shelf brackets
This is my favorite “I only have a cup of paint left” project. Shelf brackets are basically built-in decor, and painting them is quick, tidy, and high impact.
Time + tools: 30 to 60 minutes, small brush or foam roller, mild degreaser or dish soap.
Where the color looks best
- Brackets only: Crisp and graphic, especially with white shelves.
- Underside of the shelf: Subtle surprise color when you walk into the nook.
- Shelf edges: A thin painted line that reads custom.
Material notes (so it stays put)
- Metal brackets: Clean well (they can have an oily factory film), rinse, dry, and scuff lightly. If you have a bonding primer already, this is a great place to use it. If you do not, the paint can still work, just expect faster wear and plan on touch-ups.
- Plastic brackets: These are the most likely to chip. A careful scuff and a bonding primer helps a lot if you have one.
- Wood brackets: Easy win. Just clean, scuff, and paint.
How to make it look intentional
- Pick one accent color and repeat it at least twice (brackets plus a door, or brackets plus a small bin).
- Use a small foam roller for a smooth finish on flat bracket faces.
- Let each coat dry fully before you flip or reinstall anything. Laundry humidity can slow drying.
If your shelves are wire, you do not have to replace them to make them prettier. I have ideas here: Camouflage Wire Laundry Shelves (No Replacement Needed).
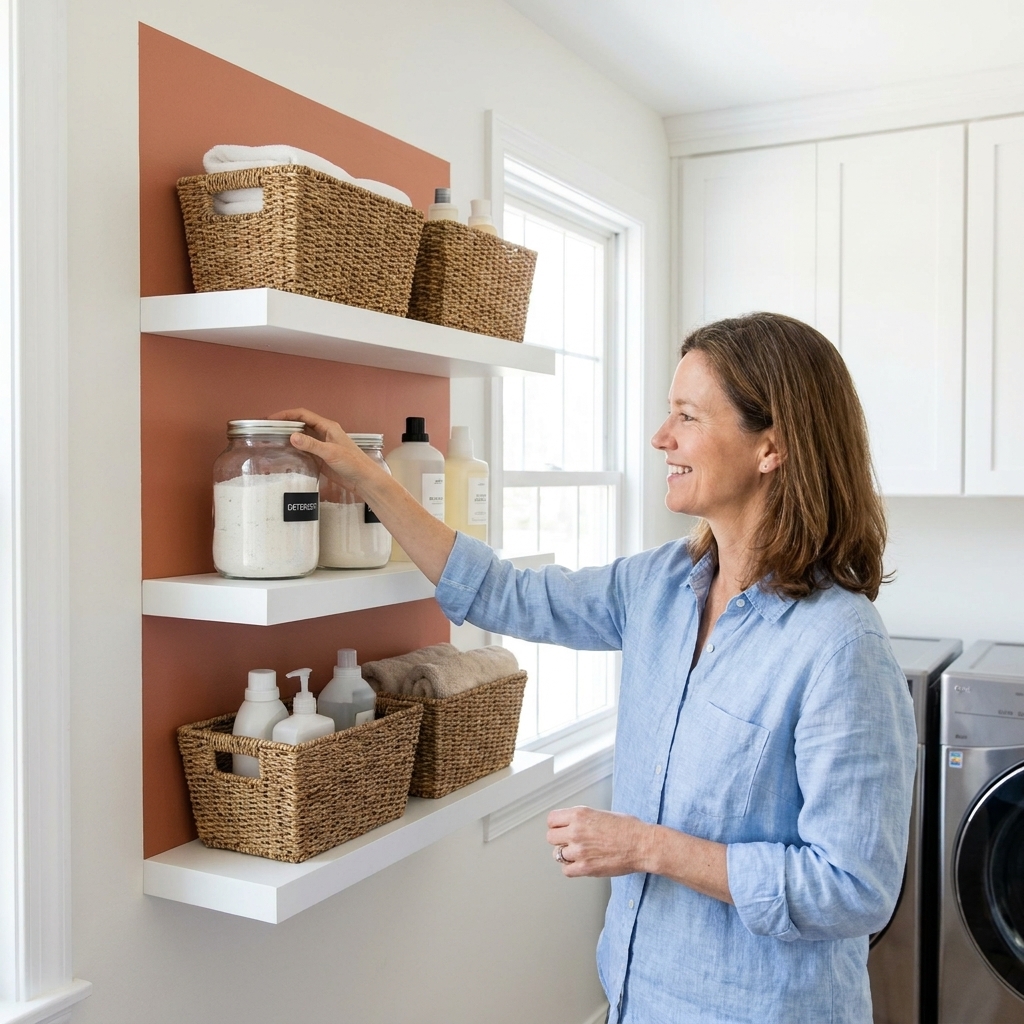
4) Paint a panel behind shelves
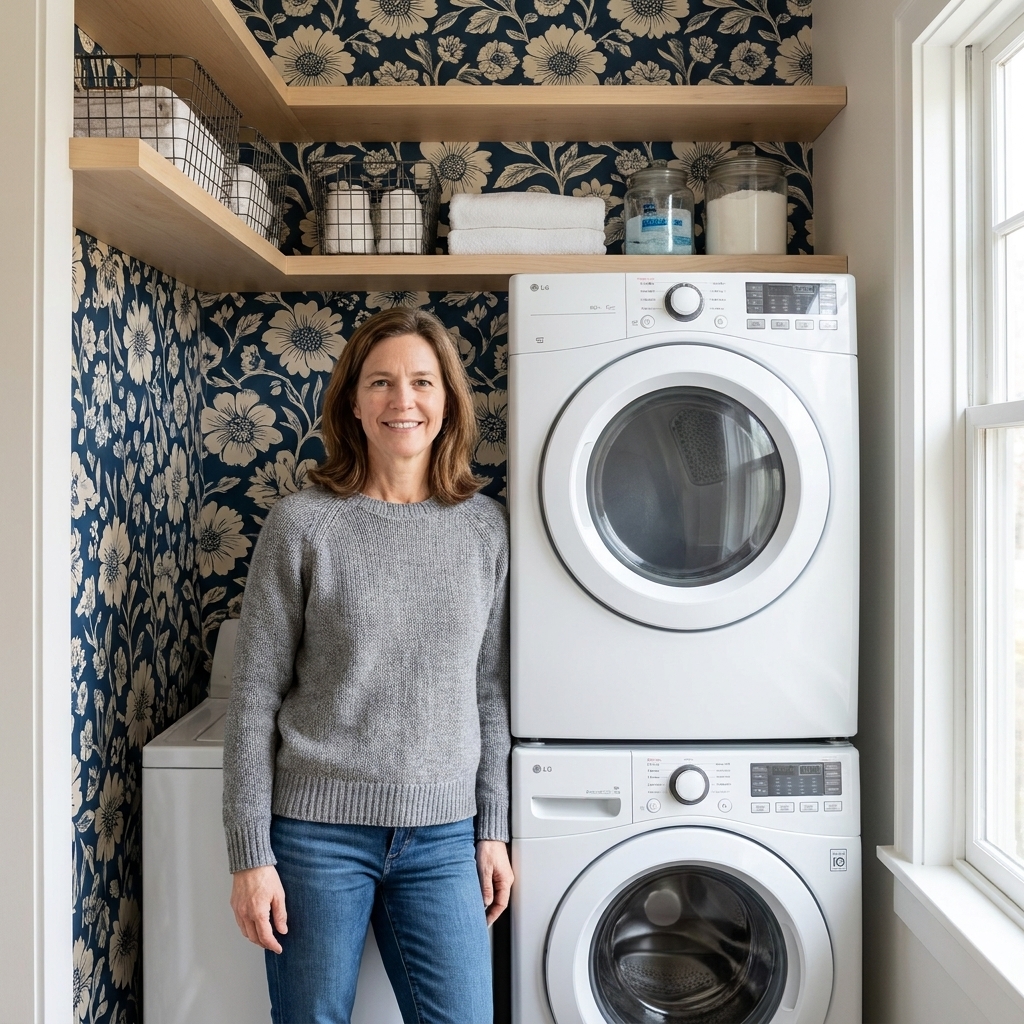
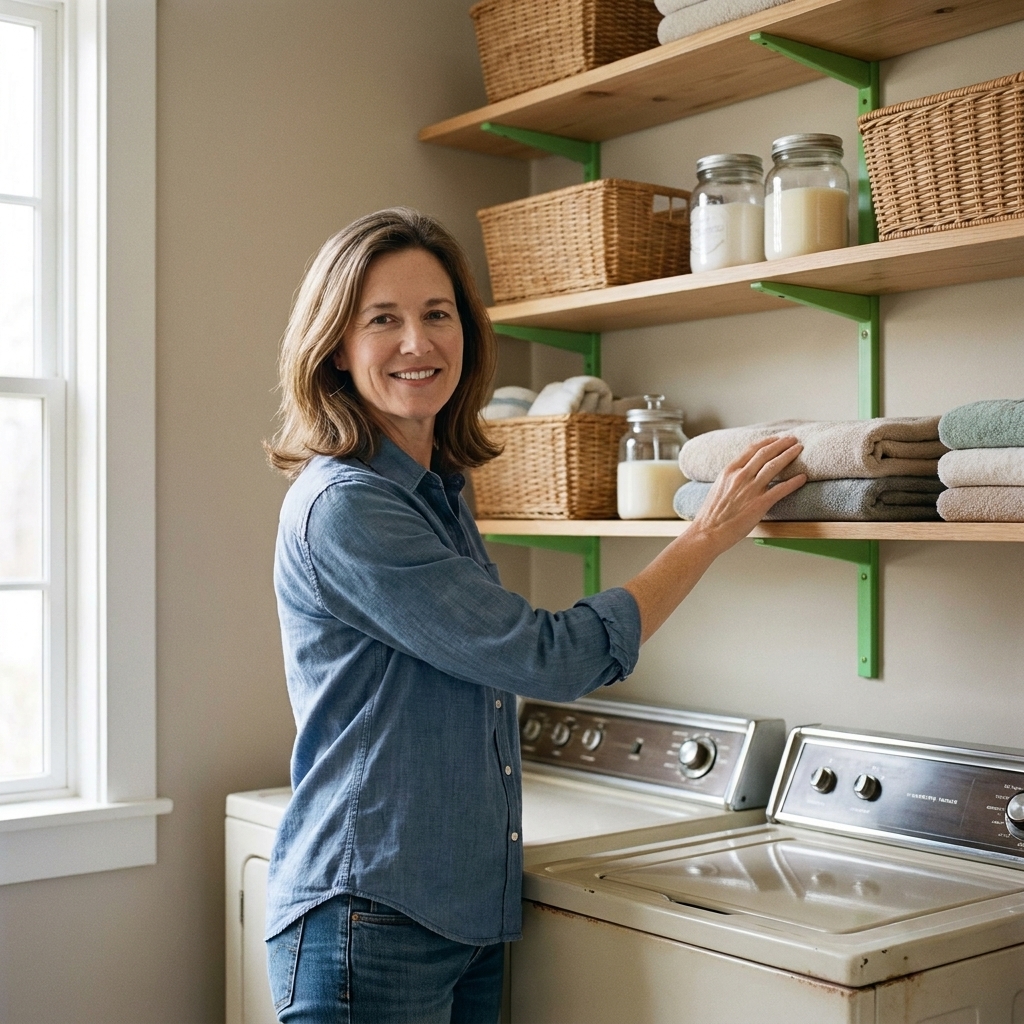
If you have open shelves above your machines, painting a rectangle of color behind them makes the whole setup feel built-in. It is like a backsplash, but with paint you already have.
Time + tools: 45 to 90 minutes, painter’s tape, level or measuring tape, angled brush.
What to paint
- A full rectangle behind all shelves
- Vertical stripes behind each shelf bay
- A simple arch shape behind your detergent and daily items
My trick for crisp edges
- Level your lines with a simple measuring tape and painter’s tape.
- Seal the tape edge by brushing on a little of the existing wall color first. Then paint your accent color. This helps prevent bleed.
- Peel tape back slowly while the final coat is still slightly tacky.
This pairs really well with decanted supplies because the background color makes your everyday bottles look calmer and more uniform. If you are in that phase, here is my process: Decanting and Organizing Laundry Supplies.
5) Paint a hardware block
This one sounds tiny, but it photographs and feels surprisingly polished: you paint a small block of color where your hooks, knob, or hanging rod sits. The hardware looks more intentional, and the laundry nook gets a pop of contrast.
Time + tools: 20 to 40 minutes, painter’s tape, small brush, screwdriver for plates.
Easy places to try it
- Behind a single wall hook for hang-dry items
- Behind a light switch plate (remove the plate first)
- Behind a wall-mounted drying rack
- Behind a row of coat hooks in a mudroom-style laundry zone
How to keep it looking clean
- Use a level and tape a crisp rectangle or square.
- Keep the shape proportional. In a tiny laundry nook, I like 10 to 14 inches wide.
- Repeat that same color once more somewhere else so it feels like a palette, not a random patch.
If you have a wall drying rack (or want one), a painted block behind it makes it look custom. Here is a step-by-step for installing one: How to Install a Space-Saving Fold-Down Wall Drying Rack.

Easy paint pairings
If you are staring at a few mismatched paint cans and thinking, “None of this goes together,” try one of these foolproof combos.
- Warm white + one bold accent: Use warm white to clean up trim, then add one strong color on brackets or the door interior.
- Two-tone neutrals: Use the slightly darker leftover color on the lower half of the nook or behind shelves to add depth.
- One color, two finishes: Satin on the door or trim, eggshell on the wall. Same color, more dimension.
Safety and durability notes
- Ventilation matters. Paint fumes and tight nooks do not mix. Crack a nearby window and run your exhaust fan if you have one.
- Give it cure time. Paint may feel dry in hours but can take longer to fully harden, especially in humid laundry spaces. Treat doors, shelves, and trim gently for at least a week. Full cure can take a few weeks depending on the product and conditions.
- Avoid painting over active moisture issues. If you have condensation or a slow leak, handle that first or the paint will fail fast.
- Do not mix paint types. If you have leftover oil-based paint and leftover latex paint, keep them separate and use them on the right surfaces. When in doubt, do a small test patch before committing.
If your laundry setup is ultra-compact, airflow is a real topic, not just a nice-to-have. This guide is a must-read: Airflow and Dryer Vent Clearance in Ultra-Compact Laundry Closets.
The point: make laundry feel lighter
I started doing these small paint projects when my kids were little and I was drowning in never-ending loads. I needed my laundry closet to feel less like a chore cave and more like a tiny, functioning room in my home. A painted door, a cheerful bracket, a simple stencil under my feet. Those little pops of color genuinely helped.
If you try one of these, start with the smallest surface that will give you the biggest mood boost. That is the Fold Nook way: tiny space, smart effort, big payoff.