The breaker box in my laundry area used to be the first thing I saw every time I walked in with a basket of socks. It was practical, sure, but it screamed “utility zone” in the least charming way. The good news is you can hide an electrical panel without doing anything sketchy or permanent. My favorite solution is a hinged cover that looks like decor, opens in seconds, and keeps the panel fully accessible.
Below are two reliable builds I have done variations of, plus the little safety details that matter in a laundry room where humidity and hustle are real.
Before you build
I am a DIY mom, not your local inspector, so treat this as best-practice guidance and always defer to your local codes and electrician if you are unsure. The goal is to conceal the panel, not obstruct it.
- Keep it accessible. Your cover must open easily with no tools and no moving furniture out of the way.
- Keep the working space clear. Many jurisdictions require roughly 3 feet of clear space in front of a panel (and clear height above). Even if you do not memorize the numbers, the practical takeaway is simple: do not place hampers, shelves, rolling carts, or anything that lives there day to day in front of the panel.
- Make sure the cover does not become the obstruction. A hinged cover is usually fine, but only if it can open fully without forcing you to stand farther back or blocking where you need to be to work at the panel.
- Do not block the panel door. Your cover should not interfere with the metal panel door opening fully.
- My house rule: avoid fixed art. Skip anything that is screwed on permanently, caulked, or requires tools to remove. Some inspectors may accept tool-free removable covers, but a hinge is the simplest way to keep access fast and obvious.
- Do not drill into the panel box. Mount hinges and hardware to the wall framing or drywall using appropriate anchors, not into the metal panel cabinet.
- Mind laundry-room moisture. Use paint or a sealed wood finish so your cover does not warp from humidity.
- Do not lock it. A catch is great. A lock that slows emergency access is not. If child safety is a concern, focus on supervision and a simple catch that an adult can open one-handed.
If your panel door is damaged, hard to open, warm to the touch, or you see corrosion, stop and call a pro. A pretty cover does not fix a safety issue.
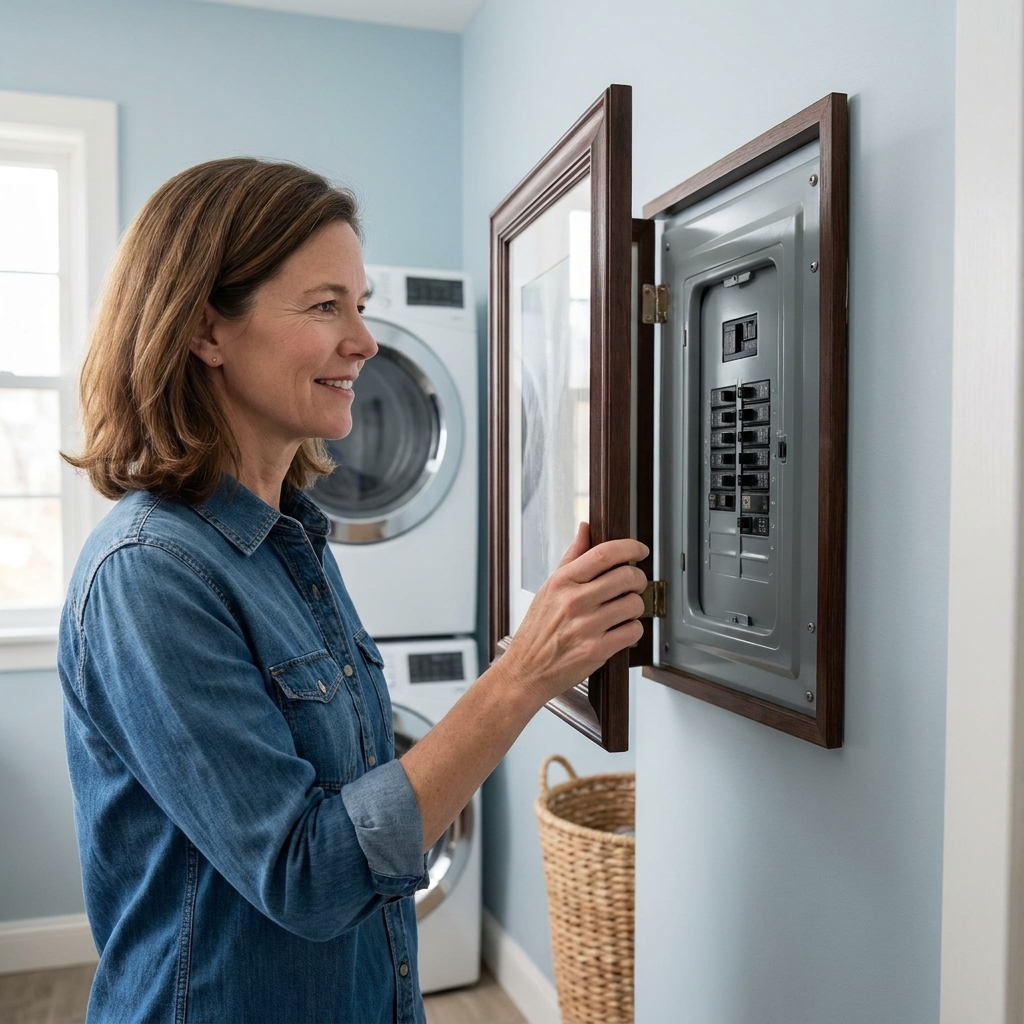
Option 1: Hinged frame
This is the version I recommend for most laundry rooms because it is shallow, forgiving, and easy to style. It reads like art, but it behaves like a door.
What to buy or gather
- A frame large enough to cover the panel door with a little breathing room (aim for a 1- to 3-inch margin on each side)
- Thin plywood or hardboard backing (optional but helpful for stiffness)
- Two small surface-mount hinges (butt hinges or small butterfly hinges work well)
- A magnetic catch or roller catch
- A small knob or pull (or a discreet finger notch)
- Wall anchors rated for your frame weight, or screws into a stud
- Paint or topcoat if needed

Measure first
This is the part that saves you from a cover that binds, bumps trim, or only opens halfway. You are not just measuring for looks, you are measuring for full access.
- Panel size: Width and height of the metal door area.
- Swing space: Trim, nearby shelves, door casing, and anything that could block the cover opening.
My rule: choose a frame that covers the panel completely and still lets you swing the cover open at least 90 degrees without hitting anything.
Build and mount
1) Prep the frame
If the frame has glass, remove it. In a laundry room, I prefer no glass because it is lighter and safer. Add a thin backing board if the frame feels flimsy.
2) Plan your hinge side
Pick a side that makes sense for your traffic pattern. If your laundry closet door swings past the panel, hinge the cover so it opens away from that swing.
3) Install hinges on the frame
Attach hinges to the frame first. Pre-drill small pilot holes so you do not split the wood.
4) Mark the wall with a small gap
Hold the frame where you want it, level it, and use a couple of thin shims or cardboard spacers behind the hinge side to create a tiny gap so it swings freely. Lightly mark hinge screw locations. If you can hit a stud, do it. If not, use quality anchors rated for the weight.
5) Mount the frame to the wall
Screw the hinge side to the wall. Test the swing and confirm the cover does not interfere with the panel door opening. Adjust now, before you add the latch.
6) Add the catch
Install a magnetic or roller catch on the non-hinge side so it stays closed during the daily stampede of laundry.
7) Add a pull you will actually use
A small knob, leather loop, or slim pull makes opening easy. Keep it low-profile so baskets do not snag.
When you are done, you should be able to open the cover one-handed in a couple seconds.
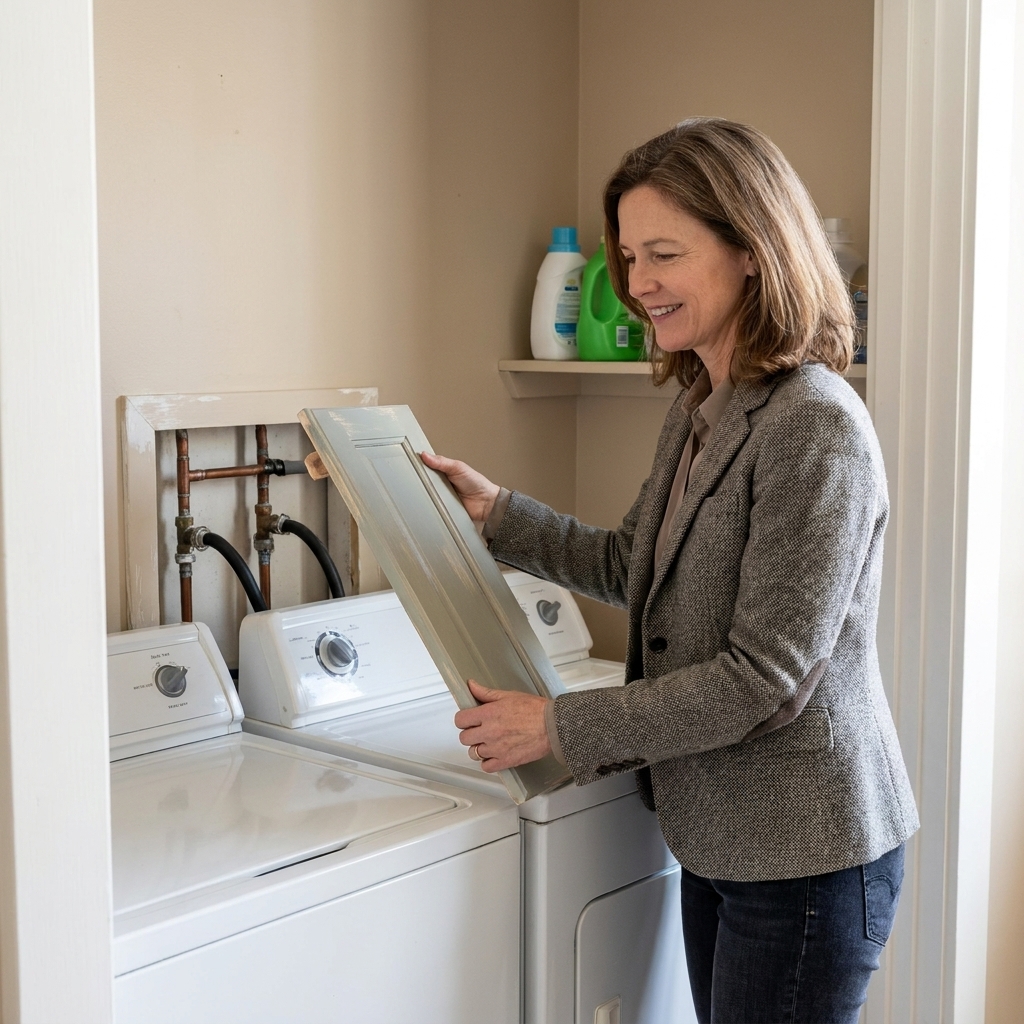
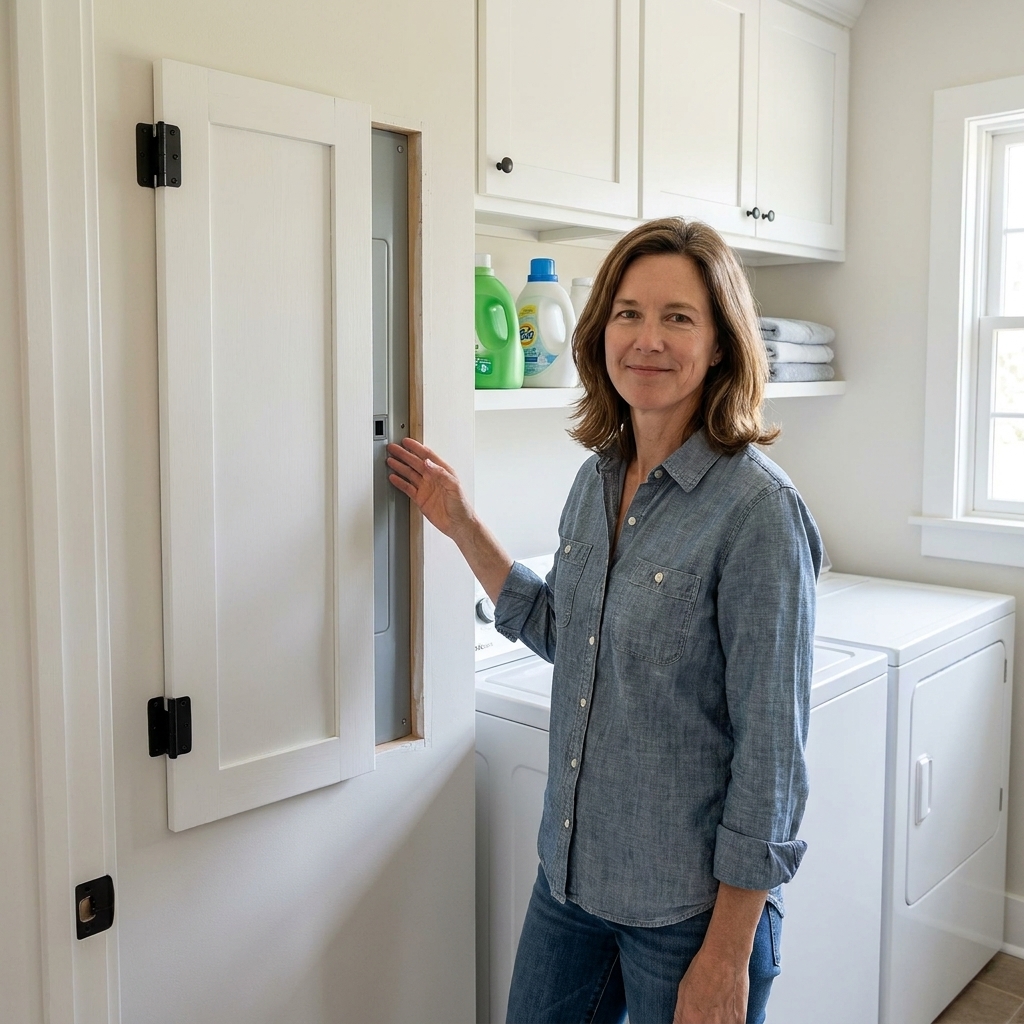
Option 2: Slim shaker door
If you want the cover to look like part of your cabinetry, a simple flat panel or shaker-style door is gorgeous. This option is also great if your panel is in a high-visibility spot near a mudroom entry.
Materials
- 1/2-inch plywood for the door (or a pre-made cabinet door sized to cover the panel)
- 1x2 strips for a faux shaker frame (optional)
- Two surface-mount hinges (butt hinges are the simplest here)
- Magnetic catch
- Knob or pull
- Paint and primer (semi-gloss holds up well in utility areas)
Build the door
1) Cut your door panel
Cut plywood to size so it covers the panel fully. Sand the edges smooth.
2) Add the shaker trim (optional)
Cut 1x2 strips to frame the edges and glue and pin-nail them to the plywood for a simple shaker look. Keep trim shallow so the door stays slim.
3) Prime and paint
Prime all sides, then paint. Sealing the back is worth it in a laundry room so humidity does not warp the panel over time.
4) Mount hinges with a clean reveal
Mount hinges to the door first, then transfer to the wall. Use a level, and use shims or spacers to leave a small, even gap so the door swings freely. Aim for studs or heavy-duty anchors.
5) Add catch and handle
Install the magnetic catch and your pull. Test opening and closing a few times with one hand and with a laundry basket in the other. Confirm the panel door still opens fully.
Keep labels visible
The circuit directory is the one thing you do not want to lose in the name of pretty.
- Do not cover up the circuit list and forget about it. Make sure you can still read it easily when the cover is open.
- If your directory is on the panel door: keep the cover simple so you can open the cover and then open the panel door without juggling.
- If your directory is missing: consider rewriting it neatly and taping it inside the metal panel door. Future-you will be grateful.
Make it look intentional
The trick is to style the cover so it feels like it belongs, not like you are hiding something.
- Match your finishes: If you have black hooks or matte black cabinet pulls, use a matching knob.
- Repeat your color: Paint the door the same color as nearby cabinets, or match the wall for a seamless look.
- Keep it shallow: Bulky frames are more likely to bump baskets and shoulders in tight laundry spaces.
- Use practical art: A fabric panel, a simple print, or even a pretty calendar page in the frame keeps the vibe light without adding depth.
If you are in full laundry-closet makeover mode, hiding the panel pairs nicely with improving what surrounds it, like brighter lighting and smarter storage. I walk through my favorite upgrades in Lighting Upgrades for Dark Laundry Closets and Back-of-Door Laundry Closet Storage Ideas.
Common questions
Can I put a mirror over an electrical panel?
Yes, as long as it is hinged or otherwise designed to open easily and fully. In a tight hallway or kid zone, consider an acrylic mirror or add shatter-resistant safety film to a real mirror so one bump does not turn into a mess.
Do I need ventilation around the panel?
You do not need intentional ventilation openings in your decorative cover. Just keep the panel unobstructed, and do not block the panel door or any vents that may be part of the panel design.
What if the panel is behind a laundry closet door?
That is common. Make sure the cover can still open with the closet door open, and that you are not stacking hampers or shelving in a way that blocks access or the working space. If you are juggling tight clearances, you might also like Maximizing Storage in a Tiny Bi-Fold Laundry Closet.
Will a hinged cover damage my drywall over time?
If the cover is heavy and only anchored in drywall, it can. If you cannot hit a stud, use anchors rated for the load and keep the cover lightweight. A picture-frame style cover is usually easier on the wall than a thick wood door.
Final checklist
- The cover opens at least 90 degrees without hitting trim or shelves.
- You can open it with one hand, no tools.
- The latch holds it closed, but it is not a struggle to pop open.
- The cover does not interfere with the metal panel door opening fully.
- No screws went into the metal electrical panel itself.
- The working space in front of the panel stays clear day to day.
- The circuit directory stays readable and easy to find.
Once you have that, you get the best of both worlds: a laundry space that feels calmer and prettier, with a breaker box that is still exactly where it needs to be when you need it.