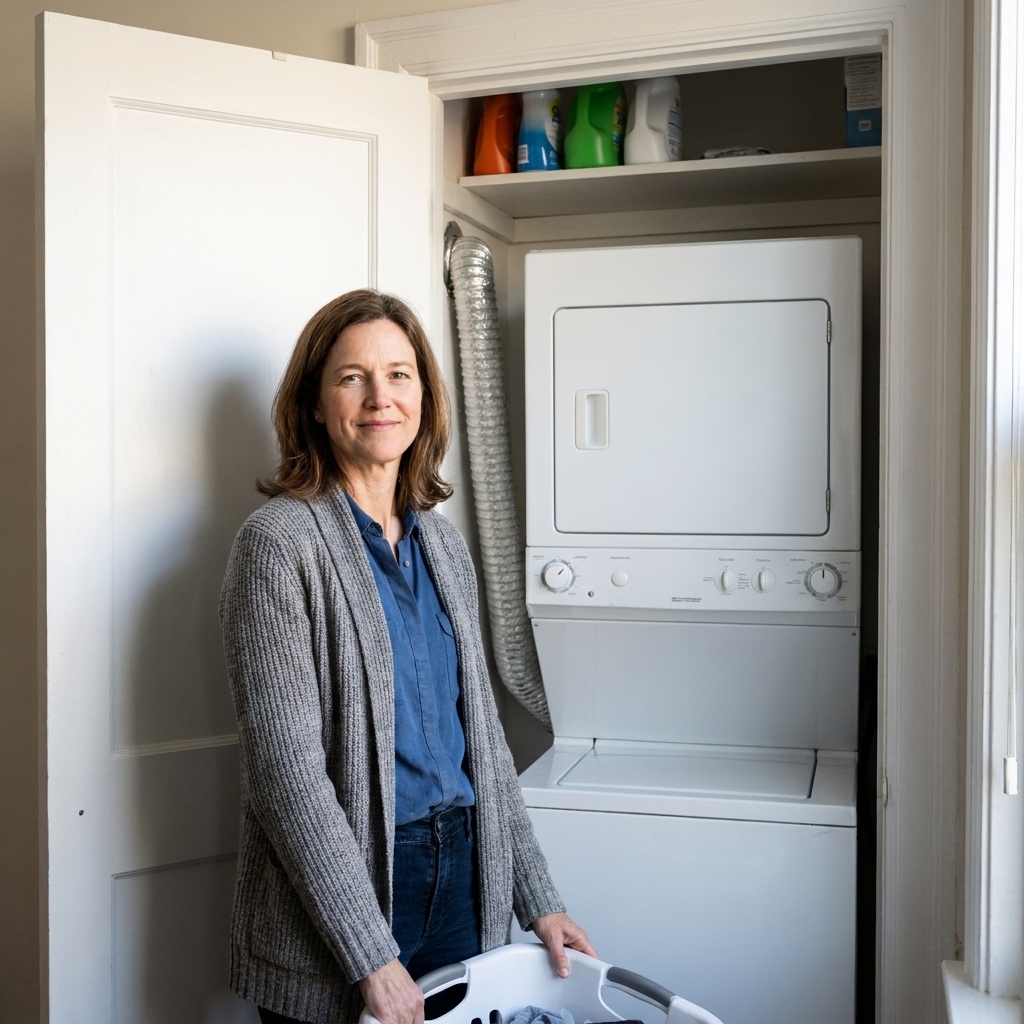
If you have an “open” laundry nook (hello, hallway alcove and kitchen corner setups), you already know the plot twist: the machines might be sleek, but the plumbing is not. I have lived with the tangle of hoses, shutoff valves, and a recessed laundry hookup box staring right back at me every time I carried a basket past. The good news is you can hide the mess without doing anything permanent, and without creating a nightmare the next time you need to shut off water fast.
The best covers do three things: they look intentional, they pop off in seconds, and they never press against hoses or block airflow. Below are my favorite DIY methods that work in rentals and real-life family homes.
Before you cover anything
I know, I know. We all want the pretty “after” photo. But laundry hookups are one of those areas where access matters more than aesthetics.
- Keep shutoffs reachable. Your cover should lift off, peel back, or swing open in seconds, with no tools.
- Do not kink or pinch hoses. Leave breathing room behind the machines and around bend points.
- Follow your manufacturer clearances. “A few inches” is not a rule. Check your washer and dryer installation instructions for required spacing, venting, and combustible clearances, then design your cover around that.
- Respect dryer vent clearance. If your dryer vent is tight or your nook is ultra-compact, read this first: Airflow and Dryer Vent Clearance in Ultra-Compact Laundry Closets.
- Plan for leaks. Avoid covers that trap water against drywall or flooring. If you can, leave the bottom slightly open or use materials that wipe clean.
- Keep electrical access open. Do not block outlets, GFCI reset buttons, or access panels. You want to be able to unplug a machine quickly if you ever need to.
- Skip permanent sealing around hookup boxes. Laundry boxes and service panels need to stay serviceable.
Quick measuring realities
- Account for vibration. Washers move a little, even when leveled. Build in extra clearance so your cover never rubs when the machine is spinning.
- Leave “service space.” Sooner or later, you will pull the machine out to clean a vent, swap a hose, or retrieve a missing sock. Make sure your cover can come off first, and make sure it does not trap the appliance in place.
- Leveling feet matter. If you raise or lower the washer later, hose arcs can change. Give yourself room for that.
Method 1: Removable panel
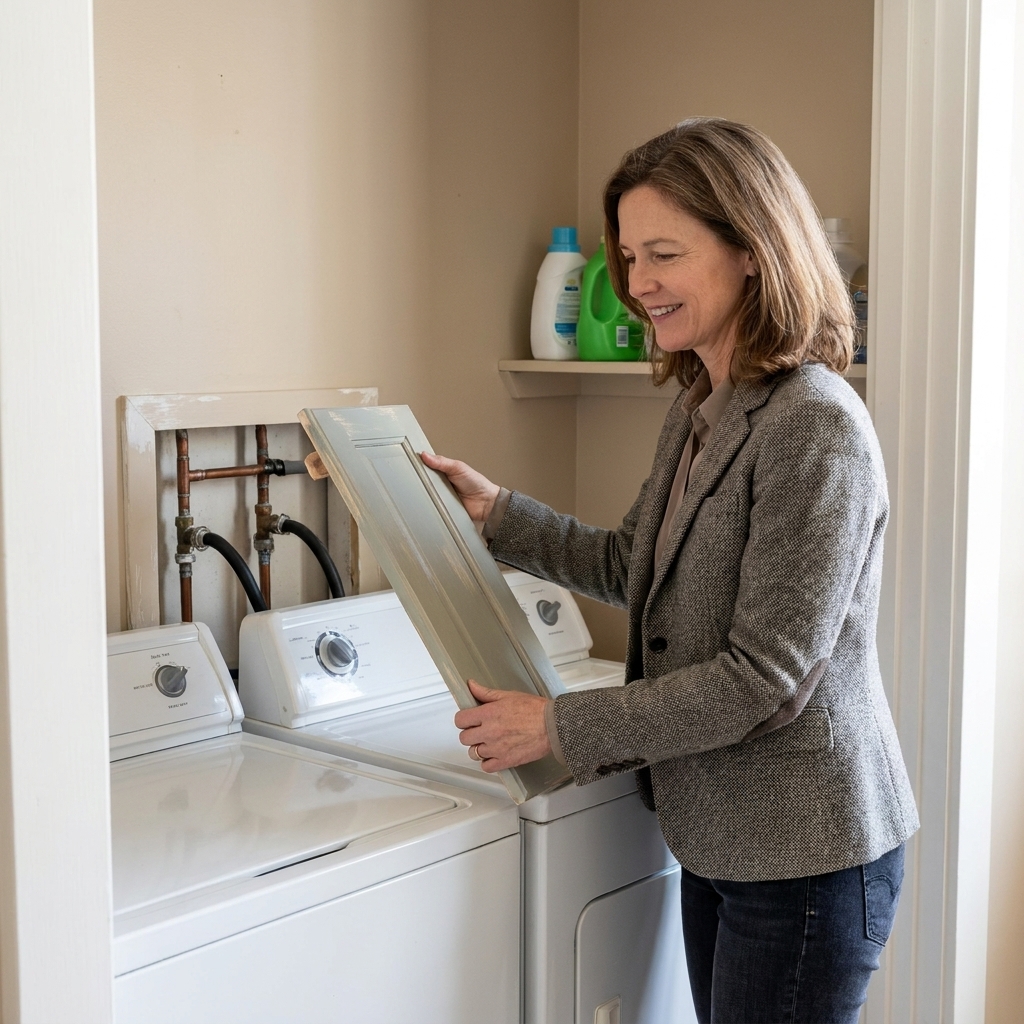
If you want something that looks like cabinetry but hangs like a lightweight frame, a removable panel is my favorite. It is also the easiest to remove when you need to reach valves.
Best for
- Hoses and shutoffs behind a washer
- Wall hookups that sit a few inches above machine height
- Open nooks where you want a clean front plane
Materials that work well
- 1/8-inch or 1/4-inch plywood, hardboard, or a pre-finished project panel
- Edge banding or a simple 1x2 frame (optional, for stiffness)
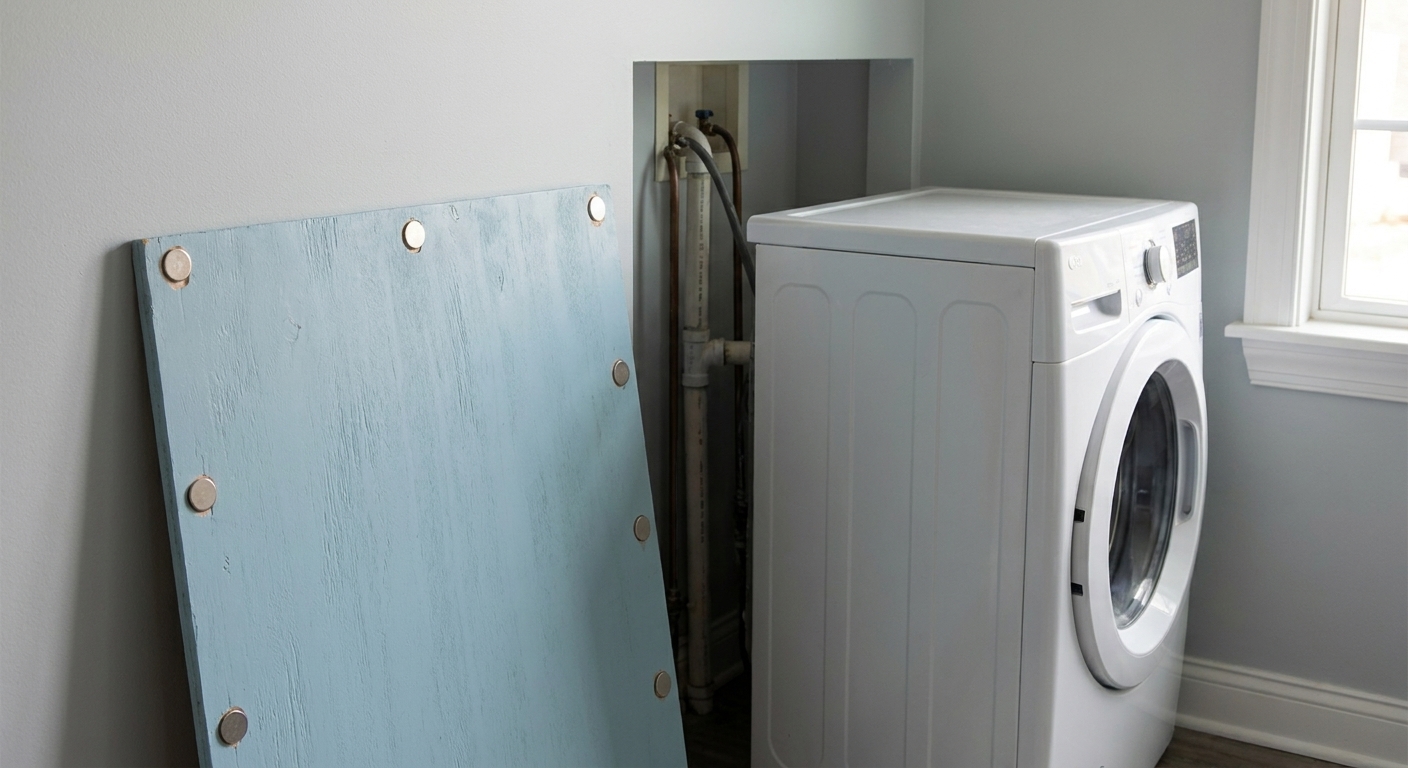
- Command strips (renter-friendly), heavy duty hook-and-loop, or rare earth magnets with metal mending plates
- A small knob or finger hole to pull it off
How I build it
- Measure the “mess zone.” Leave at least 1 inch of clearance around hoses and valves, and more if your hoses bow, stick out, or you know the machine vibrates.
- Decide how it will come off. I like magnets at the corners so it snaps into place, but I always test for vibration before I call it done.
- Add a pull point. A tiny knob looks finished, but a simple 1-inch finger hole is surprisingly clean.
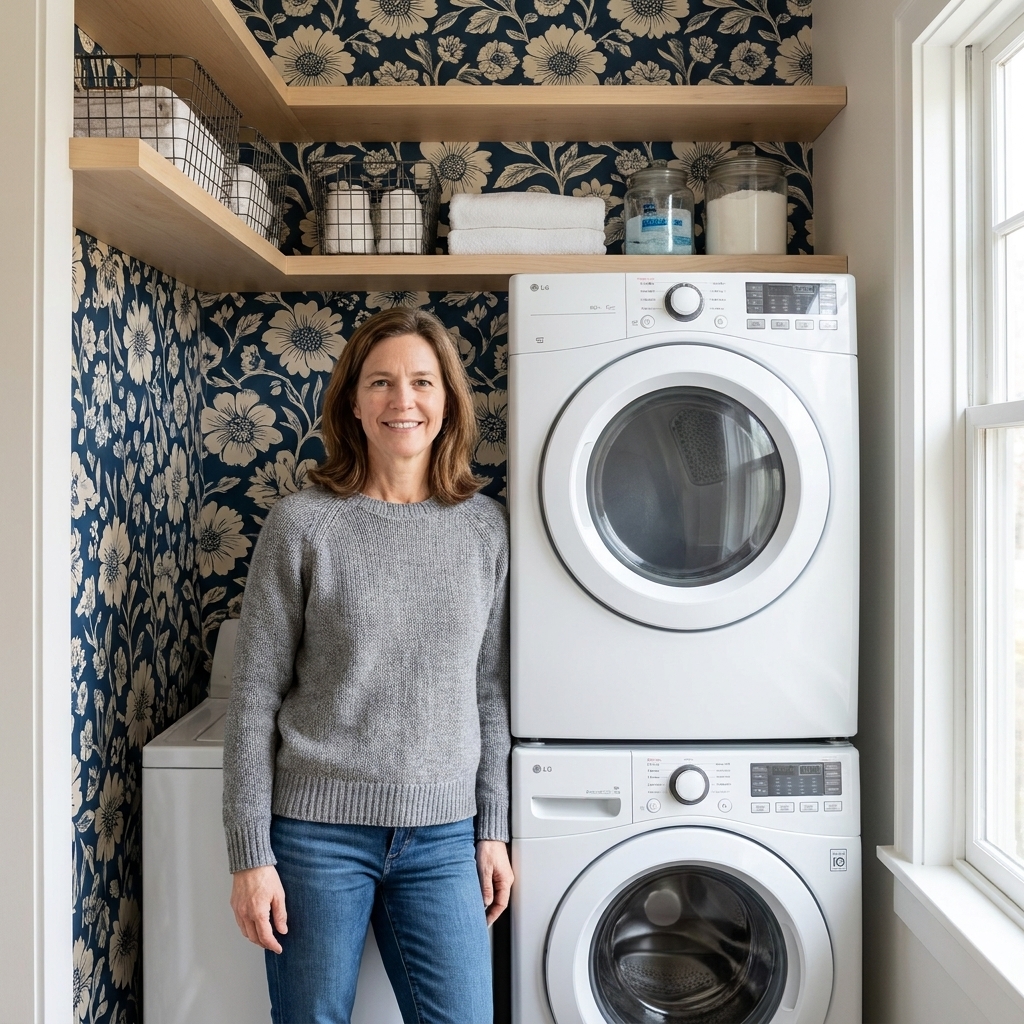
- Finish the face. Paint to match the wall, or wrap with peel-and-stick wallpaper for a built-in moment. If you are weighing paint vs wallpaper in a tiny nook, this may help: Peel-and-Stick Wallpaper vs Paint for a Tiny Laundry Nook.
- Test access. Remove it with one hand. If you cannot do that, simplify.
Fastest removal in an emergency
Grab the knob or finger hole and pull straight toward you. If you use magnets, keep fingers clear when it snaps back into place, and place magnets up high if you have small kids who like to investigate.
Adhesive note: Command strips and hook-and-loop can let go over time with heat, humidity, dust, and vibration. I wipe surfaces with rubbing alcohol, let them fully dry, and plan to re-press or replace occasionally.
Magnet note: Rare earth magnets are strong. Test the hold with the machines running and do not rely on a single tiny magnet point. If the panel shifts or chatters, add more contact points or switch to hook-and-loop.
Method 2: Fabric skirt
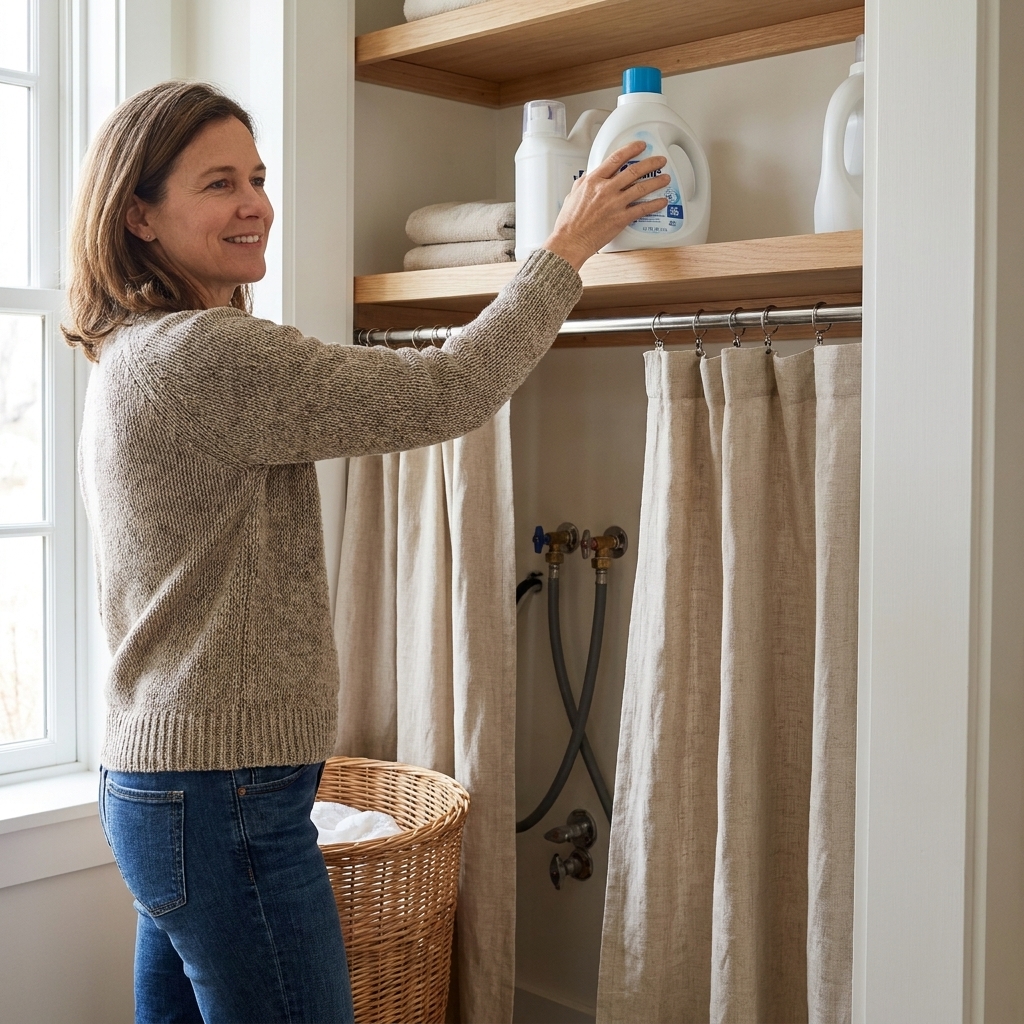
This is the method I recommend to my friends who want the quickest win with the least commitment. Fabric hides visual clutter instantly, and it is easy to pull aside for access.
Best for
- Open nooks where plumbing is visible beside or behind the machines
- Rentals where you cannot add panels or drill
- Awkward layouts where a rigid cover would bump hoses
Two easy ways to hang it
- Tension rod: If your nook has two side walls, a tension rod across the opening is perfect.
- Industrial hook-and-loop tape: Stick one side to the underside of a shelf or counter and sew the other side to the fabric. This lets you remove the skirt for washing.
Make it look intentional
- Use a heavier fabric (canvas, denim, or a lined curtain panel) so it hangs straight.
- Add simple pleats at the top so it does not look like a bedsheet.
- Hem it to hover above the floor so it does not drag dust bunnies.
Fastest removal in an emergency
Swipe it fully to one side or pull it free from one corner of the hook-and-loop so you can see the valves immediately.
Dryer caution: If your skirt is anywhere near a dryer, keep it well away from the exhaust path, the vent connection, and any hot surfaces. Fabric can flutter into places you did not expect when the machines run.
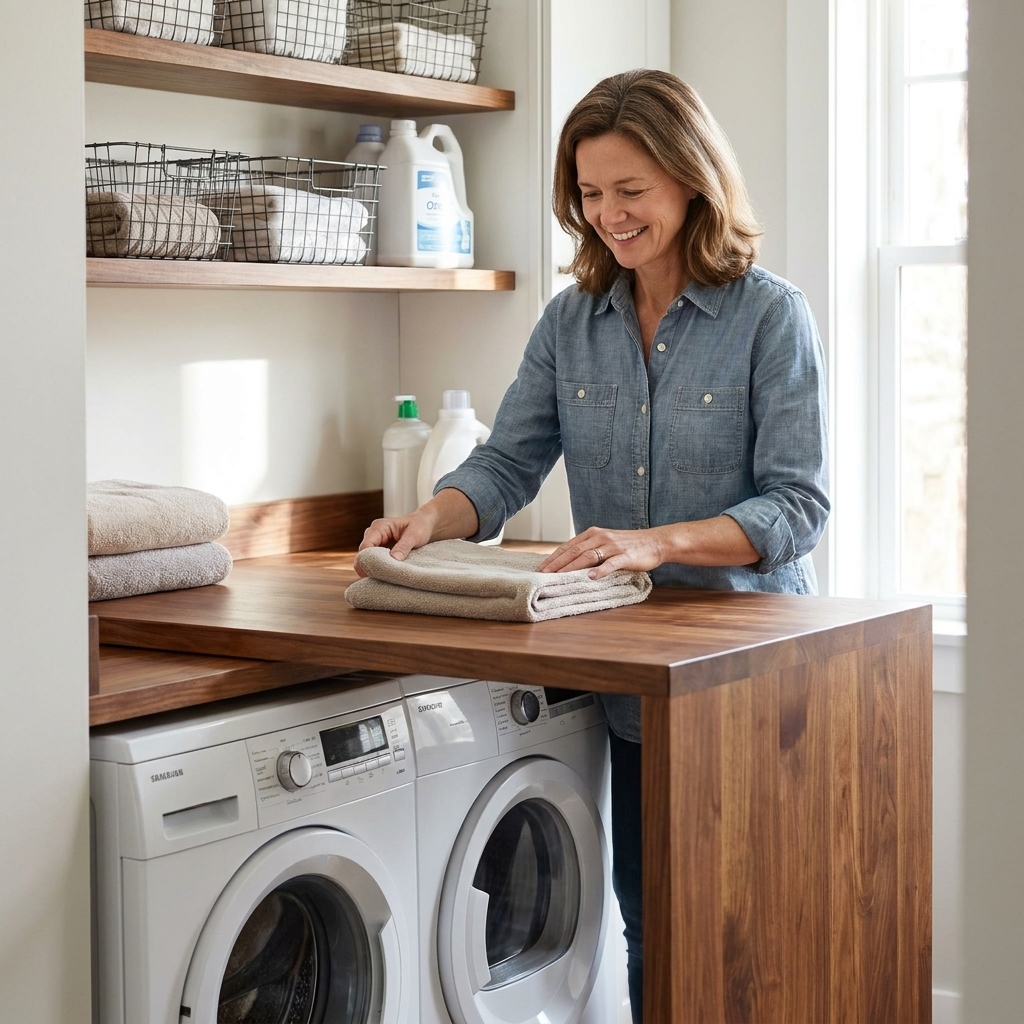
If you already have a folding counter over front-loaders, a skirt can also hide the side gaps and hookups neatly. This build is a good companion read: DIY Waterfall Countertop Folding Station Over Front-Loaders.
Method 3: Box cover
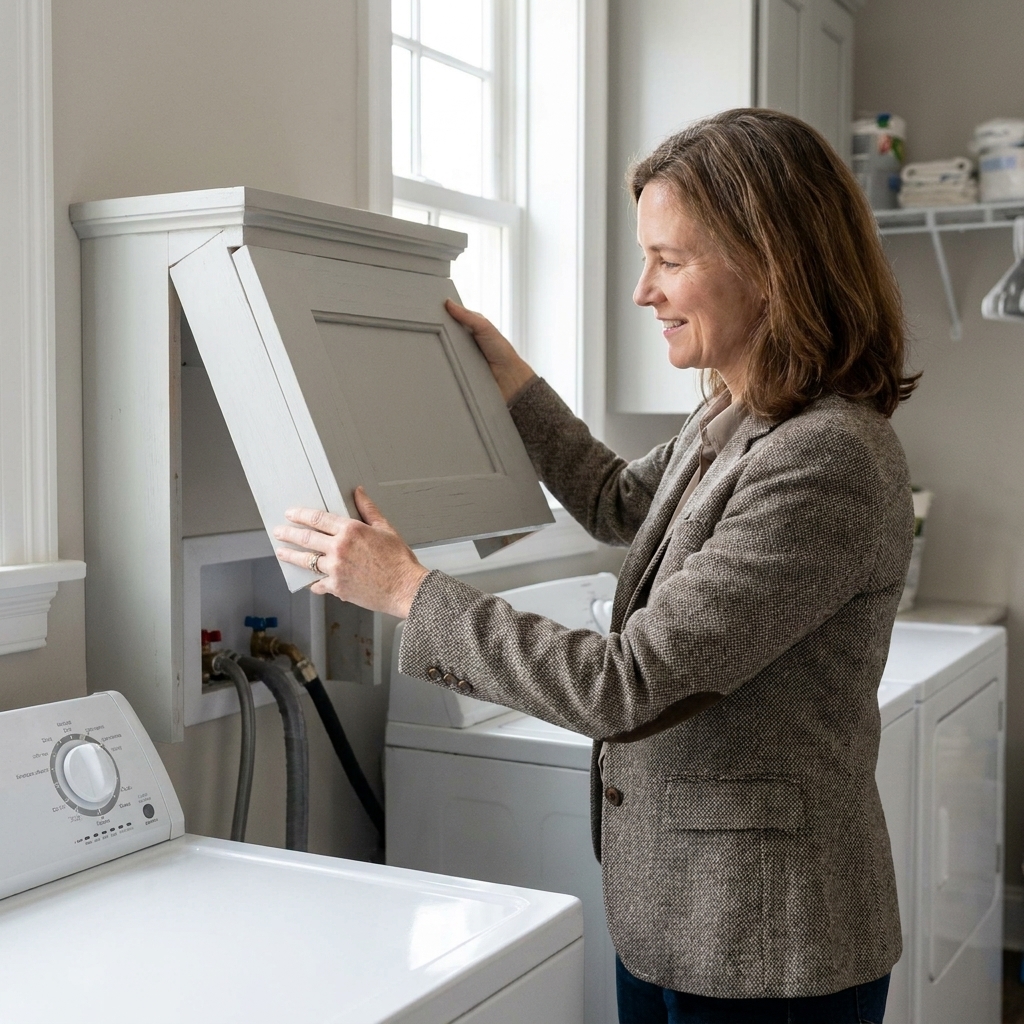
If your eyes go straight to a recessed laundry hookup box or a water line coming out at a weird height, turning it into a boxed-out feature can make it disappear in plain sight.
Best for
- Laundry hookup boxes and pipe chases on the side wall
- Areas where you can project a cover forward without touching hoses
Simple build approach
- Build a three-sided sleeve. Think of it like a shallow U-shaped cover that slips over the pipes.
- Keep the back open. You want air movement and zero chance of rubbing a line.
- Mount it with removable hardware. Magnets, hook-and-loop, or two screws into studs if you own and want it sturdier.
- Style the front. Paint it the wall color, or match it to shelving so it reads as a design choice.
Fastest removal in an emergency
Lift straight up and off, or pull the bottom edge toward you first if you mounted it with hook-and-loop.
My favorite trick is to size the front so it lines up with a nearby shelf edge or cabinet side. When it aligns with other vertical lines, it looks built-in instead of “covering something.”
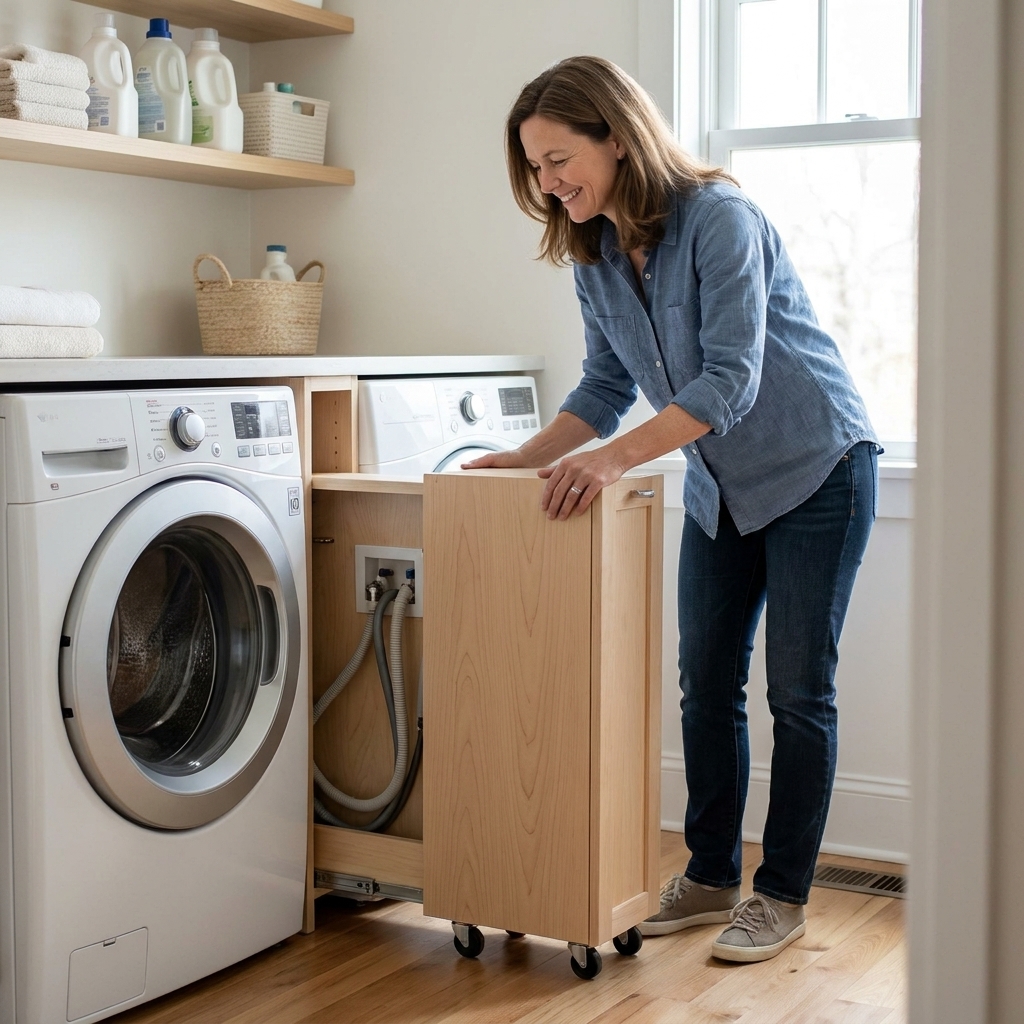
Method 4: Rolling false cabinet
This one is clever when you have an open side gap or visible hookups that you cannot hide with a wall panel. You build a skinny rolling tower that looks like storage, but its real job is blocking the view.
Best for
- Exposed hoses visible from the side of the machines
- Small nooks where you still need access behind the washer
How to make it work
- Build a tall, narrow box on casters, or repurpose a slim rolling cart and add a finished front panel.
- Keep the back open so cords and hoses do not snag.
- Stop it before it hits hoses. I like adding a little wood “bumper” strip inside so it cannot roll too far in.
Fastest removal in an emergency
Grab the sides and roll it straight out until you can reach the valves without leaning behind the machine.
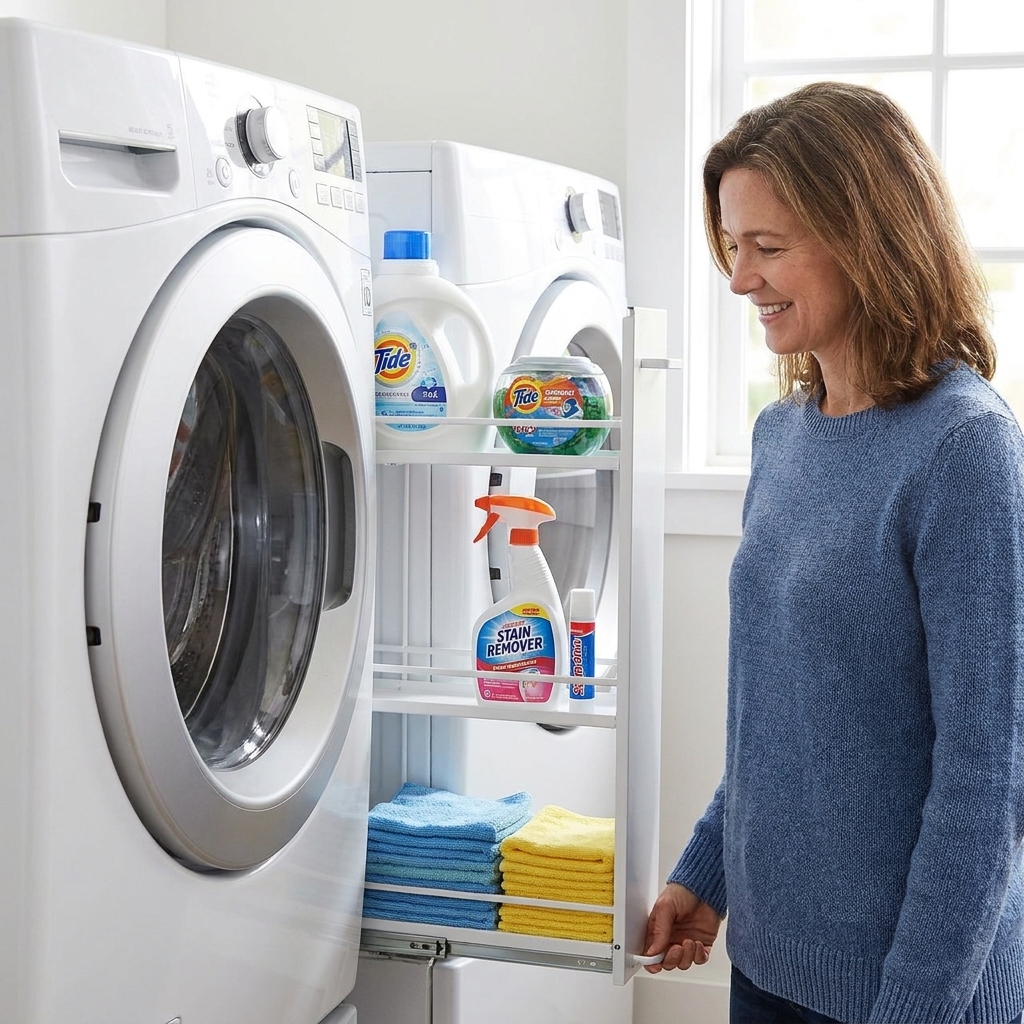
If the gap between your washer and dryer is the main eyesore zone, this is worth reading for ideas that do not steal space: Genius Storage for the Gap Between Washer and Dryer.
Method 5: Folding screen
If you need a solution tonight, a slim screen is the easiest “moveable wall” you can add. It is not a permanent fix, but it works beautifully in an open nook that faces a hallway or kitchen.
Make it laundry-friendly
- Choose a screen that is easy to wipe down.
- Keep it far enough away that vibration will not make it creep into hoses or cords.
- If a dryer is nearby, position the screen so it does not interfere with the vent connection or trap heat behind the machine.
Fastest removal in an emergency
Fold it and slide it to the side in one move so the entire hookup area is visible.
To make it feel less temporary, I like placing the screen so it lines up with a shelf edge or the side of a nearby cabinet. Straight lines make everything feel more built-in.

Method 6: Shelf unit with back
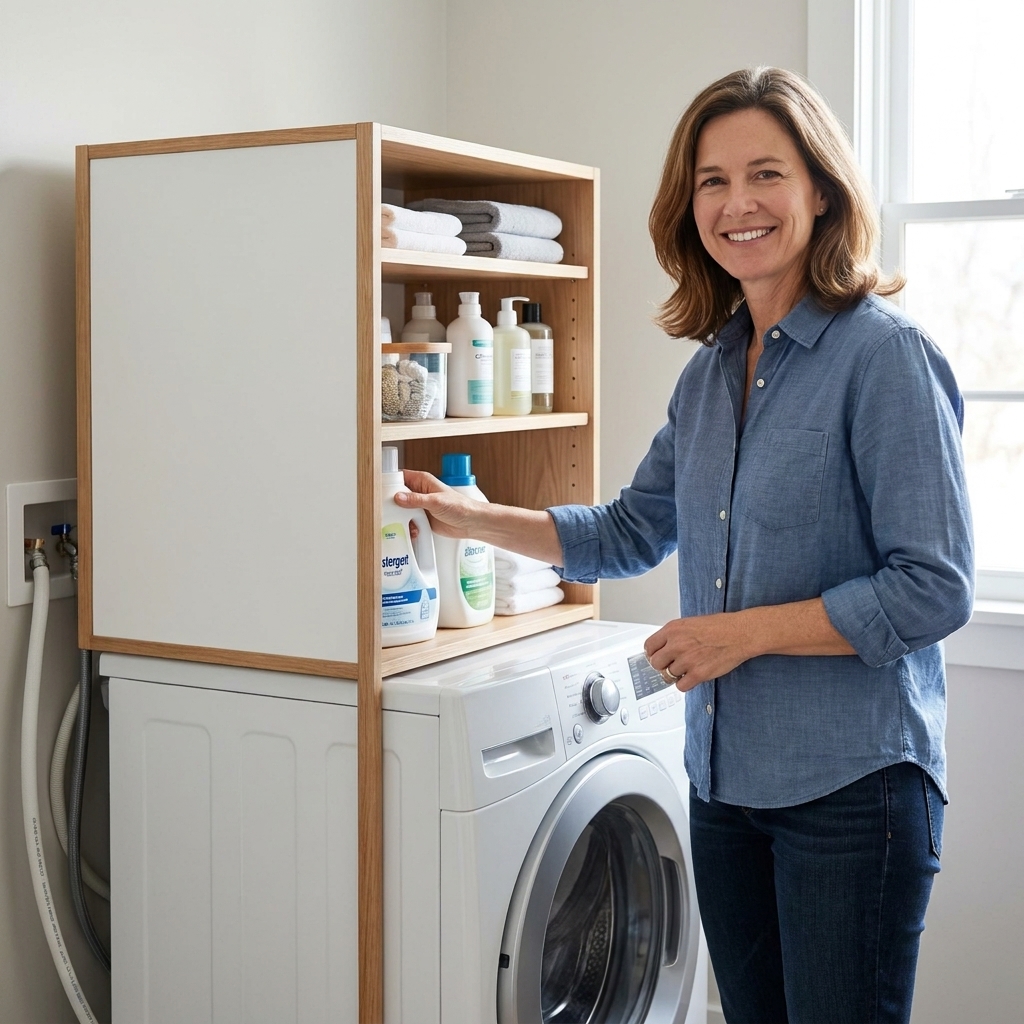
If your nook is missing storage and showing plumbing, you can solve both by adding a shelf unit with a solid back. The back panel becomes your camouflage.
How I do it in small spaces
- Use a tall, narrow shelving unit or build simple uprights with shelves.
- Attach a thin backer panel (hardboard is great) to the rear of the unit.
- Leave a cutout or removable section where shutoffs, outlets, or a GFCI reset live.
Fastest removal in an emergency
If you included an access cutout, reach straight through. If you made a removable section, pull that piece off first and keep the removal point obvious (a knob or finger hole).
This pairs especially well with a pegboard wall when your laundry nook is skinny but you need vertical organization: Custom Pegboard Wall for a Skinny Laundry Room.
Details that look custom
- Match one finish. Paint your cover the wall color, or match it to one other element like shelves or trim.
- Add a tiny reveal. Leaving a small shadow line at the edges reads intentional and helps you grab it to remove.
- Use wipeable, water-safe surfaces. Semi-gloss paint or sealed wood is easier to clean if something drips. I avoid raw MDF anywhere a slow leak could swell it and ruin the whole piece.
- Think service first. If it takes more than 10 seconds to remove, you will hate it later.
Troubleshooting
The hookups are high
Go with a removable wall panel that covers only the upper zone, leaving the machine top area open so you are not forcing the washer forward.
The shutoffs are behind the washer
Prioritize a cover that opens like a door or lifts off completely. If you can, consider pulling the machines forward slightly and using a shallow cover that does not require you to wedge your arm behind them.
The hoses stick out far
Use fabric or a screen. Rigid covers and tight clearances do not mix with vibrating machines.
I have a tiny bi-fold or closet-style nook
You may still be able to use the same ideas inside the closet. For space planning, this guide is helpful: Maximizing Storage in a Tiny Bi-Fold Laundry Closet.
My quick picks
- Best renter-friendly: Fabric skirt on a tension rod
- Best “looks built-in”: Removable painted panel with multiple attachment points
- Best for side views: Slim rolling false cabinet
- Best no-tools, same-day fix: Folding screen
- Best when you also need storage: Shelf unit with a back panel and an access cutout
However you choose to hide the plumbing, keep the goal simple: make the nook calmer to look at, while keeping access easy enough that you will never hesitate to shut off water when you need to.