In a skinny laundry room, every inch of floor space is already spoken for. That is exactly why I love a pegboard wall here. It turns that awkward strip of wall (the one you cannot fit a cabinet on without bumping your hip) into a hard-working home for the little tools that usually end up scattered across the washer lid.
I built my first laundry pegboard when my three kids were in peak “mystery stains appear daily” mode. I needed a stain station I could reach fast, and I needed it off the floor. A sturdy pegboard solved both, and it made my tiny space feel calmer almost overnight.
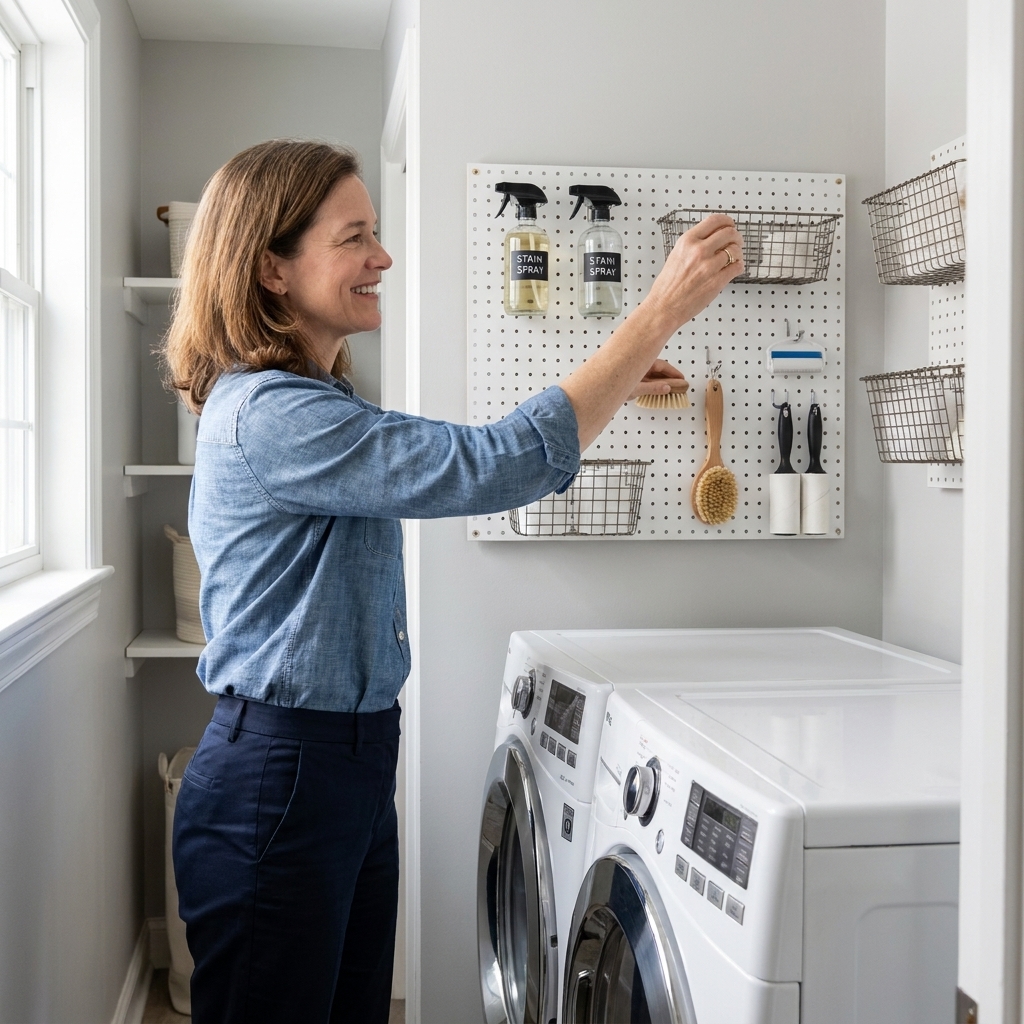
Why pegboard works in tight laundry spaces
- It stores vertically, so you keep walkways clear and doors swinging freely.
- It is flexible. Your setup can change with seasons, kids, pets, or new products.
- It creates a true stain station without dedicating a whole shelf depth to bottles.
- It can be renter-friendly if you use a smaller panel, proper anchors, and you are allowed to mount things (quick lease check first).
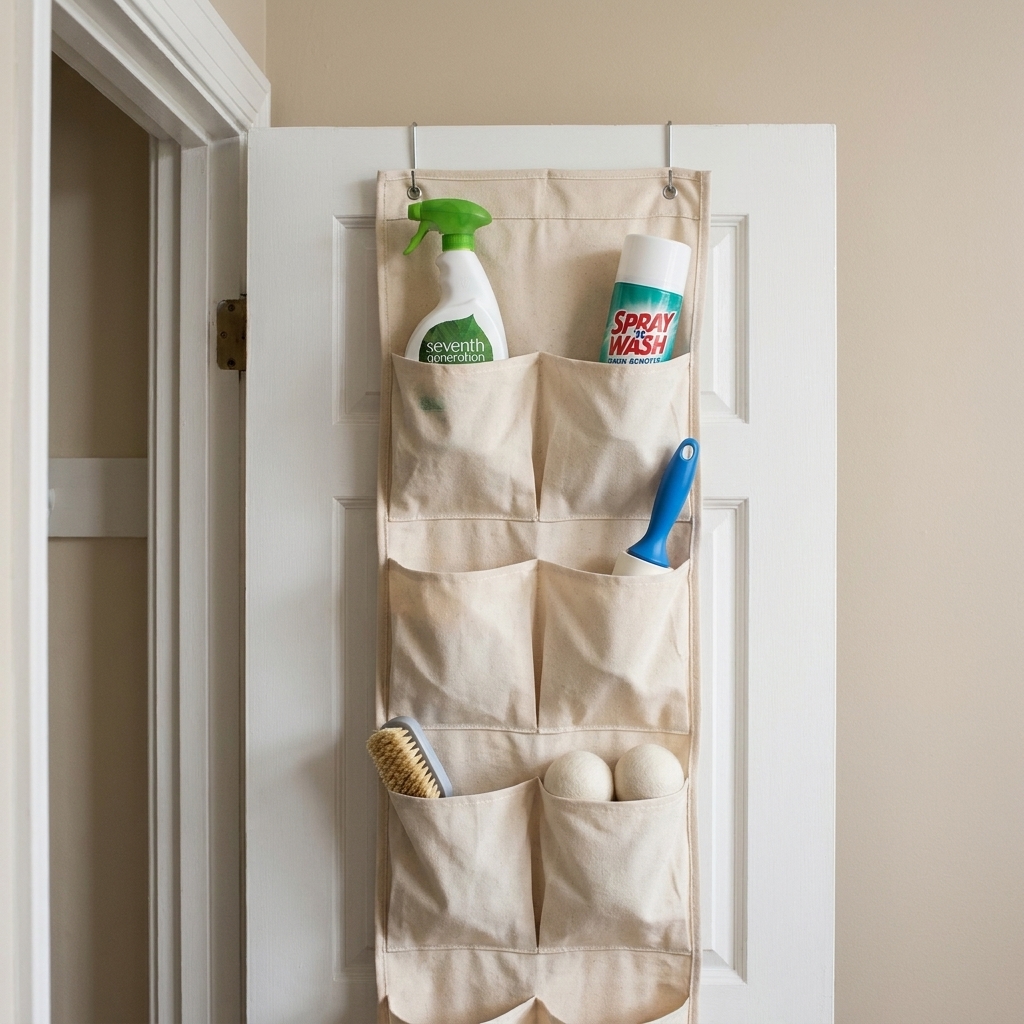
If your laundry area is more “closet” than “room,” you will also like my ideas for using the space behind a door: Back-of-Door Laundry Closet Storage Ideas.
Materials: what to buy for a sturdy setup
You can absolutely do pegboard on a budget, but for a laundry space I prioritize strength and wipeable surfaces. Humidity and heavy bottles are the combo that makes flimsy installs fail.
Pegboard options
- Hardboard pegboard (classic brown): Affordable and easy to cut, but it can swell if it gets damp.
- Primed or painted hardboard: Better moisture resistance if sealed well.
- Metal pegboard: Most durable and moisture-friendly, usually pricier.
Quick compatibility check (do this before you buy hooks)
Most traditional pegboard uses round holes spaced 1 inch on center, and most basic hooks fit that standard. Some metal pegboard systems use proprietary slots or their own accessories, so I always confirm the board style matches the hooks and baskets I plan to use.
Hardware you will need
- 1 pegboard panel cut to fit your wall (typically 1/8 to 1/4 inch; thicker is sturdier)
- Furring strips or spacers (1x2 wood strips are perfect) to create the required gap behind the pegboard
- Wood screws long enough to bite into studs through your pegboard, spacer, and drywall (often 2 1/2 to 3 inches), plus washers (washers prevent screws from pulling through)
- Heavy-duty drywall anchors for any spots not on studs (choose anchors rated higher than your expected load)
- Level, stud finder, measuring tape, pencil
- Drill and drill bits
- Optional: wood trim for a framed look, paint, caulk
Pegboard accessories that actually hold up in a laundry room
- Metal hooks (straight and curved)
- Small wire baskets with pegboard mounting (for dryer sheets, clothespins, loose odds and ends)
- Tool holders (great for scrub brushes, mini squeegees)
- Small shelf brackets made for pegboard (for stain stick cups or a tiny tray)
- J-hooks for lint rollers and a handheld vacuum
If your laundry is ultra-compact, keep airflow in mind before you start attaching anything near appliances. I wrote a full guide on safe clearances here: Airflow and Dryer Vent Clearance in Ultra-Compact Laundry Closets.
Step 1: Pick the best wall and size it
In a skinny laundry room, the best pegboard wall is usually one of these:
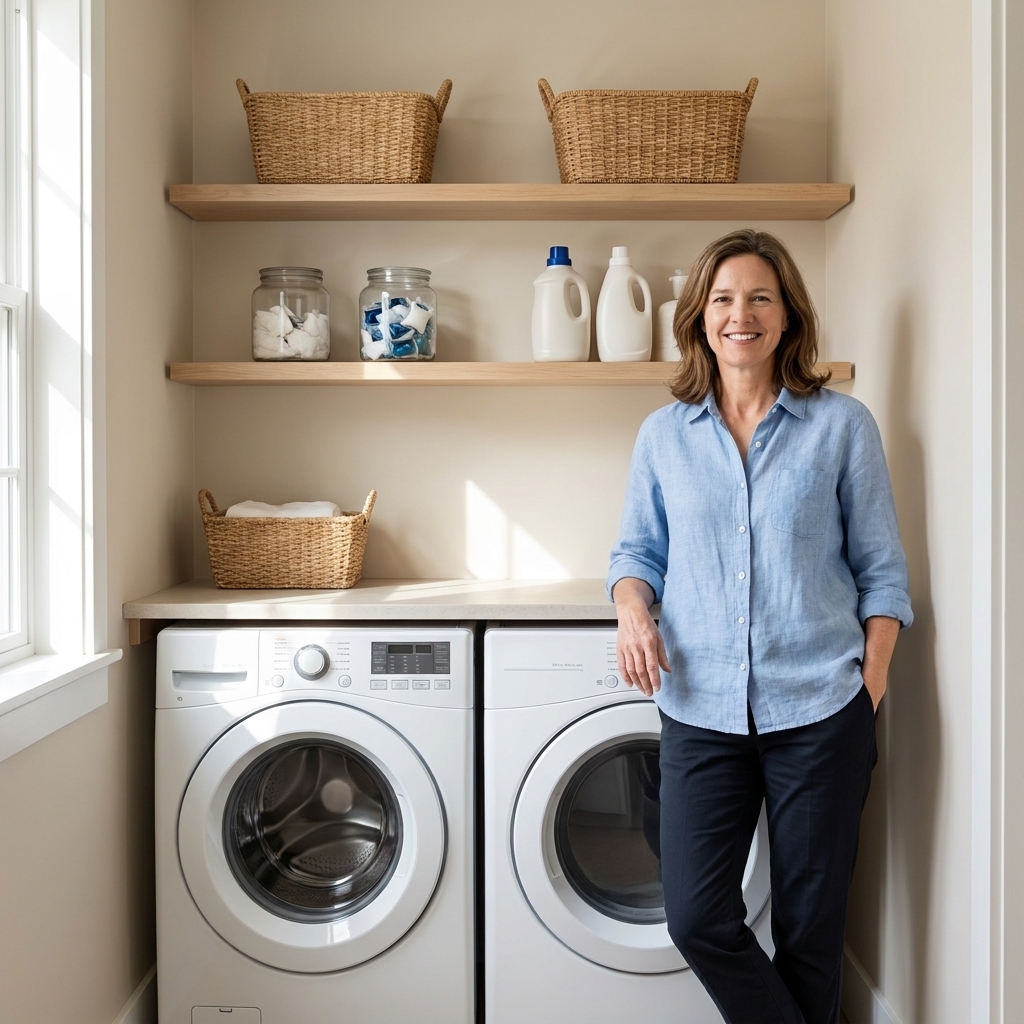
- The wall above and between machines (especially if you have front-loaders with a counter or plan to add one).
- The narrow side wall beside a stacked unit or beside a single machine.
- The back wall if you do not need it for doors or deep shelving.
My favorite rule: mount the board so the most-used hooks live between shoulder height and waist height. For many adults, that is roughly 36 to 60 inches from the floor, but I always “test grab” first. If the stain spray is above your head, you will stop putting it back. Ask me how I know.
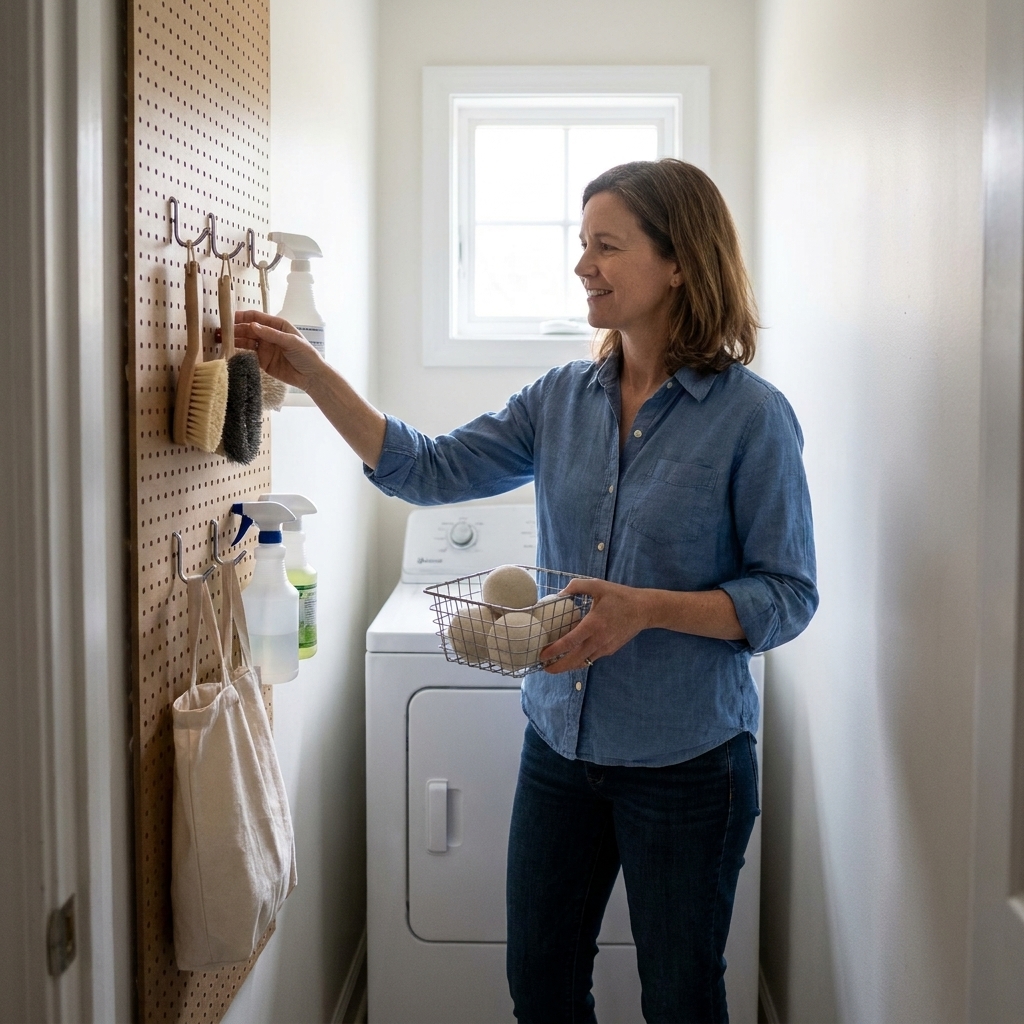
Step 2: Measure and mark studs
This step is what keeps it from wobbling.
- Locate studs with a stud finder and mark them lightly in pencil.
- Decide your board height. Hold the board up (or tape paper in its size) and pretend to grab your spray, brush, and lint roller.
- Mark the top line with a level so your board does not drift.
Clara tip: If your laundry room shares a wall with plumbing, stud spacing can be weird. I always find studs first, then decide the final width of my pegboard. A slightly smaller board that hits studs is better than a bigger board that relies entirely on anchors.
Step 3: Add a stand-off frame
A “stand-off” is just a small spacer behind the pegboard. Pegboard hooks need that gap to lock in. If you screw pegboard flat to drywall, your hooks will pop out every time you pull a brush off.
Two easy spacer options
- Wood furring strips: Screw 1x2 strips into studs horizontally (top and bottom) or vertically (left and right), then mount pegboard onto the strips.
- Pre-made pegboard spacer kits: Handy, but I usually just use scrap wood.
For most laundry setups, I like at least four spacer points (top left, top right, bottom left, bottom right). If your board spans about 24 to 32 inches or more, or you plan to use baskets and heavier items, add a center support strip too.
Step 4: Mount it for real weight
Here is the method I use when I know I am hanging full-size bottles and baskets.
- Pre-drill the pegboard at your mounting points. This prevents cracking and makes placement easier.
- Hold the board in place (a helper is lovely here) and check level one more time.
- Screw into studs first. Use washers under the screw heads.
- Add anchors only where needed (for corners that miss studs). Use anchors rated for more than your planned load.
- Test it with a gentle pull before you hang anything.
How much can it hold?
It depends on your wall, fasteners, and how many studs you hit. In a laundry space, I install pegboard as if it is going to get tugged on daily. Because it will. If you want to hang heavier items like a handheld vacuum, aim to place that hook line directly over a stud-fastened area, not just an anchored corner.
One more thing: washers and dryers vibrate. I only mount pegboard into wall studs (with spacers), not into thin cabinet side panels or flimsy drywall alone.
If your machines are close to the wall and you are planning additional wall storage, read this before you load it up: Floating Shelves vs Wire Racks for Laundry Storage.
Step 5: Seal and paint
This step is optional, but in a laundry room I recommend it. Humidity and splashes happen.
- Hardboard pegboard: Prime and paint both sides if possible, and especially the edges. A semi-gloss or satin finish wipes clean.
- Wood spacers: Quick coat of paint helps everything feel intentional (and hides scuffs).
- Caulk: If your board sits against trim or a wall edge, a thin bead can make it look built-in.
Step 6: Set it up like a stain station
The difference between a pegboard you love and one you ignore is editing. In a narrow space, visual clutter feels twice as loud.
My go-to pegboard zones
- Stain zone (center): stain spray, stain stick, small measuring spoon, old toothbrush in a cup, microfiber cloth.
- Scrub zone (one side): scrub brush, soft brush for delicates, small squeegee.
- Lint zone (near dryer): lint roller, spare lint trap brush, mini dustpan.
- Catch-all basket (top corner): clothespins, wool dryer balls, loose change, missing socks until laundry day magic happens.
Hooks and baskets that make it feel custom
- Use two hooks for one item (like a spray bottle) so it sits steady and does not twist.
- Add one small basket for tiny items so they do not migrate to the washer ledge.
- Leave 15 to 20 percent empty. Empty holes are not wasted space. They are breathing room.

Layouts for extra-skinny spots
The 12-inch-wide strip
If you only have a sliver of wall, go tall. Use one or two baskets, then vertical rows of hooks for lint tools and brushes.
The behind-the-door side wall
Mount a narrow pegboard panel on the wall beside the door swing line, not where the door will hit. Pair it with simple back-of-door storage so every inch works together.
The above-the-machines panel
This is my favorite for families. It keeps stain tools away from little hands, and it clears the counter for folding. If you are dreaming up a folding surface, you might like: DIY Waterfall Countertop Folding Station Over Front-Loaders.
Safety and clearance checks
- Do not block dryer vent access or make it hard to pull the machine out for cleaning.
- Keep chemicals high if you have young kids. I store daily-use stain tools higher than my smallest can reach.
- Keep lids tight and skip open containers. I do not hang open-top cups of powdered products above machines, and I avoid storing anything that could spill into a washer or outlet.
- Be mindful around outlets and cords. I leave breathing room near outlets and cable runs so nothing snags when I plug and unplug.
- Leave clearance for doors and lids. Top-loaders need lid clearance. Front-loaders need door swing clearance.
Common problems and easy fixes
My hooks keep popping out
You likely mounted the board flush to the wall. Add proper spacers or furring strips so hooks can lock in behind the board.
The pegboard feels wobbly
Add more mounting points, hit more studs, or add a center support strip. Also make sure you used washers under screws.
It looks messy fast
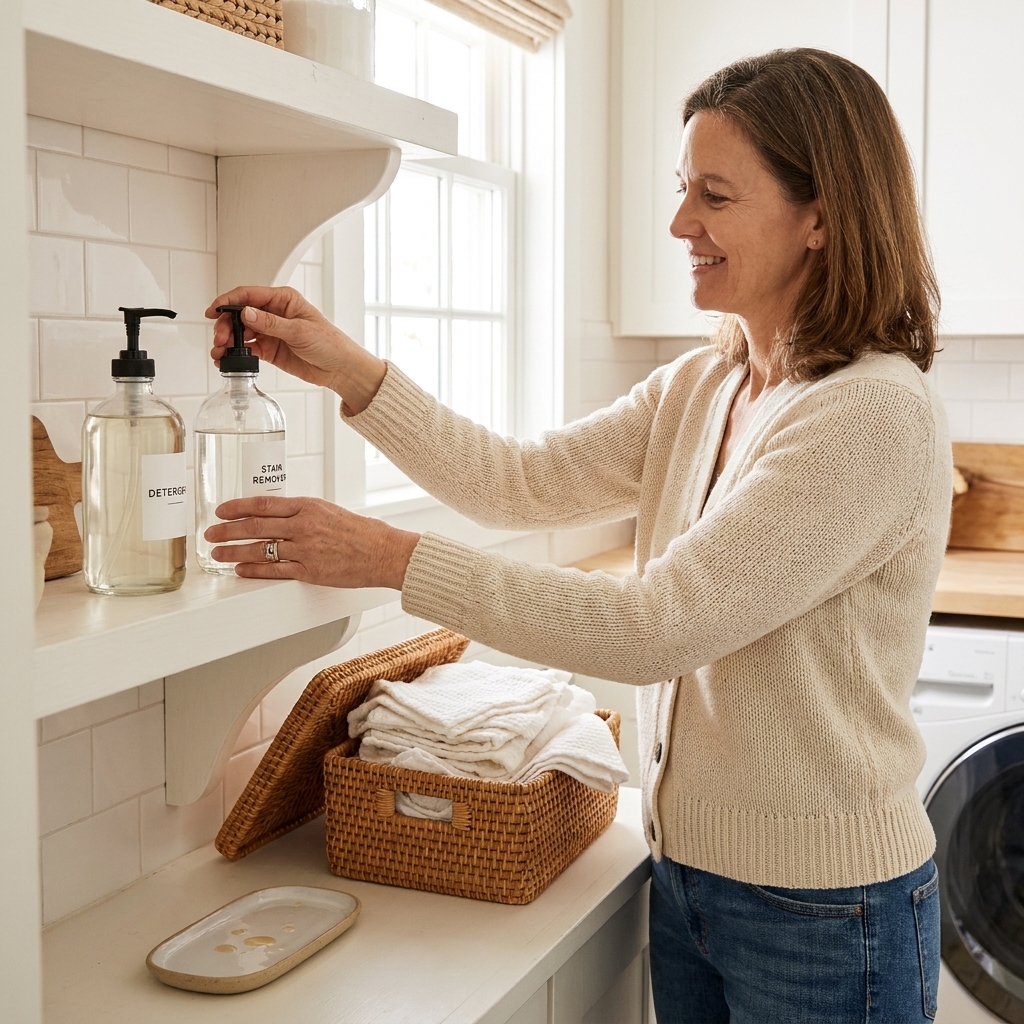
Edit down. Keep only what you use weekly on the pegboard. Store backups elsewhere. If decanting helps you visually calm the space, this guide is a good next step: Decanting and Organizing Laundry Supplies.
A simple starter setup
If you want a pegboard wall that works from day one, start with:
- 2 sturdy hooks for stain spray
- 1 cup or small basket for a stain stick and toothbrush
- 1 hook for a scrub brush
- 1 hook for a lint roller
- 1 small basket for microfiber cloths
Live with that for a week, then add only what you truly reach for. The goal in a skinny laundry room is not to hang everything. The goal is to make laundry feel less like a scavenger hunt.