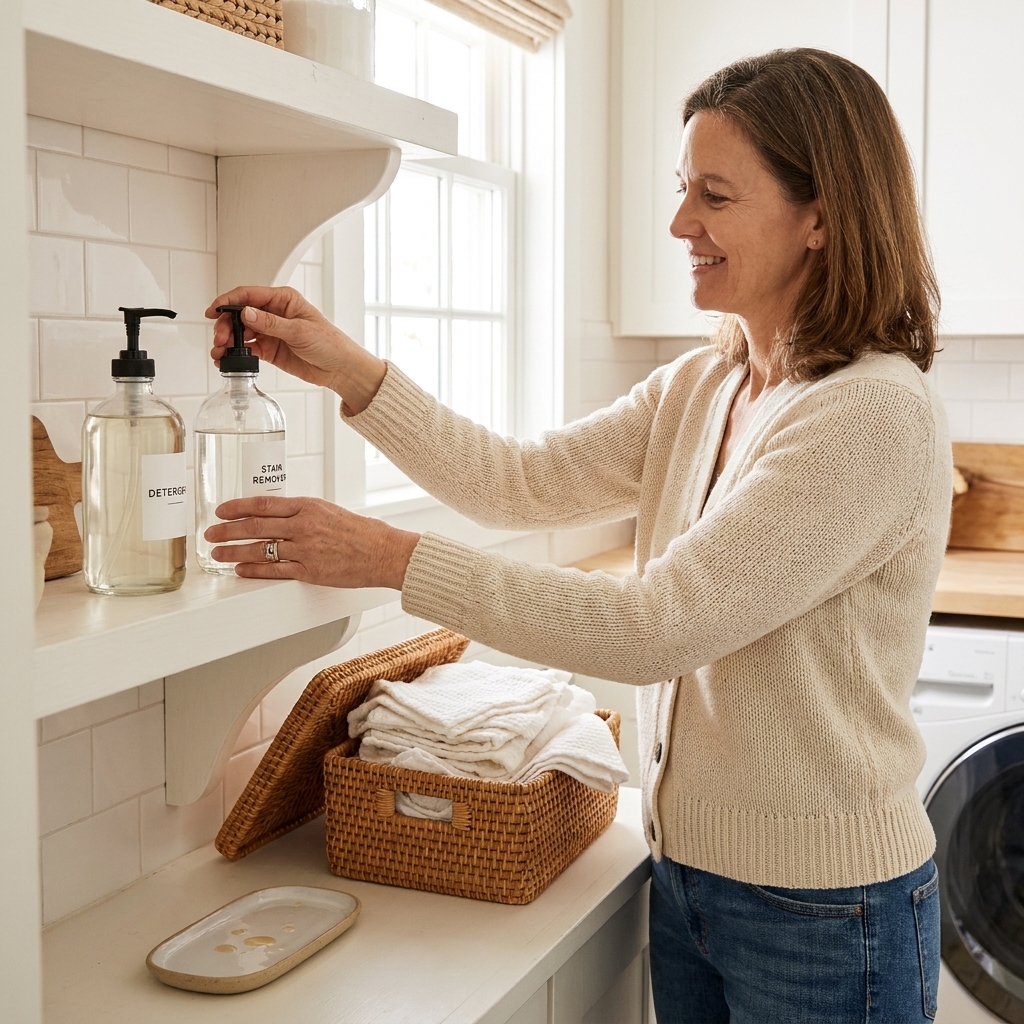
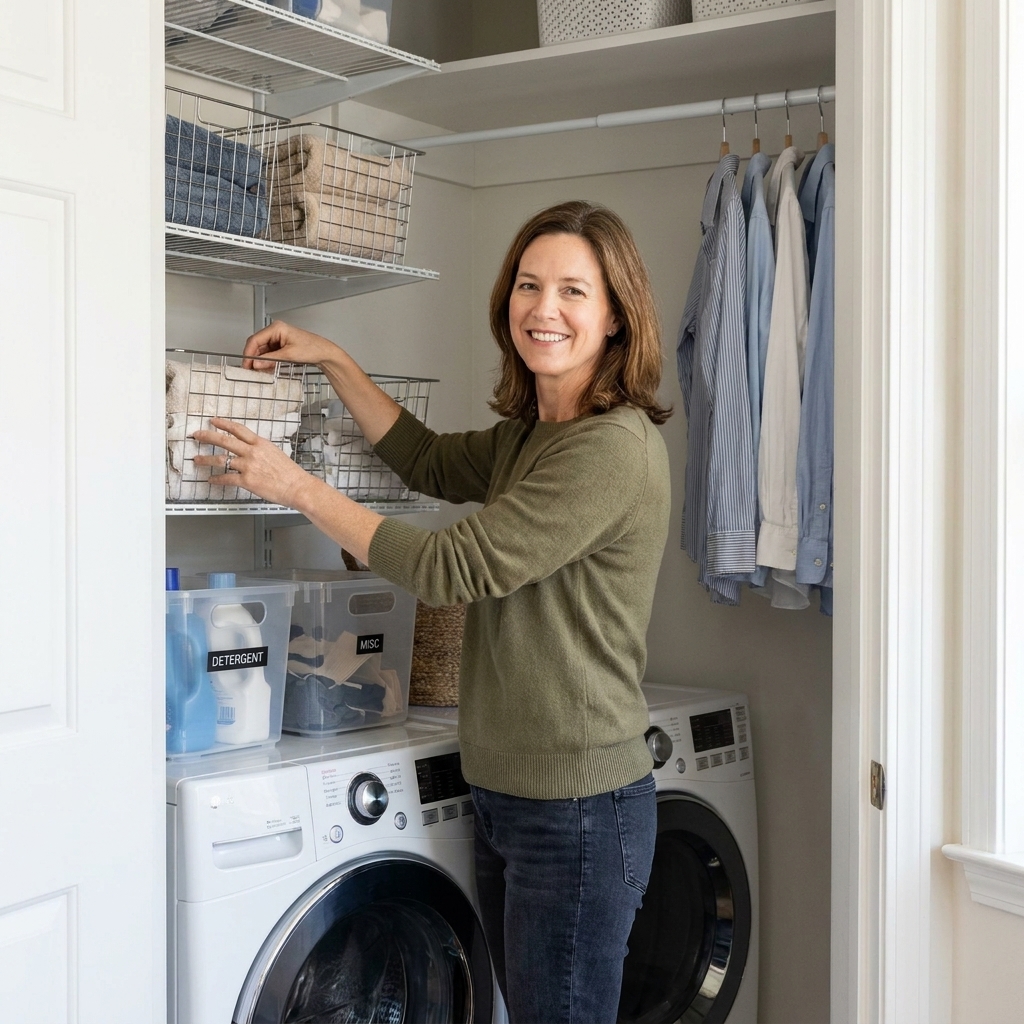
My laundry space has been a lot of things over the years. Dark hallway closet, detergent avalanche zone, “why is there a single sock in here again” mystery corner. But the moment it started feeling intentionally put together was when I decanted our everyday supplies and added clean, simple labels.
Here’s the best part: you do not need a cutting machine, waterproof vinyl, or fancy sticker paper to get that high-end look. You can make surprisingly durable, wipeable labels with basic packing tape and a bowl of water. In my experience, they hold up well to everyday drips and splashes on smooth, clean bottles, even with busy-kid hands in the mix.
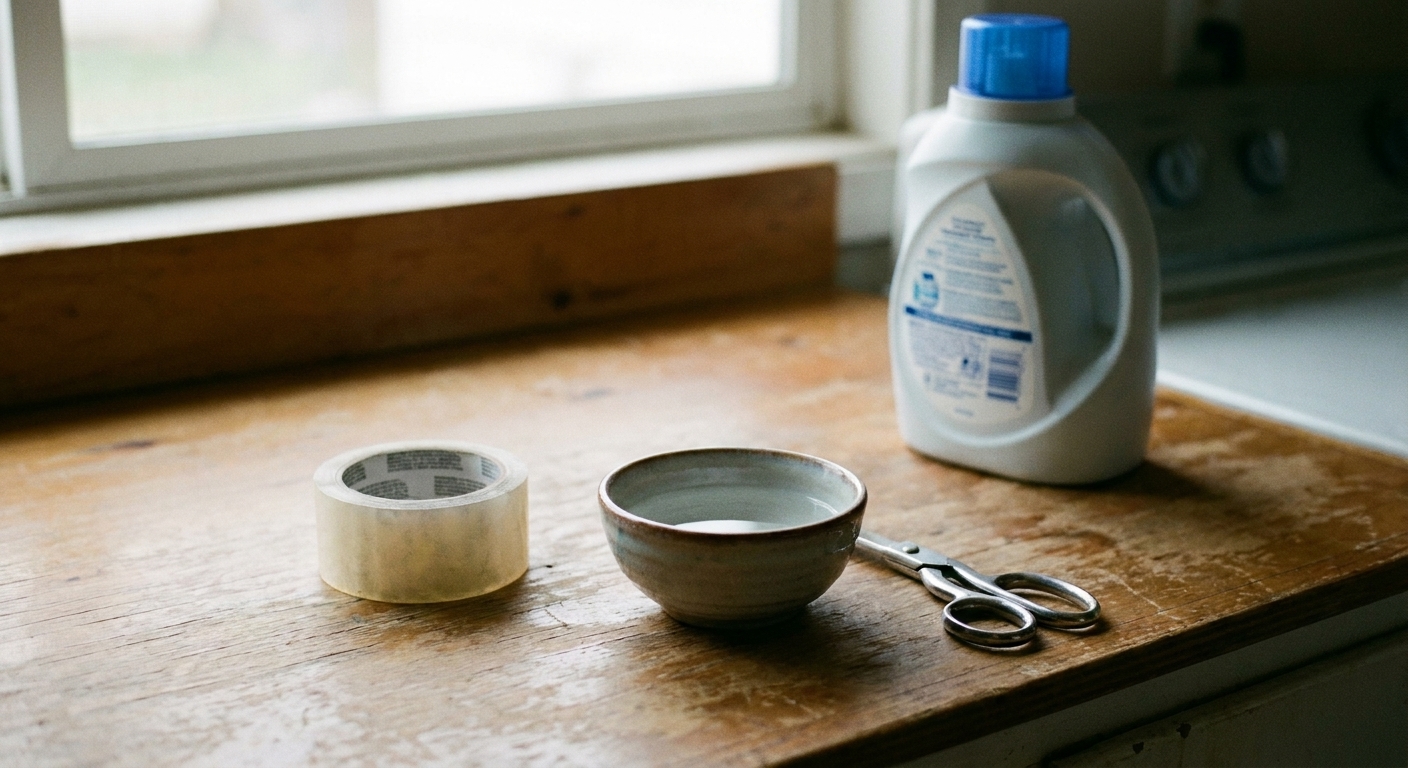
Why this works
This is a simple image transfer. You print your label design on regular paper, press clear packing tape over it, then soak and rub the paper away. The printed ink or toner stays on the tape, and the tape becomes your clear, wipeable label.
If you have ever loved the “apothecary bottle” look but hated the price tag, this is the budget version that still feels elevated.
What you need
- Clear packing tape (wide, glossy tape works best)
- Printer paper (regular copy paper is perfect)
- Printer (laser is ideal, inkjet can work with the right settings, more on that below)
- Scissors or a craft knife
- Small bowl of warm water
- Fingertips or a soft cloth for rubbing paper pulp away
- Rubbing alcohol or dish soap for cleaning the bottle before applying
- Optional: a plastic card (old gift card) to burnish the tape flat
If you are new to decanting, I also have a full walk-through on setting up bottles and bins here: Decanting and Organizing Laundry Supplies.
Step 1: Design a label
You can absolutely make this as cute or as minimal as you want, but my “high-end shortcut” is always the same:
- Keep it simple: big product name, smaller scent or notes underneath.
- Pick one clean font for the main word (a classic serif feels upscale) and one simple sans serif for the small line.
- Use black text for the most reliable transfer.
- Avoid tiny details: super thin lines and micro text can get fuzzy once soaked.
Size tip: For most detergent dispensers and refill bottles, a label around 2.5 to 3.5 inches wide is the sweet spot. I like a rectangle with slightly rounded corners because it looks intentional and lifts less at the edges.
Step 2: Print well
Print your labels on regular paper. Before you hit print, do these two things:
- Select “Best” or “High Quality” print setting so the black is rich.
- Let the ink dry at least 10 to 15 minutes before you touch it.
Laser vs inkjet: Laser prints are the easiest because toner tends to stay put during the soak. Inkjet can still work, but results vary a lot by printer and ink. If your inkjet bleeds or looks washed out, try printing darker, keeping your design bolder, or using a different printer for labels.
Step 3: Tape and burnish
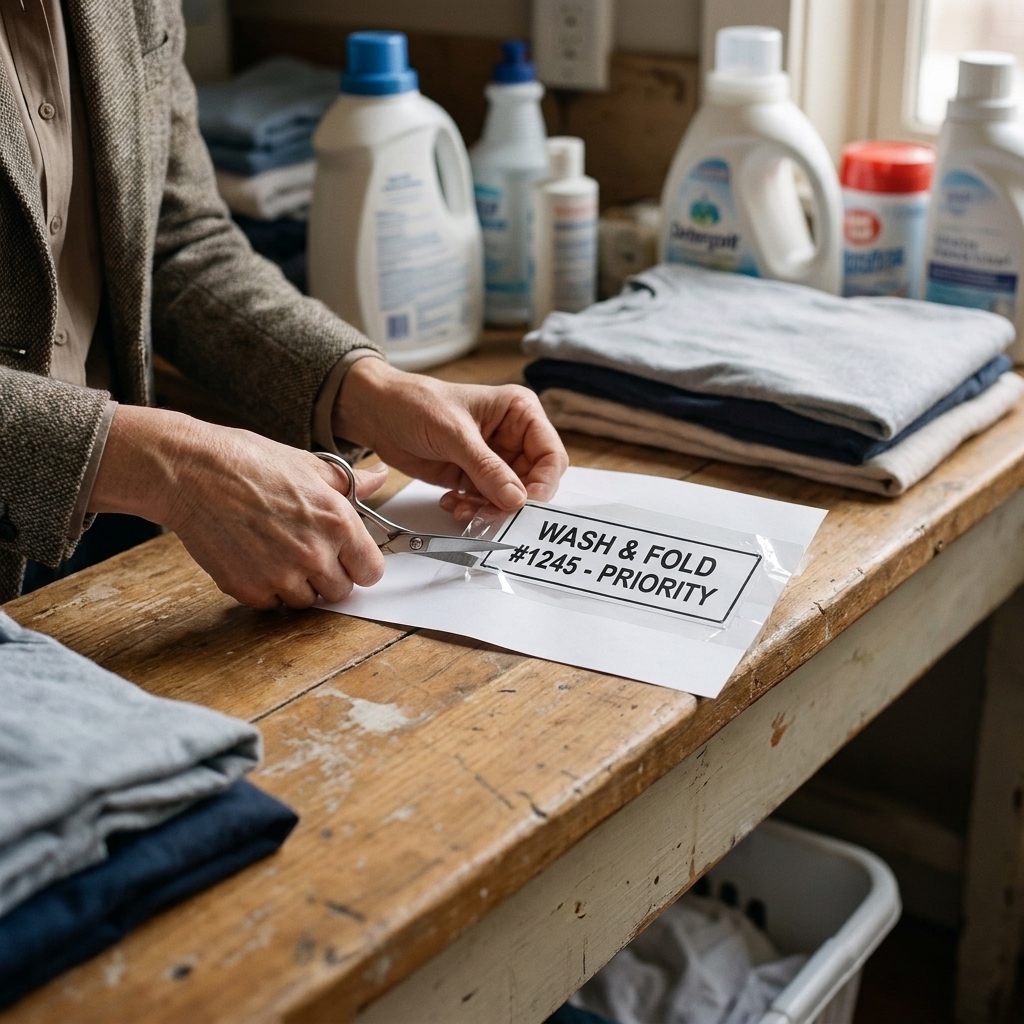
Cut a piece of clear packing tape slightly larger than your printed label.
- Press the tape down over the label slowly.
- Burnish firmly with your fingers or a plastic card.
- Work out any bubbles. Bubbles become weak spots later.
Mom-life tip: Do not do this step while a child is asking for a snack. This is the one moment you want calm hands.
Step 4: Cut it out
Cut around your label, leaving a small tape border as a seal. I aim for about 1/16 to 1/8 inch of clear tape around the printed area.
Rounded corners are worth the extra 10 seconds. Sharp corners catch and lift faster.
Step 5: Soak and rub
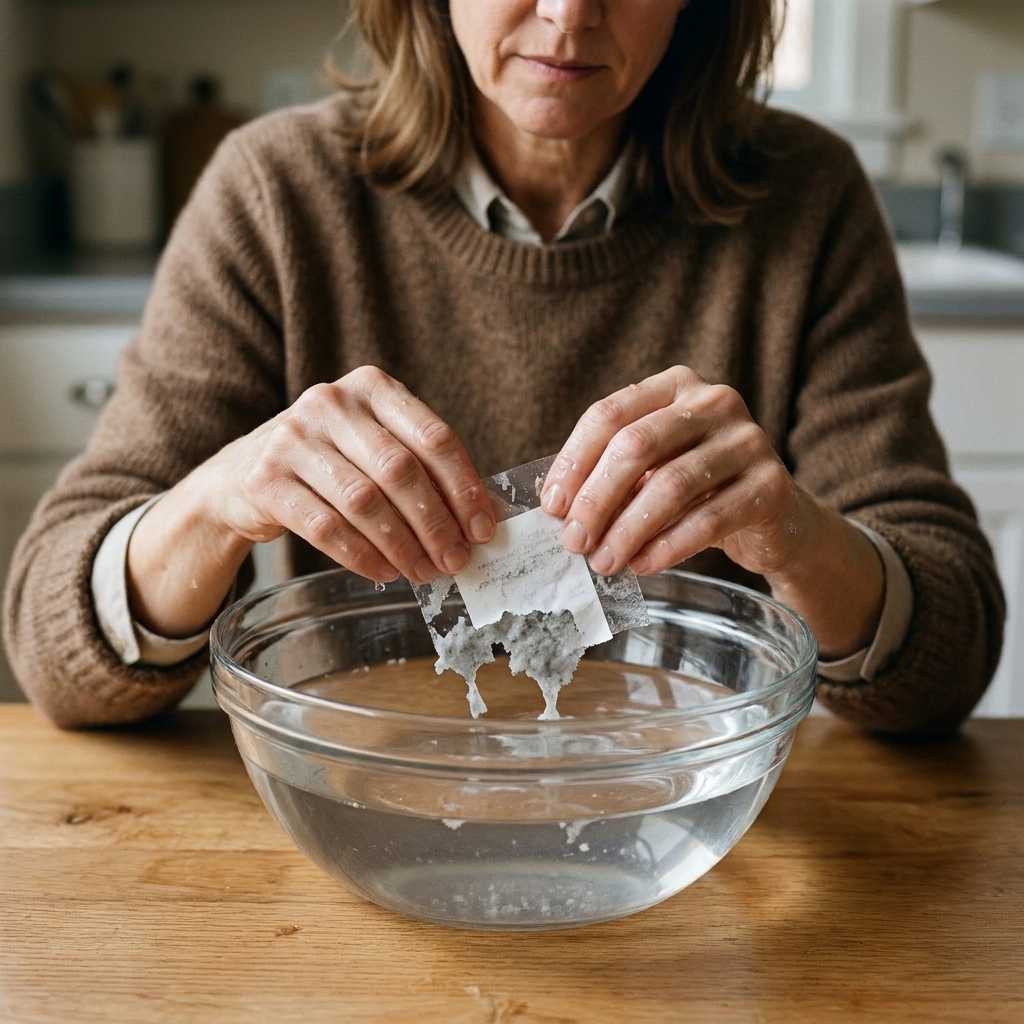
- Place the taped label in warm water for about 2 to 5 minutes.
- When the paper looks saturated, start gently rubbing the back (the paper side) with your fingertips.
- The paper will pill up into pulp. Keep rubbing until the paper is gone and you only have the clear tape with the transfer.
You will probably do this in two rounds: soak, rub, rinse, then rub again to remove the last thin layer of paper fibers.
Important: Rub the paper side only. If you over-rub or use your fingernails, fine details can dull. Gentle and patient wins here.
Step 6: Dry fully
Lay the tape label sticky-side up on a clean surface to dry, somewhere dust-free. Give it 30 to 60 minutes, or until it looks clear and feels fully dry. If it still looks milky, it needs more time.
This is where the label goes from “craft project” to “wow, that looks store-bought.” The transfer clears up as it dries.
Step 7: Prep and apply
For a smooth, long-lasting label, the surface matters more than people think.
- Wash the bottle with dish soap and dry it.
- Wipe the label area with rubbing alcohol to remove residue.
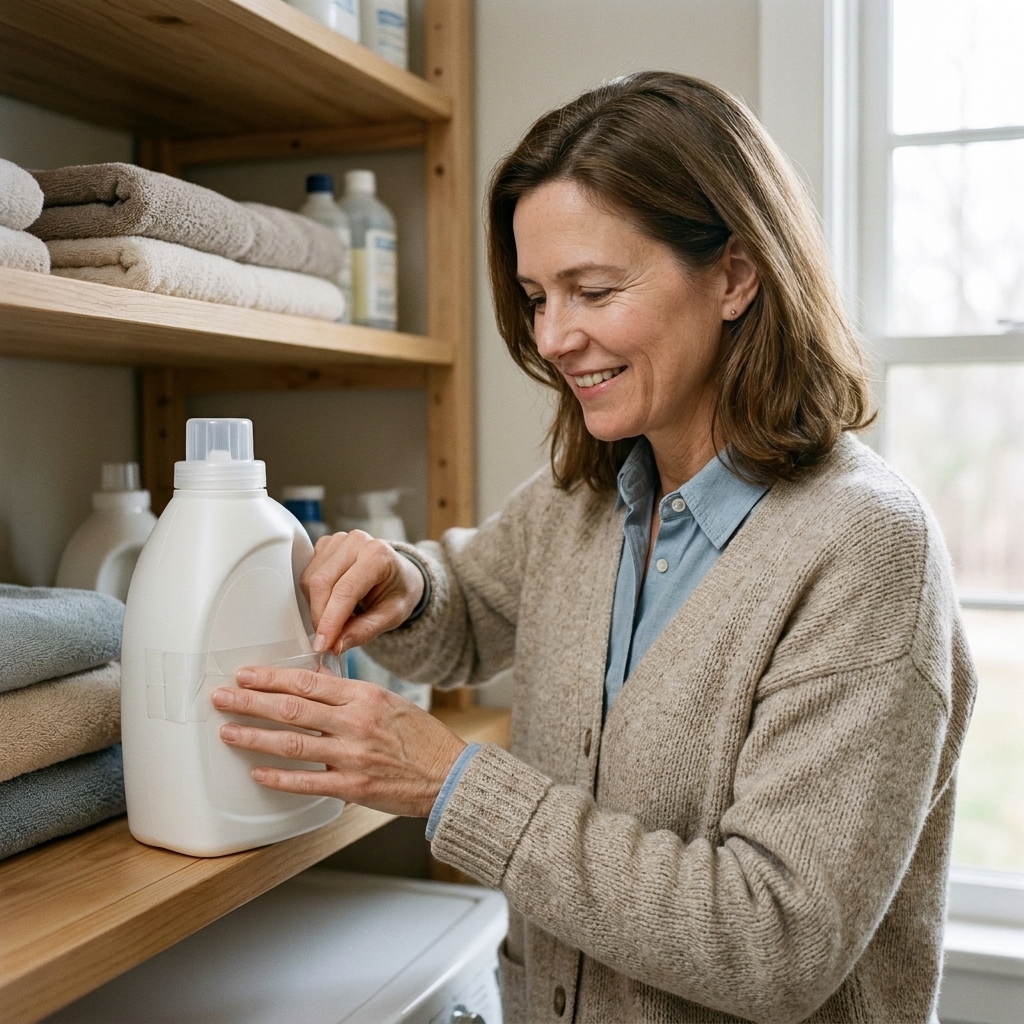
- Apply the label slowly from one side to the other, pressing as you go.
- Burnish firmly, especially around the edges.
If you are labeling curved bottles, place the label and burnish from the center outward so you do not trap wrinkles.
Once applied, avoid getting it wet for a few hours if possible. Overnight is ideal.
Surface note: This works best on smooth plastic or glass. Matte or soft-touch finishes, heavily textured bottles, and anything that still has a slippery residue can make tape lift faster.
How water-resistant is it?
In real laundry-room terms, these labels are splash-resistant and wipeable when they are applied to a clean, smooth surface. Mine survive detergent drips, damp hands, and the occasional wipe-down.
They are not meant for:
- Running through the dishwasher
- Repeated hot-water soaking
- Textured, dusty, or oily surfaces where tape cannot fully adhere
Longevity: Think “weeks to months,” depending on how often the bottle is handled and what kind of surface it is. I replace mine when corners start lifting or they look scuffed, which is usually a quick refresh, not a full redo.
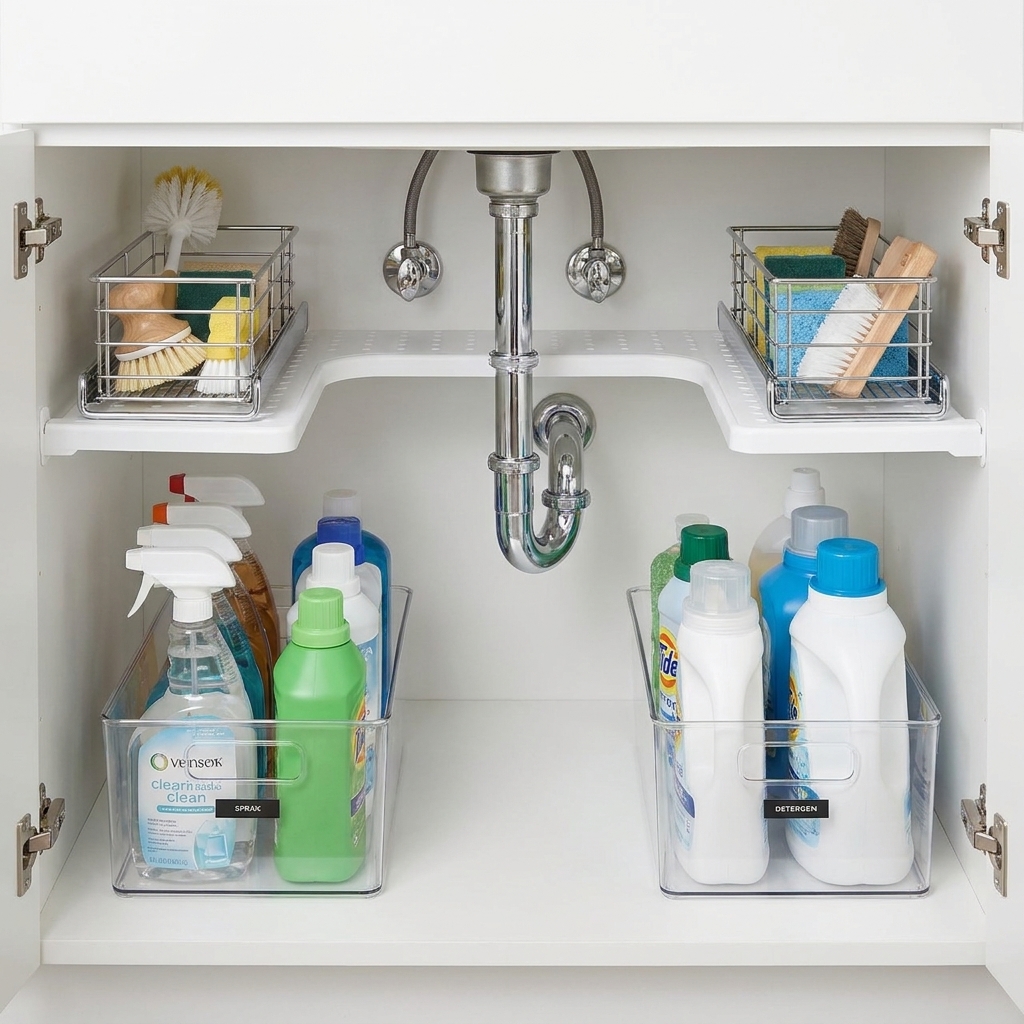
Extra protection option: If your bottles live under a sink where things get knocked around, add an extra border of clear packing tape around the edges like a little frame. It helps seal the perimeter and makes the label feel sturdier.
While we are talking about under-sink chaos, this is my favorite way to keep that area usable: Organizing Under Your Laundry Utility Sink.
Troubleshooting
The ink smears
- Let the print dry longer before taping.
- Use a darker, bolder font and avoid thin lines.
- If you are on inkjet and it keeps bleeding, try a laser printer if you can.
The label looks cloudy
- There is still paper fiber on the back. Soak again and gently rub.
- Or it is not fully dry yet. Let it air-dry longer.
Edges keep lifting
- Round the corners more.
- Clean the bottle again with rubbing alcohol.
- Press and burnish firmly, especially the edges.
- Avoid applying over seams, ridges, or heavy texture.
- If the bottle is matte or soft-touch, expect more lifting. Switch to a smoother container if you can.
Bubbles show up
- Apply from one side to the other, smoothing as you go.
- Burnish with a card before soaking and again after applying to the bottle.
Where it shines
I love these labels most when they are part of a bigger “small upgrades, big impact” refresh. A few easy pairings:
- Decanted bottles on a tray for that calm, coordinated look
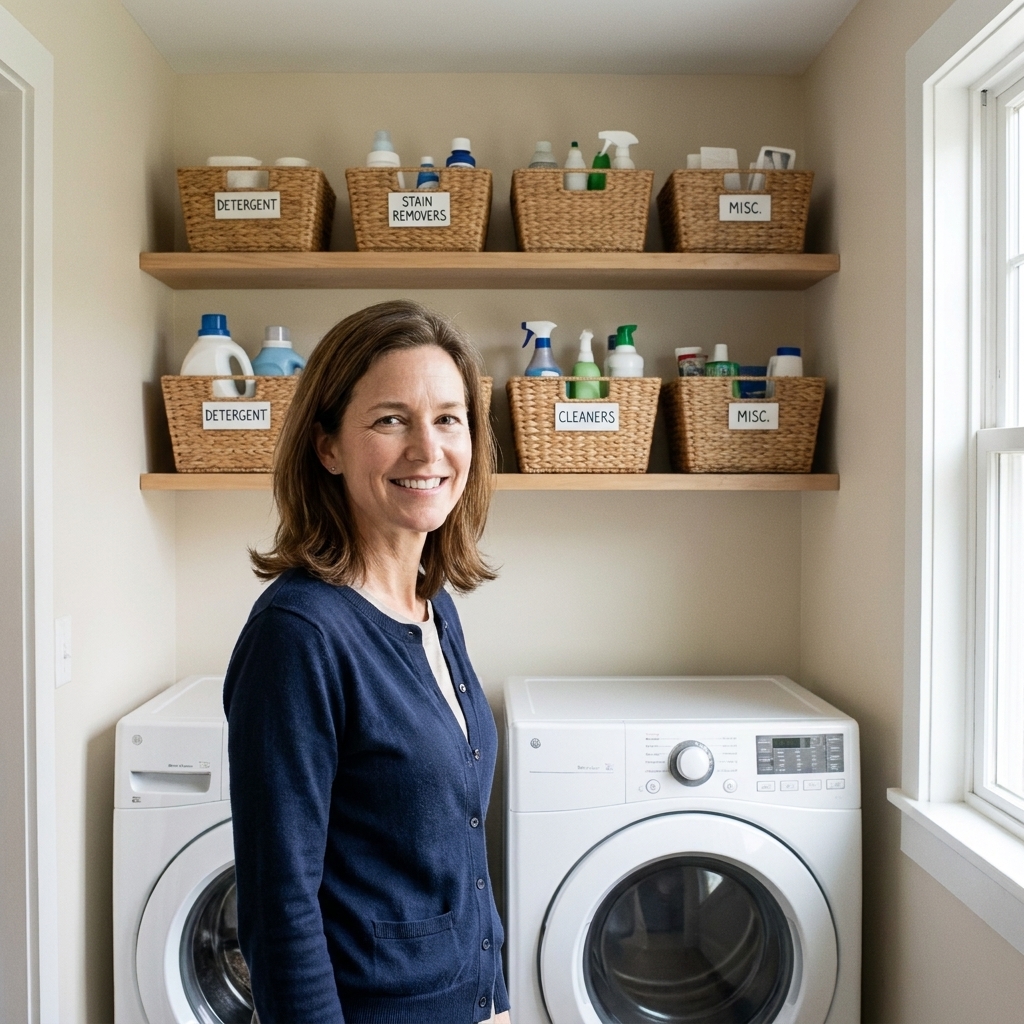
- Matching bins for pods, dryer sheets, stain sticks, and clothespins
- Simple shelf styling so the labels can actually shine
If your laundry space needs a full budget reset, start here: 15 Dollar Store Organization Hacks for a Budget Laundry Makeover.
Label wording ideas
When you want the high-end vibe, skip the overly cute phrases and stick to clear, useful names. Here are a few that work well:
- LAUNDRY DETERGENT
- FABRIC SOFTENER
- OXY BOOSTER
- STAIN REMOVER
- WOOL DRYER BALLS
- DELICATES
- WHITES
- COLOR SAFE BLEACH
Simple labels make it easier for everyone in the house to put things back. That includes kids, partners, and honestly, also me when I am folding at 10 p.m.
Quick safety note
If you decant cleaners into new containers, label them clearly and never use food containers. Keep everything out of reach of kids and pets, and avoid mixing products.
Also, keep the original bottle (or at least the instructions and first-aid info) accessible. And if a product comes in child-resistant packaging, do not decant it unless your new container is also child-resistant. This label trick is meant to make your space prettier and easier to use, not confusing.
Small upgrade, big payoff
There is something about opening a laundry cabinet and seeing matching bottles with crisp labels that makes the whole routine feel lighter. It is not about perfection. It is about reducing the tiny daily friction points so the space works for you.
If you try this hack, do one bottle first. Once you see how “store-bought” it turns out, you will be eyeing every mismatched container in the house. Ask me how I know.