There are two kinds of laundry rooms: the kind where clean clothes land in a basket and live there for three business days, and the kind where you actually have a place to hang things the second they come out of the dryer. I converted my own dark hallway laundry closet years ago, and the single upgrade that made it feel like a real working station was a ceiling-mounted hanging rod. It grabbed “dead” vertical space and gave me a wrinkle-prevention zone that did not steal an inch from my folding area.
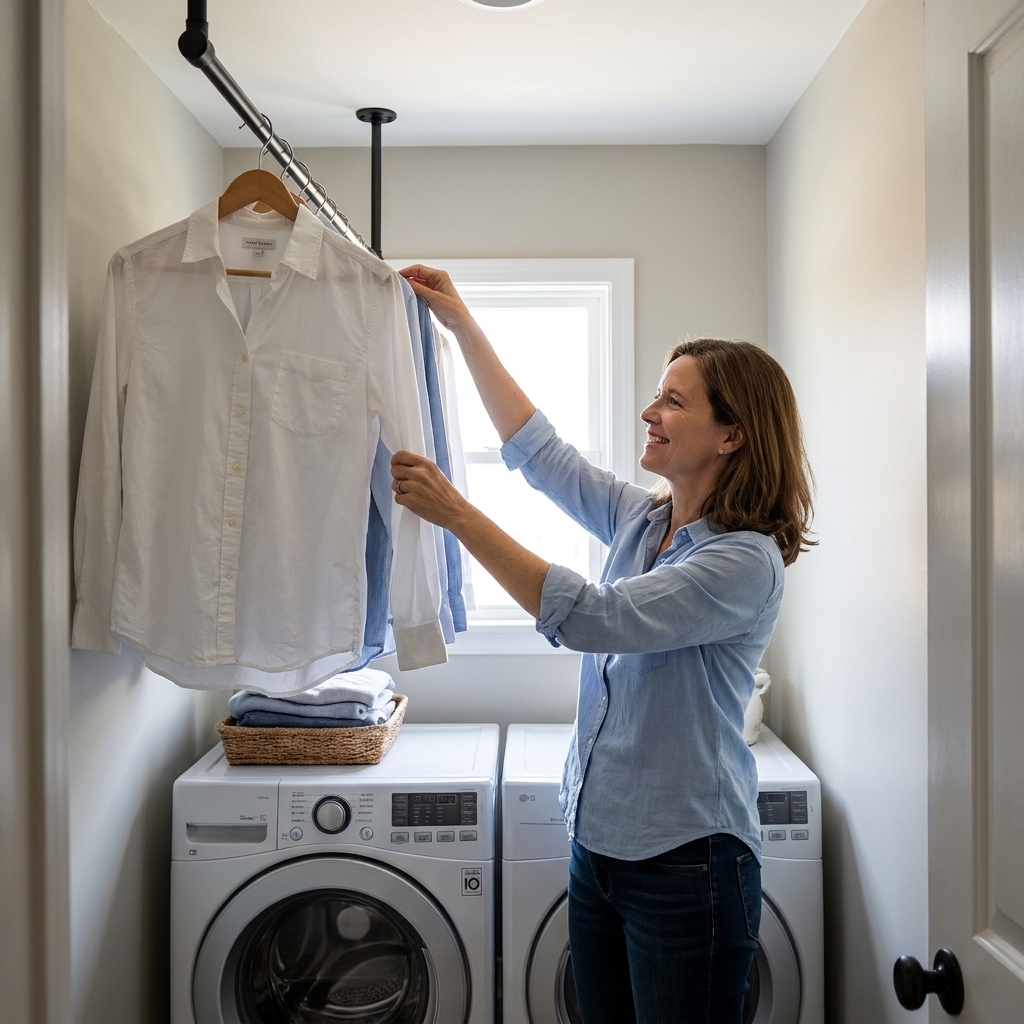
This tutorial walks you through a sturdy, no-wobble install using either industrial pipe or a wood rod, plus the little details that keep it safe and satisfying to use.
Why ceiling mount?
Wall-mounted rods are fine, but in a cramped laundry nook the wall space is usually already spoken for: shelves, cabinets, doors that swing, or that awkward dryer vent situation. A ceiling mount works beautifully when:
- You have a narrow room and need the walls clear for storage.
- You want to hang longer items without them brushing the wall.
- You need a rod over a counter or over front-loaders, but do not want brackets in the way.
- You are building a “landing zone” for hang-dry items, delicates, or kid uniforms that must be ready fast.
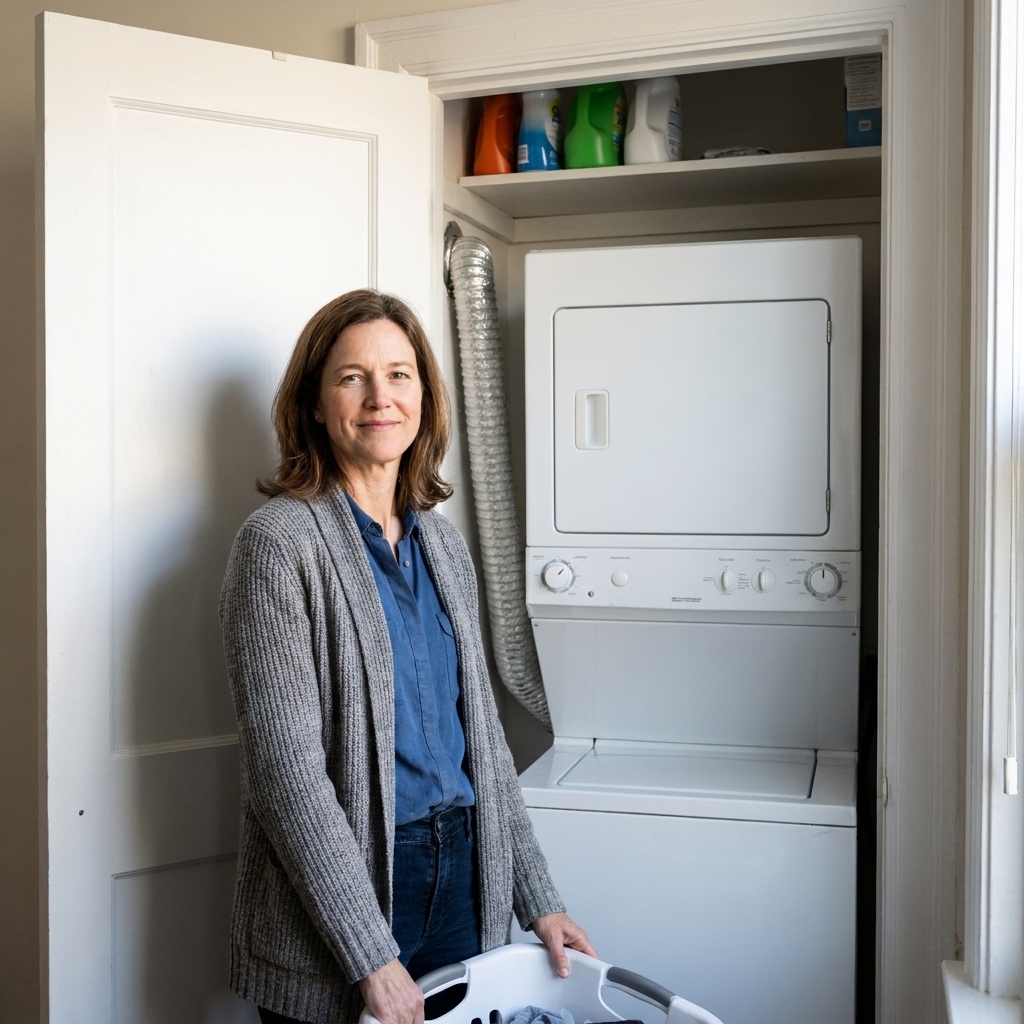
If your setup is inside a tight closet, take a quick peek at clearance and airflow first. I have a full guide on what to watch for in compact installs here: airflow and dryer vent clearance in ultra-compact laundry closets.
Pick a rod type
Option A: Industrial pipe
Industrial pipe is strong, adjustable, and forgiving because the fittings let you fine-tune length and drop. It also looks sharp in a laundry room that leans modern or utility-chic.
- Pros: very strong, easy to customize, fittings are widely available.
- Cons: can feel visually heavy in a tiny space, and threaded joints can slowly loosen if you twist hangers aggressively while sliding them.
Option B: Wood rod
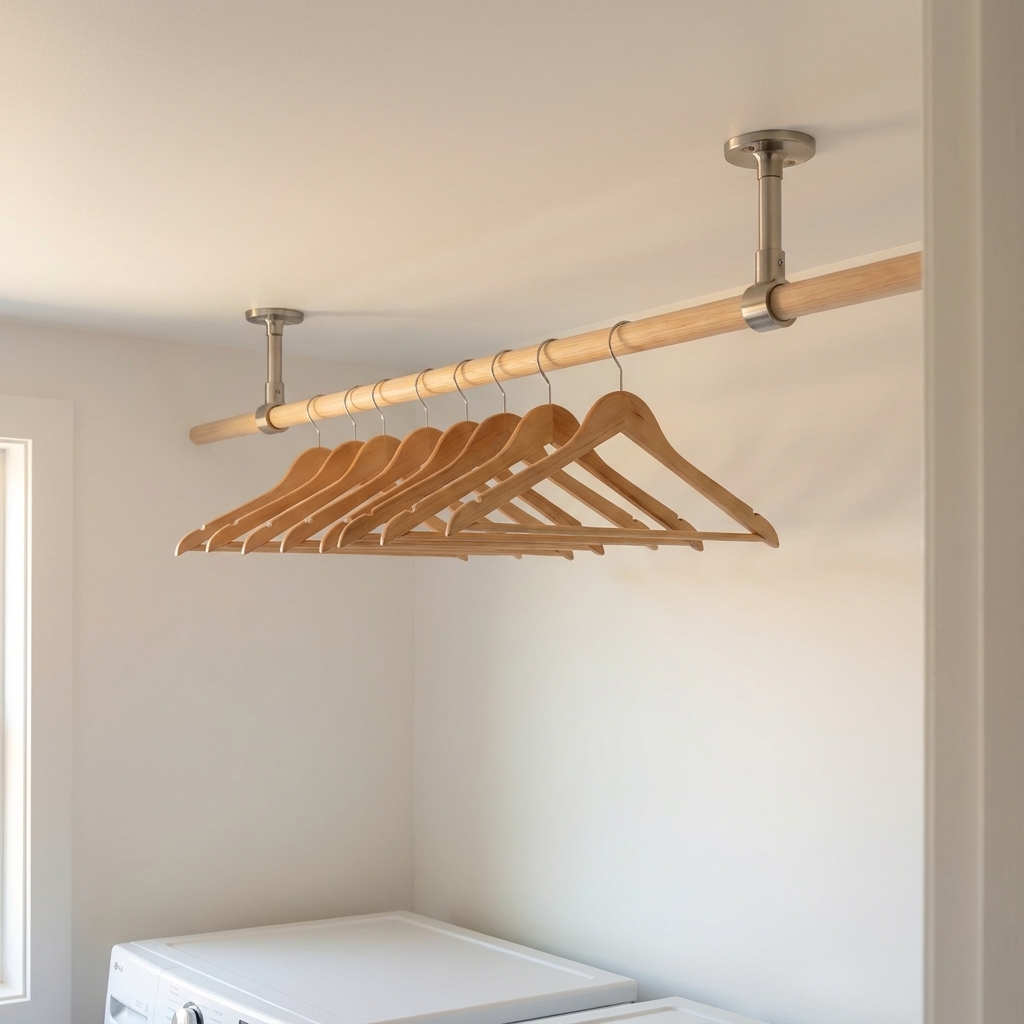
A hardwood dowel or closet rod gives a softer look, especially if you have wood shelves or a countertop nearby.
- Pros: warm look, easy to paint or stain, usually cheaper.
- Cons: needs the right diameter and proper sockets, and you must avoid soft wood that can bow over a long span.
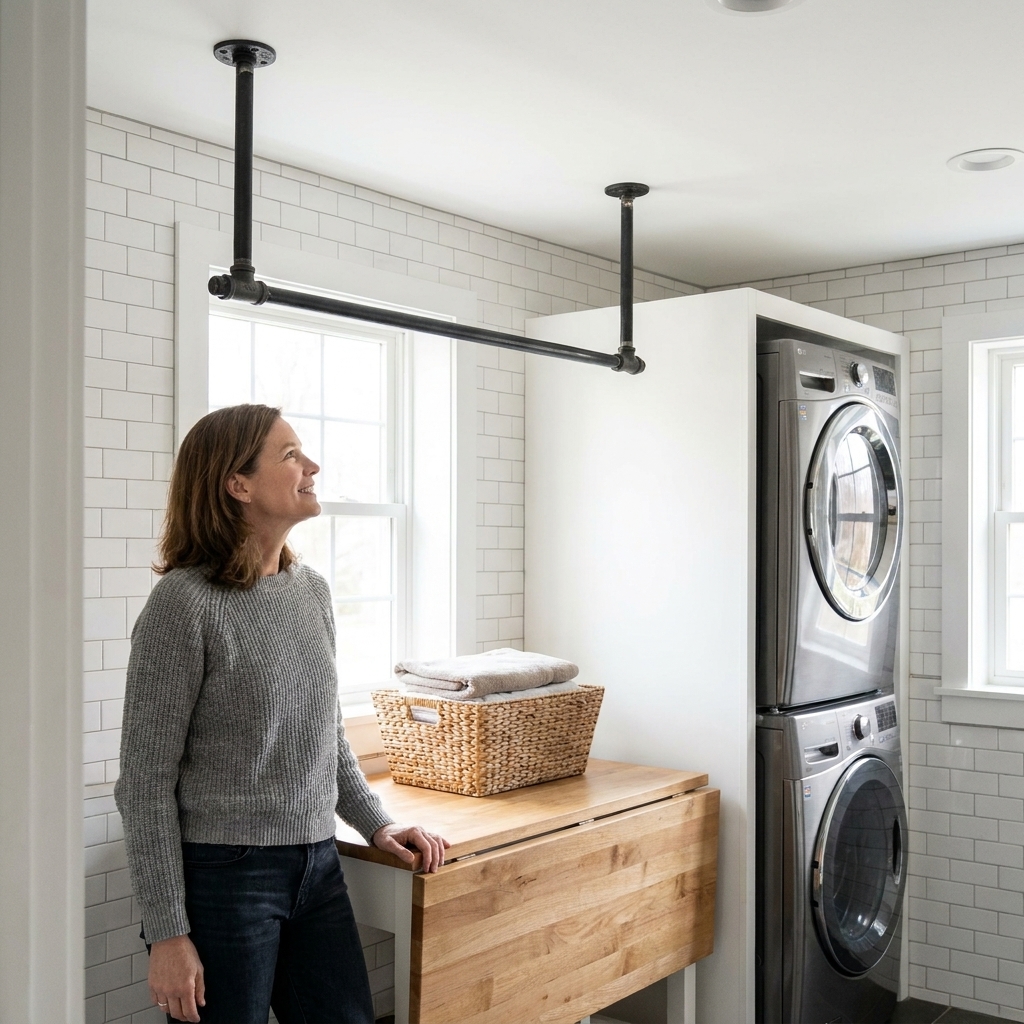
My rule of thumb: If you want to hang multiple damp items at once, go pipe. If it is mostly for freshly dried shirts and the occasional drip-dry piece, wood is great.
Pipe size and finish
If you are debating pipe diameter, here is what I have found in real-life laundry use:
- 3/4 inch pipe tends to feel sturdier and steadier when you slide hangers back and forth.
- 1/2 inch pipe can work for short rods and light loads, but it often feels a little whippier over longer spans.
Also, black pipe can come oily out of the box. Before you install it near clean clothes, wipe it down well with a degreaser and let it dry completely.
Materials list
For an industrial pipe rod
- (2) ceiling flanges sized for your pipe (commonly 3/4 inch)
- (2) short nipples for the drop (commonly 4 to 10 inches)
- (1) pipe for the rod length (commonly 24 to 60 inches)
- (2) 90-degree elbows if you want a drop-down shape, or skip elbows if your rod runs directly between two drops
- Wood screws or structural screws long enough to bite into ceiling joists (more on sizing below)
- Optional: PTFE thread tape to help reduce squeaks and minor loosening
For a wood rod
- (1) hardwood dowel or closet rod (1 1/4 inch diameter is a nice sturdy feel)
- (2) ceiling-mount sockets or U-brackets rated for closet rods
- Wood screws or structural screws for joists
- Optional: sandpaper and paint or stain plus clear topcoat
Tools
- Stud finder that can locate ceiling joists
- Drill and bits (including a small bit for pilot holes)
- Measuring tape
- Pencil
- Level (or a laser level if you are fancy)
- Step ladder
Do not skip: a pilot hole. Ceiling installs punish impatience.
Plan the placement
1) Decide what the rod is for
- Freshly dried on hangers: You can place it closer to the machines or above a folding counter.
- Drip-dry: Give it more open air and keep it away from anything that could get splashed.
2) Choose a comfortable height
A common range I have found comfortable is the bottom of the rod about 72 to 78 inches off the floor, if your ceiling height allows. Quick reality check before you drill: stand where you will load the rod, raise your arm like you are hanging a shirt, and make sure you can lift a hanger up and over without shoulder gymnastics. Then factor in garment length so hems are not brushing the machines or a countertop.
3) Check doors and walkways
Open the washer and dryer doors fully. Open any nearby door. Then imagine yourself carrying a basket through that same path. A ceiling rod is wonderful, but not if it turns the laundry room into an obstacle course.
4) Find joists
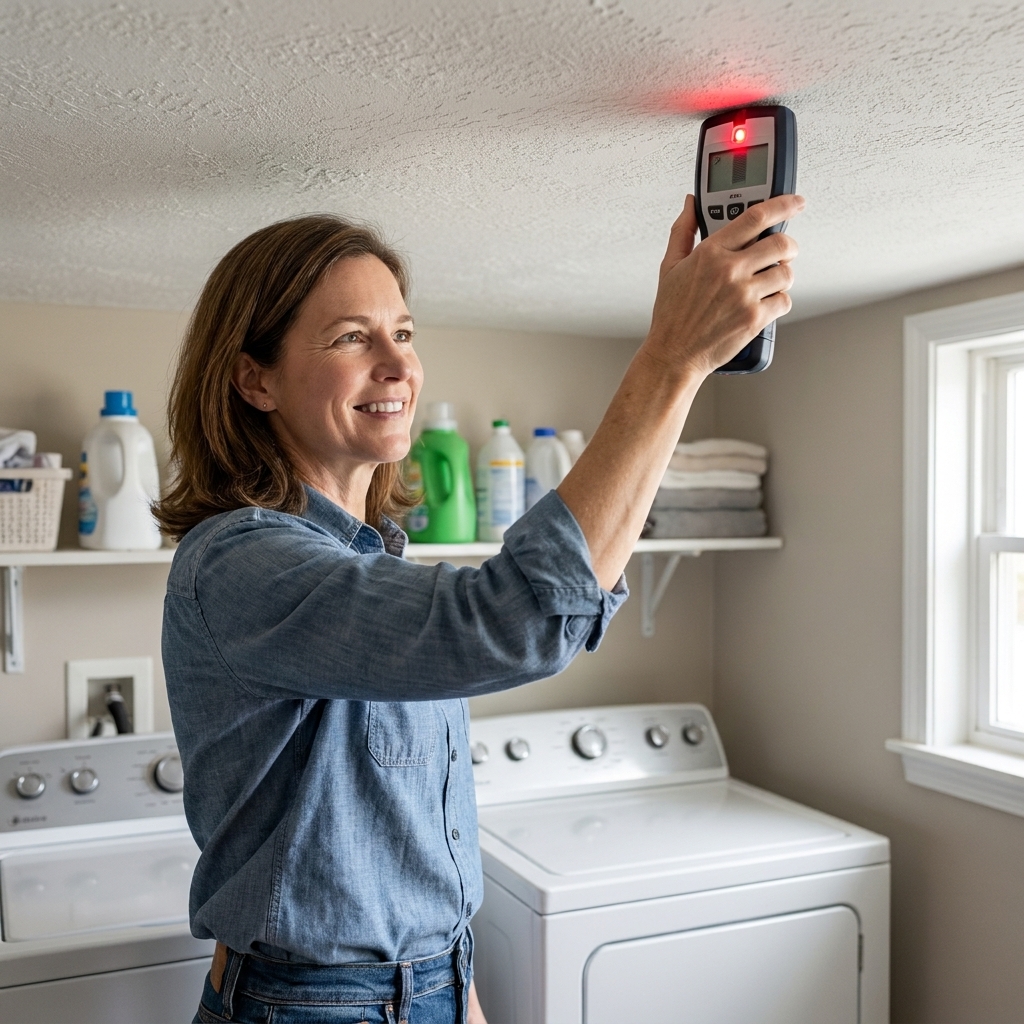
This is the safety line: mount into ceiling joists whenever you can. Drywall anchors are not the move for a hanging rod, especially with wet clothing. Use a stud finder, then confirm by drilling a small test hole where the flange or bracket will cover it.
Ceiling types to know
Most laundry closets have standard drywall ceilings, and the steps below assume that. If you have something else, slow down and adjust:
- Plaster and lath: Use a sharp bit, drill gently, and plan for more careful pilot holes to avoid cracking. Finding joists can be trickier, so the mounting-board method (below) becomes extra useful.
- Exposed beams: You can often mount directly to the beam, which is great. Just predrill so you do not split the wood.
If you are unsure what you have, a small test hole in an inconspicuous spot tells you fast.
Install a pipe ceiling rod
Step 1: Mark the flanges
Hold the flanges up to the ceiling and mark the screw holes. Double-check that each flange lands on a joist. If your ideal spacing does not line up with joists, you have two smart options:
- Shorten the rod so both ends hit joists.
- Add a mounting board (a painted 1x6 or 1x8) screwed into multiple joists, then mount the flanges to the board.
The mounting board trick is my favorite save in older houses where nothing is where it should be.
Step 2: Drill pilot holes
Use a small bit slightly smaller than your screws. Pilot holes keep screws from snapping and make it far easier to pull the flange tight to the ceiling.
Step 3: Screw the flanges into joists
Use sturdy screws with enough length to get real bite into the joist. When you see guidance like “1 1/2 inches into solid wood,” that is embedment, not the overall screw length. The flange thickness plus drywall means your screws usually need to be longer than 1 1/2 inches overall to achieve that embedment.
Step 4: Assemble the pipe
Two common layouts:
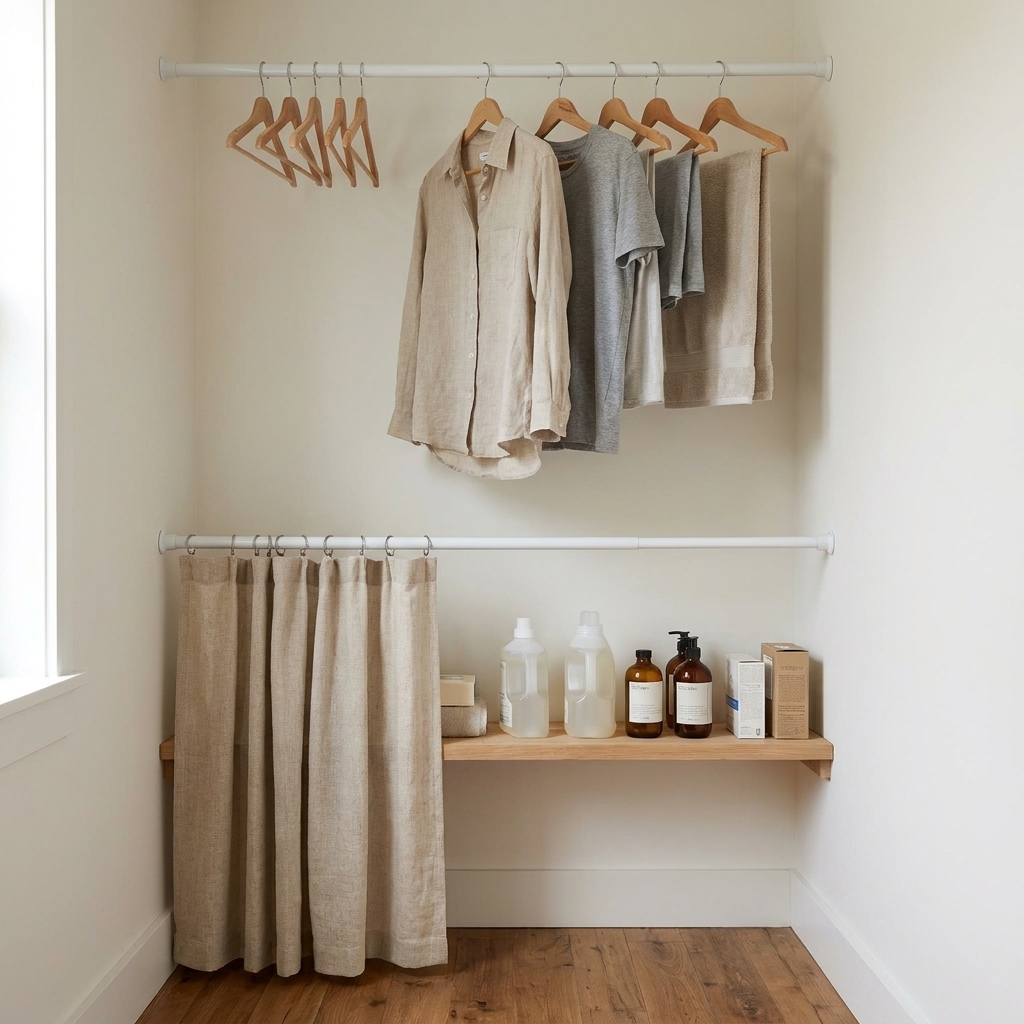
- Two drops plus a horizontal rod: flange, short nipple (the drop), elbow, then the horizontal rod. This creates a clear hanging area below the ceiling.
- Direct between mounts: the horizontal pipe connects between two ceiling mounts with minimal drop, depending on your fittings.
You can assemble most of it on the floor, then thread it into the ceiling flanges.
- PTFE thread tape can help reduce squeaks and minor loosening, but it is not a true thread-lock.
- Keep the horizontal rod level. A tiny tilt will make hangers slide to the low side like it is their job.
Step 5: Tighten and test
Snug threaded joints firmly, and if you have one stubborn joint that keeps loosening, tighten it with a pipe wrench (protect the finish with a cloth). For a more reliable anti-loosening fix, a removable threadlocker can help, as long as it is compatible with your finish and you are sure you will not need to disassemble frequently.
Test with weight slowly. Start with a few empty hangers, then a couple shirts, then build up. If anything flexes or creaks, stop and troubleshoot before you trust it with your favorite jeans.
Install a wood ceiling rod
Step 1: Choose the right wood
Look for a hardwood dowel or a real closet rod, not a flimsy craft dowel. A thicker rod resists bowing. If you plan to hang anything damp, add a clear topcoat so moisture does not rough up the surface.
Step 2: Mount the sockets into joists
Mark your hole locations so they land on joists, drill pilot holes, and screw the sockets in tight.
Step 3: Cut and finish the rod
Cut the rod to length, sand the ends smooth, then paint or stain if desired. Let it cure fully before you hang clothes. Fresh paint and clean laundry do not mix.
Step 4: Set the rod and test
Drop the rod into the sockets and test with increasing weight.
Make it heavy-duty
- Hit framing, not just drywall. If you cannot hit framing, use a mounting board secured to multiple joists, then attach hardware to that board.
- Go thicker than you think. A slightly thicker pipe or rod feels more solid and reduces wobble when you slide hangers.
- Use more support for long spans. For a long rod, consider a third ceiling drop in the middle to prevent sag.
- Leave wall clearance. Clothes need breathing room. A few extra inches of clearance keeps sleeves from brushing and wrinkling.
- Plan for hanger glide. Keep the hanging span smooth so hanger hooks do not catch on protruding fittings.
Common mistakes
- Missing the joist by an inch and convincing yourself the screw “feels tight.” It will feel tight until it does not.
- Overtightening fasteners into drywall so the flange crushes the drywall instead of pulling snug to framing.
- Placing the rod too close to cabinet doors so doors bump hangers or sleeves.
Add-ons for small spaces
If you are already drilling and measuring, this is the moment to stack small upgrades that make the room feel finished.
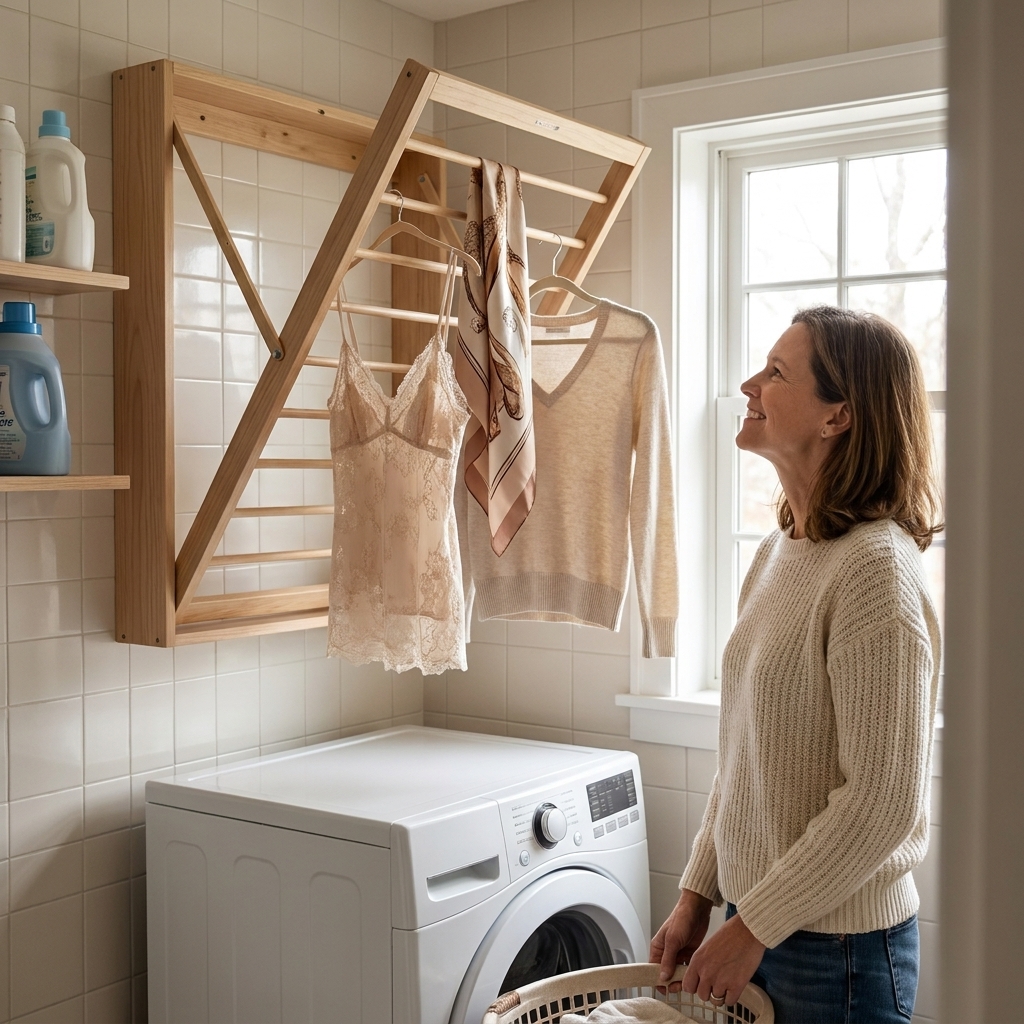
- Fold-down drying rack: Great for sweaters and delicates. See: how to install a space-saving fold-down wall drying rack.
- Back-of-door storage: Keeps stain sprays and lint rollers handy without crowding shelves. See: back-of-door laundry closet storage ideas.
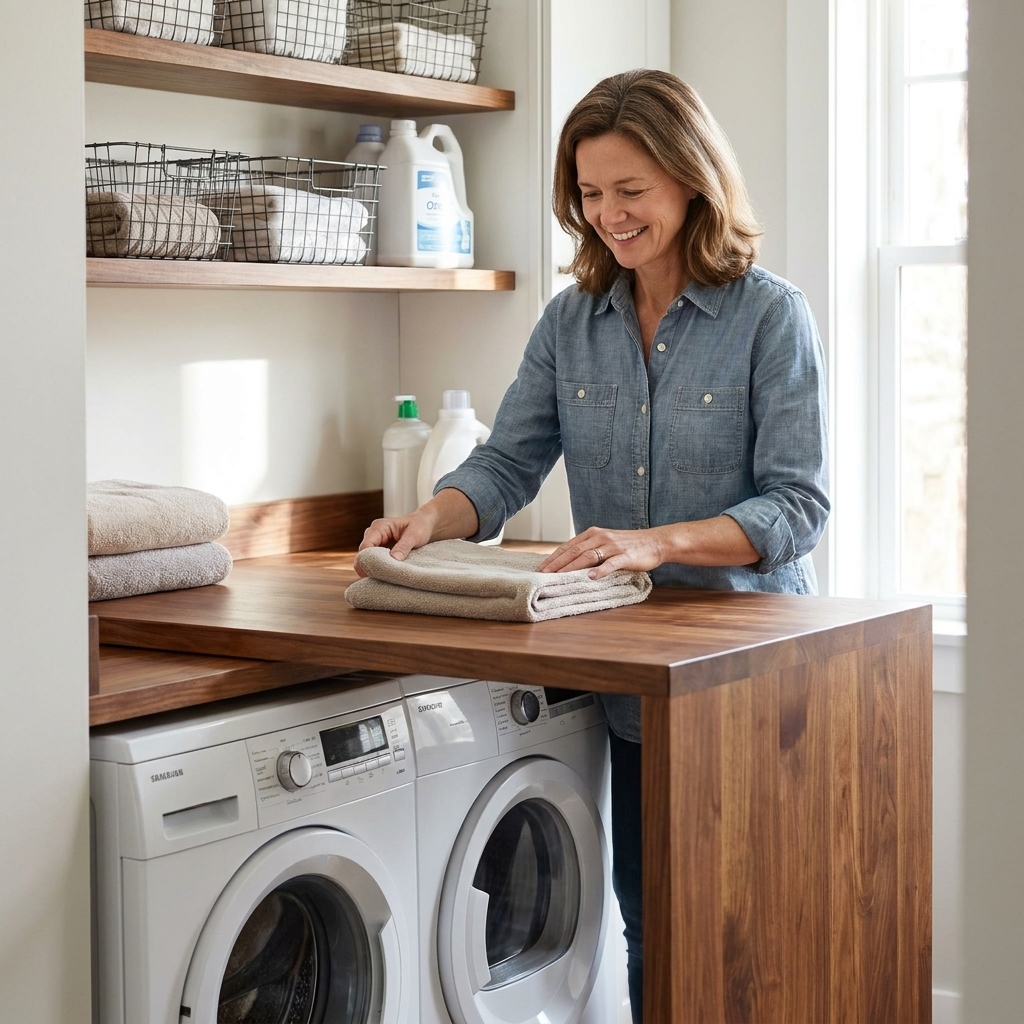
- Over-the-washer folding station: A rod plus a folding surface is my dream combo. If you have front-loaders, this can be a game-changer: DIY waterfall countertop folding station over front-loaders.
Safety notes
- Load ratings vary. I am not providing a rated capacity here. Capacity depends on joist species and condition, fastener type and diameter, flange hole size, span, and how much deflection you allow. If you need a guaranteed load rating, use a commercially rated system or consult a contractor.
- Know what is above you. Avoid mounting where there may be electrical, plumbing, or ductwork. If your laundry is under a bathroom, be extra cautious.
- Do not hang from the rod. It sounds obvious, but kids are creative.
- When in doubt, ask a pro. A quick consult is cheaper than repairing a torn-out ceiling.
Troubleshooting
My rod wiggles when I slide hangers
- Confirm you are in joists, not just drywall.
- Tighten all fittings and mounting screws.
- Upgrade screws or add a third support point for long spans.
The pipe keeps loosening
- Retighten firmly. If you can, use a pipe wrench gently (protect the finish).
- PTFE thread tape can help with squeaks and minor loosening, but it will not lock threads in place.
- If one joint is the repeat offender, a removable threadlocker may be worth considering.
Clothes bump the wall
- Move the rod farther out using longer drops or different fittings.
- Hang heavier pieces toward the center, not all at one end.
I cannot line up both ends with joists
Use the mounting board solution. Screw the board into at least two joists, then mount your flanges or sockets to the board where you want them.
FAQ
How much weight can a ceiling-mounted rod hold?
It depends on the structure and the hardware. Wet laundry gets heavy fast, and the safe limit is shaped by your joists, fasteners, flange design, and span. If you plan to hang lots of damp denim or towels, shorten the rod and add a center support so the load is shared.
Can I install this in a laundry closet with bi-fold doors?
Yes, but measure with the doors fully open so clothes do not get pinched or rubbed. If your closet is very tight, you may prefer a shorter rod plus other vertical storage. This guide can help you think through tight-door clearances: maximizing storage in a tiny bi-fold laundry closet.
What is the best placement with stacked machines?
Place the rod slightly in front of the stack so hangers clear the machine face and you can load and unload without bumping elbows. If space is extremely limited, consider supplementing with tension rod tricks for lightweight items: 10 tension rod tricks for laundry room organization.
The payoff
Once you have a ceiling rod, you stop draping shirts over chair backs, doorknobs, and the mysterious “laundry pile corner.” It turns your laundry room into a place where clean clothes actually stay clean and unwrinkled. And for a busy house, that is not just organization. That is peace.