The day I realized a basic plastic utility sink could look intentional was the day I stopped staring at mine like it was a temporary problem. You know the one: bright white tub, skinny legs, builder faucet that dribbles, and a chaotic view of whatever is stored underneath. In a laundry room, that sink works hard, but it does not have to look like it came straight from the garage.
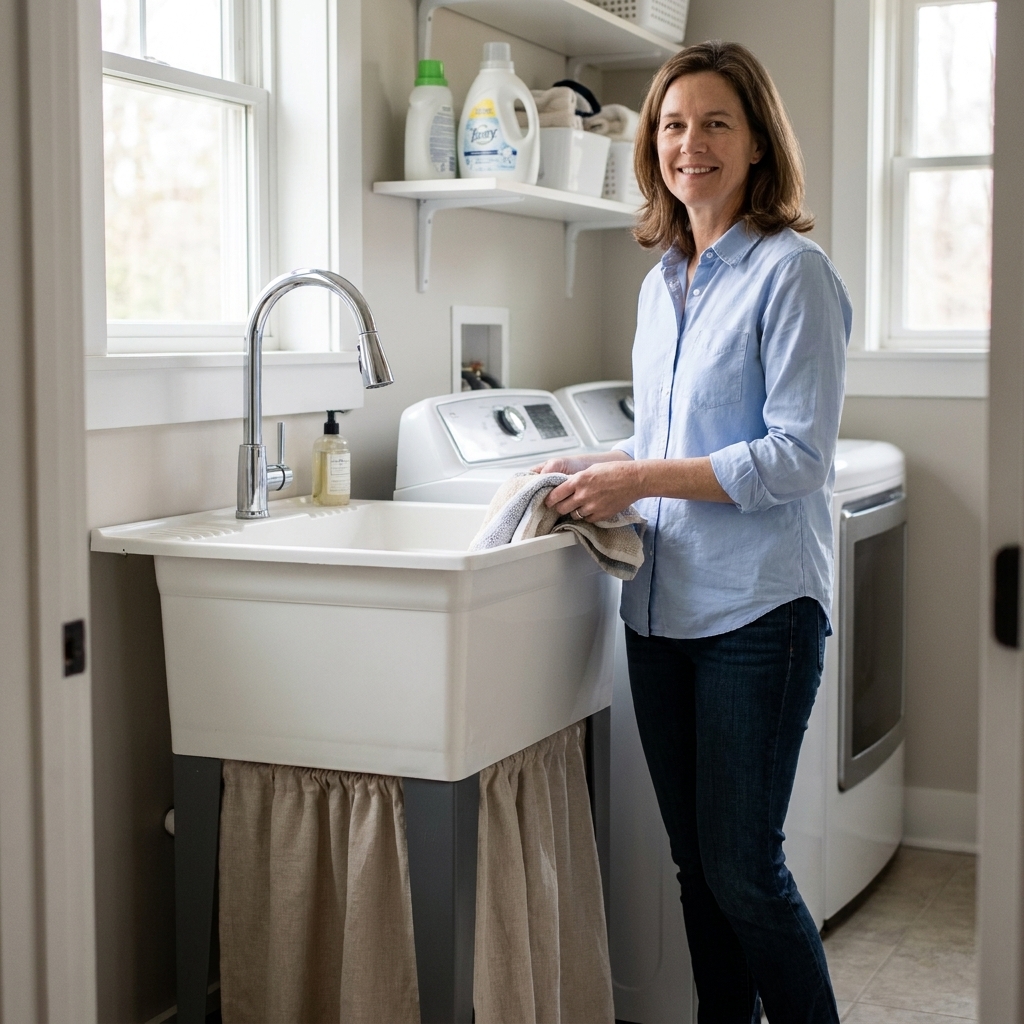
The good news is you can make a cheap freestanding utility tub look surprisingly custom with three upgrades that do not require replacing the whole thing: a faucet swap, a simple skirt, and painted legs. I have done versions of this in my own house while juggling three kids and a never-ending hamper situation, so I am keeping it practical and forgiving.
Before you start: quick check
Utility sinks come in a few common setups, and your faucet choices depend on which one you have. Take two minutes to look underneath and you will save yourself a return trip later.
- Faucet mounted to the tub rim: The faucet sits on the back ledge of the sink. These often use a standard two-handle or single-handle layout, but the hole spacing can vary by model.
- Faucet mounted to the wall: The sink has no faucet holes, and the plumbing comes out of the wall. In that case, your upgrade is usually a wall-mount faucet replacement, or compatible trim and spout parts that match your existing valve.
- Supply lines: These sinks often connect with flexible braided lines, PEX, or a mix of parts depending on the install. Check if your shutoff valves are accessible and working before you plan anything fancy.
If you are unsure, snap a couple photos of the faucet from above and the connections below. When I am tired and trying to squeeze a project into naptime, photos keep me from guessing in the hardware aisle.
Budget faucet swaps
A faucet swap is the upgrade you will notice every single day, especially if you use the sink for stain treating, soaking, mop buckets, or rinsing paint brushes. The goal is not most expensive faucet. The goal is taller, easier to use, and not obviously flimsy.
What to look for
- A higher arc or taller spout: You want room to fill a bucket and rinse bulky items without fighting the faucet.
- A sprayer option if you can: Pull-down or pull-out sprayers are fantastic for rinsing muddy shoes and laundry messes.
- Simple finishes: Matte black, brushed nickel, or chrome can all work. Pick what matches your room hardware so the sink feels like part of the plan.
- Standard connections: Many faucets connect at the faucet with 1/2-inch IPS/NPSM threads, while shutoff valves are often 3/8-inch compression. Some faucets include supply lines or adapters, some do not, so verify what comes in the box and what your valves require.
- Metal where it matters: A metal spout and solid handle feel less wiggly over time.
My compatibility checklist
- Measure the hole configuration on your sink (single-hole, 4-inch centerset, or other).
- Check the maximum deck thickness the faucet can handle. Some utility sinks have a chunky rim.
- Make sure the faucet height clears any shelves or cabinets above.
Basic swap steps
- Turn off water at the shutoff valves under the sink. If you do not have shutoffs, shut water off at the house main.
- Relieve pressure by turning the faucet on briefly.
- Disconnect supply lines with an adjustable wrench. Keep a towel and a small bowl handy.
- Remove mounting nuts holding the old faucet in place.
- Clean the sink rim where the old faucet sat. Old putty and grime keep the new faucet from sitting flat.
- Install the new faucet per manufacturer instructions. Tighten evenly so it sits straight.
- Reconnect supply lines, turn water back on, and check for leaks.
Mom-life tip: Put a dry paper towel under each connection and leave it for 10 minutes. If it stays dry, you are good. If it gets a damp spot, tighten that connection just a bit more.
If you are also working on the wall area around the sink, you might like these budget-friendly DIY backsplash ideas for your laundry sink area.
Paint the legs
Painting the legs is the easiest visual trick in this whole makeover. Those shiny white legs are usually what scream utility tub, especially in an otherwise cozy laundry room.
What to paint
- Paint: metal legs, cross braces, and (sometimes) the underside frame.
- Do not paint: the inside of the sink basin, the drain assembly, or any interior surface that will constantly see abrasion, standing water, or harsh cleaners. That is where paint fails fastest.
Supplies
- Degreaser or dish soap
- Fine sanding sponge or 220 grit sandpaper
- Bonding primer suitable for metal
- Durable spray paint or cabinet enamel (satin is forgiving)
- Drop cloth and painter’s tape
Steps that hold up
- Clean thoroughly. Laundry rooms collect lint and detergent film that paint hates.
- Scuff sand for grip, then wipe clean.
- Prime if the legs are glossy metal or previously painted.
- Paint in light coats. Two to three light coats beat one thick coat every time.
- Let it cure before you bump it with baskets and mop handles. Dry is not the same as cured.

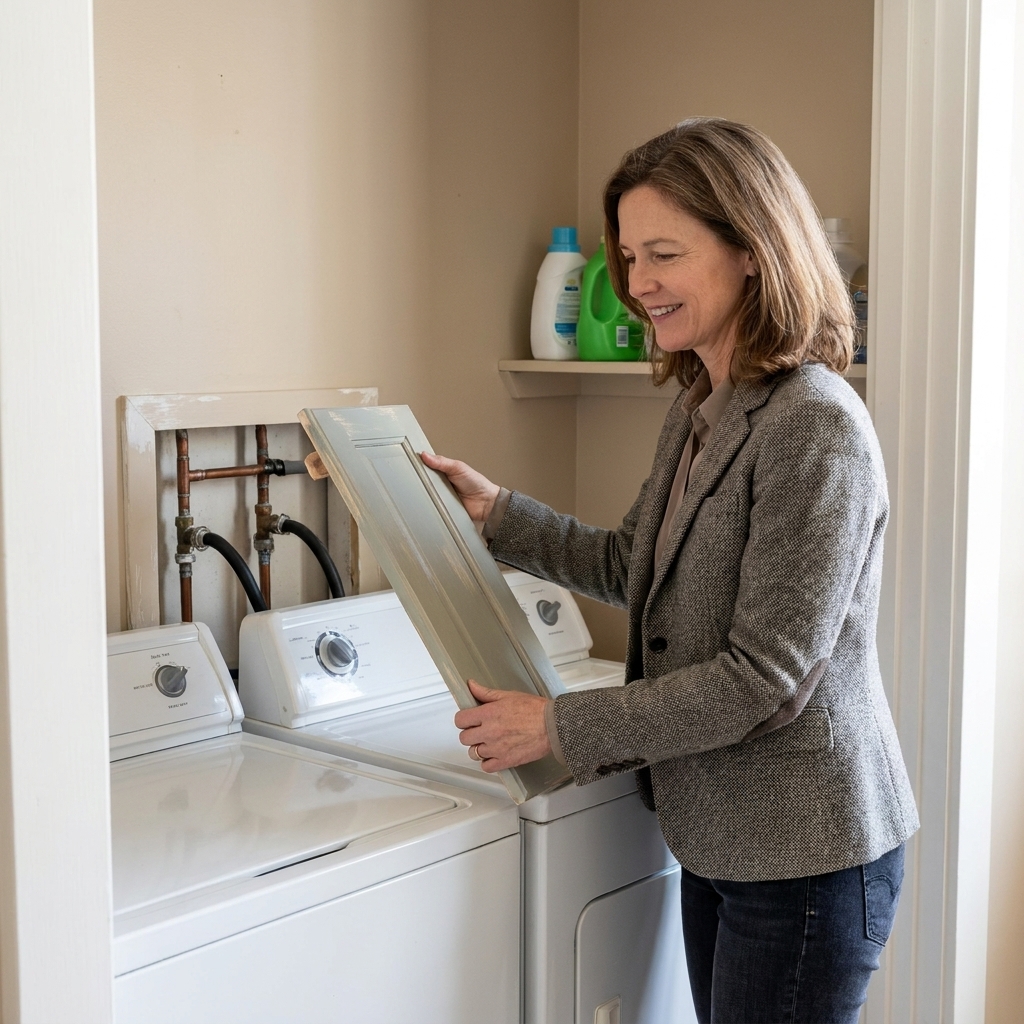
If you are already in paint mode, you may also enjoy painting builder-grade laundry cabinets for a bigger impact without a big budget.
Add a fabric skirt
If you do one thing besides the faucet, do the skirt. A skirt hides cleaning bottles, extra rags, pet shampoo, and the random where-does-this-go items that land under the sink. It also softens the look of the plastic tub and instantly reads more custom.
Skirt styles
- Simple gathered skirt: Most forgiving and easiest to sew or no-sew.
- Flat panel skirt: Cleaner, more tailored look. Great if you hate visual ruffle.
- Split skirt: Two panels that meet in the middle so you can access storage like little curtains.
Attachment options
- Industrial hook-and-loop tape: Fast and adjustable. Use the sticky-backed kind rated for heavier use and humid spaces.
- Tension rod: Great if your sink frame has a place to set it and you want zero adhesive.
- Snap tape: More work up front, but it feels very finished and holds up well.
If your sink rim is textured or uneven: adhesive hook-and-loop can struggle. In that case, I like attaching the hook-and-loop to a thin wood batten, then fastening the batten to the sink legs or frame with small screws or zip ties. It gives you a smooth, reliable surface for the skirt without permanently boxing anything in.
How to measure
- Width: Measure the front and both sides you want to cover. Add them together.
- Fullness: For a gathered skirt, multiply total width by 1.5 for light gathers or 2 for fuller gathers.
- Length: Measure from just under the sink rim to about 1 inch above the floor. That little clearance keeps the fabric from wicking up water when the floor gets damp.
A simple no-sew method
- Cut fabric to your measured width and length.
- Hem the sides and bottom with iron-on hem tape (follow package directions).
- Create a top hem wide enough to fit your attachment method. For hook-and-loop, you can fold over 1 inch and hem tape it.
- Attach hook-and-loop tape to the sink rim or frame and the matching strip to the skirt.
- Press firmly and let adhesive set before tugging on it.
Fabric choices I trust in a laundry room: cotton duck, canvas, outdoor fabric, or a cotton-linen blend. They hang nicely and handle the occasional splash. If you have little kids, darker neutrals hide fingerprints and drips better than bright white.
Do not skip access: you will want to get to the P-trap, shutoffs, and whatever toy your kid drops under there. A split skirt makes access easy, or keep the skirt removable with a tension rod or hook-and-loop so it comes off fast.
Quick care note: I pull the skirt off when I deep-mop, and I wash it whenever it starts looking dingy. If your laundry area stays humid, choose a washable fabric and let the area dry out after big laundry days.

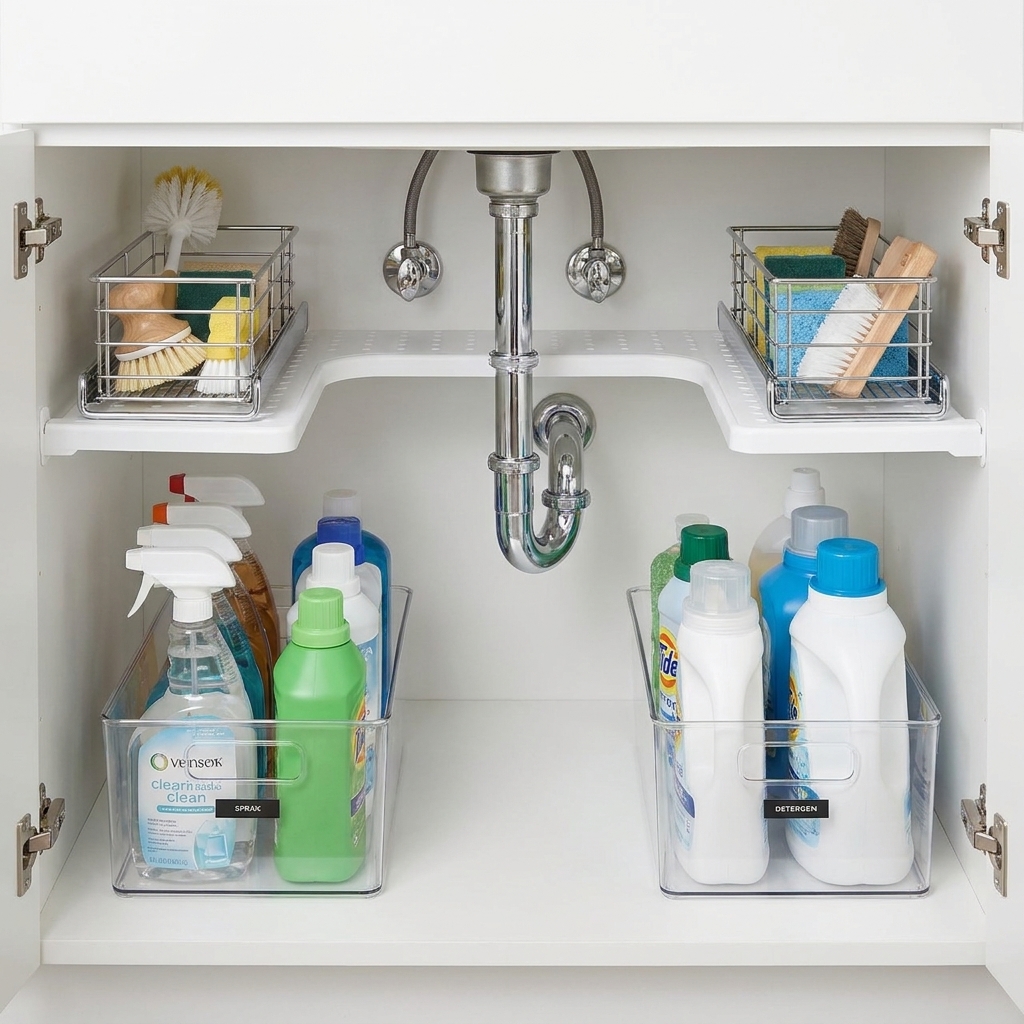
Want help organizing what lives under there once it is hidden? I keep it simple and reachable. This pairs well with organizing under your laundry utility sink.
Built-in look details
These are optional, but they are the kind of finishing touches that make your utility sink look like you planned it from the start.
Add wall protection
If your sink sits against drywall, even a small wipeable surface behind it makes cleanup easier. Peel-and-stick options, beadboard scraps, or a simple painted panel can all work.
Swap the drain strainer
A nicer strainer is a small upgrade that keeps lint and gunk from heading into your plumbing. Pick one that sits securely and is easy to clean out.
Handle visible plumbing
If the drain pipe and P-trap are front-and-center, the skirt usually solves most of it. If you still see a lot from the side, you can tidy it up by keeping pipes straight, wiping them down, and making sure your skirt design does not snag on the plumbing. If you ever plan to paint exposed plastic pipe, use a plastic-rated primer and paint and keep paint off threaded connections so you can still service it later.
If you need more ideas for hiding things without making future-you regret it, hide laundry nook plumbing without losing access is a helpful next read.
Safety notes
- If you smell gas, stop. If your laundry room is near a gas dryer or water heater, take any gas smell seriously and address it before you work in the space.
- Do not overtighten plastic. Plastic sink rims can crack if you crank down mounting hardware too hard.
- Check for slow leaks over the next day. A tiny drip can quietly damage flooring.
- Know your limits. If shutoff valves are stuck, corroded, or you see questionable plumbing, a plumber visit may save money long-term.
FAQ
Can I put a kitchen faucet on a utility sink?
Often yes, as long as the hole configuration and deck thickness work, and you have the right connections. The biggest win is height and reach. Just double-check clearance if you have shelves above the sink.
What paint sticks best to utility sink legs?
If the legs are metal, a bonding primer plus a durable enamel or quality spray paint holds up well. The key is cleaning and scuff sanding first. Paint fails fast on glossy, dusty legs.
Will a fabric skirt get moldy?
It can if it stays damp. Keep the hem about 1 inch off the floor, avoid storing wet towels under there, and use a washable fabric. If your laundry area is humid, run a fan during heavy laundry days.
How do I keep the skirt from getting sucked into the vacuum?
Two tricks: keep it slightly shorter than you think you need, and use small stick-on weights inside the bottom hem at the corners. Even a couple washers tucked into the hem works.
My favorite part
When the skirt goes on and the faucet is tall enough to actually fill a bucket without splashing everywhere, the whole laundry room feels calmer. It is not a showroom. It is still real life. But it is a hardworking corner that finally looks like it belongs in your home.
If you are in full budget-refresh mode, start here for more approachable projects: Budget Makeovers.